Wooden arbors - design ideas and instructions for building with your own hands from different materials (140 photos)
Great feeling when the family gathers in the fresh air on the weekend or after heavy weekdays. Therefore, not a single plot with a house can do without a garden gazebo. In the summer, she will shelter you from sunshine, in the autumn you can hide from the rains.
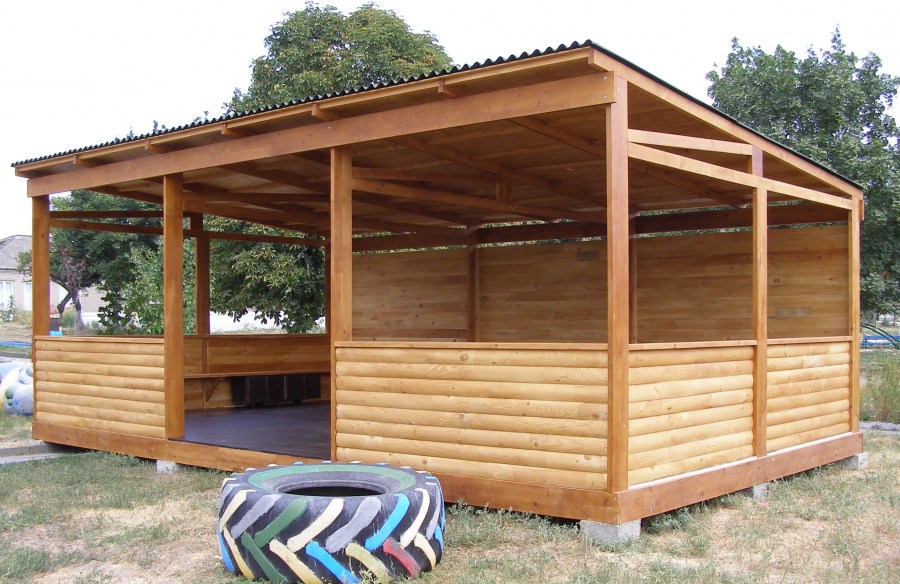
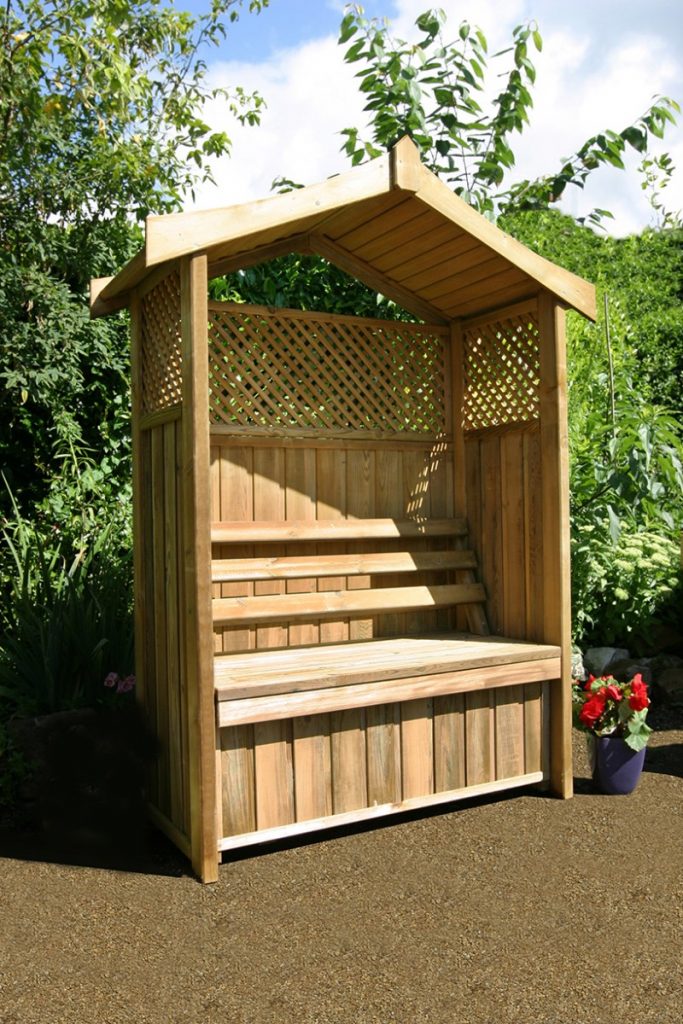
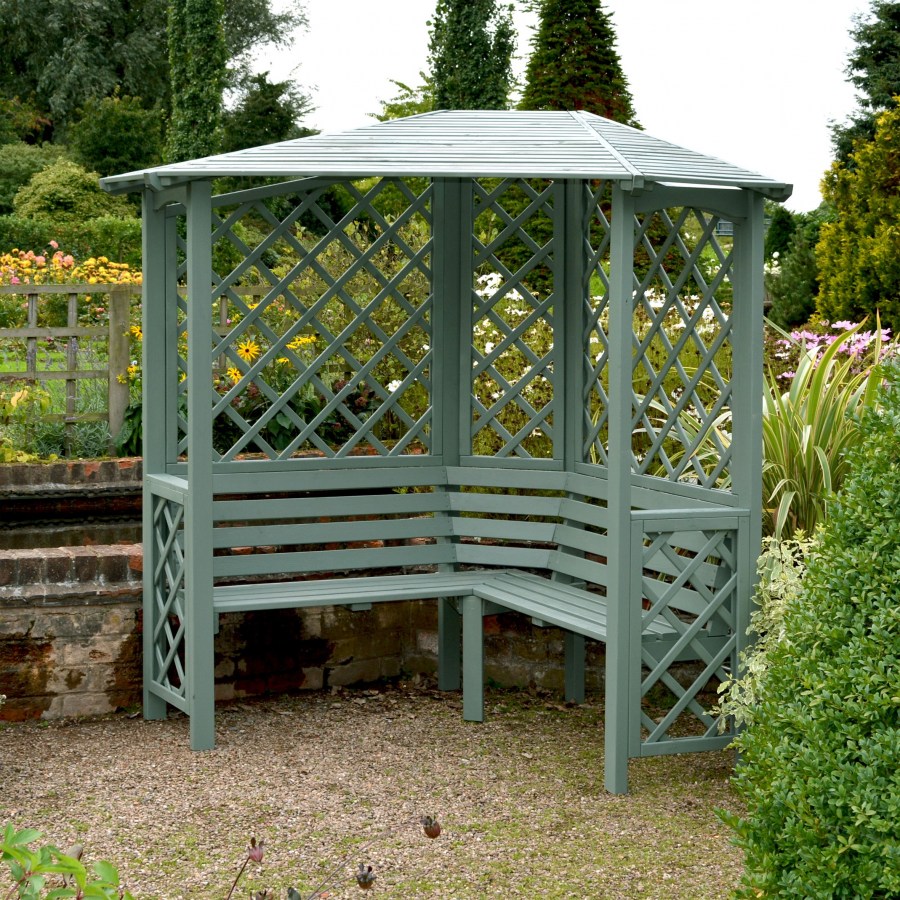
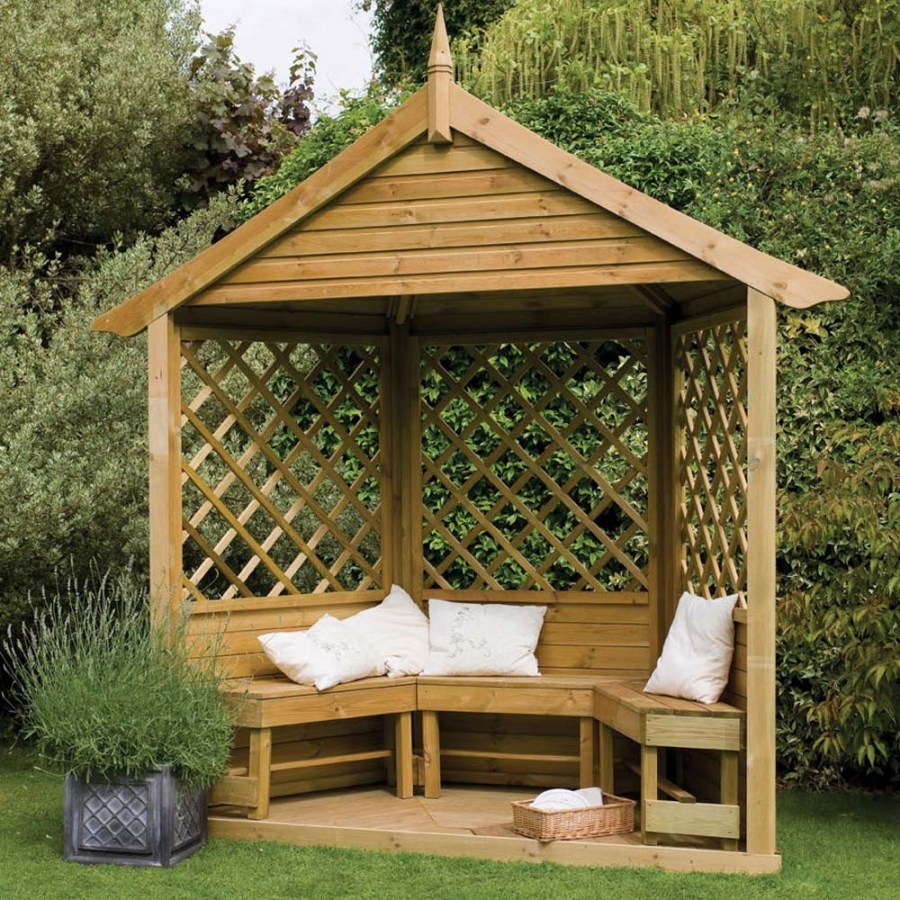
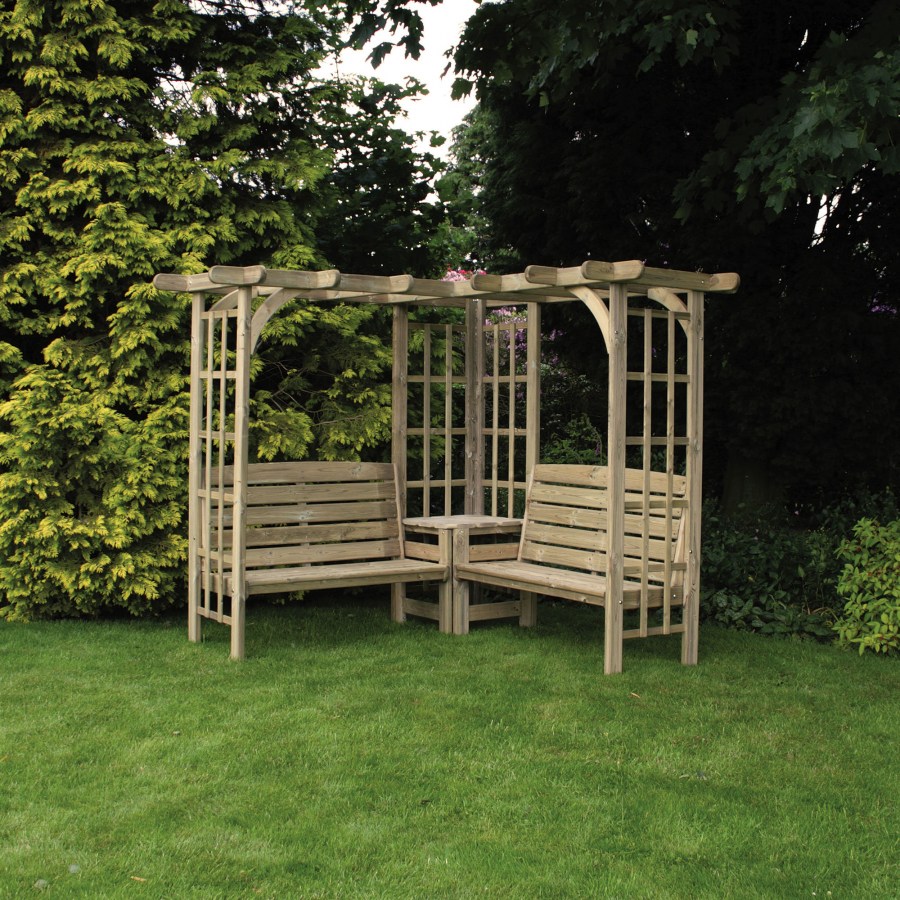
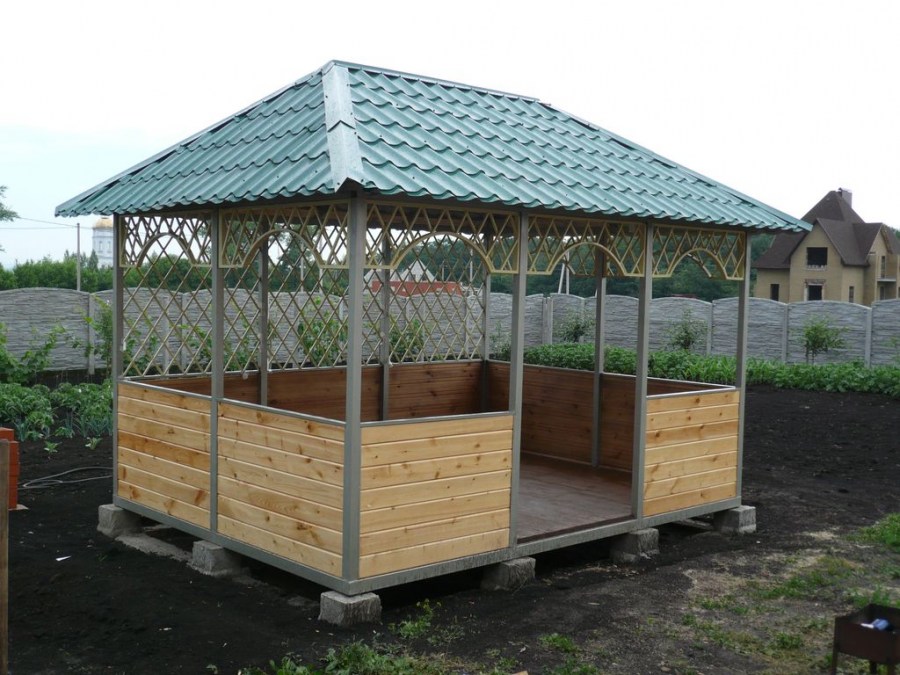
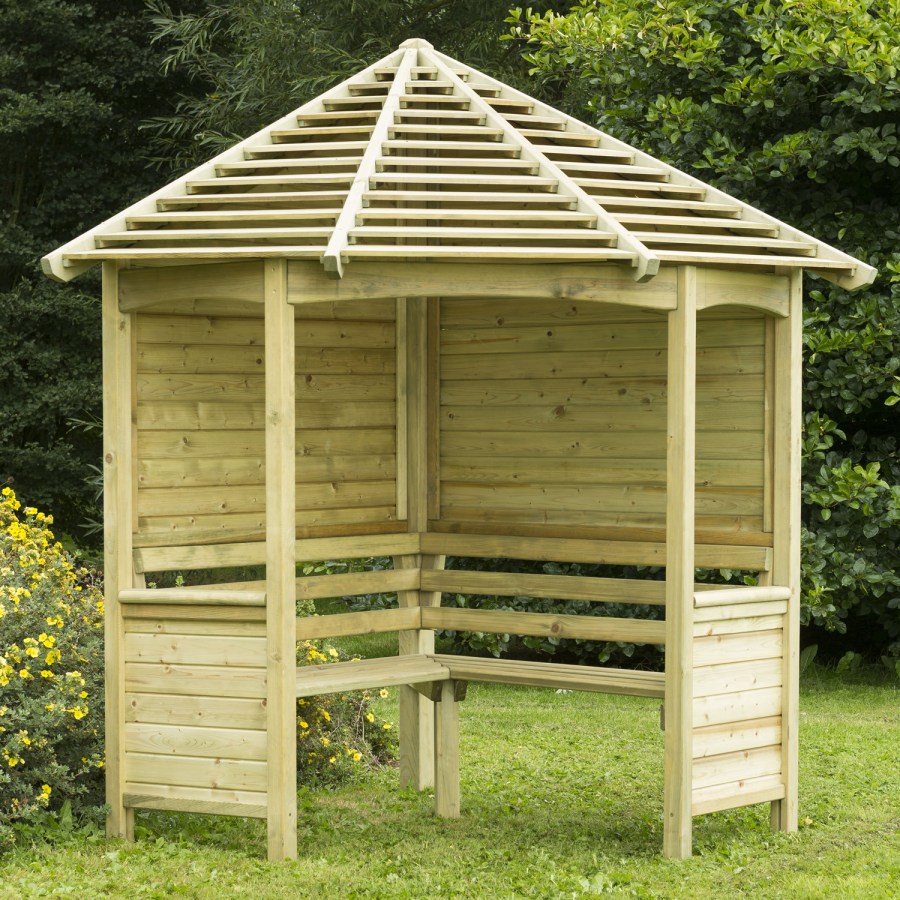
The most frequent arbors built of wood. Having the necessary material and tools, it will not be difficult to build a gazebo with your own hands, taking into account the wishes of your household.
Building a wooden gazebo
And so, you are going to erect a garden gazebo on your own site, do not know where to start? First, decide on the tool that you will need:
- Circular saw and miter box;
- Electric planer;
- Chisel, hammer;
- Electric jigsaw;
- Work table;
- Stairs;
- Roulette, level;
- Drill with drills.

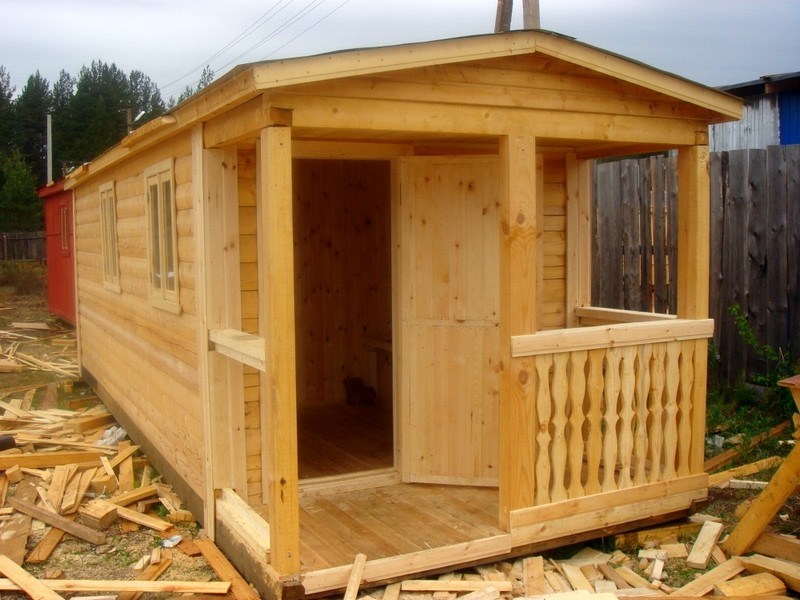
Step-by-step instructions for creating a garden gazebo
Decide on the place of construction. Choose a place so that the arbor would fit your landscape, and the view from it would please the eye. Do not choose a place close to buildings in which animals live.


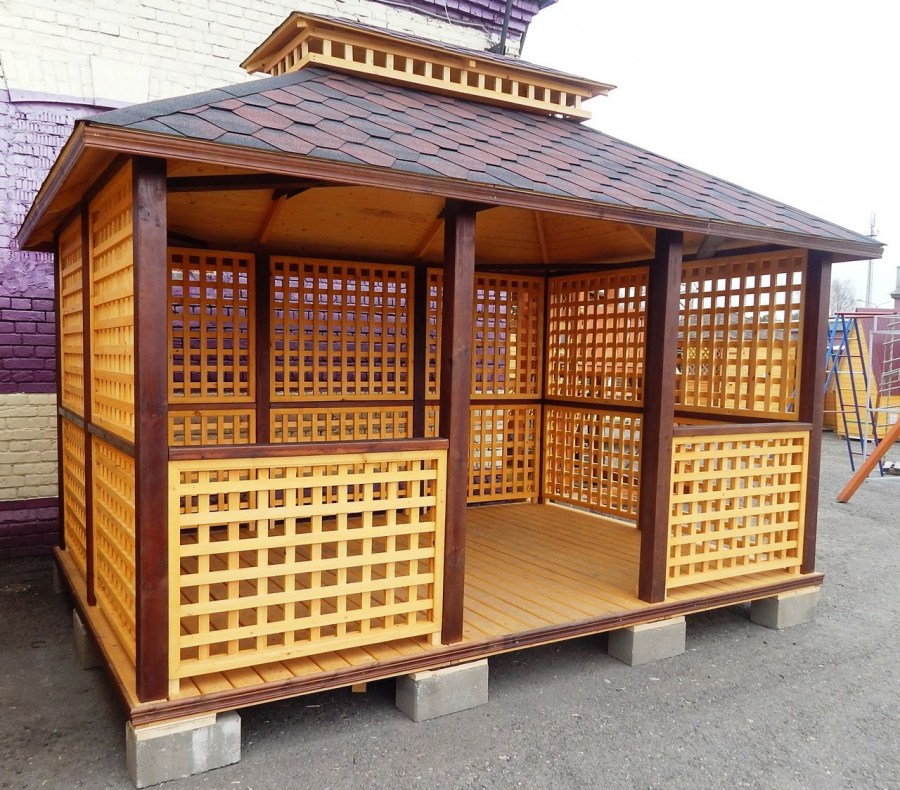
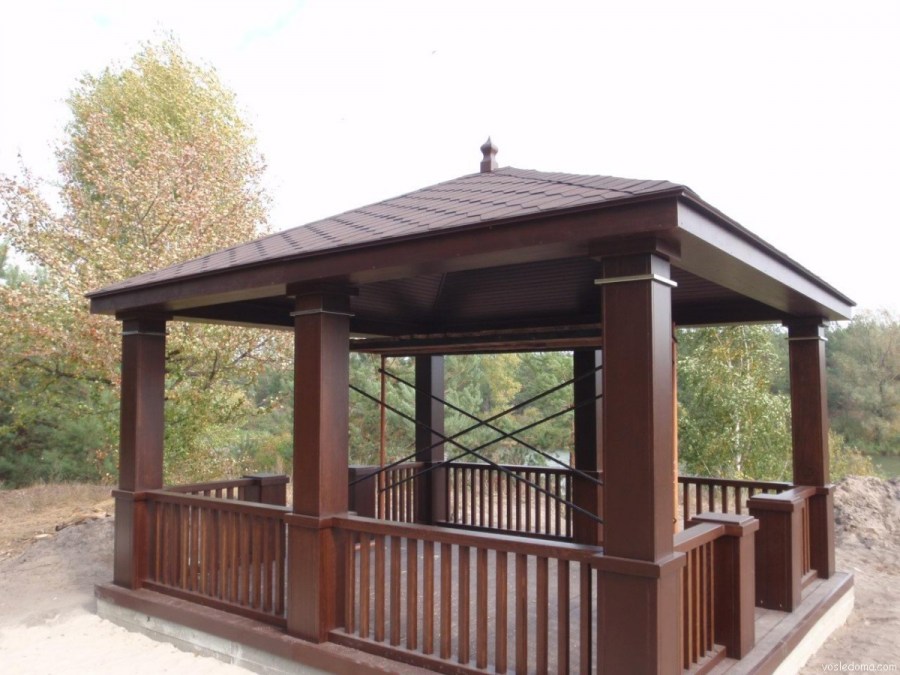
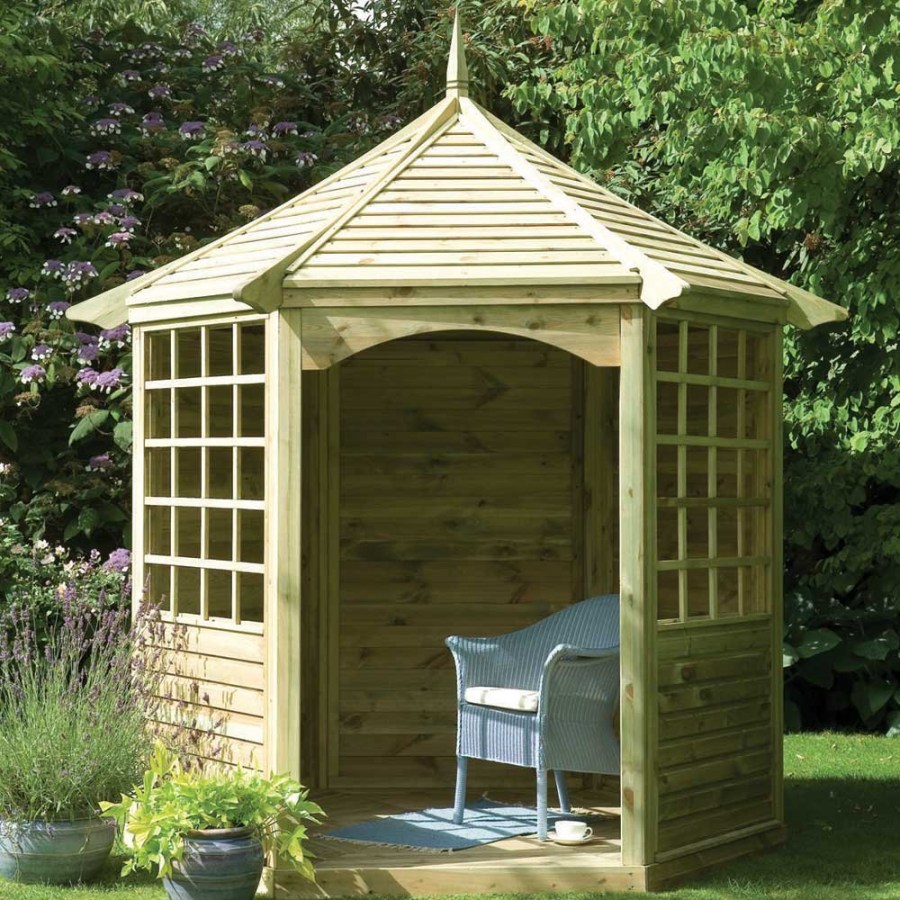
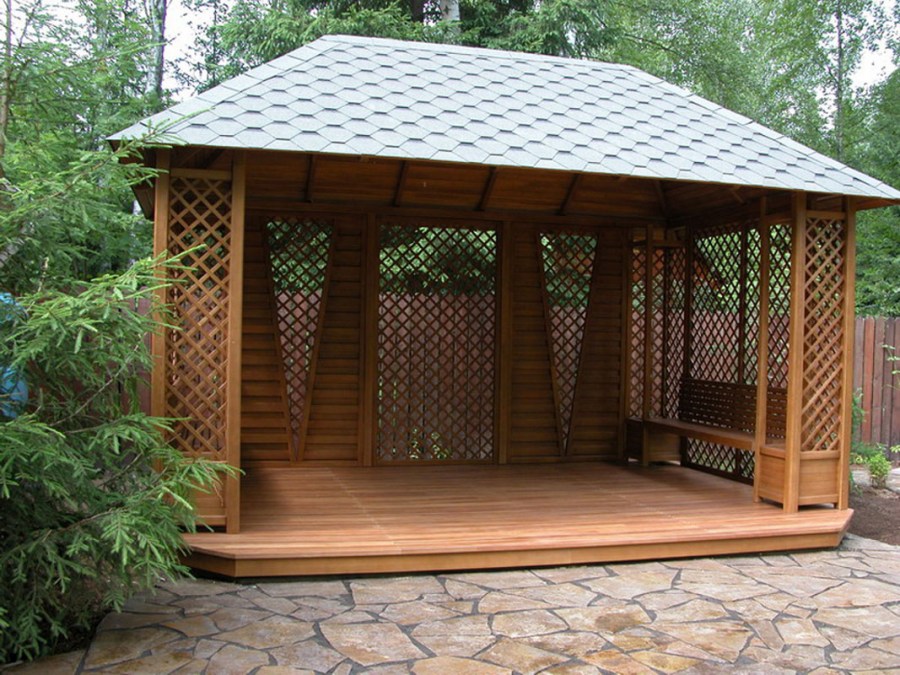
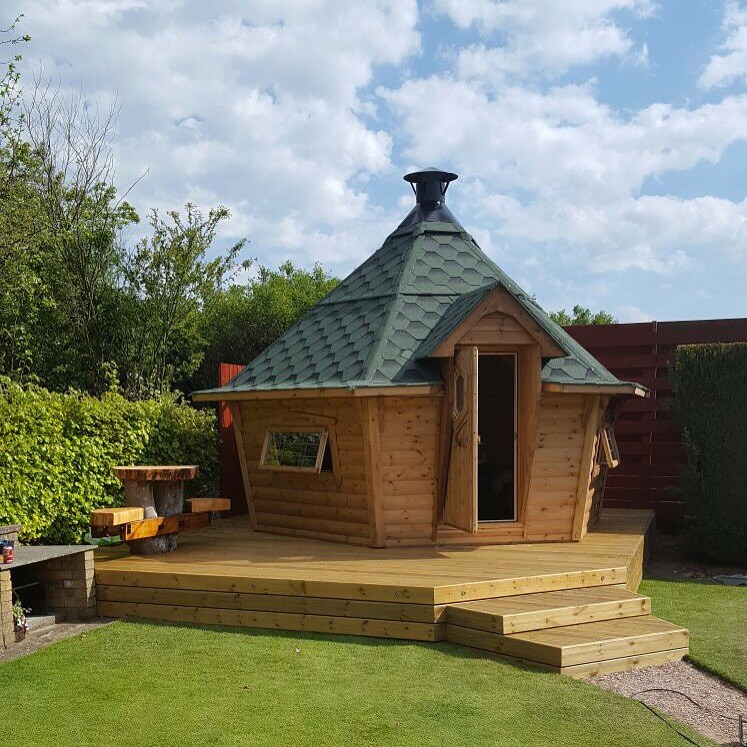
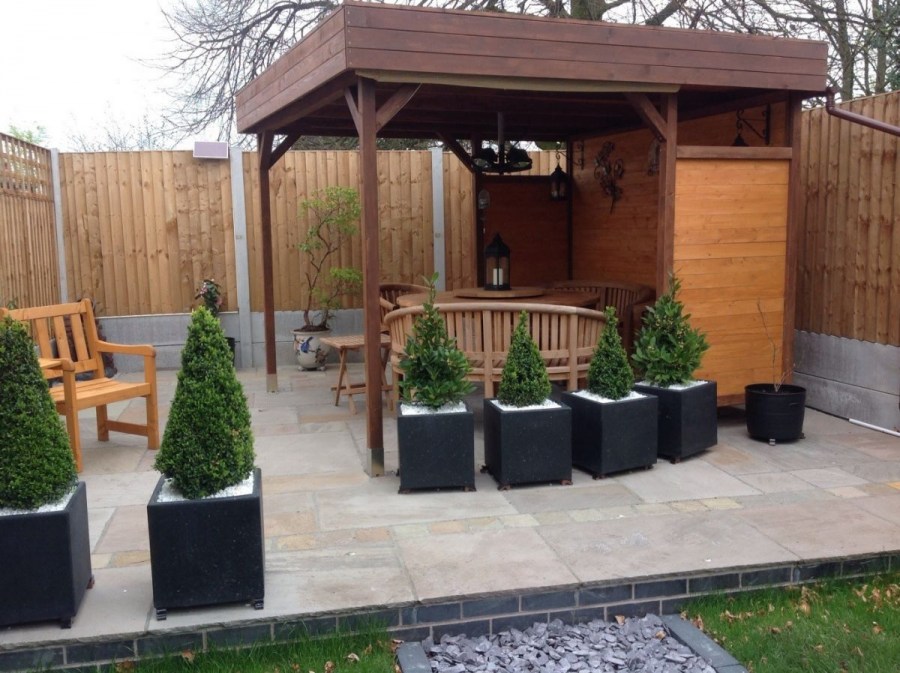
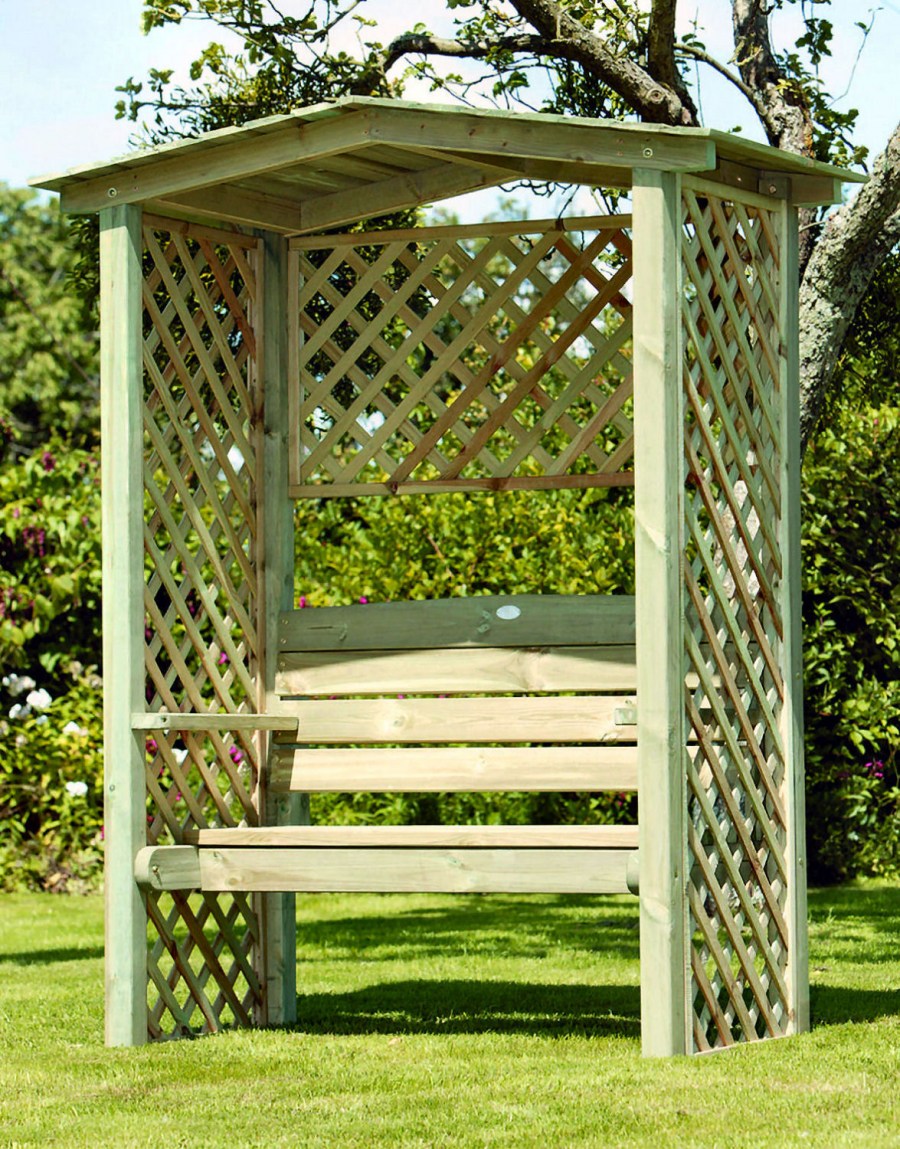
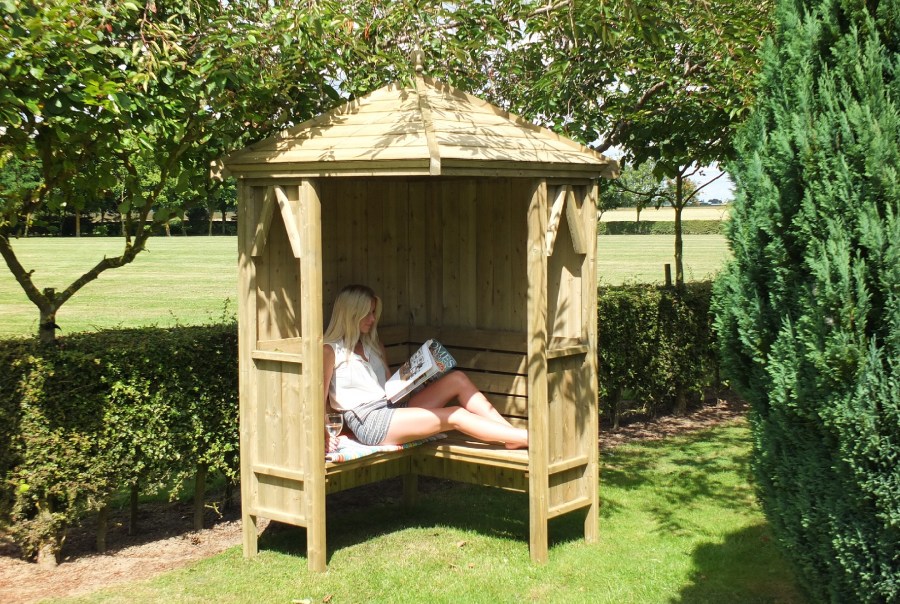
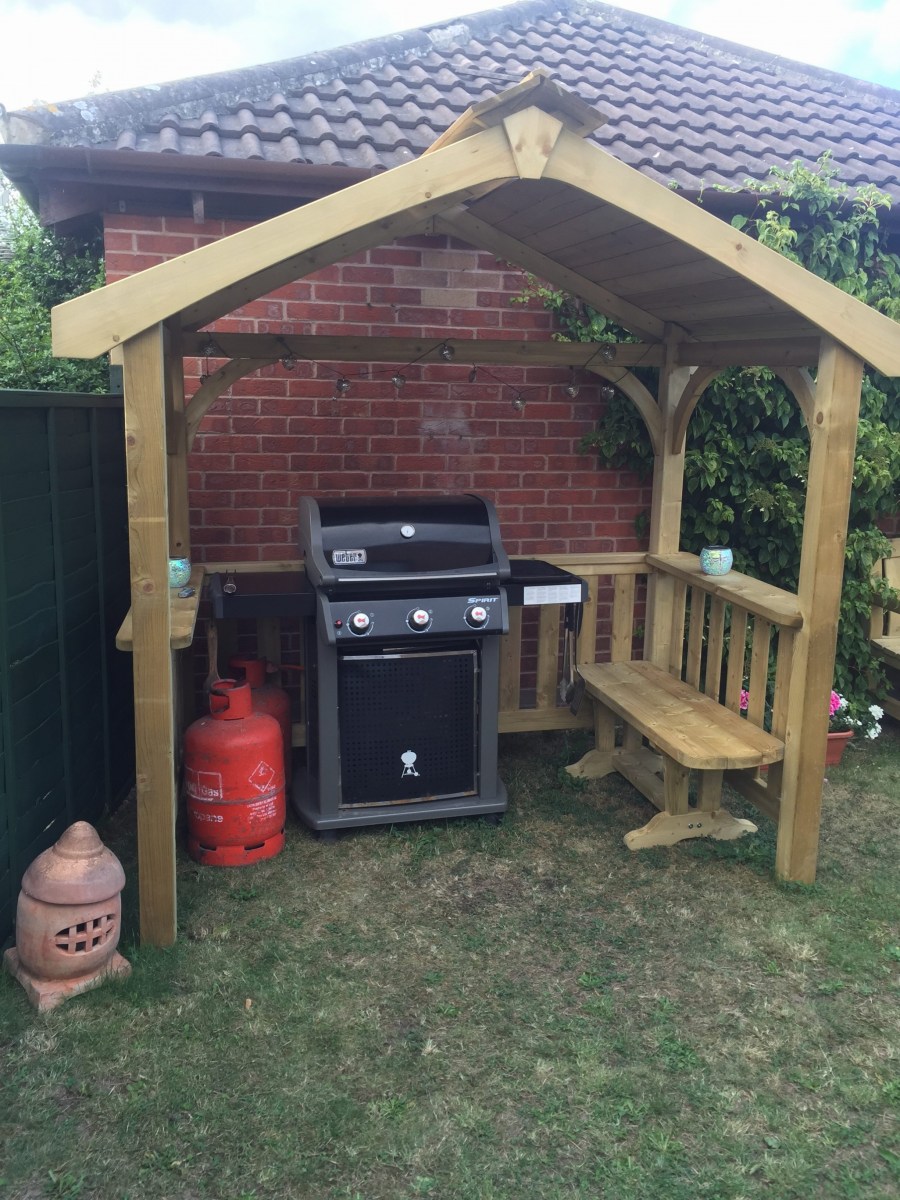
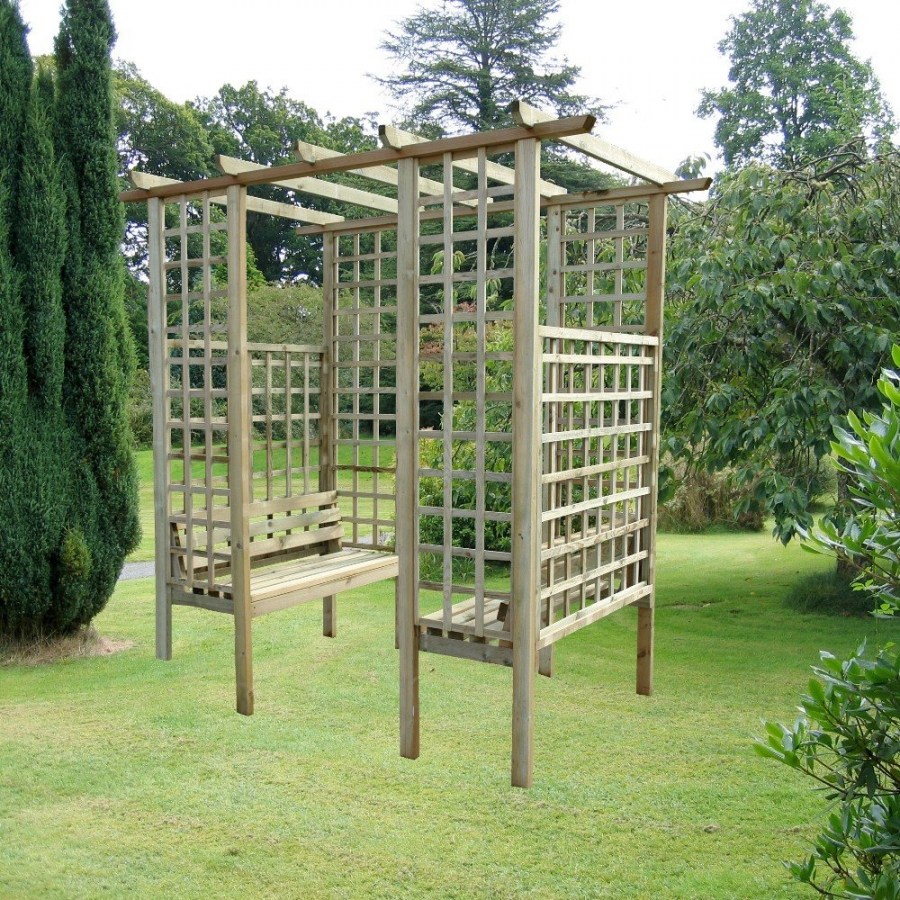
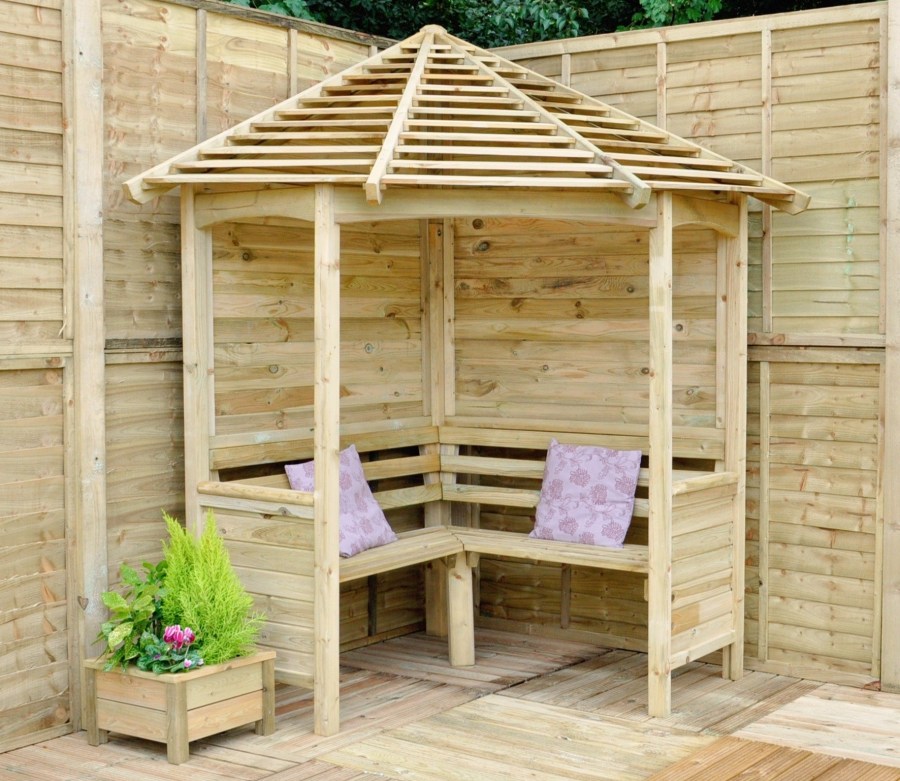
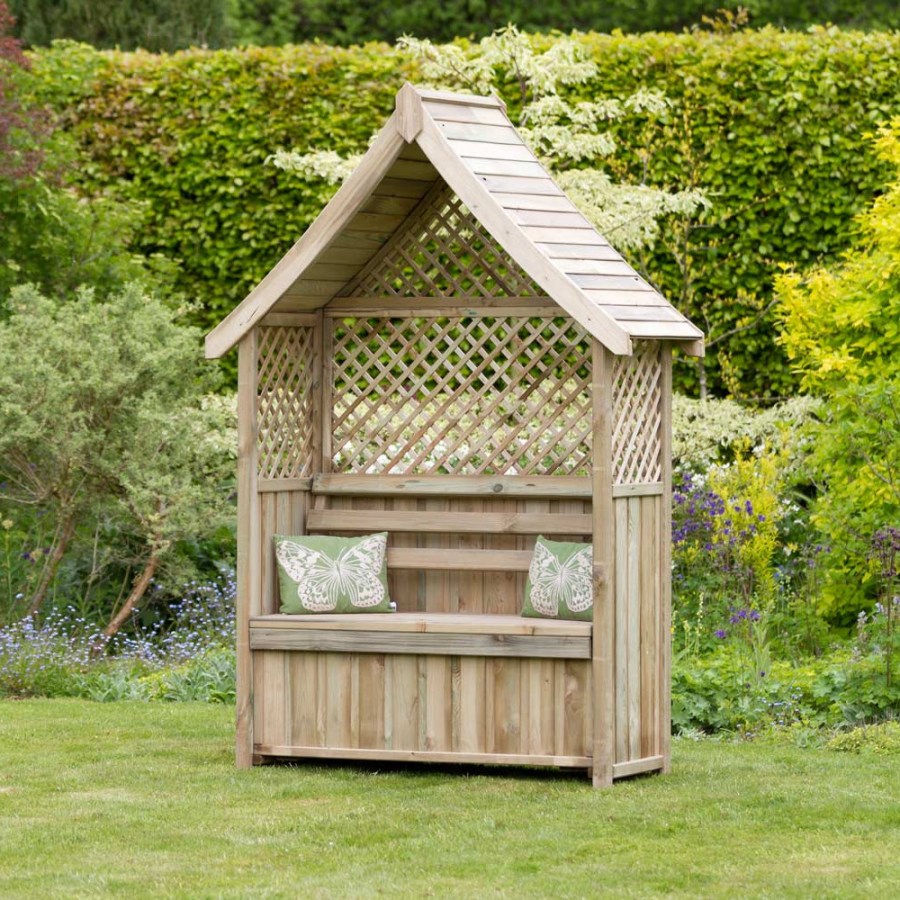
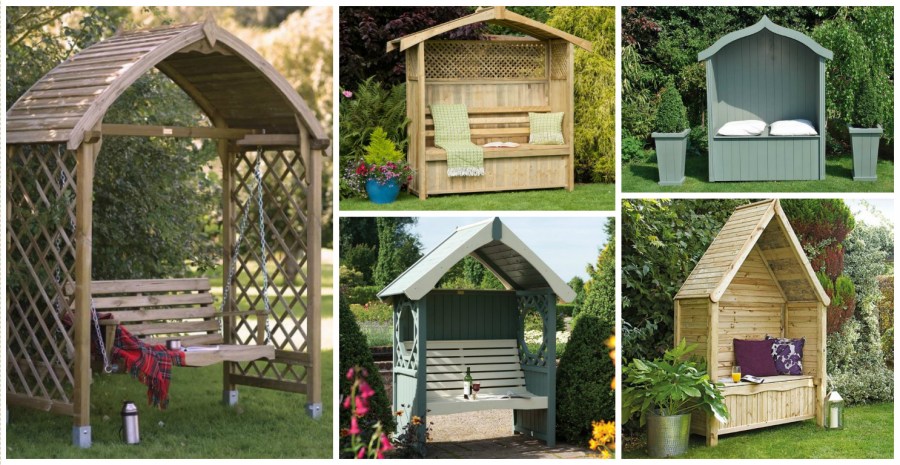
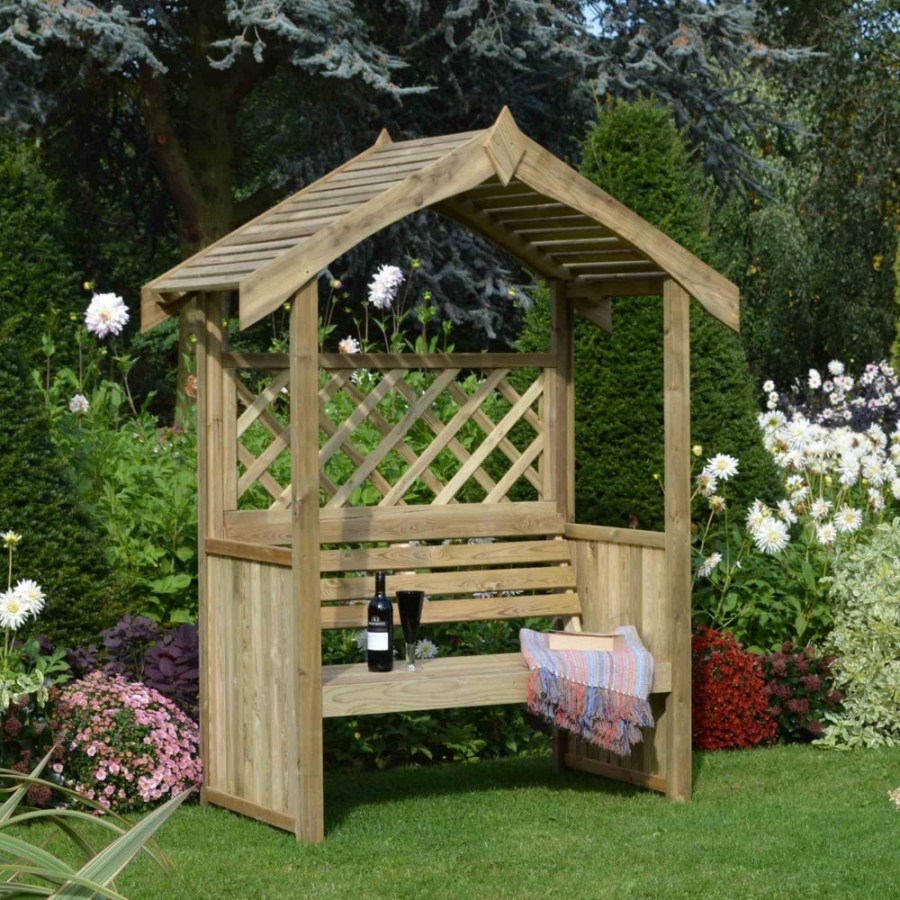
Choose a garden gazebo design. On the Internet there are a lot of photos of wooden arbors to help you decide on the design. Draw a plan for the future recreation area. If you do not want to waste time on this, then on the Internet you can find a large number of photos of arbours made of wood. Choosing the right design will not be difficult.
Foundation. The easiest way to design flooring is to lay paving tiles. Today, manufacturers of paving slabs offer a huge selection. A more complex and high-quality option on a pile foundation.
Before proceeding to the foundation, it is necessary to clean the area where the gazebo will be built. We mark the size of the building, arrange the stakes along the perimeter and tighten the thread. A swarm of pits, the depth of which should be at least 1⁄4 of the height of the bars for the gazebo. The distance between the pits will depend on the size of your gazebo.

At the bottom of the dug holes, we fill in the rubble, fill it with water and carefully ram it. Pour the cement mixture and leave to dry completely, as a rule, it takes about a month.
If your gazebo is supposed to be large, fill in an additional column in the middle, this will prevent the floorboards from bending. The resulting pillars should be 10 centimeters above the ground.
Floor. We spread the sex lags so that the floor is strong enough. In order for there to be good ventilation, it is necessary to fix sex lags above the ground. We fix the floorboards on the logs, between them we leave a distance of 1-2 mm, this will make the floors ventilated, respectively, they will last you longer.
If you decide to nail the boards, then first you need to drill holes for them, this will prevent them from cracking.
Vertical, main supports. We install vertical bars on the supporting posts, check the evenness with the building level. You can fix them using rails. When installing vertical bars, it is necessary to take into account the type of roof, will it be inclined or not.
Longitudinal bars. After aligning the transverse bases. It is necessary to connect them with longitudinal bars. It is necessary to strengthen them with cross or transverse slats.

Next, we make the upper harness, which will also be the basis for the roof. For the necessary strength, it is recommended to connect it with vertical bars with metal corners.
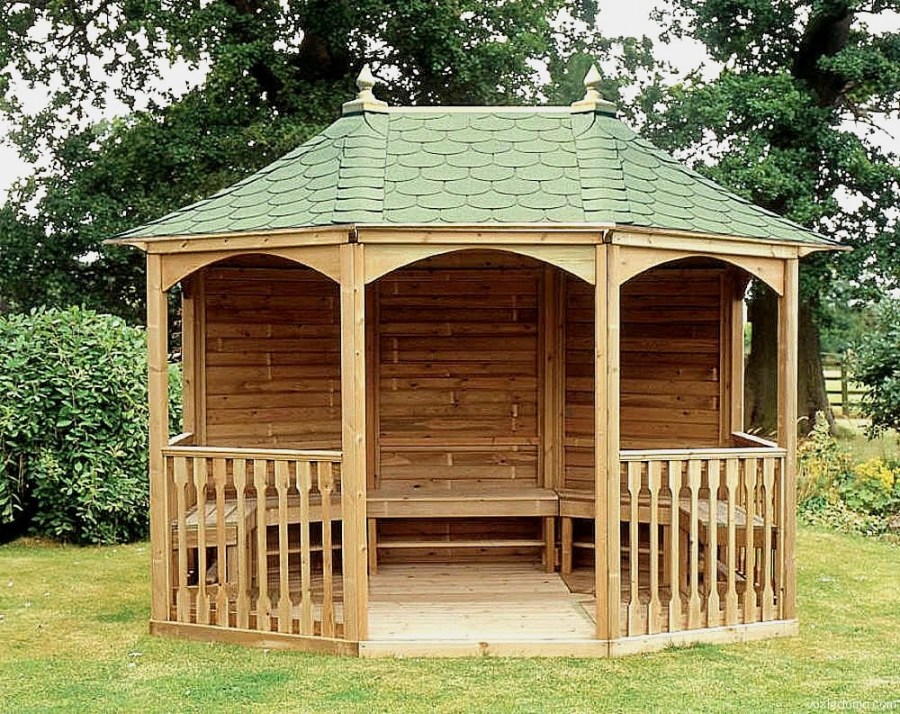
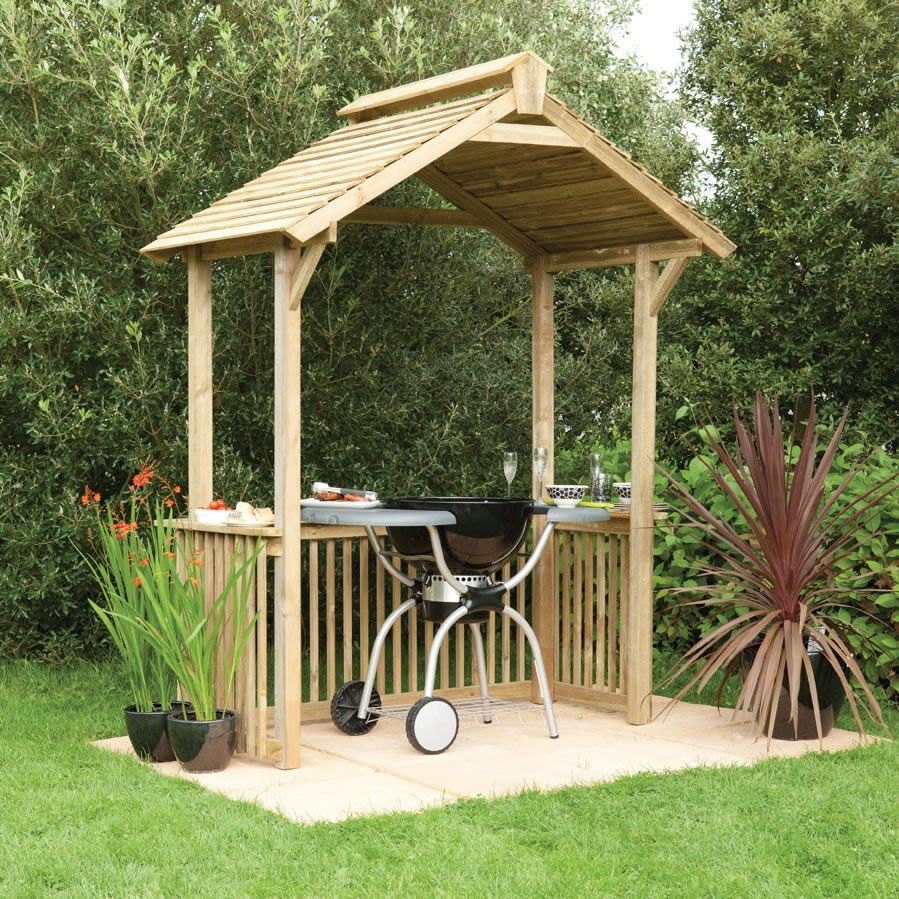
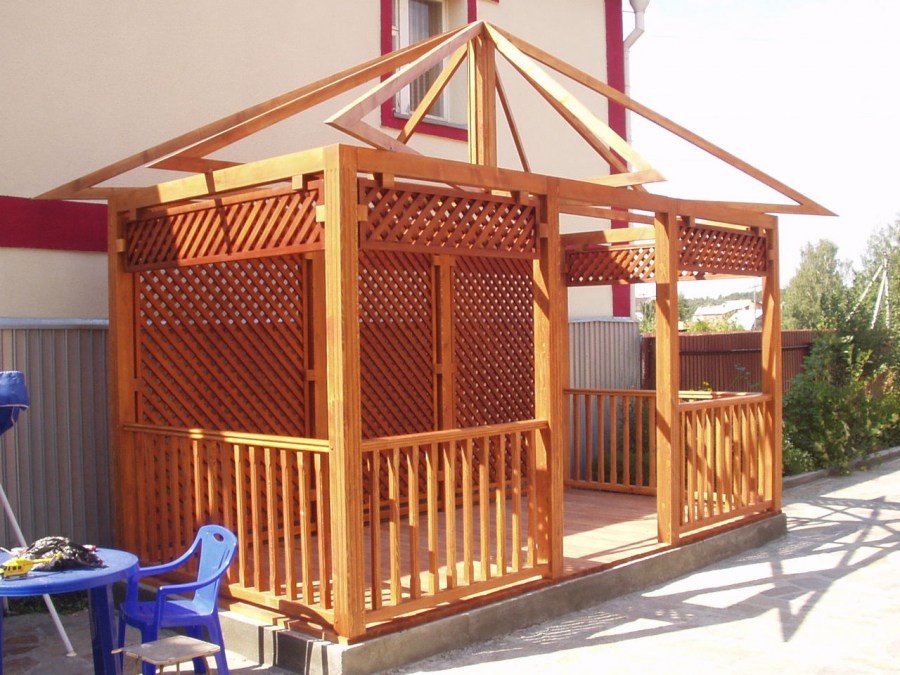
Roof.We assemble the roof frame on the ground, then we lift it and lay it on the base. Having assembled and installed the rafter system in its place, we cover it with roofing material. Be sure to consider the overhang in the roof, on your gazebo, otherwise, in rainy weather, water will flow into it.

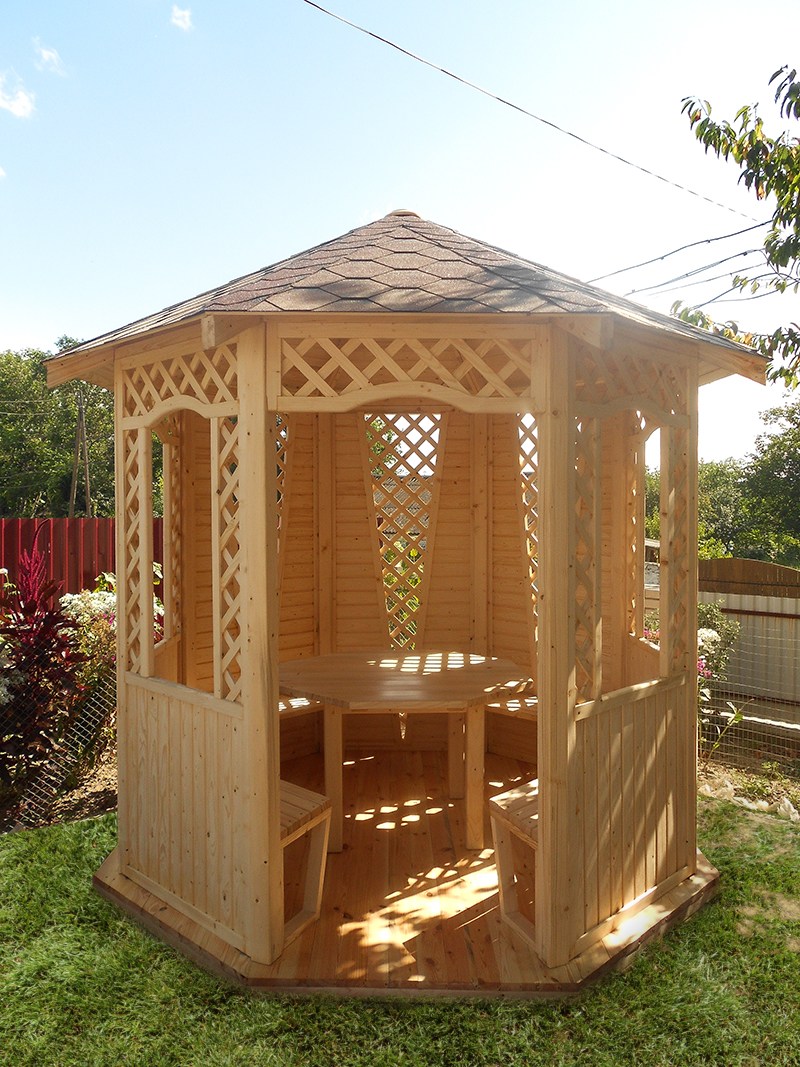
Railing. The railing in the gazebo is installed at a height of 1-1.5 m from the floor, connecting the transverse bars along the perimeter. Next, we sew up the space between the floor and the railing, solid material or a wooden grill. The sewn hem of the gazebo will protect you from the wind inside.
Gazebo decoration
This is the last and no less interesting stage in the construction of a gazebo with your own hands. Sew the part between the rafters and the railing. Most often it is sewn up with a net, not necessarily made of metal, it can be made of plastic or wood. We fix it from the outside by pressing to the rafters and railings with wooden slats.
If you decide to sheathe the ceiling, then this can be done with plywood that does not allow moisture to pass through. If you want to leave the roof, such as it is, then all the rafters must be truncated in advance. Paint or varnish for wood will also look good.
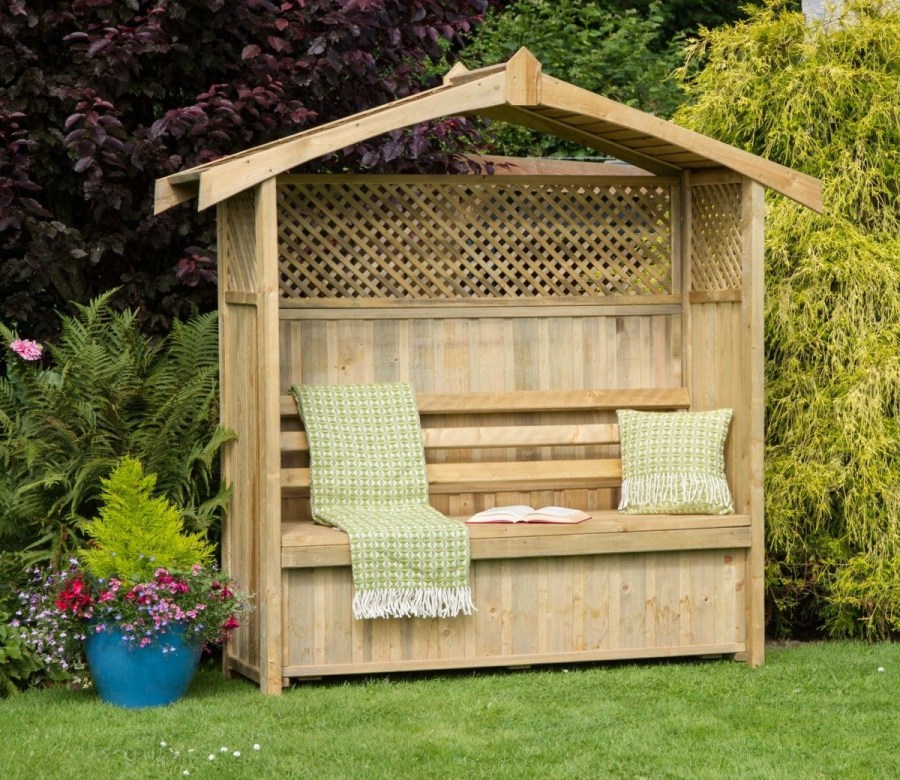
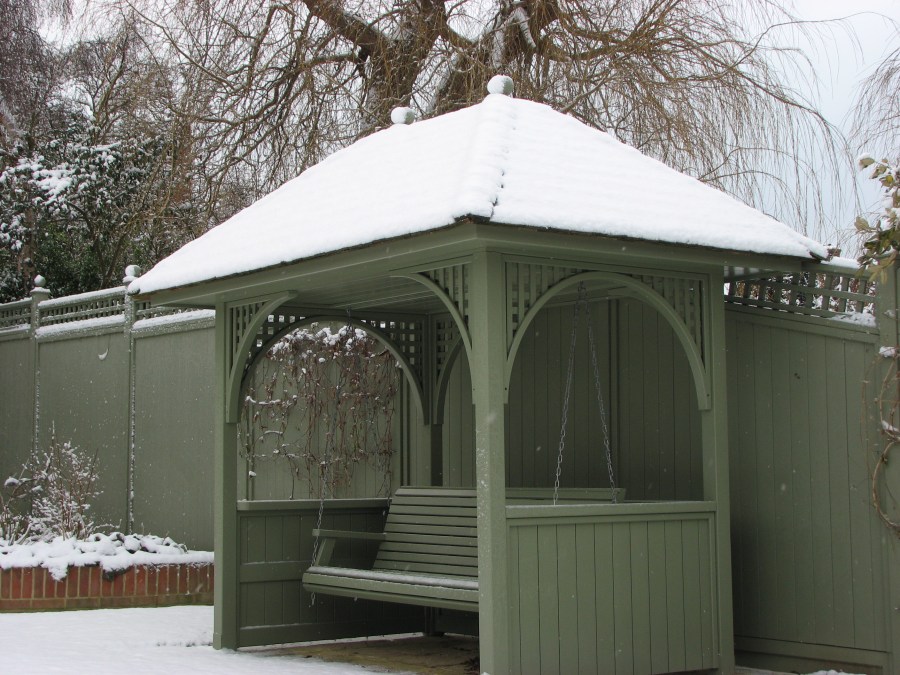
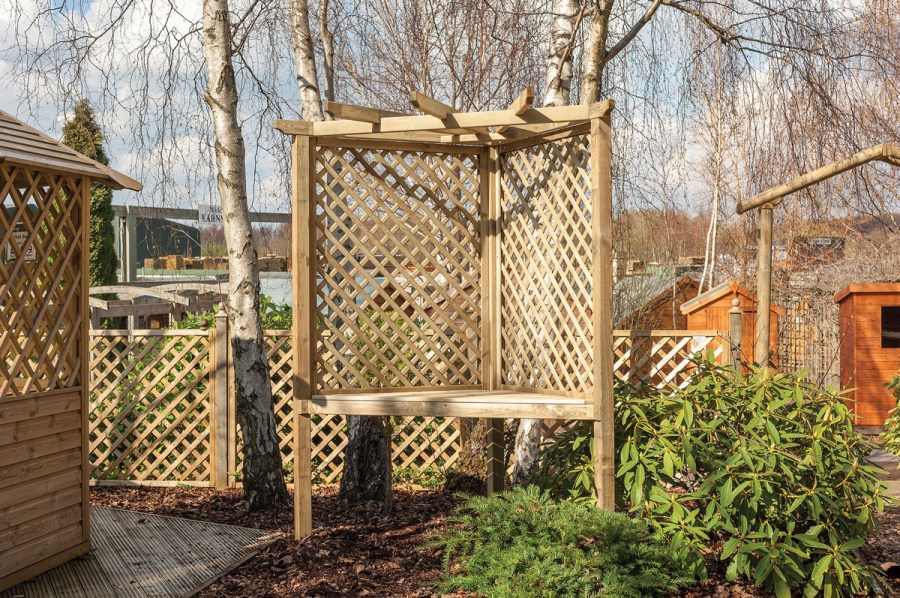
Perennial climbing plants are also an excellent decoration for the gazebo. They need to be planted around the entire perimeter of the gazebo. They will not only decorate your building, but also give the relaxation area a natural protection from the sun.
Also, a shadow can be obtained with the help of curtains. But in the winter season, it is better to remove them, thereby you will extend their service life.

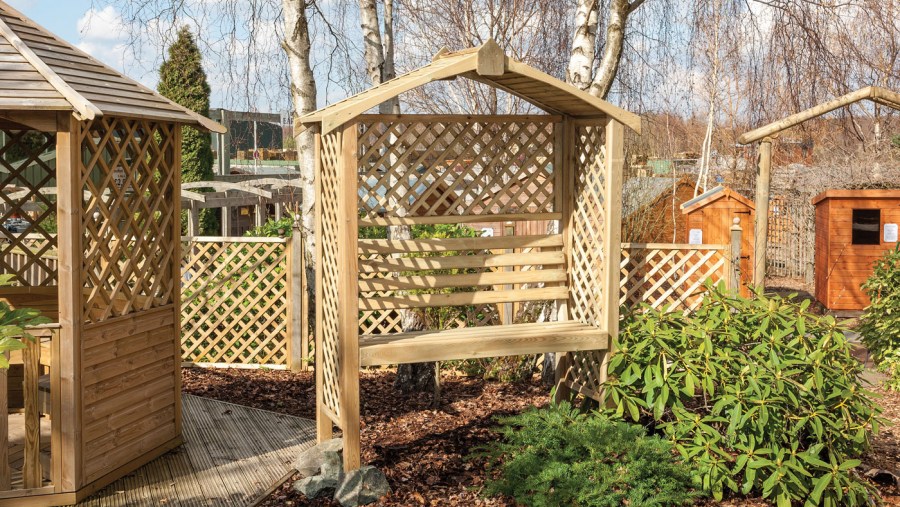
Wood grate
Often there are arbors sheathed over the railing with wooden grates. This is not difficult to do on your own. For this you need 20X40 mm bars. Connect the bars with screws or special glue on wood.
In order for the ends to be sufficiently closed, you will need 10X20 mm strips, which must be mounted inside the frame.
Wood grating assembly
The main jewelry work on the manufacture of a wooden lattice into an arbor is the filling of the frame. Reiki should be placed diagonally at exactly the same distance, the frequency of placement is regulated by yourself, depending on your wishes.
The last step is the assembly of the grate for the gazebo. We clean it with sandpaper and treat it with a protective agent to increase the service life, it can be either varnish or paint.
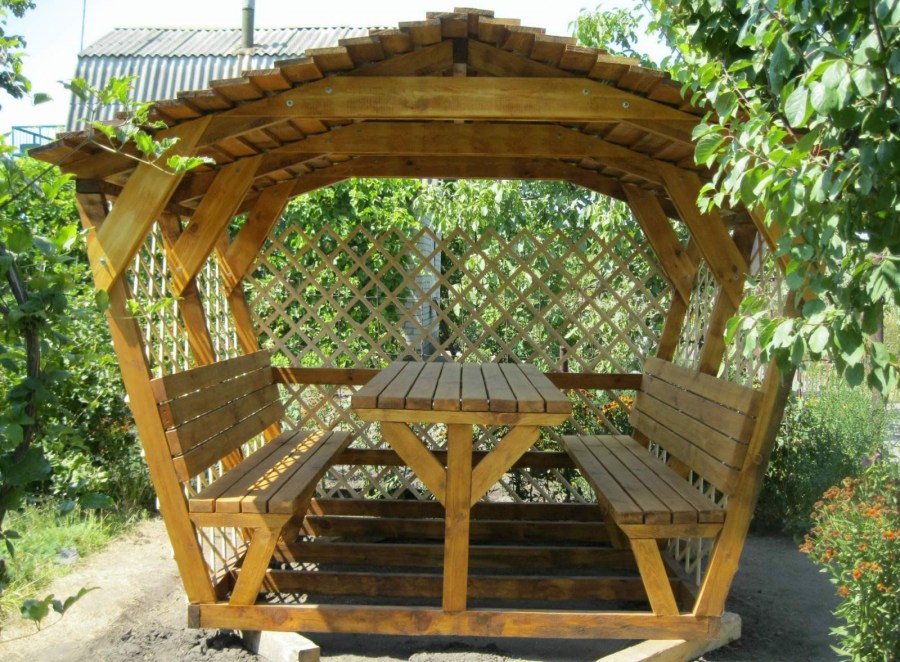
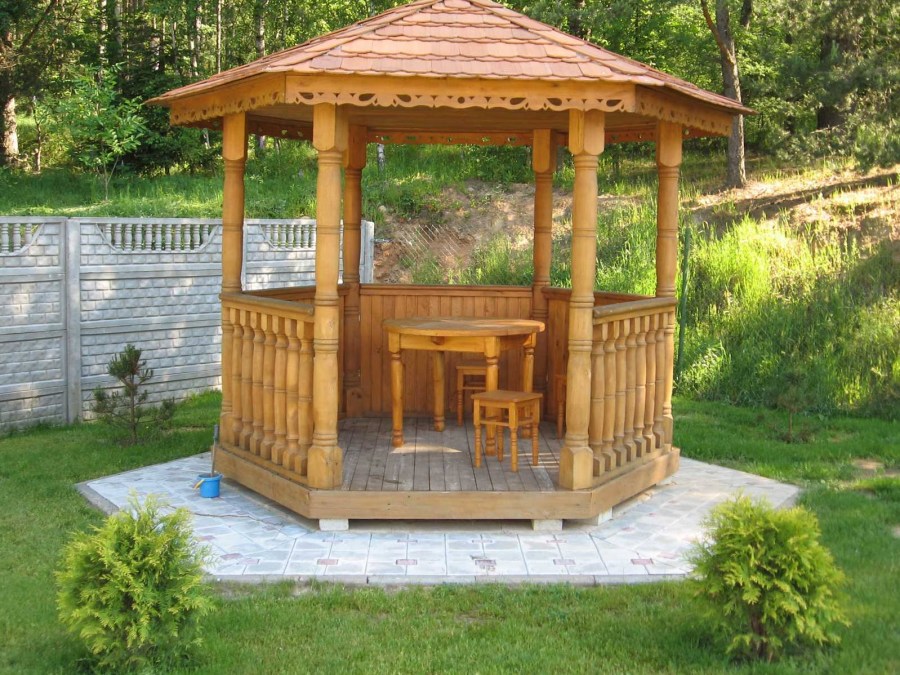
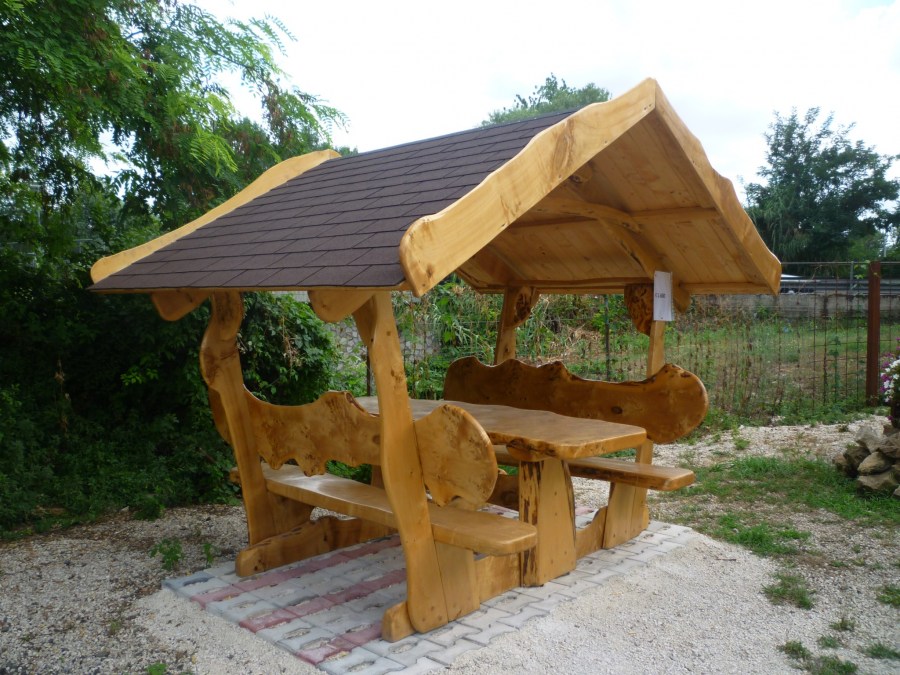
Wooden arbor table
Any gazebo needs a table, at which all family members will gather. Depends on the size of your gazebo, buy a table or do it yourself. On the Internet you can find a lot of information on creating do-it-yourself tables according to individual sizes.

It is not necessary that the table should be rectangular or square in shape, now more and more in demand are tables of irregular and non-standard shapes.
Attention! Use some tips when building a simple gazebo for a summer residence:


Before using wood during construction, it is necessary to process it from various pests and for resistance to weather conditions. Yacht varnish will cope with this task better than anything else.Its structure withstands any weather vagaries.
Any actions with wood material are carried out only according to the labels and the necessary risks. When making any markings on material that has not yet been processed, keep in mind that drying and warping will change its size. If the tree is already dry, then you can not leave material for stock.
Despite all the positive aspects of the arbor made of wood, the negative sides also have the following negative aspects:
Fire hazardous, to exclude a fire in your recreation area, treat the building material with special impregnation. Try not to use the barbecue near the gazebo.
Weak resistance to decay, this can be triggered by finding a gazebo near a pond or a large amount of rain. To prevent this, it is also necessary to treat it with waterproofing agents.
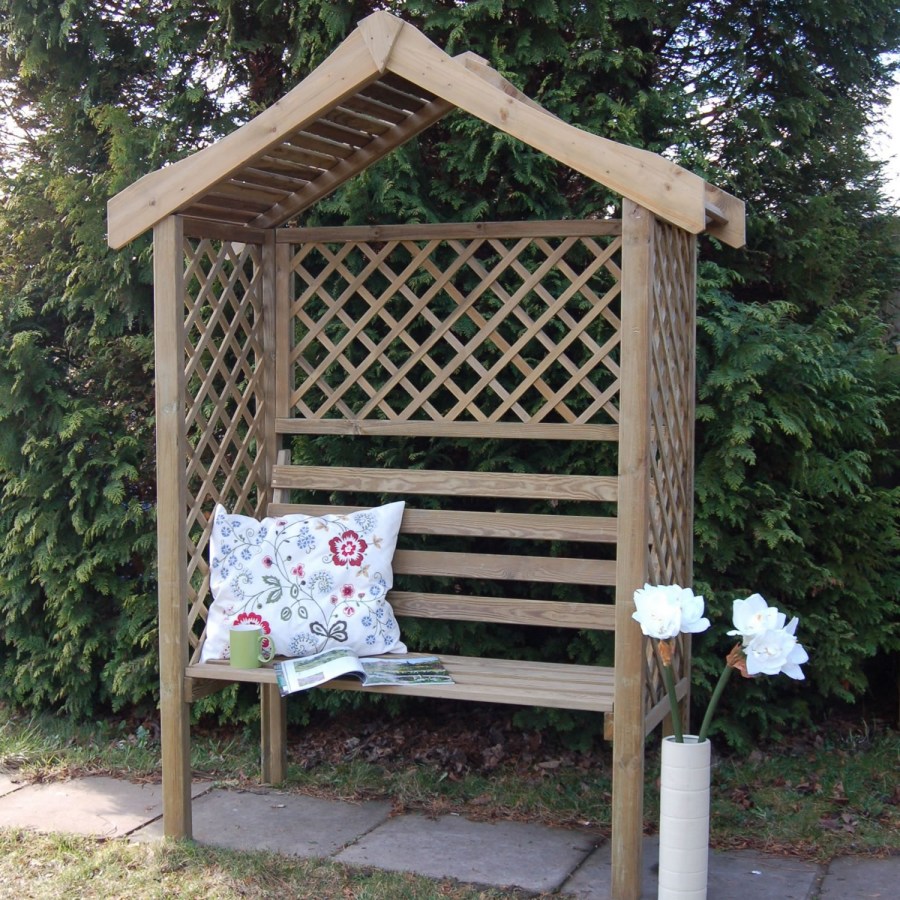
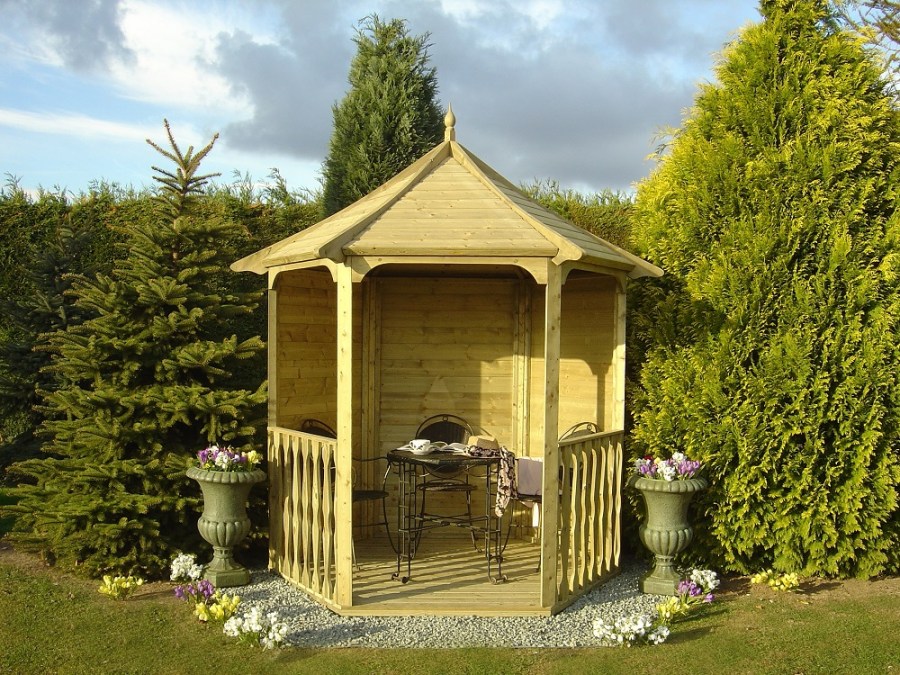
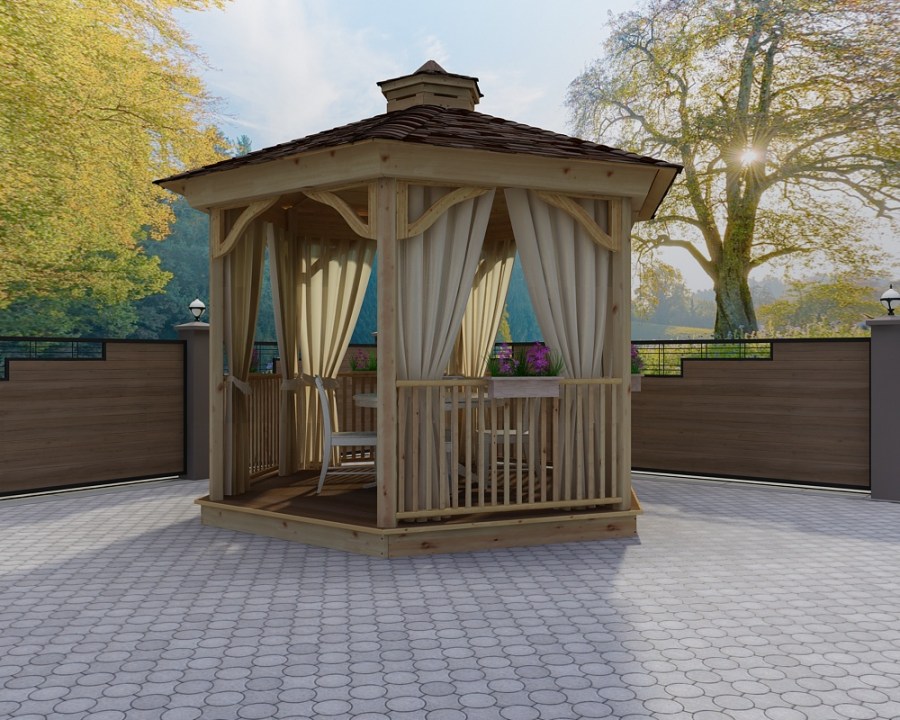
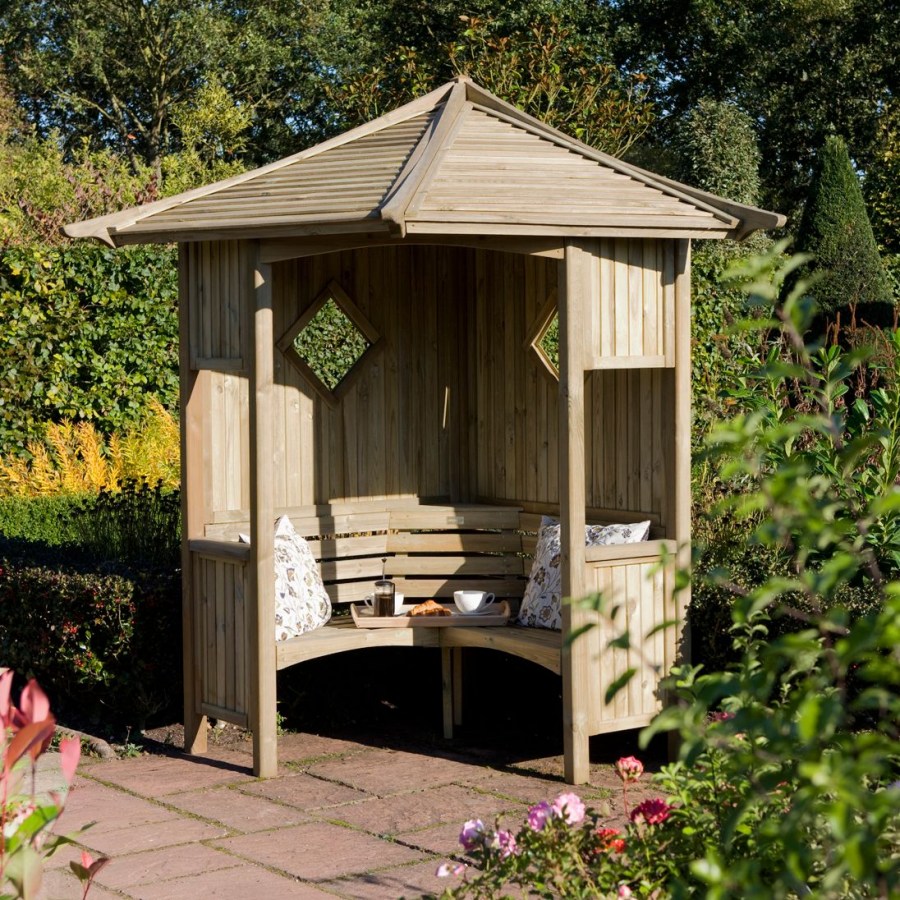
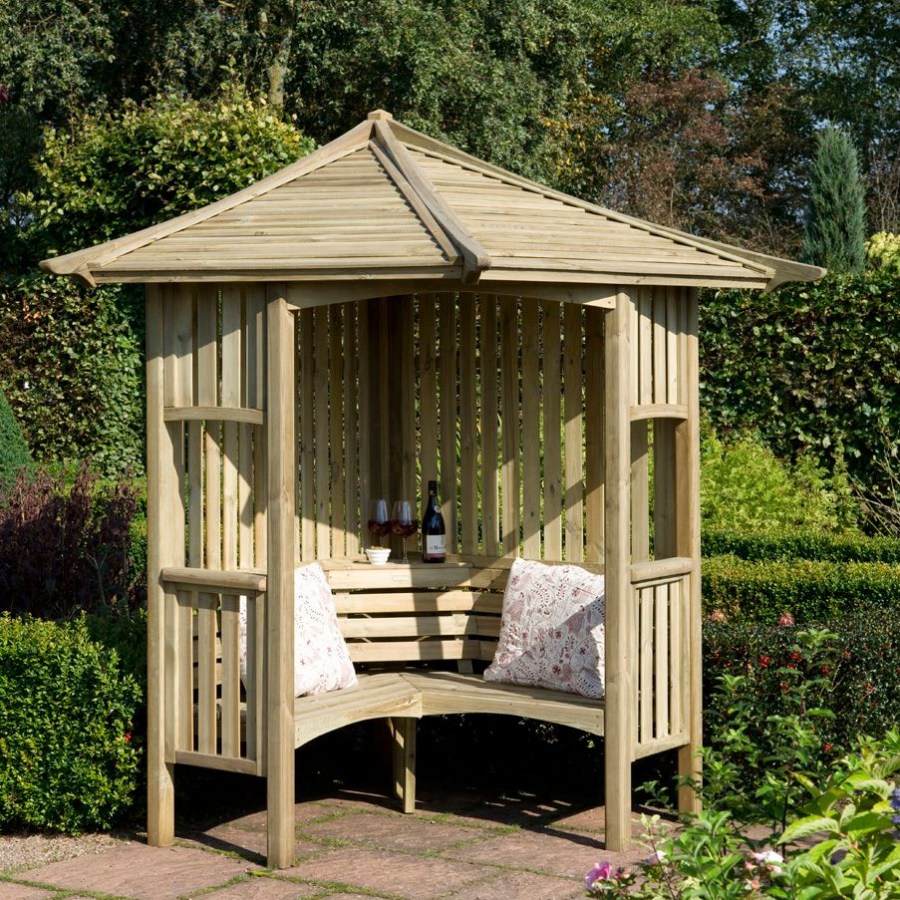
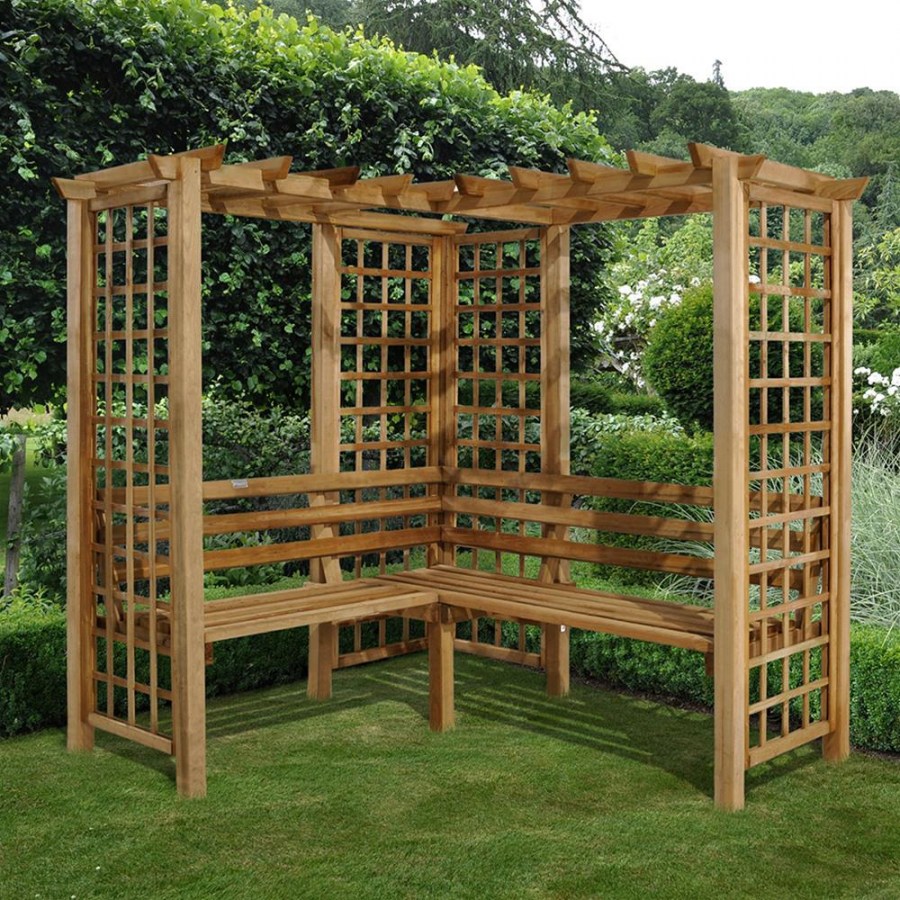
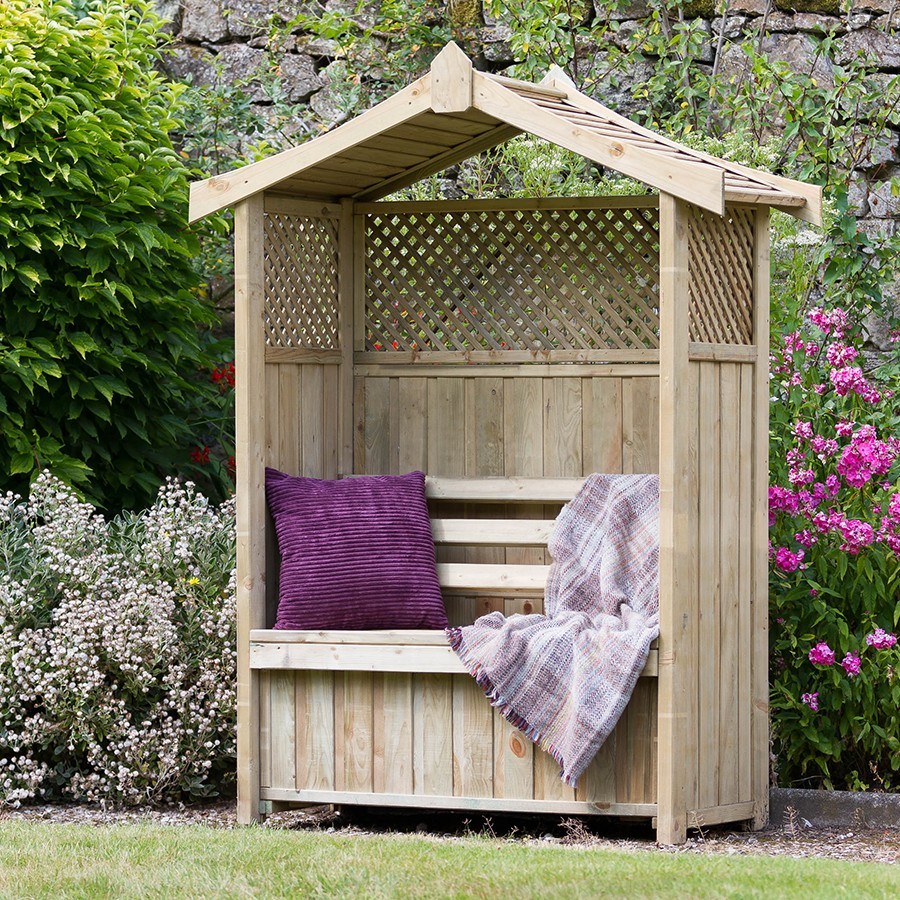
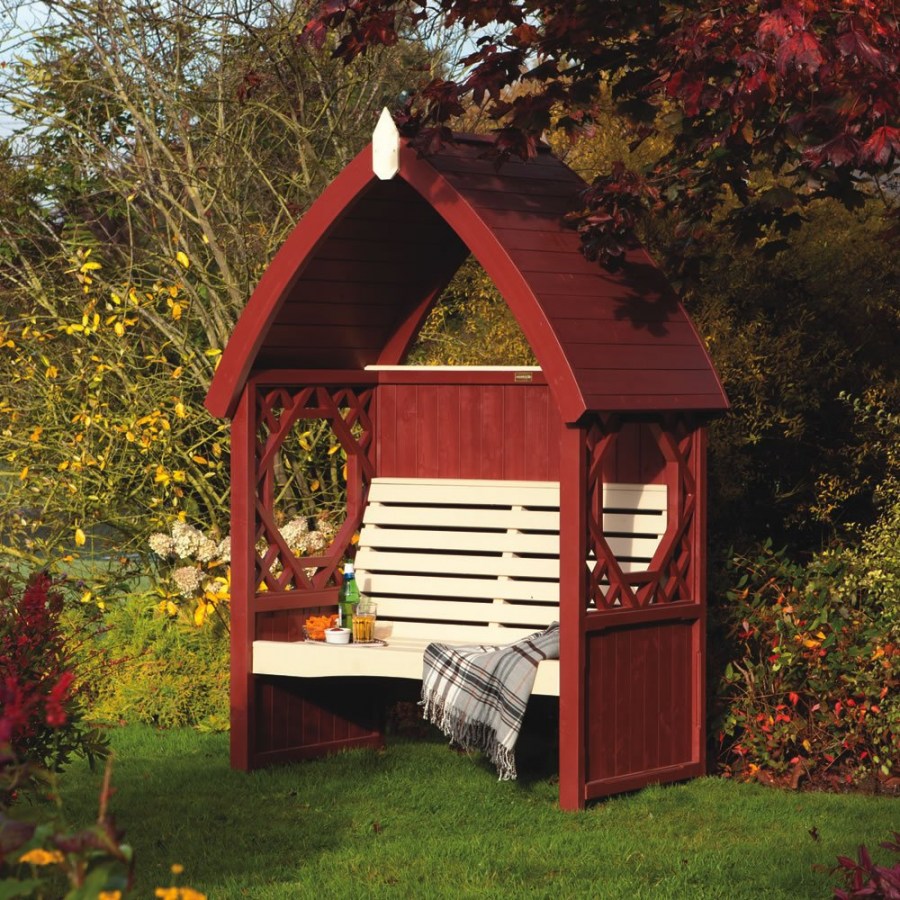
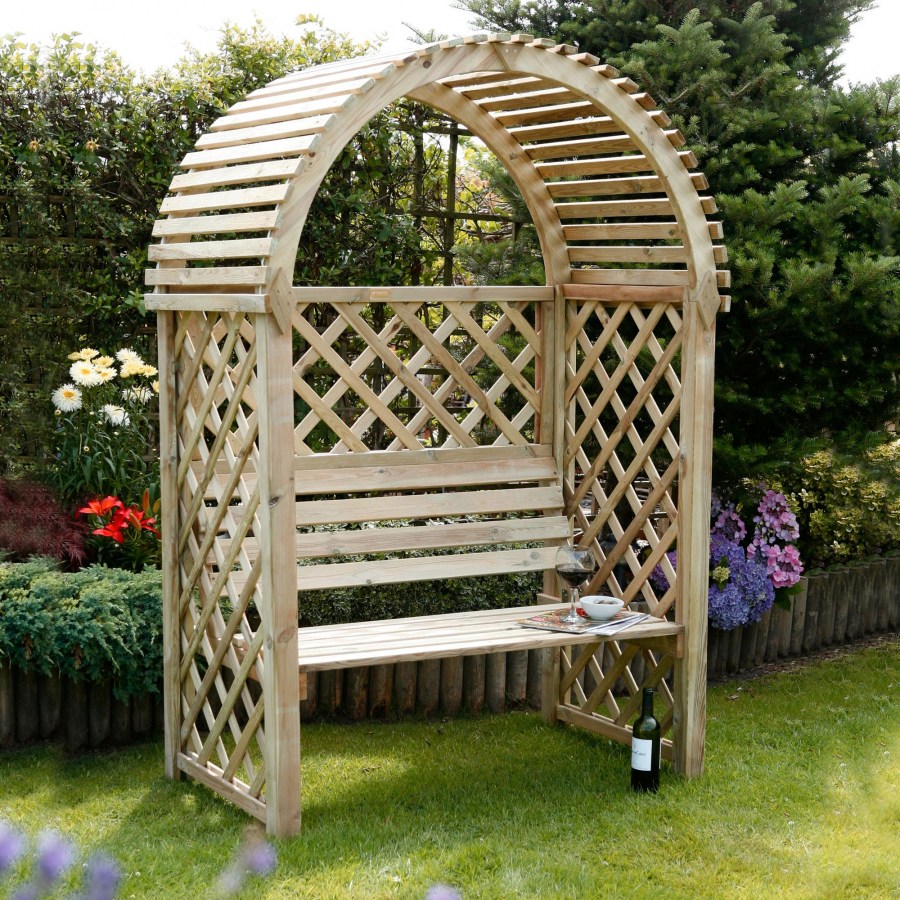
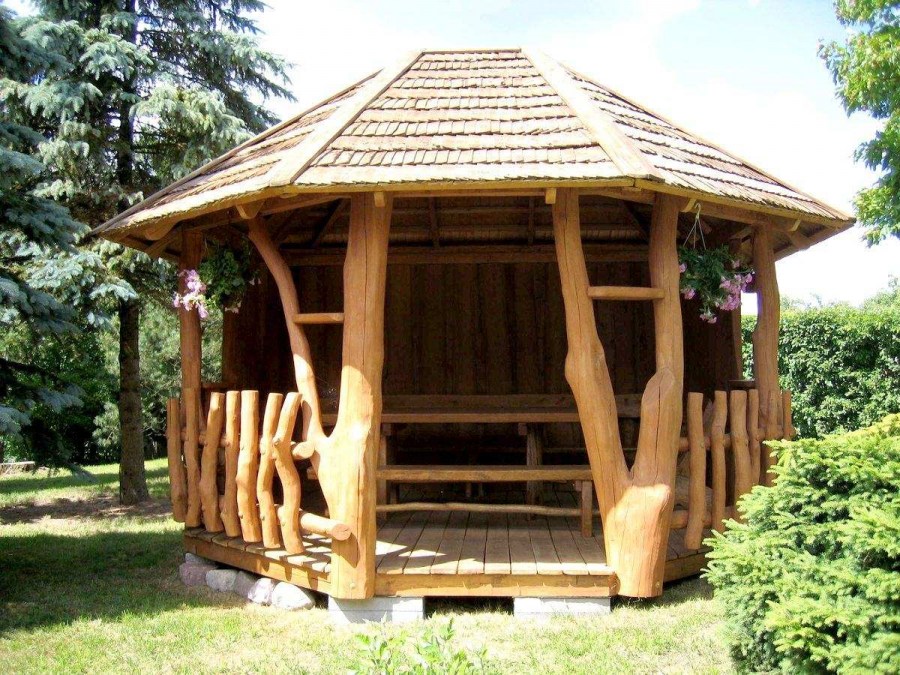
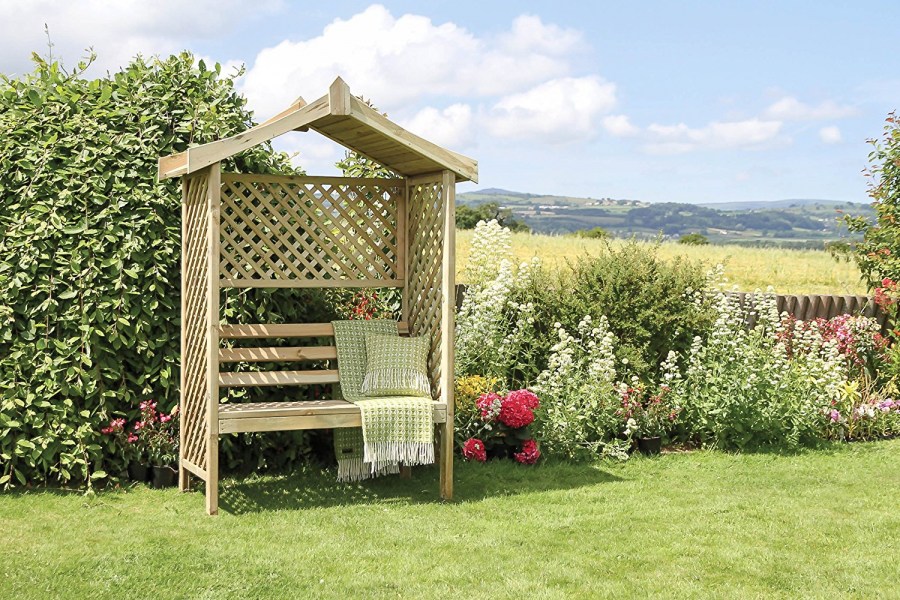
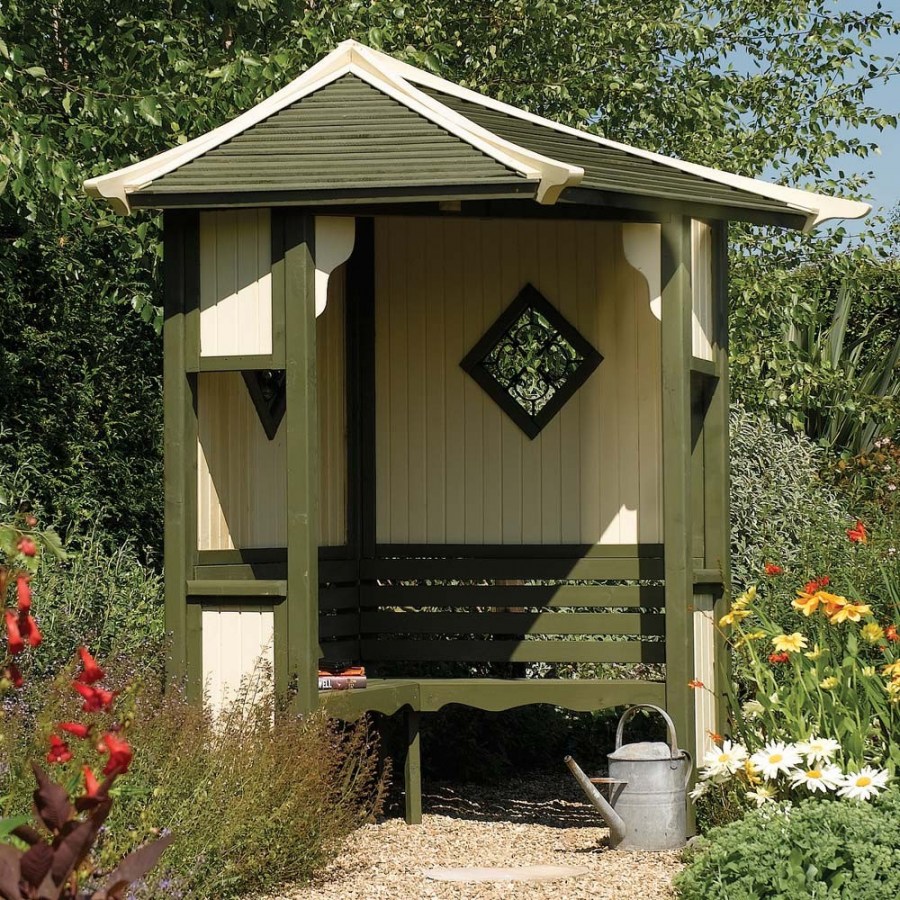
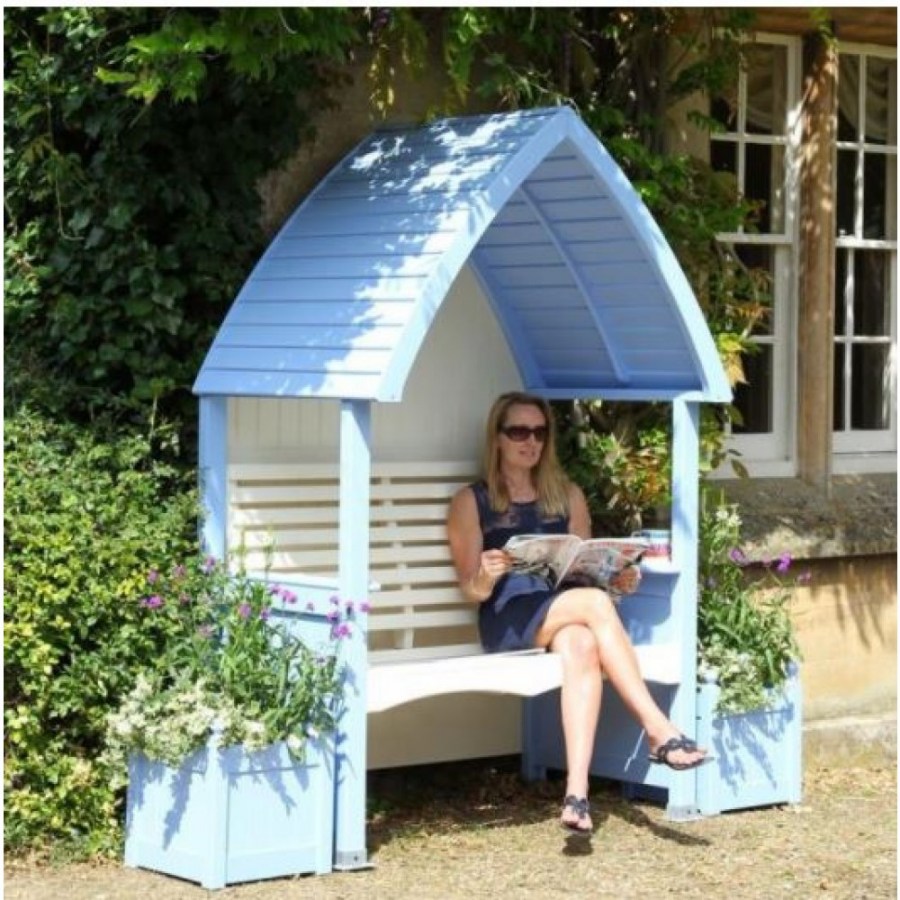
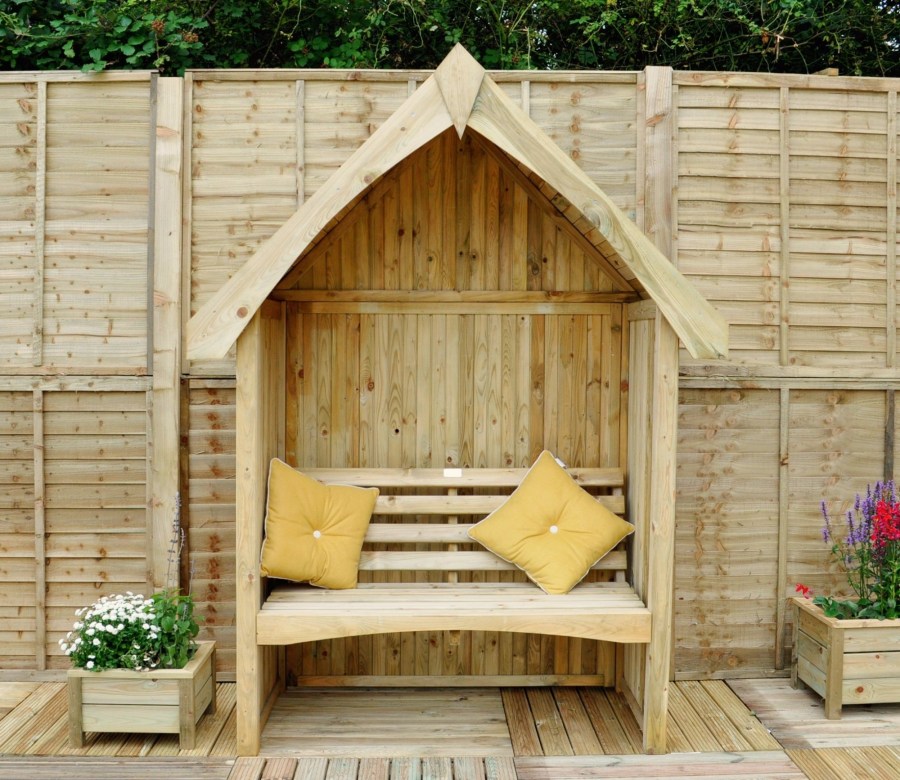
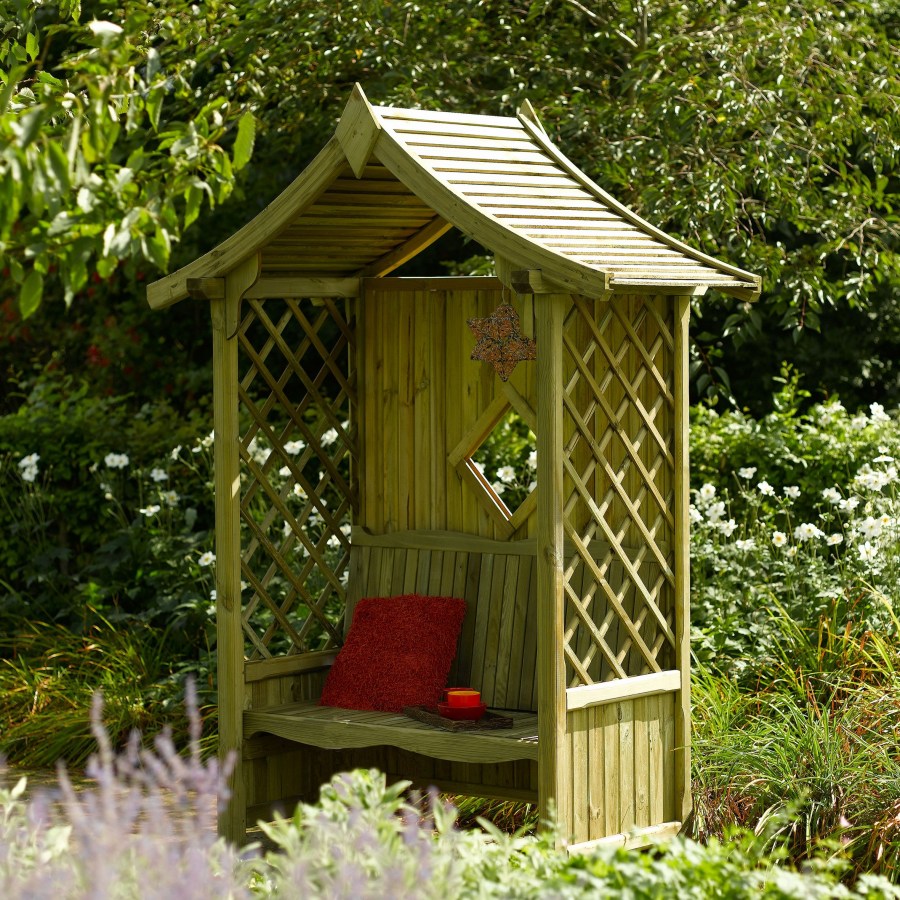
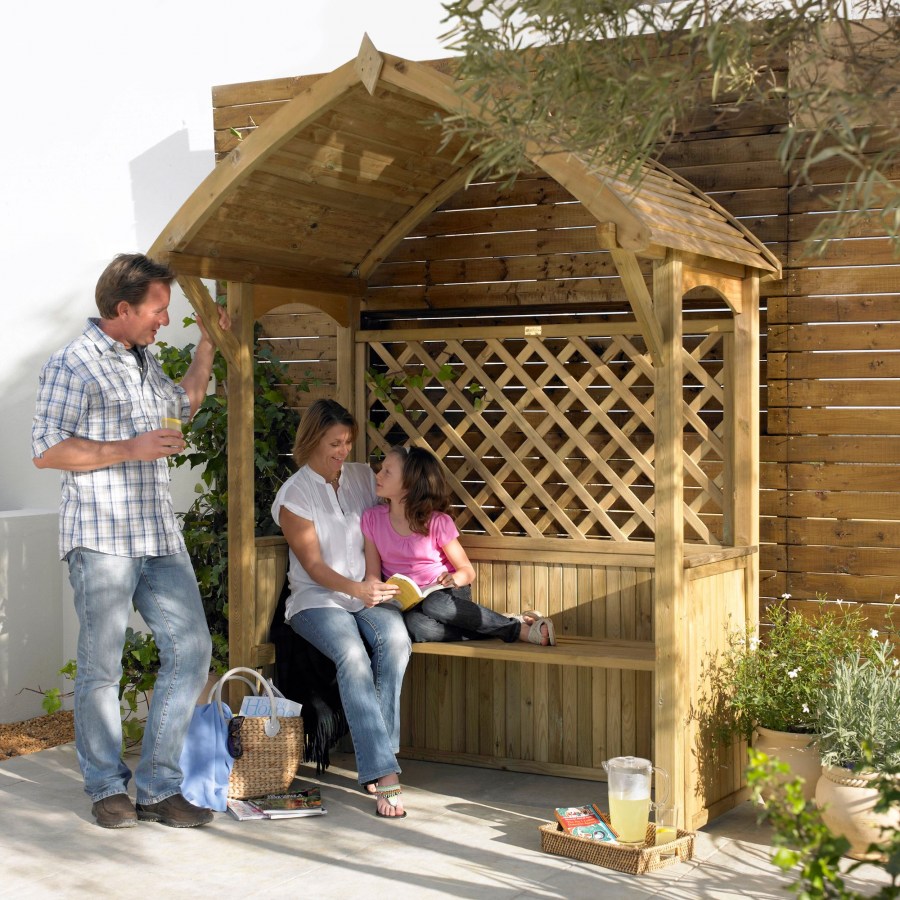
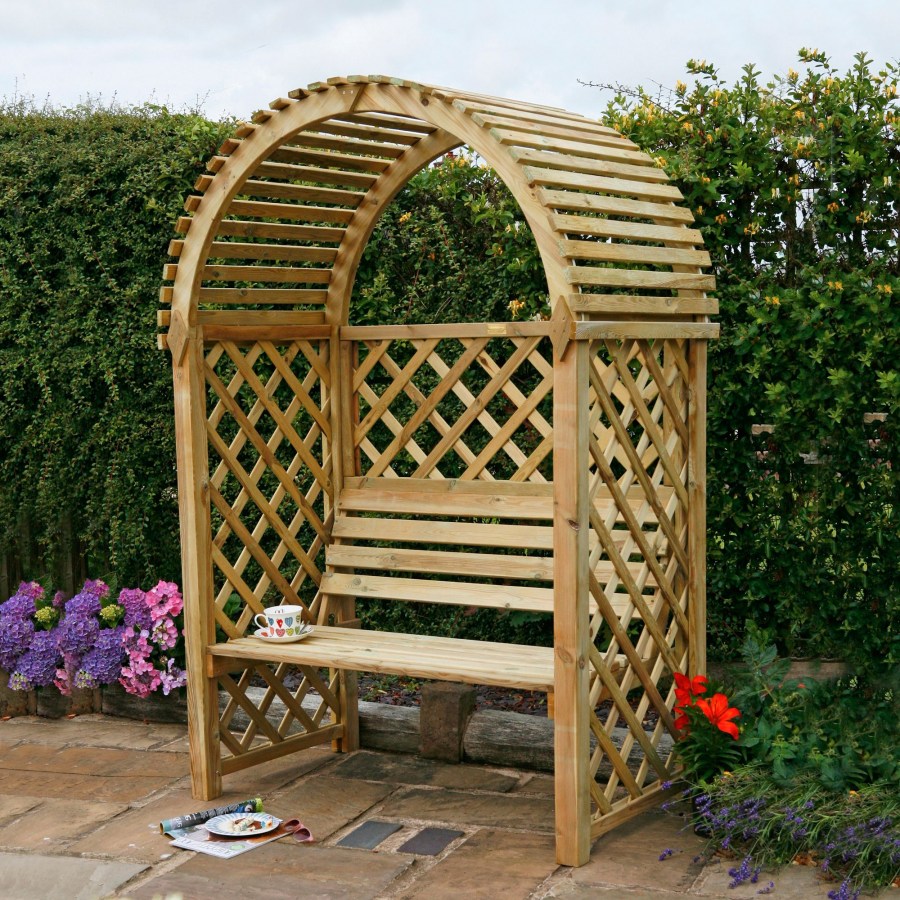
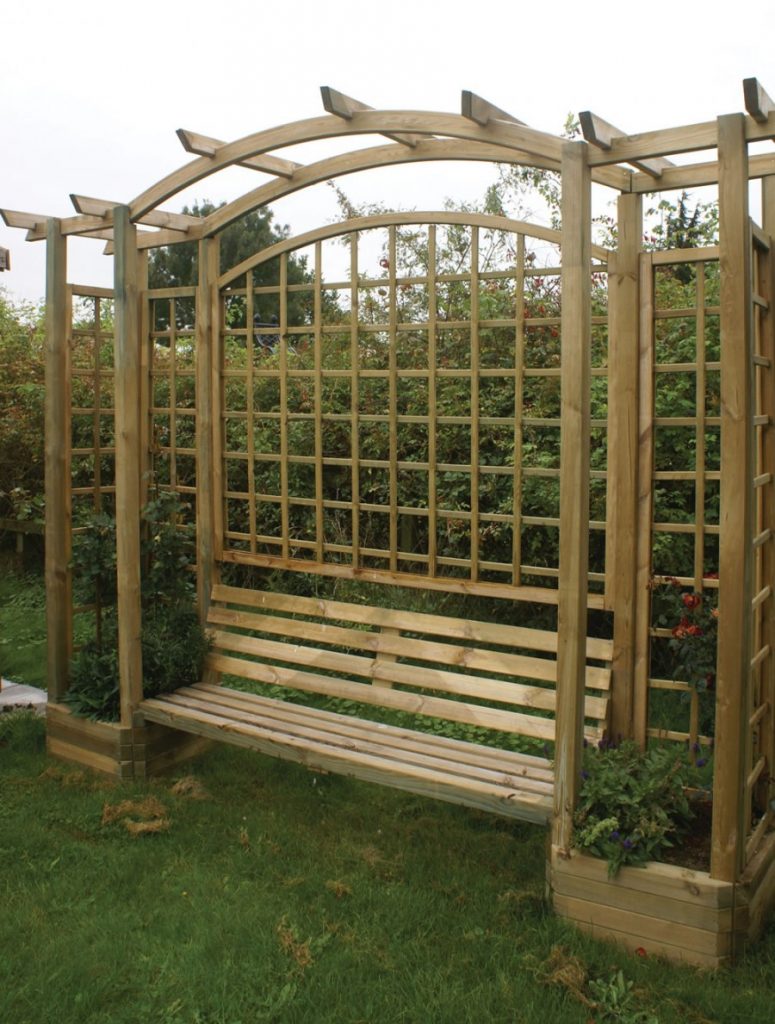
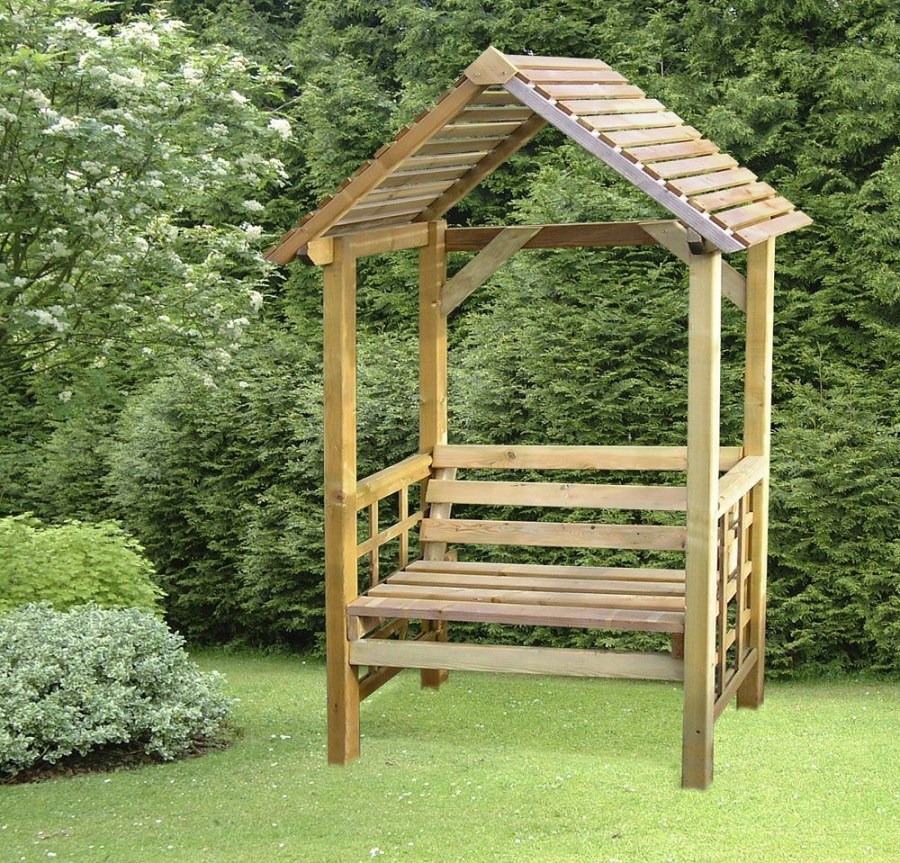
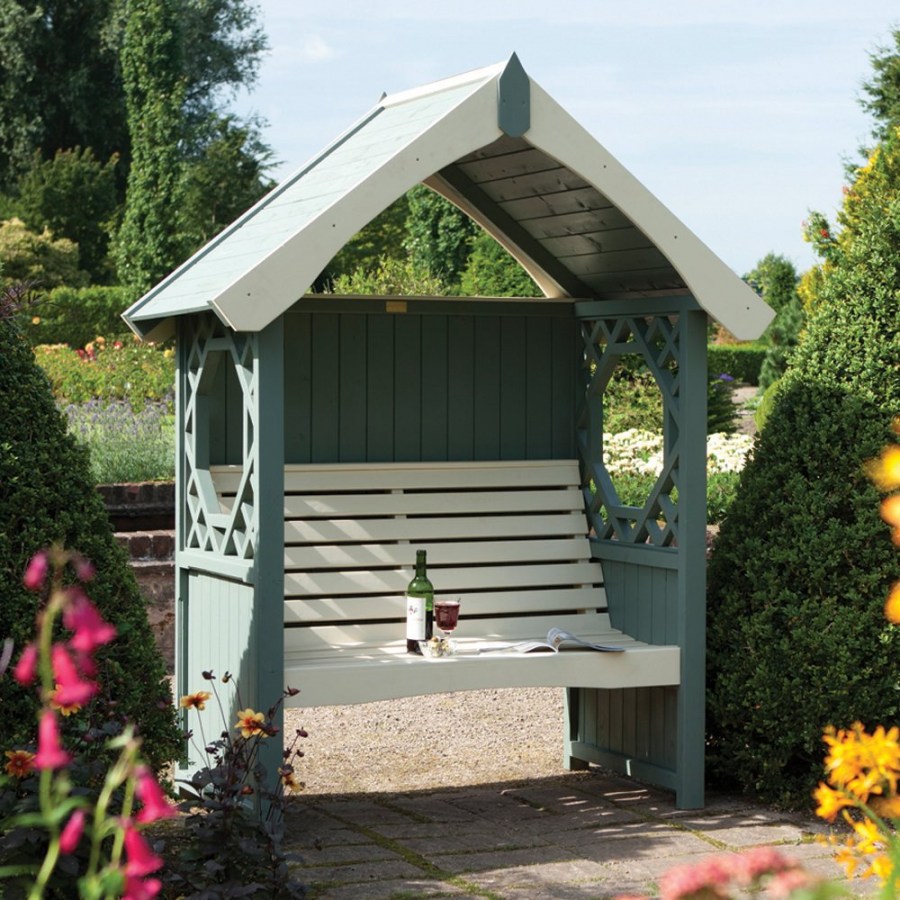
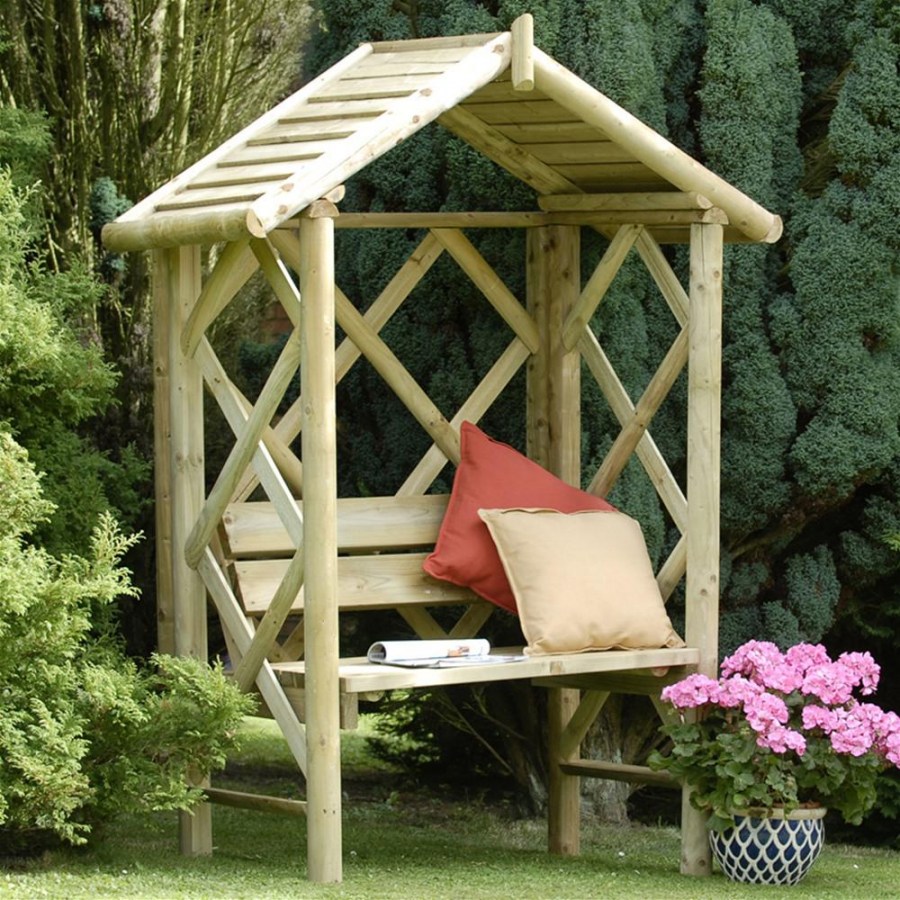
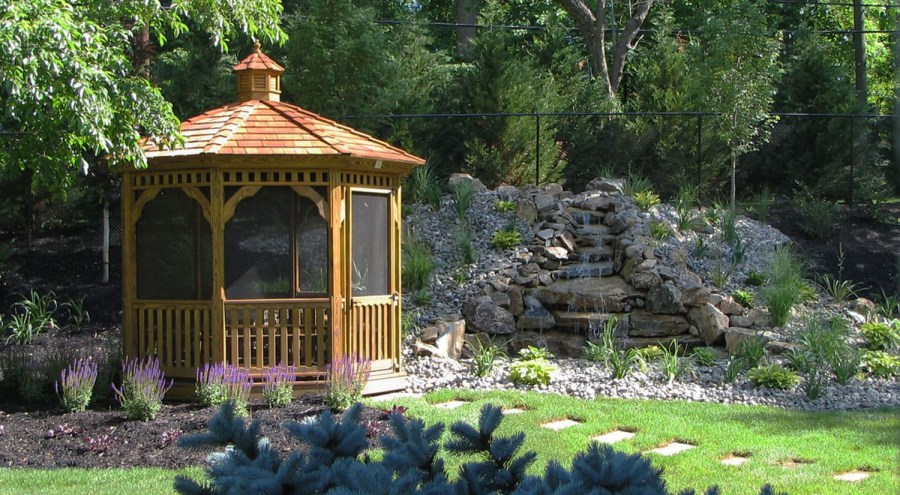
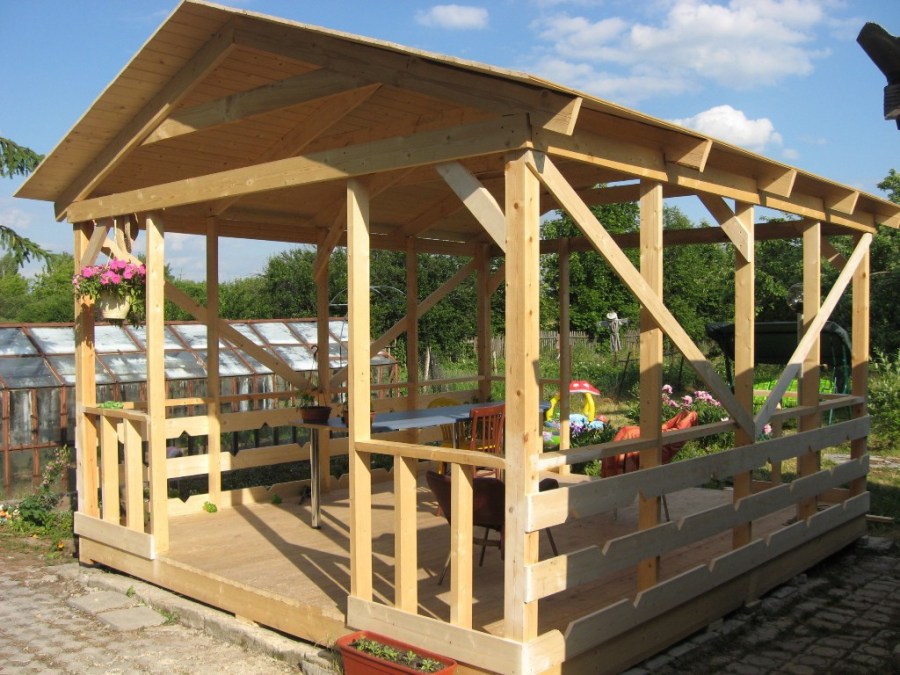
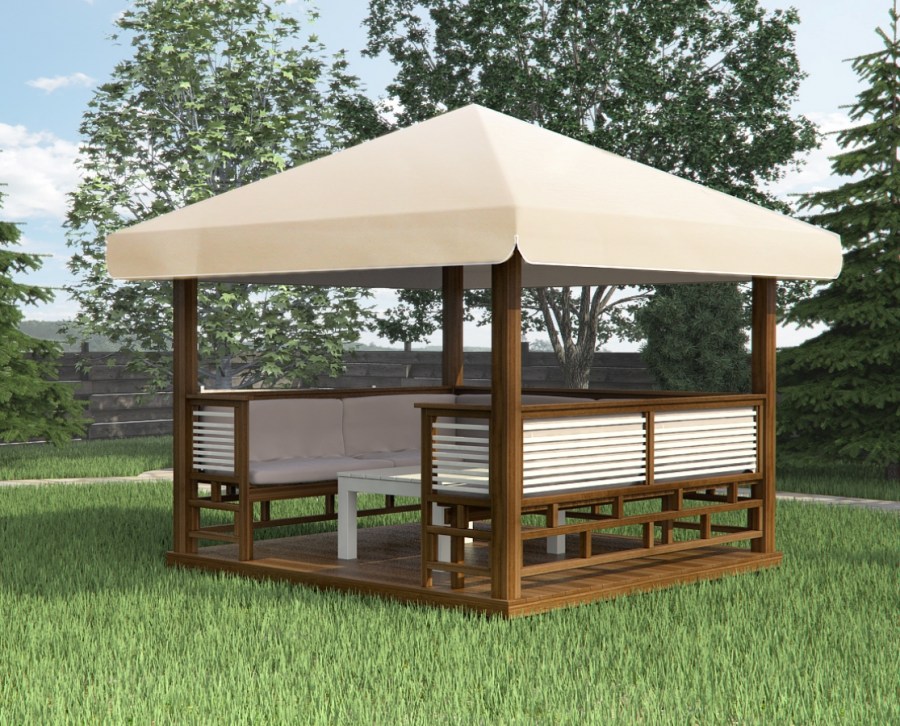
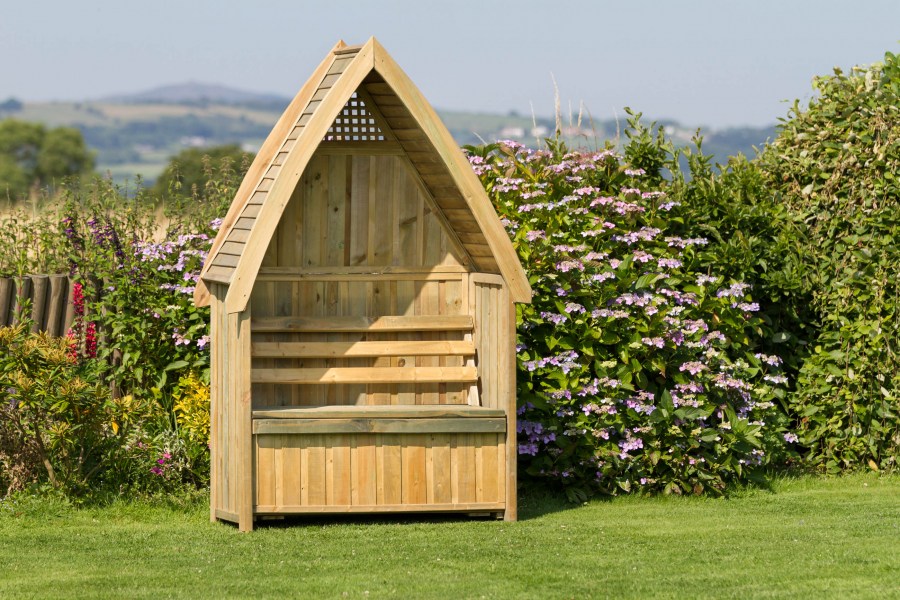
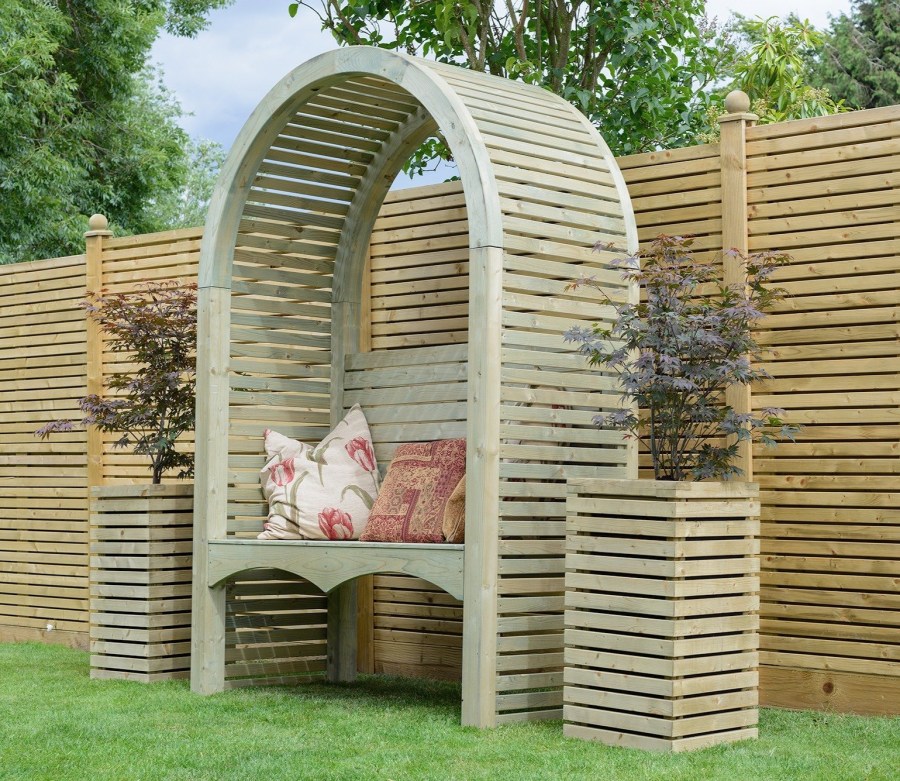
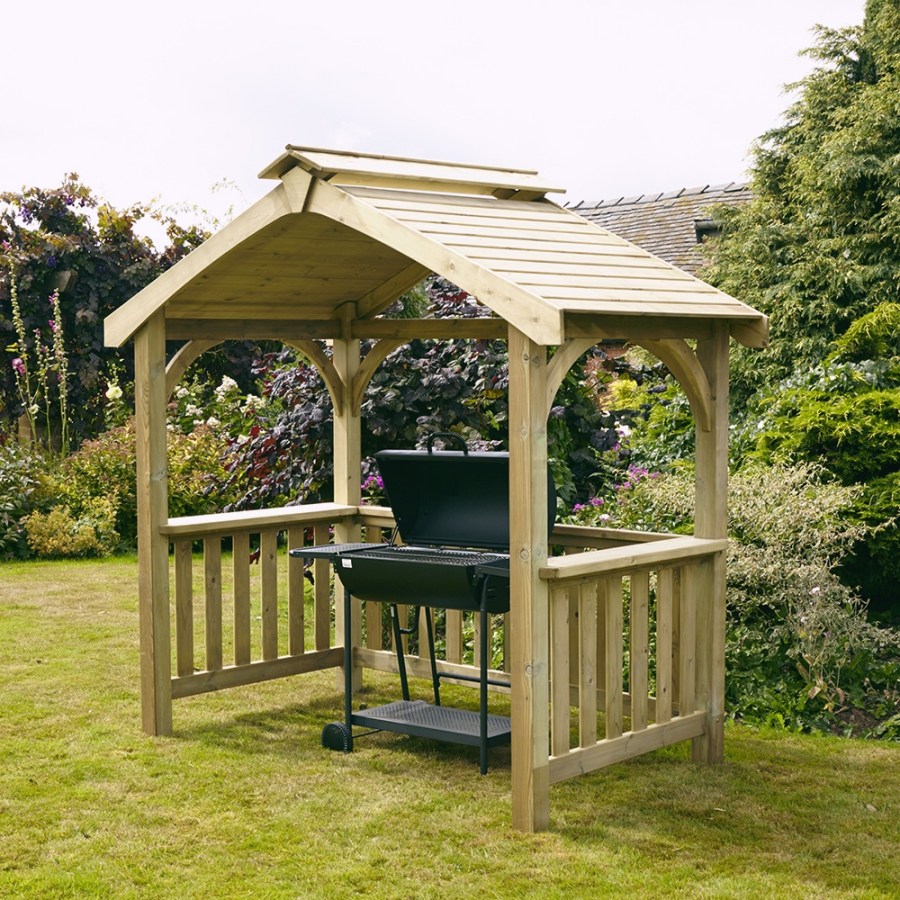
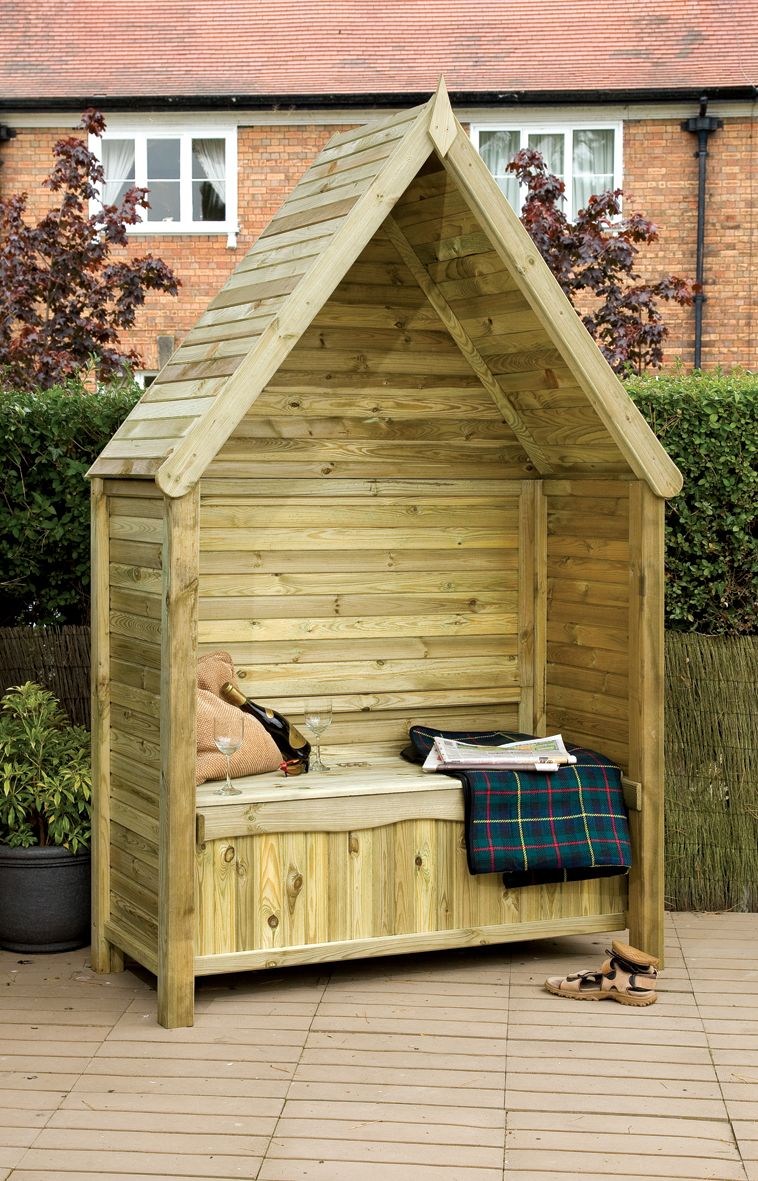
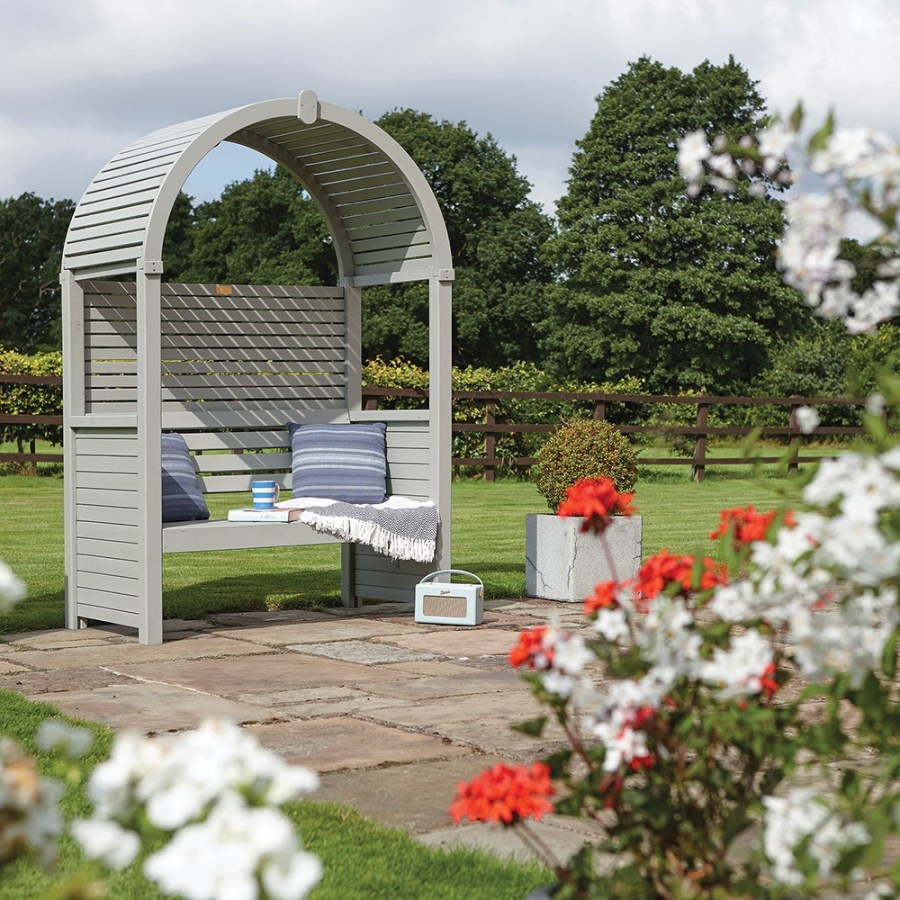
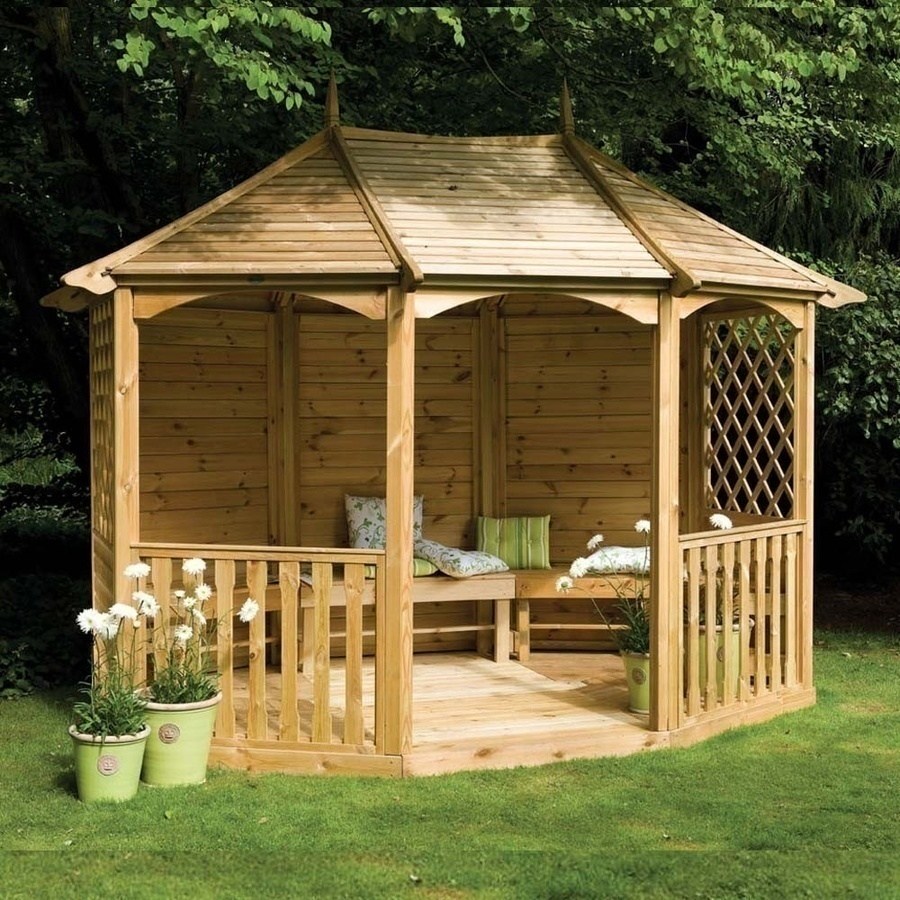
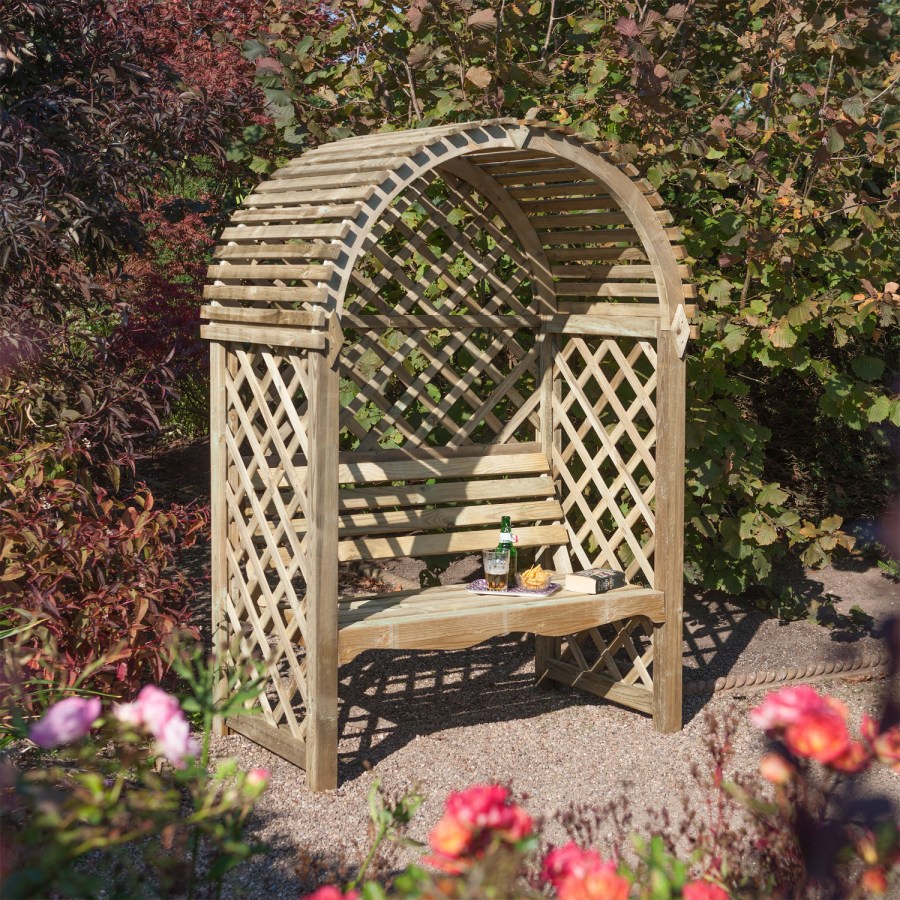
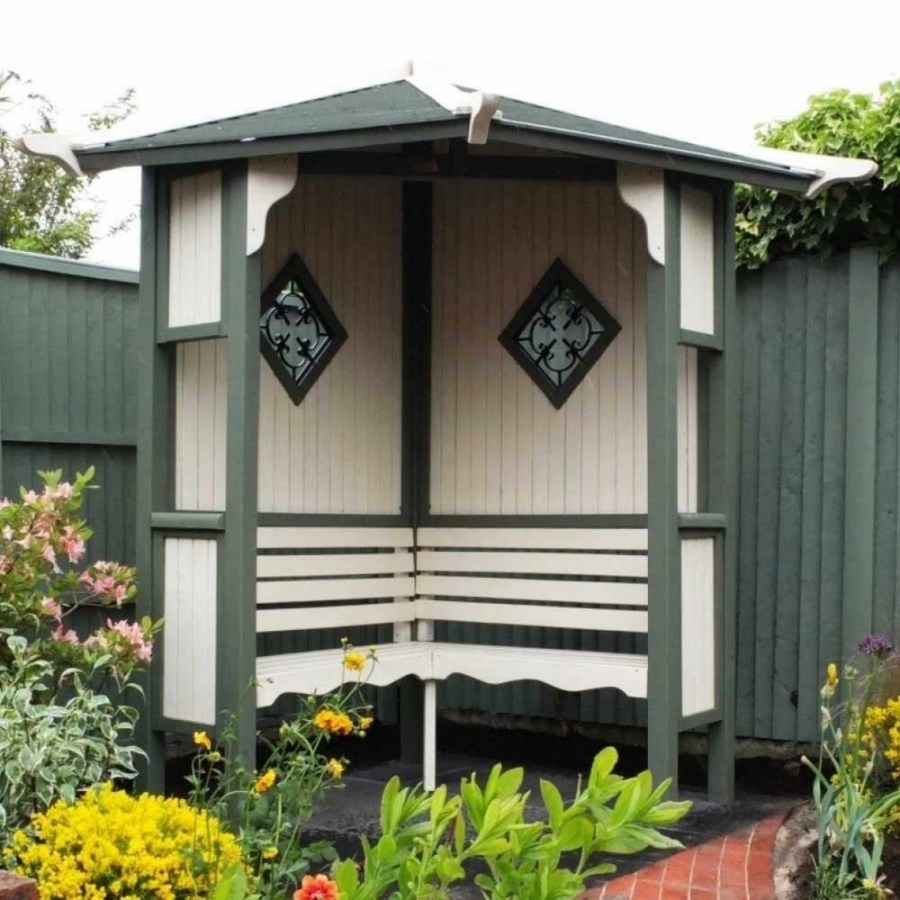
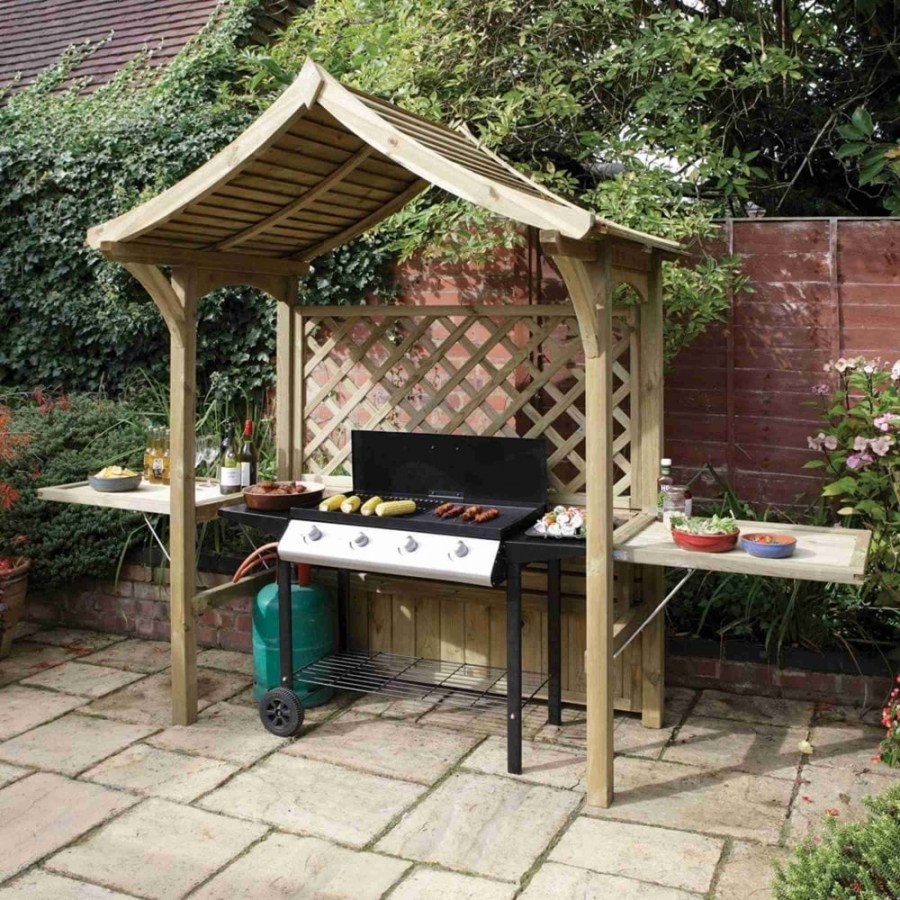
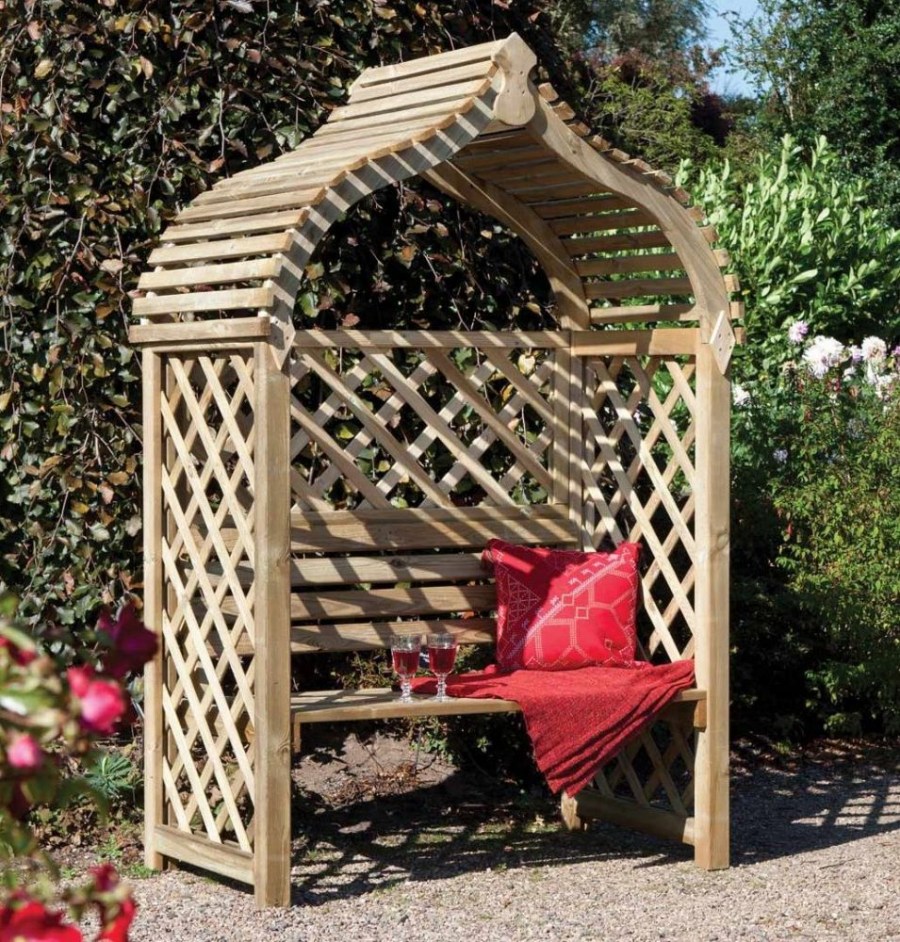
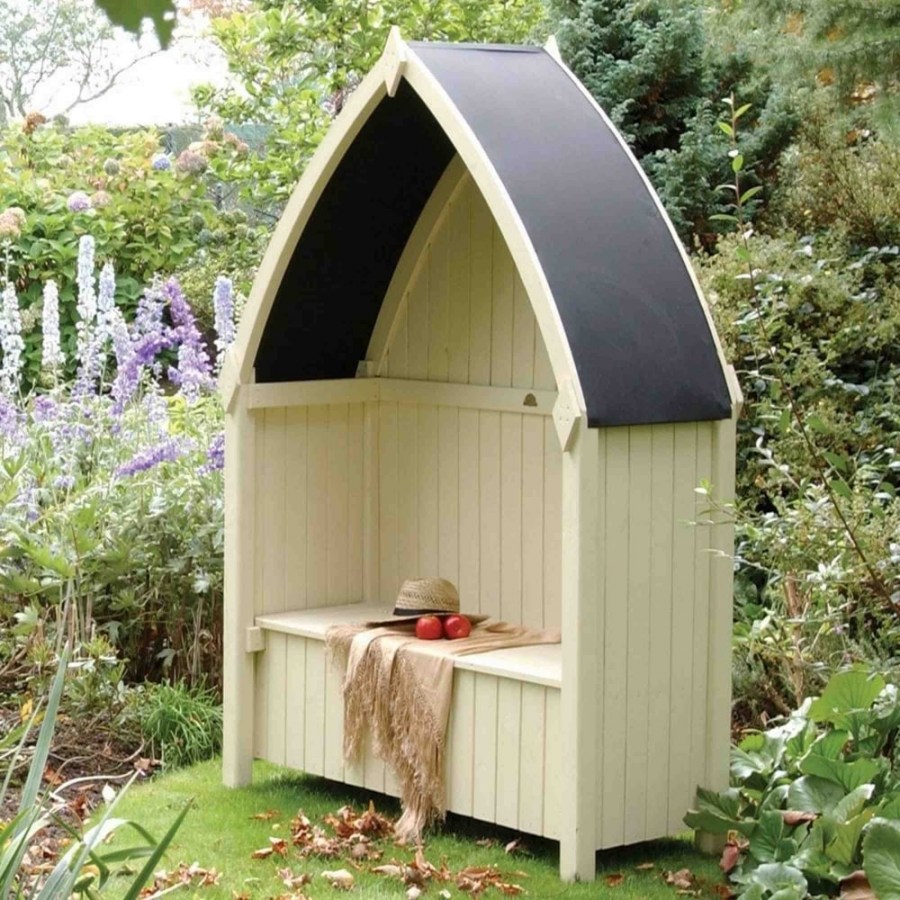
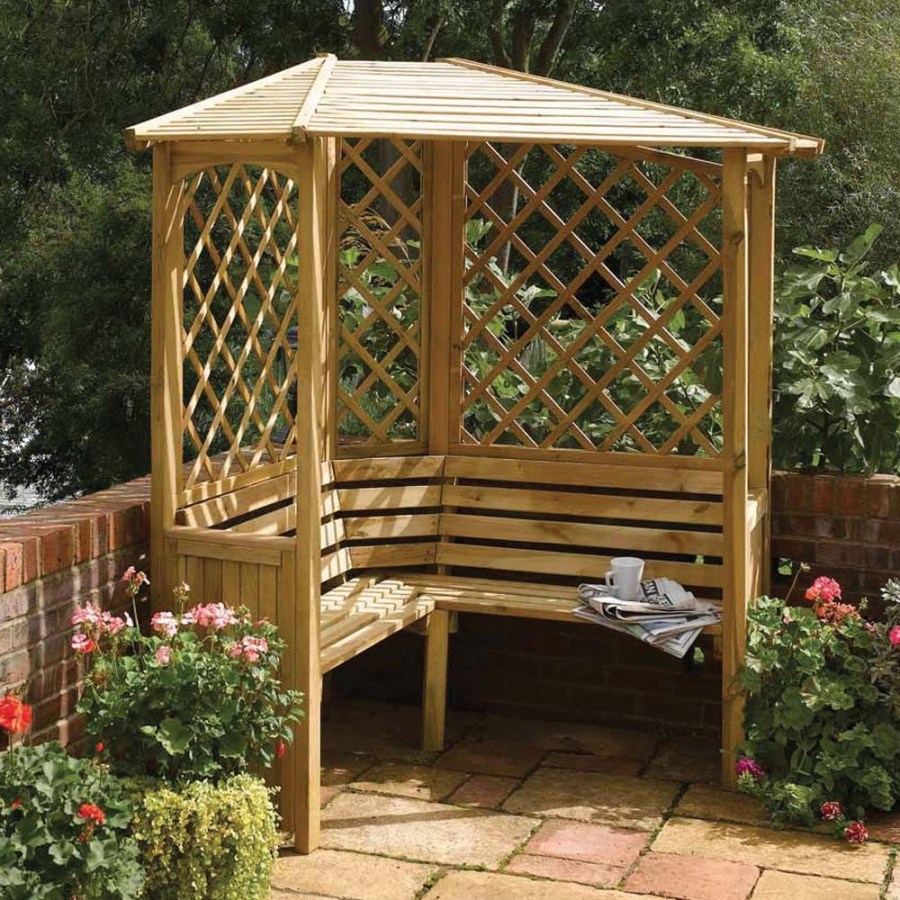
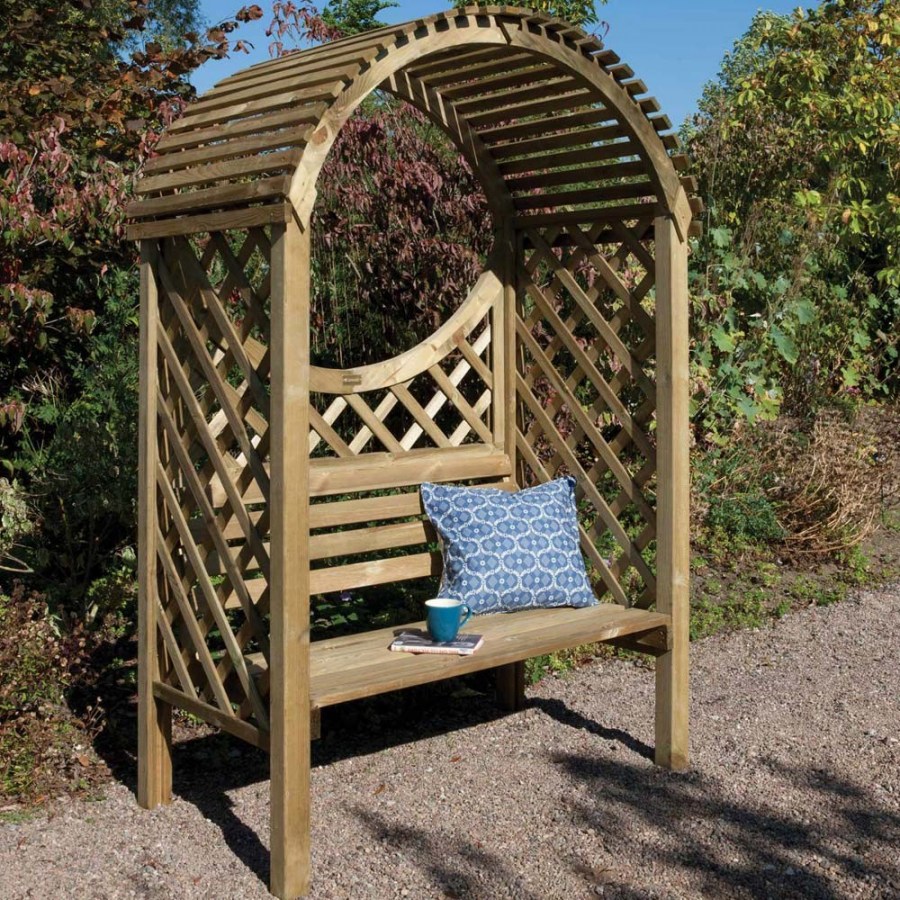
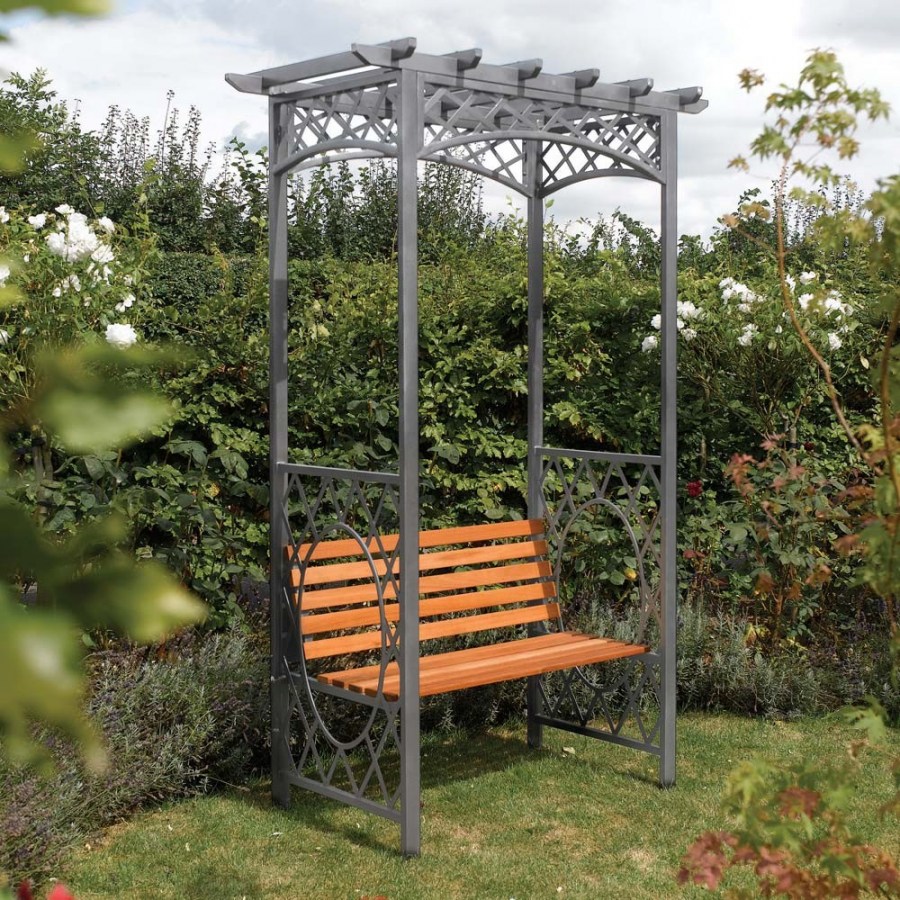
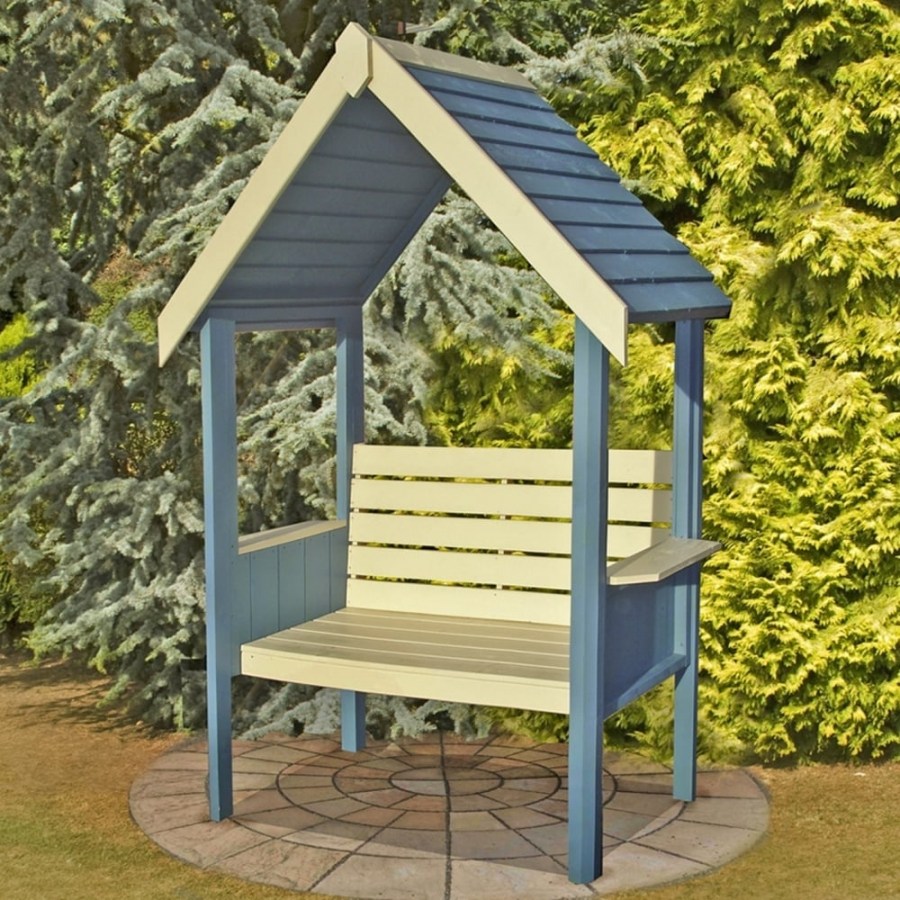
Photo of arbours from a tree


Magnolia flowers: species description, 90 photos of beautiful magnolia in the garden
Join the discussion: