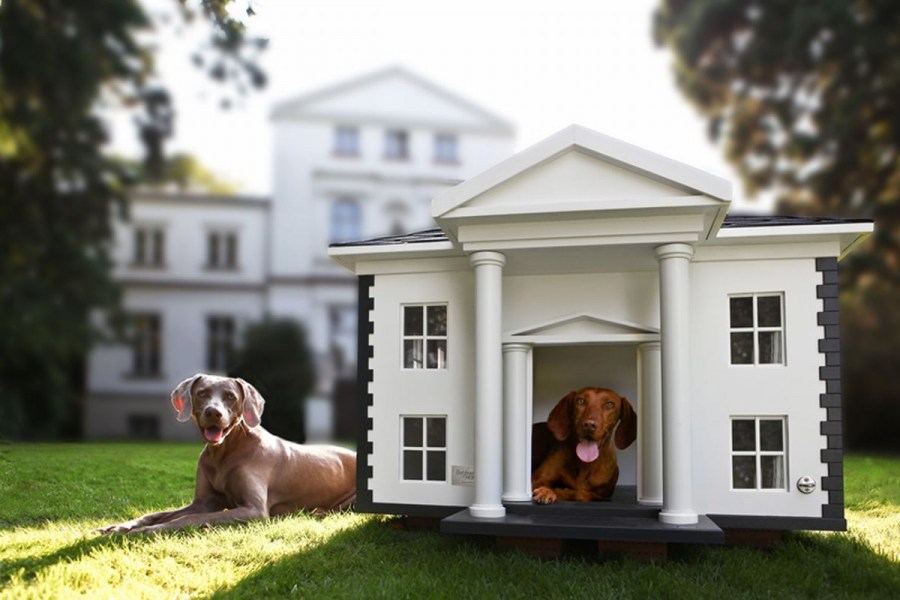
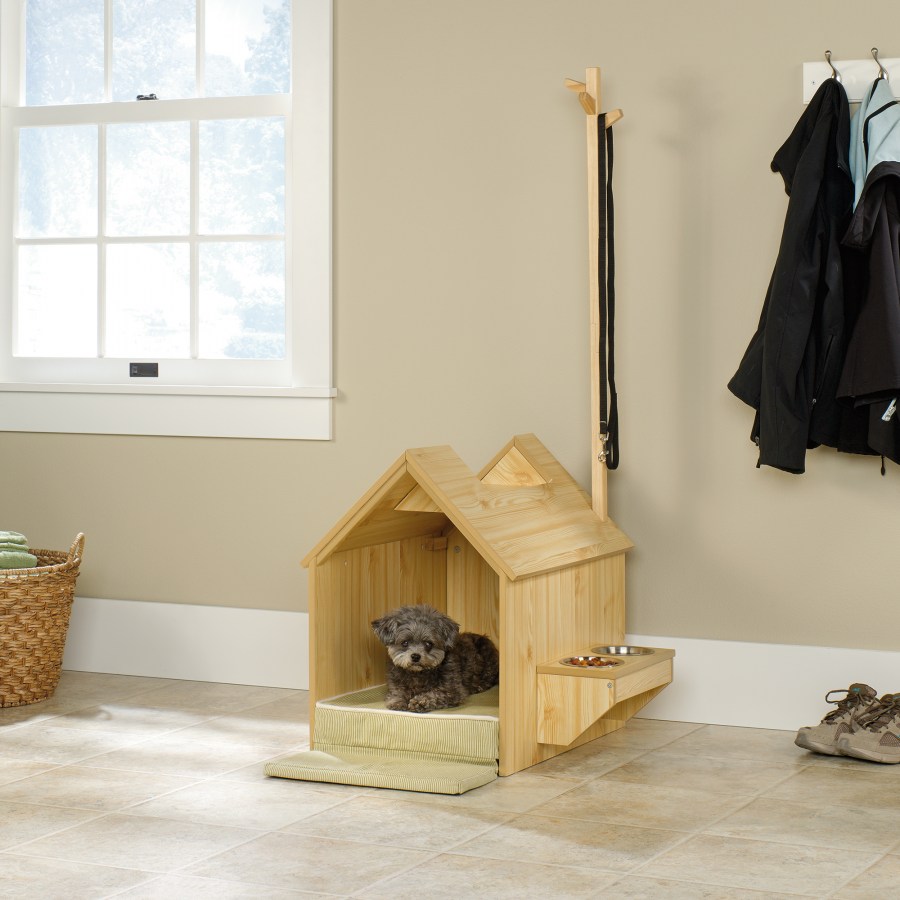
Doghouse: 120 photos of simple and elegant options for the backyard and garden
In practice, a do-it-yourself doghouse is not at all difficult to construct, as it might seem at first glance. For this work, you will need simple materials at hand, a minimal set of tools and some free time.

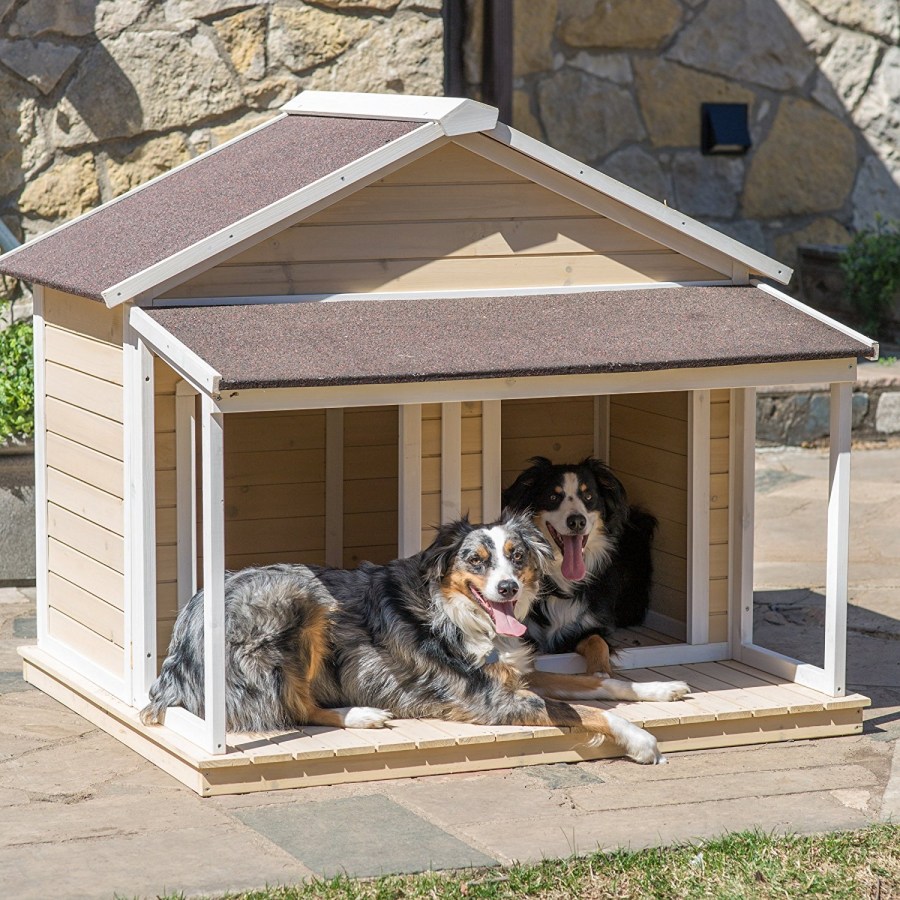
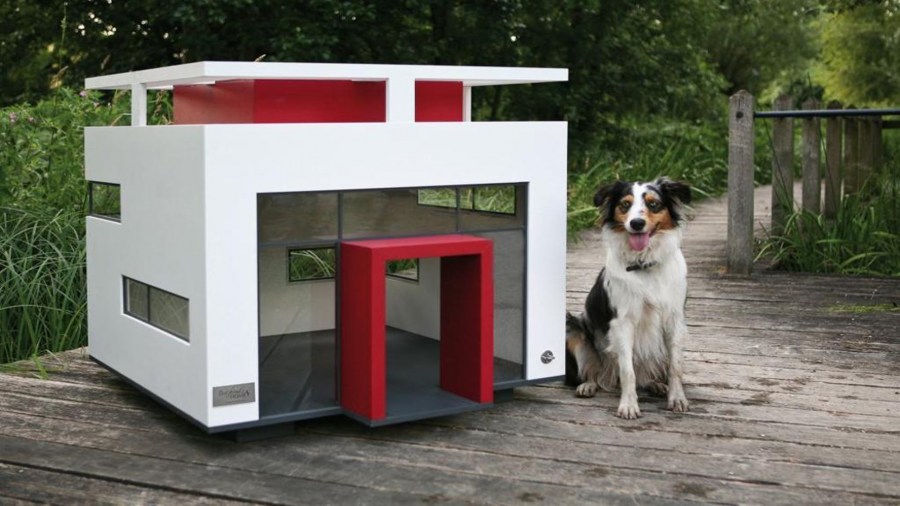
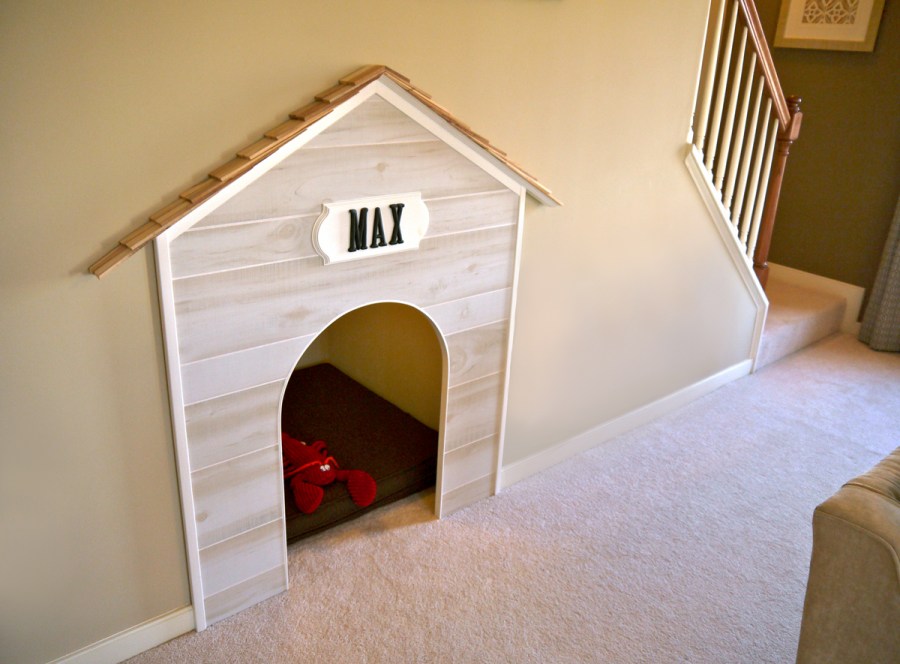
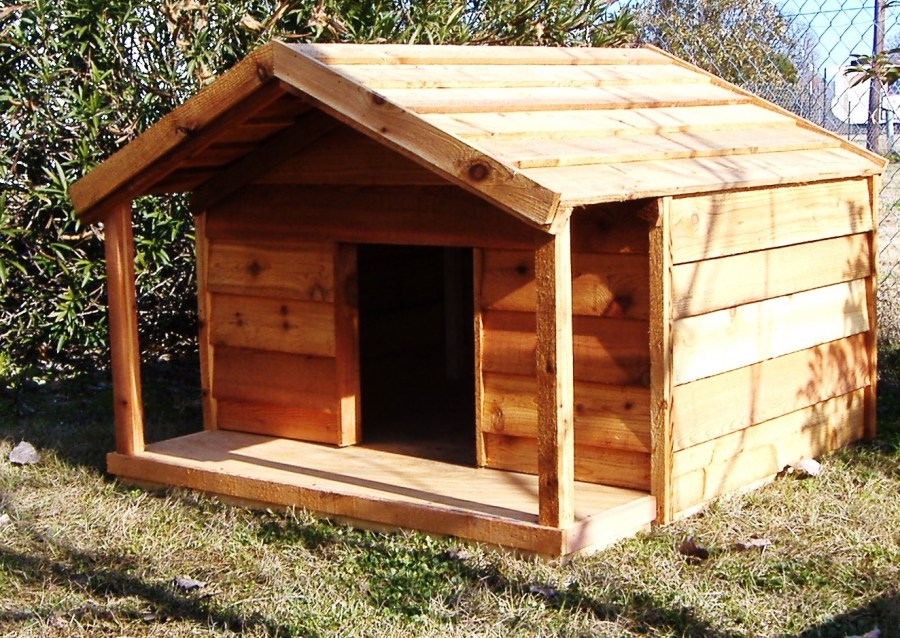
The main task is to correctly calculate the size of housing for a pet so that he is comfortable in any weather. In addition, a beautiful, properly built and decorated booth will aesthetically complement the style and landscape of the infield.
Drawings of a dog's home
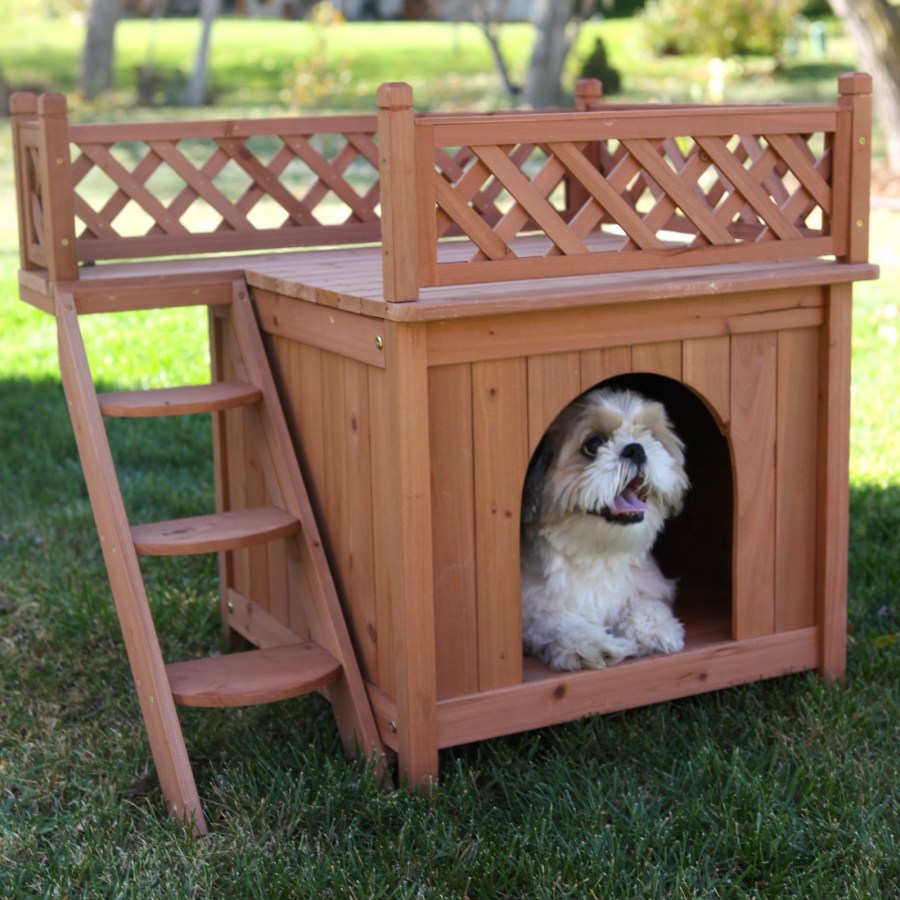
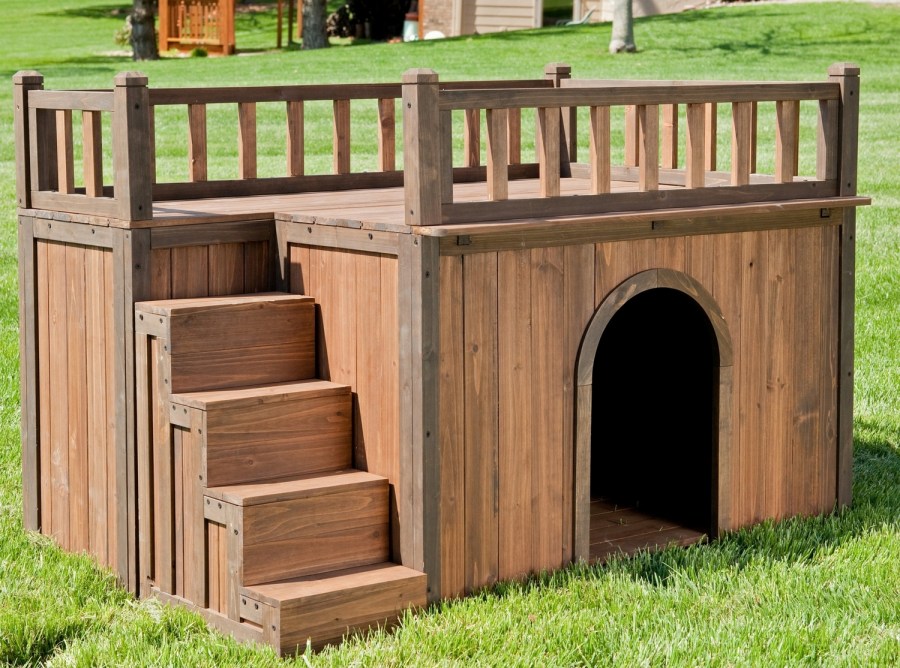
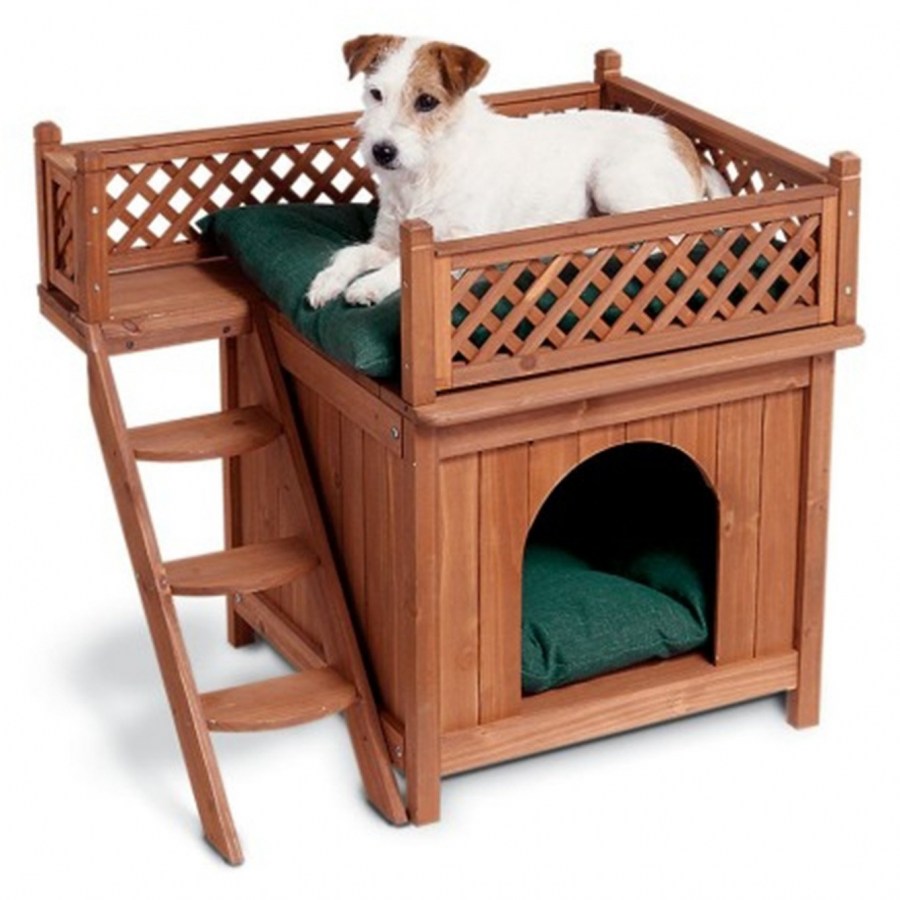
Before starting work, it is necessary to draw up a competent drawing of the booth, given its size and shape. Note that too bulky product, including partitions, protrusions and ladders, will be completely inappropriate for your pet!
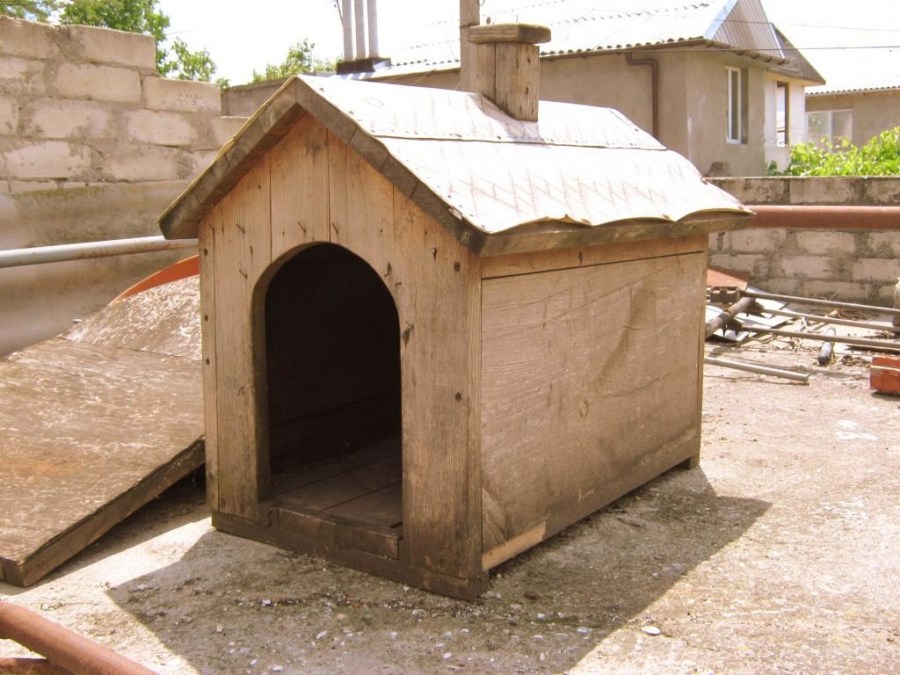
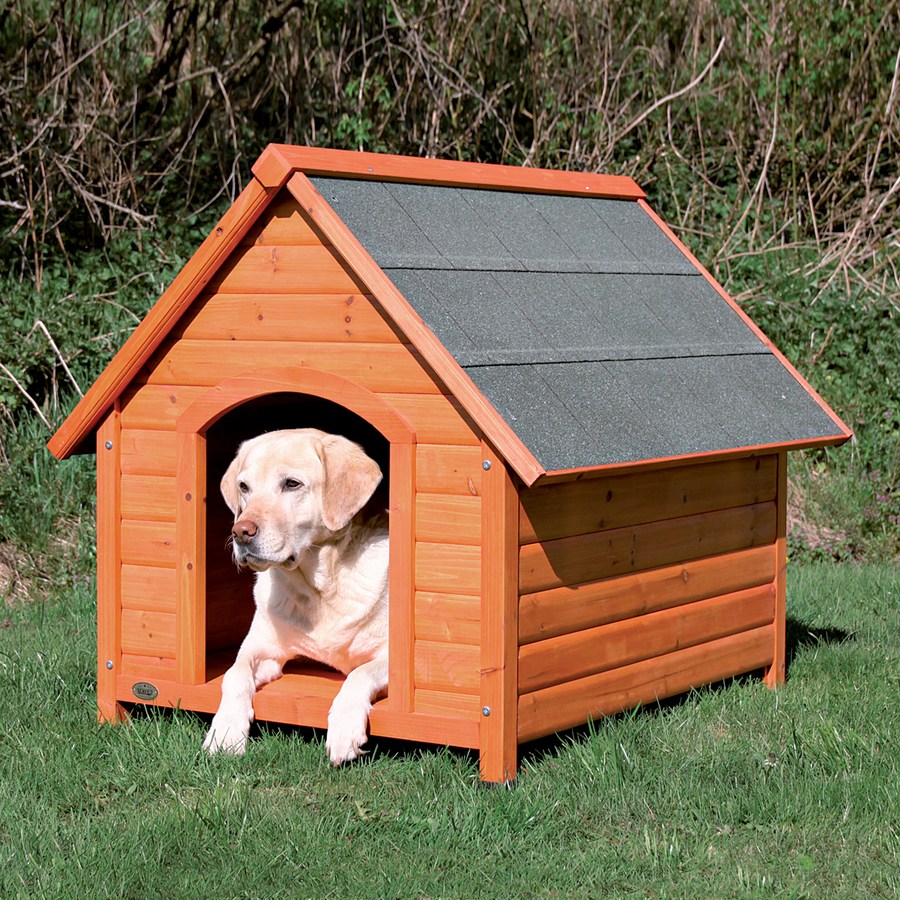
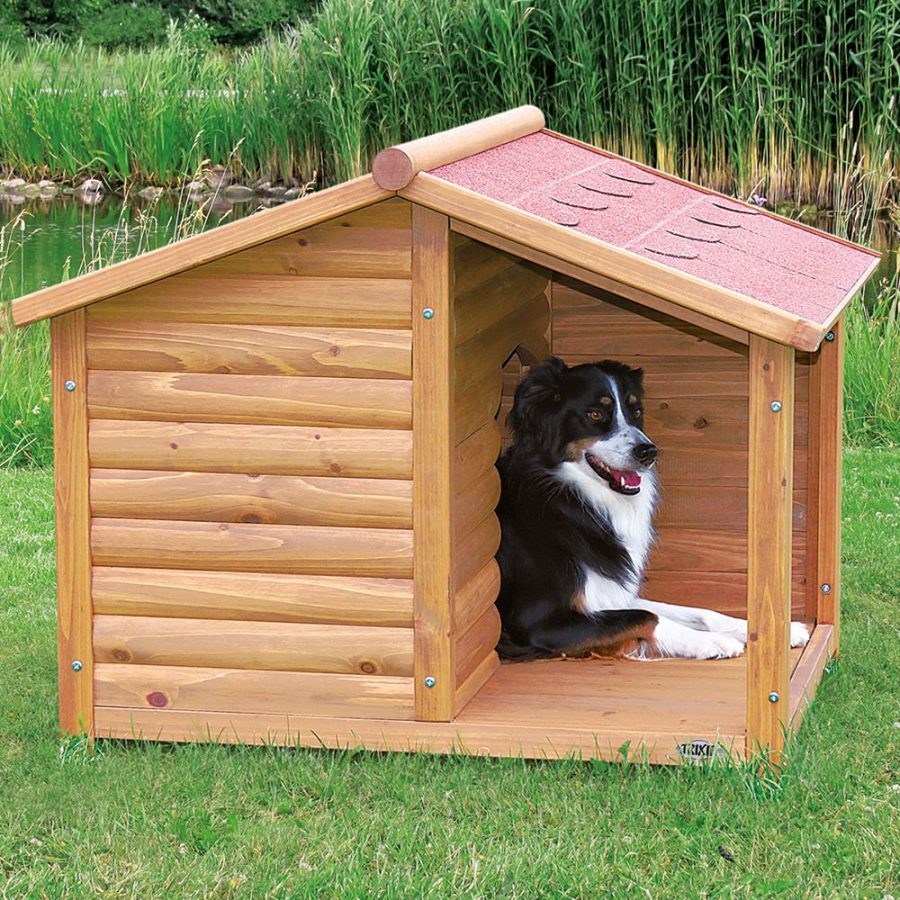
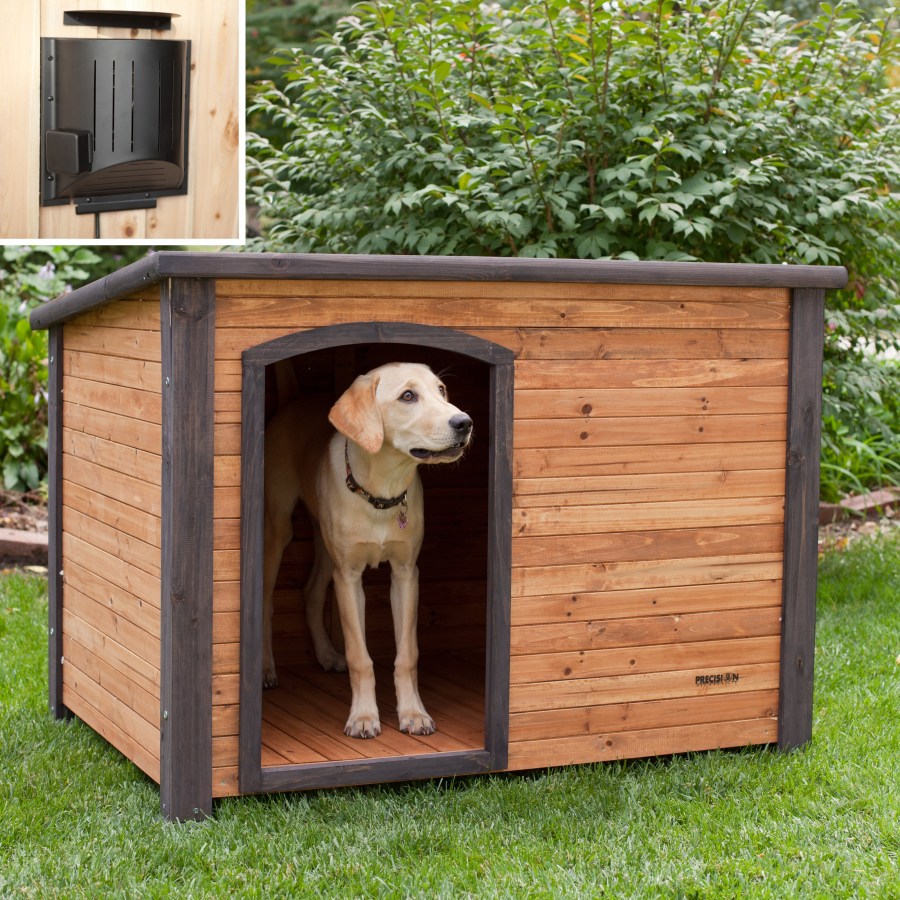
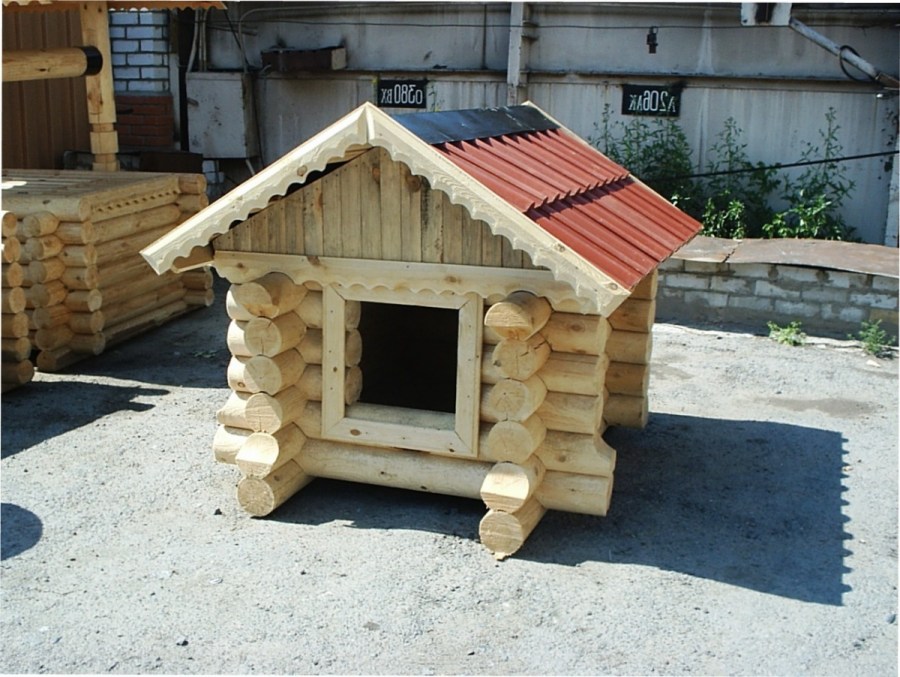
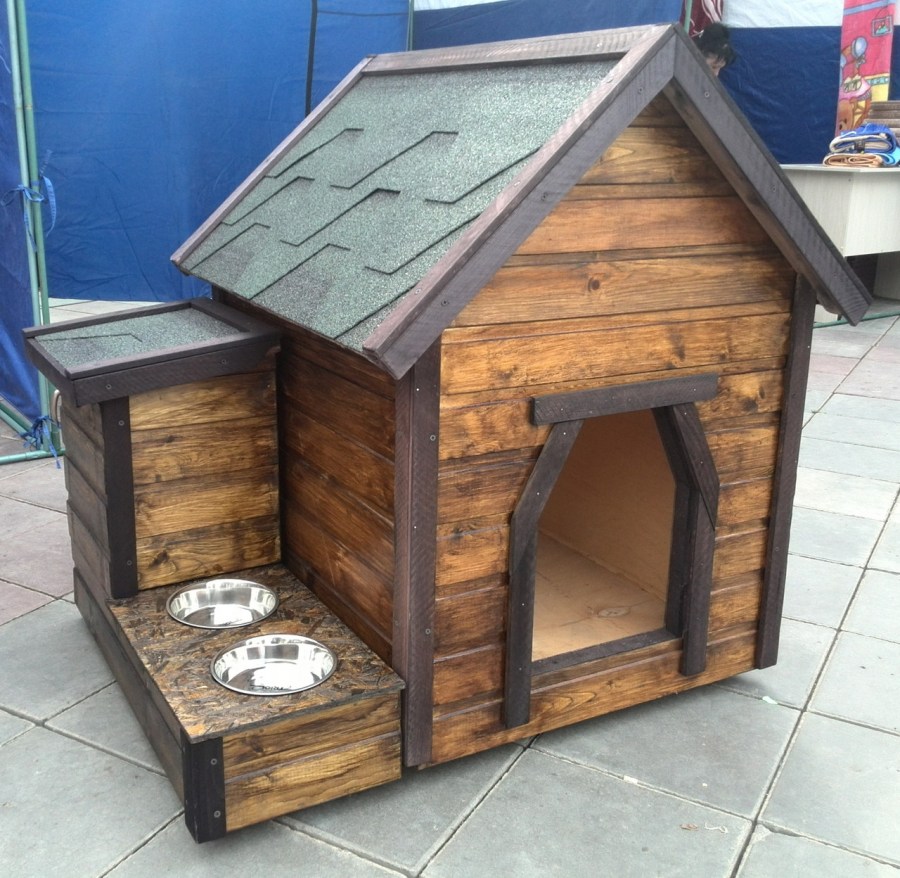
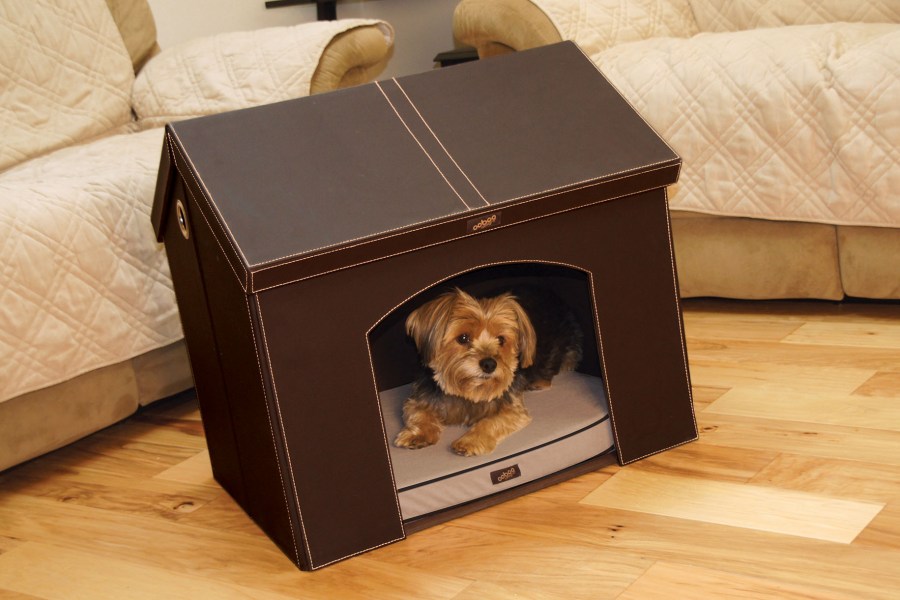
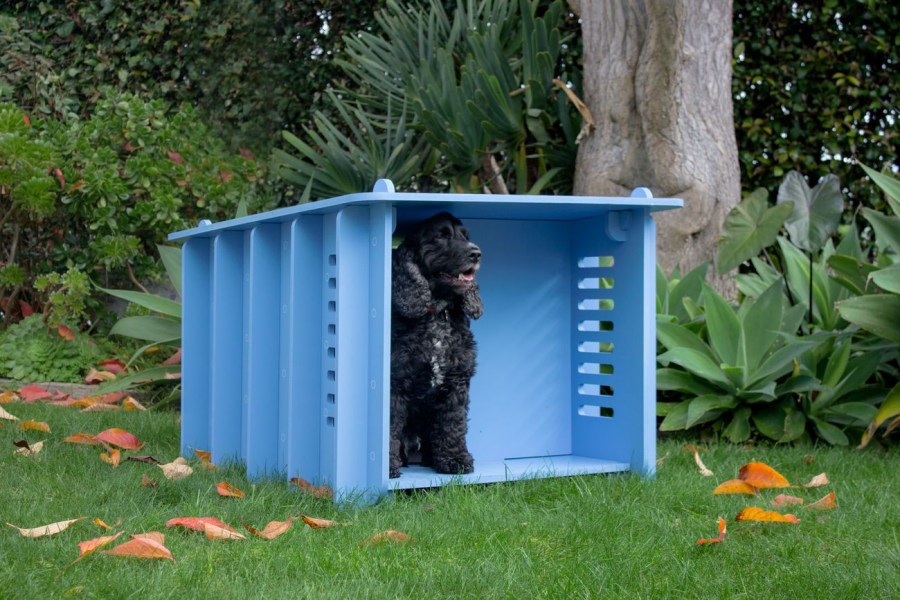
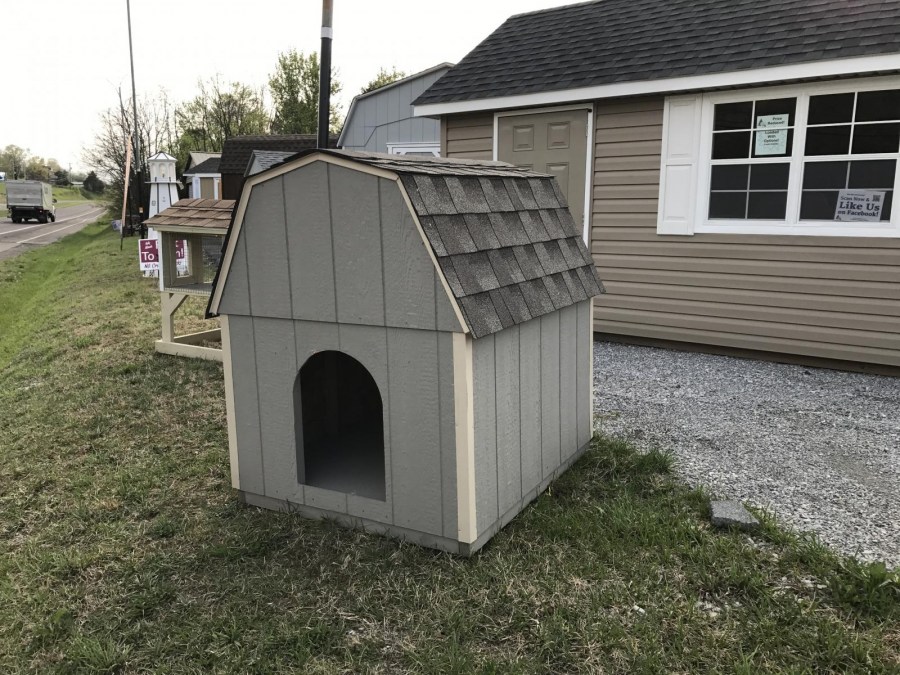
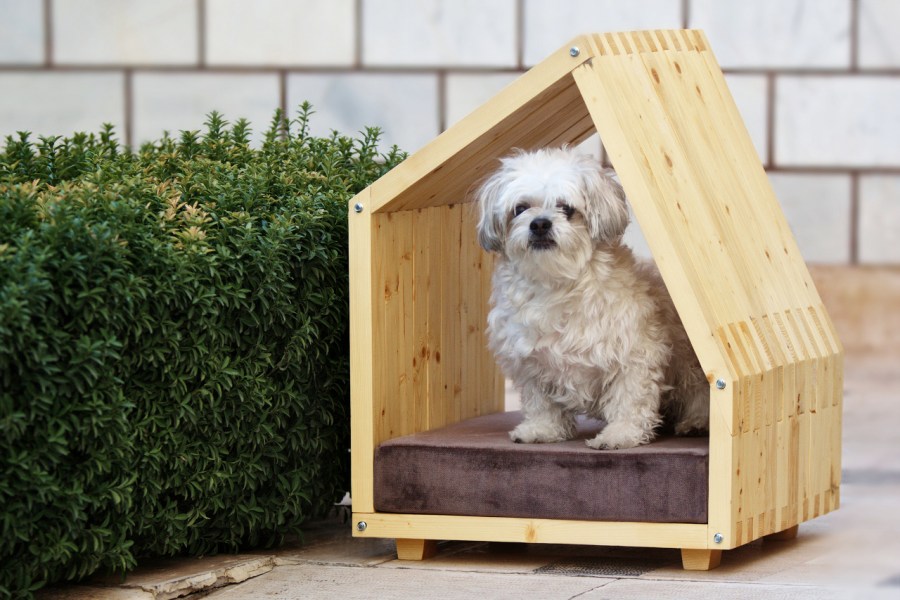
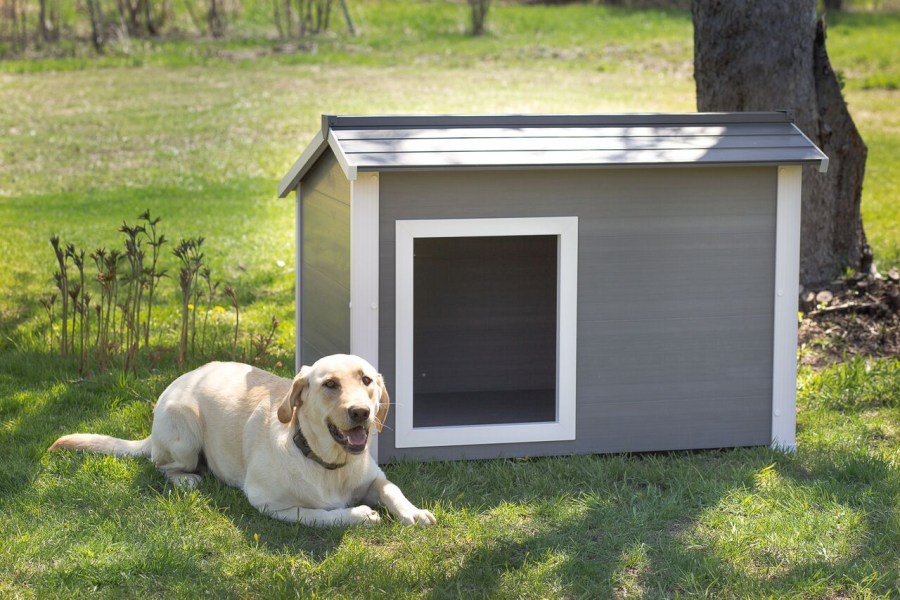
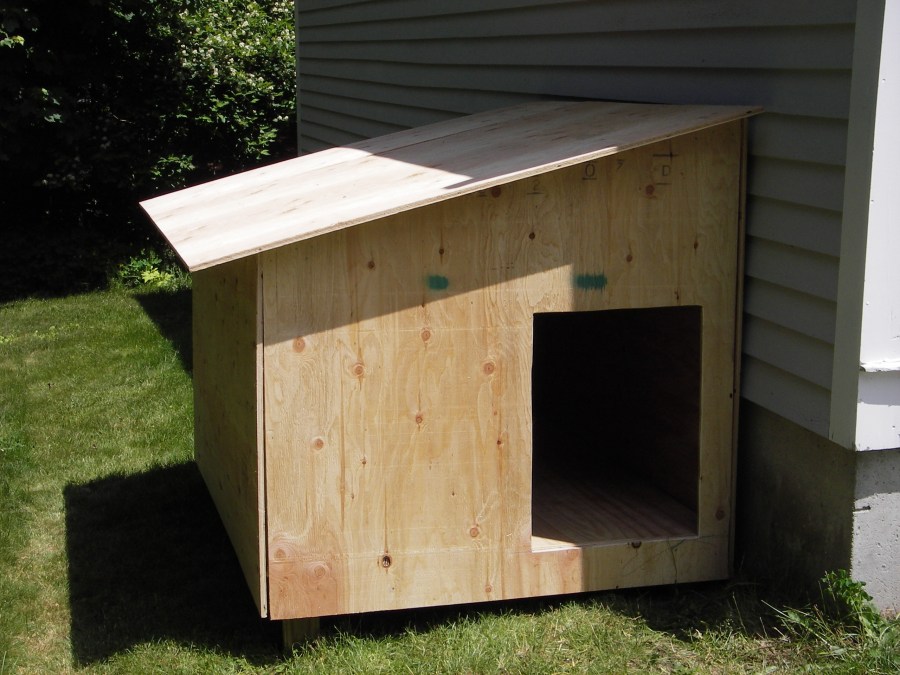
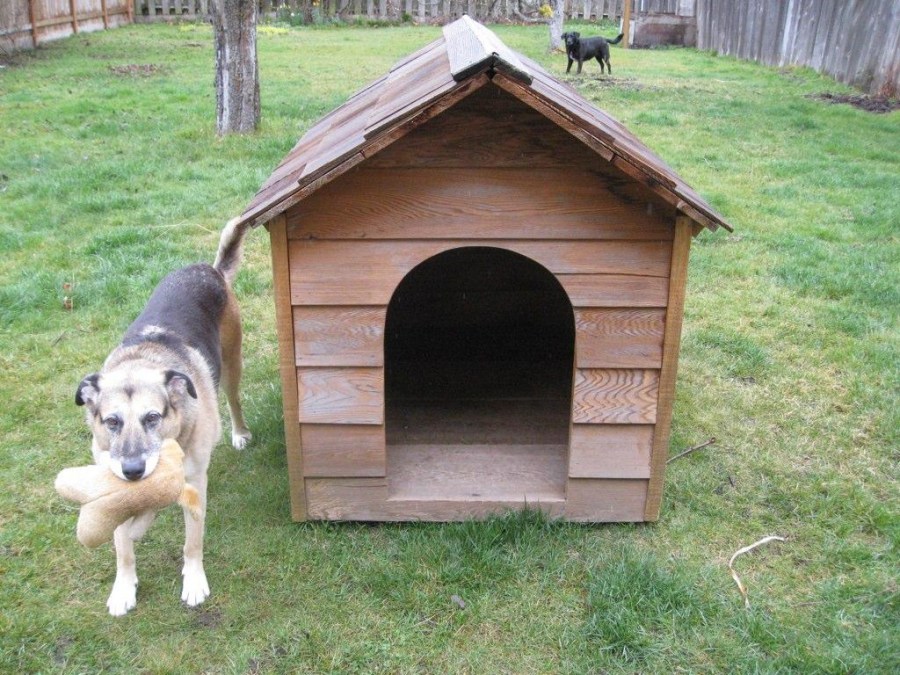
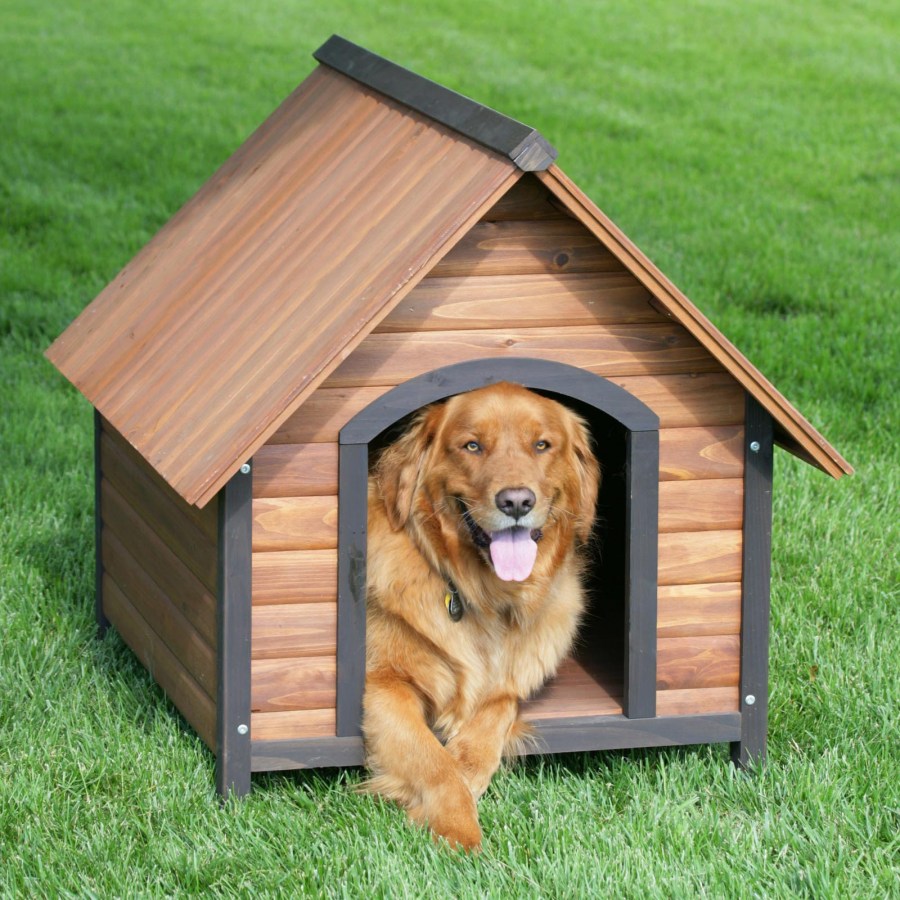
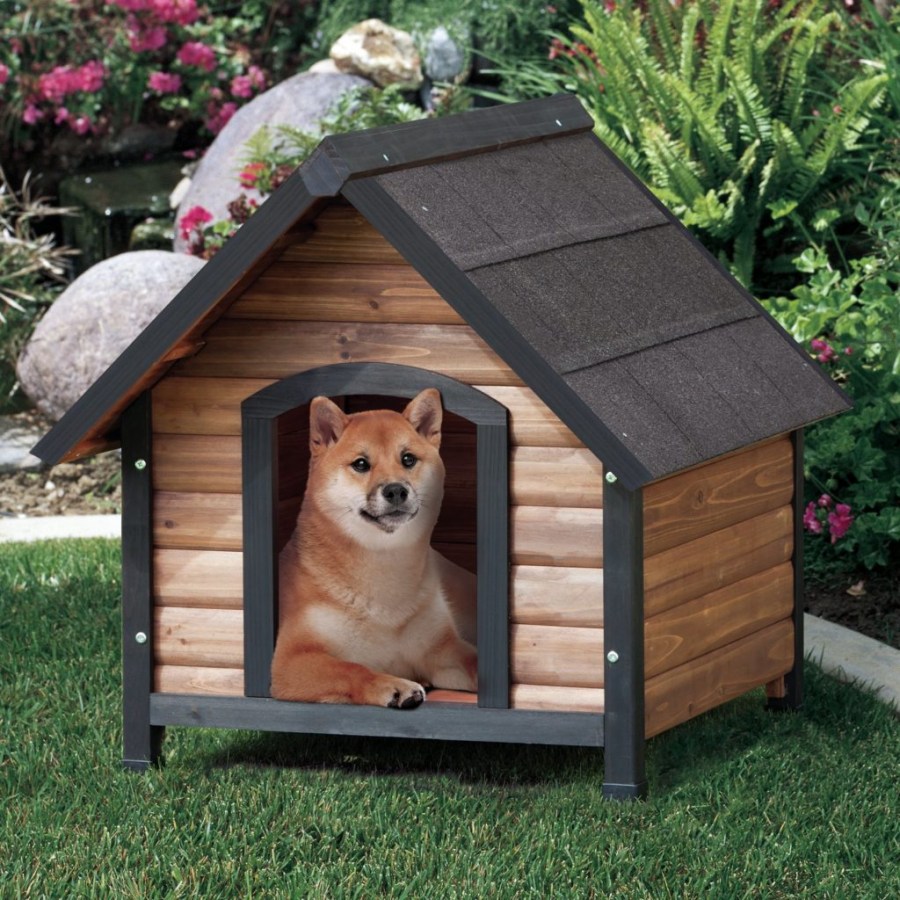
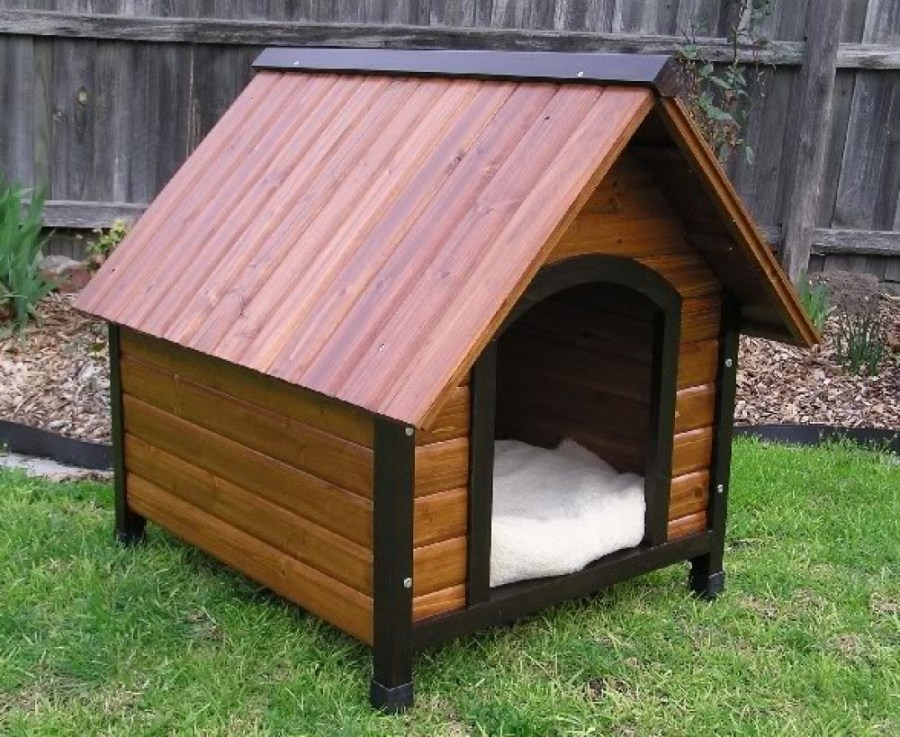
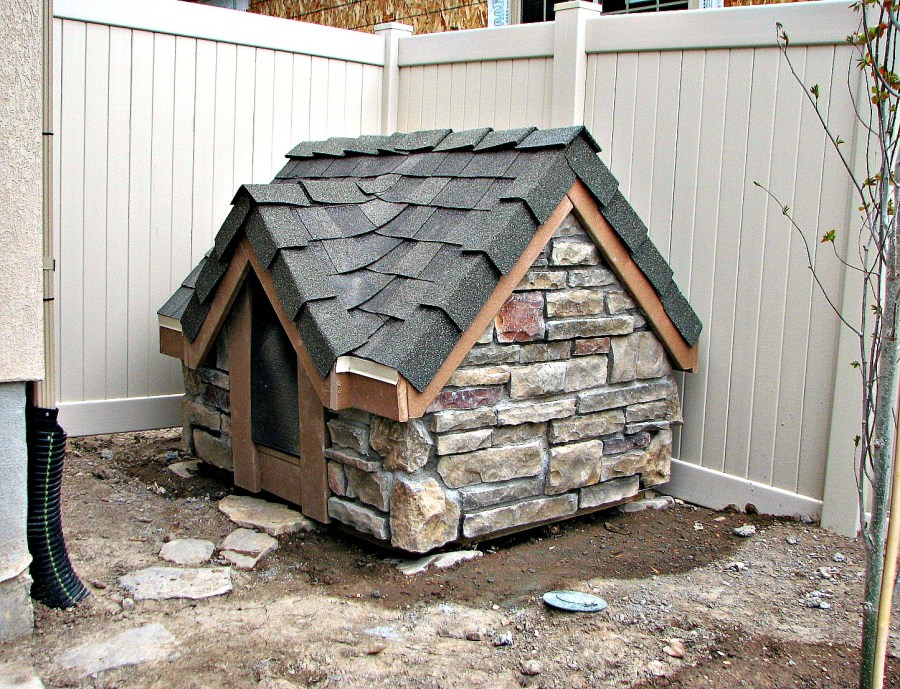
The most acceptable is a traditional rectangular kennel with a side entrance and a pitched roof. It will provide a cozy comfortable place under the warm sun.


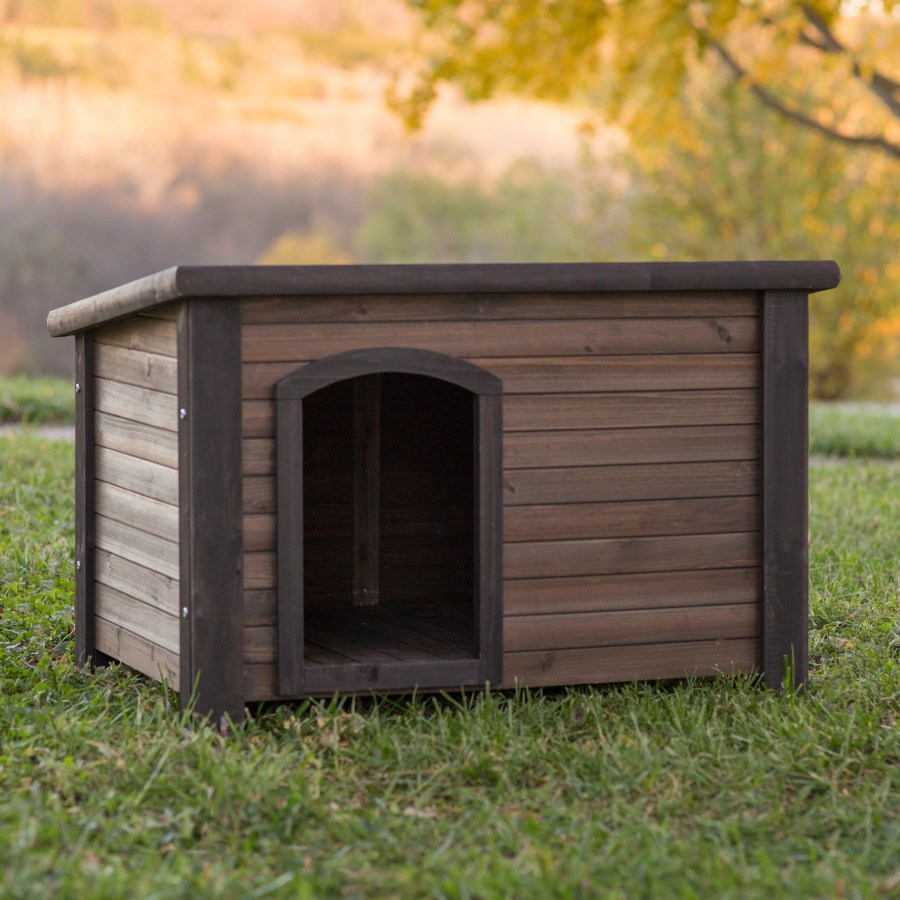
It is very good if one of the walls or the roof itself will be removed for disinfection cleaning in the kennel.
Options
The size of the dog kennel directly depends on its size, for this you will need to make a measurement: height along the withers, chest width, total length from tail to nose and height of the animal. This will help to correctly sketch and design parameters:
- the width and height of the kennel corresponds to the height of the pet, plus five centimeters;
- the volume of the entrance opening is equal to the width of the chest and slightly add (maximum 5 cm);
- the height of the opening is slightly greater than the height of the dog;
- the depth is calculated on the length of the body of the dog, but we also add 5 cm.

The dimensions of the booth for calculating the parameters can be found in a special reference. Then it is necessary to make drawings of the premises with the corresponding preliminary dimensions of the booth.
Next, you need to choose the right material - as a rule, wood (coniferous species) is considered to be a traditional raw material, since it is environmentally friendly and safe for the life of a pet. In addition, wood is the most convenient and pliable material to work with.

Required Toolkit
It is better to stock up with all the necessary material and tools in advance:
- edged board 25 mm;
- dry bars;
- lining, which will be sheathed dog housing;
- plywood sheets, or chipboard;
- bars 40 to 40 mm;
- Styrofoam;
- ruberoid sheets;
- antiseptic for impregnation;
- sand mixture;
- hinges for a doorway;
- galvanized nails;
- hammer.
To avoid causing injuries to the limbs, you must first carefully clean all boards and bars that are available for work. They should also be treated with special impregnation, but it is recommended to do this after completion of work, as the puppy may not be able to arrange and frighten off a sharp extraneous odor.
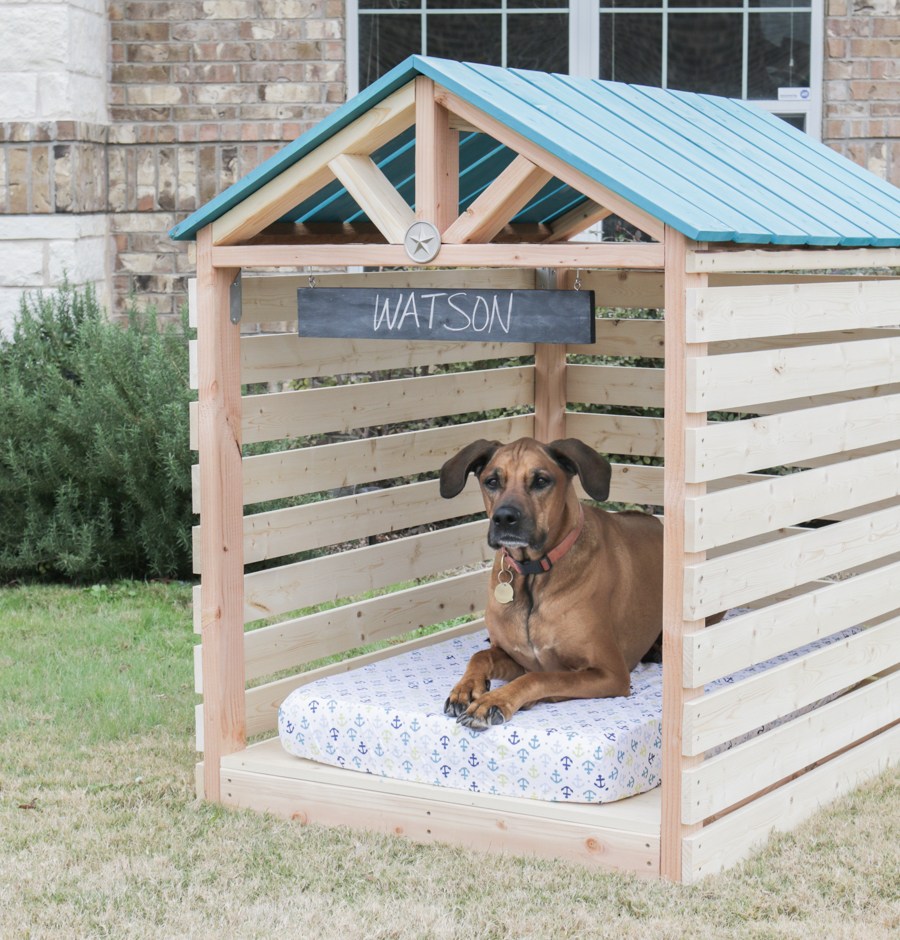


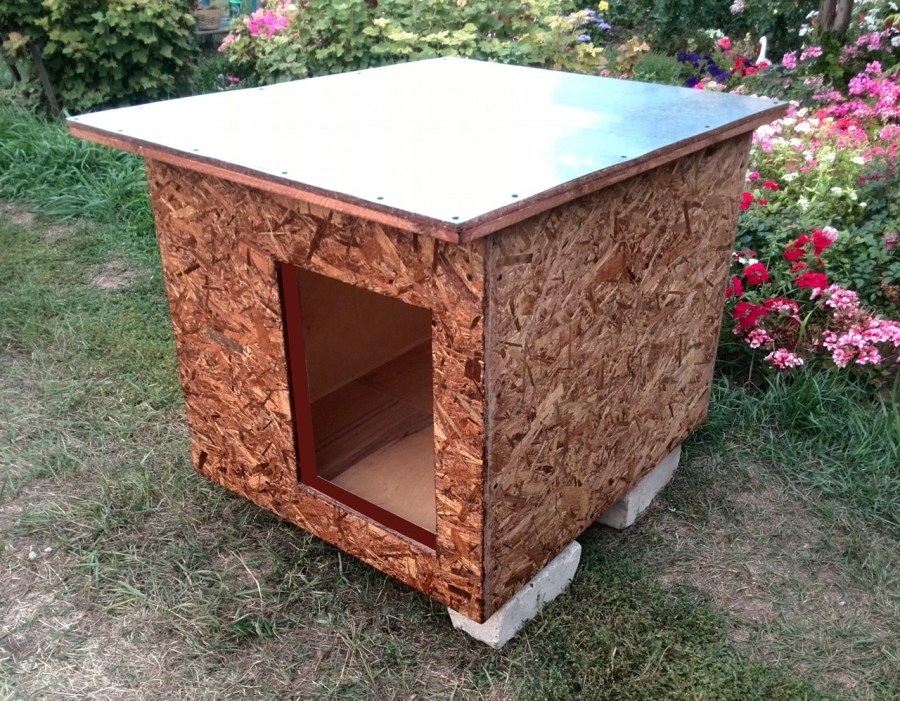
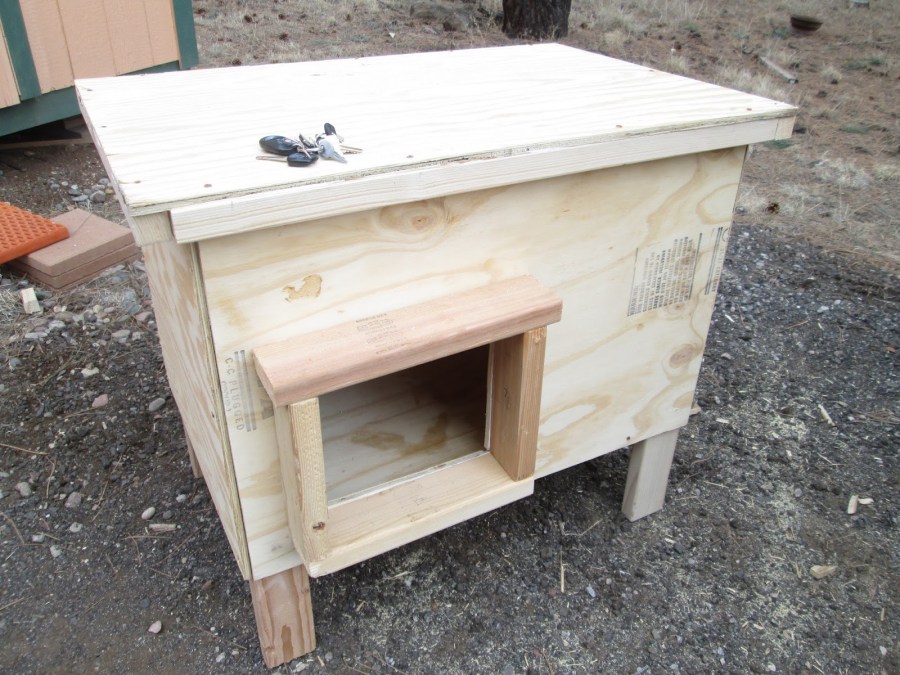
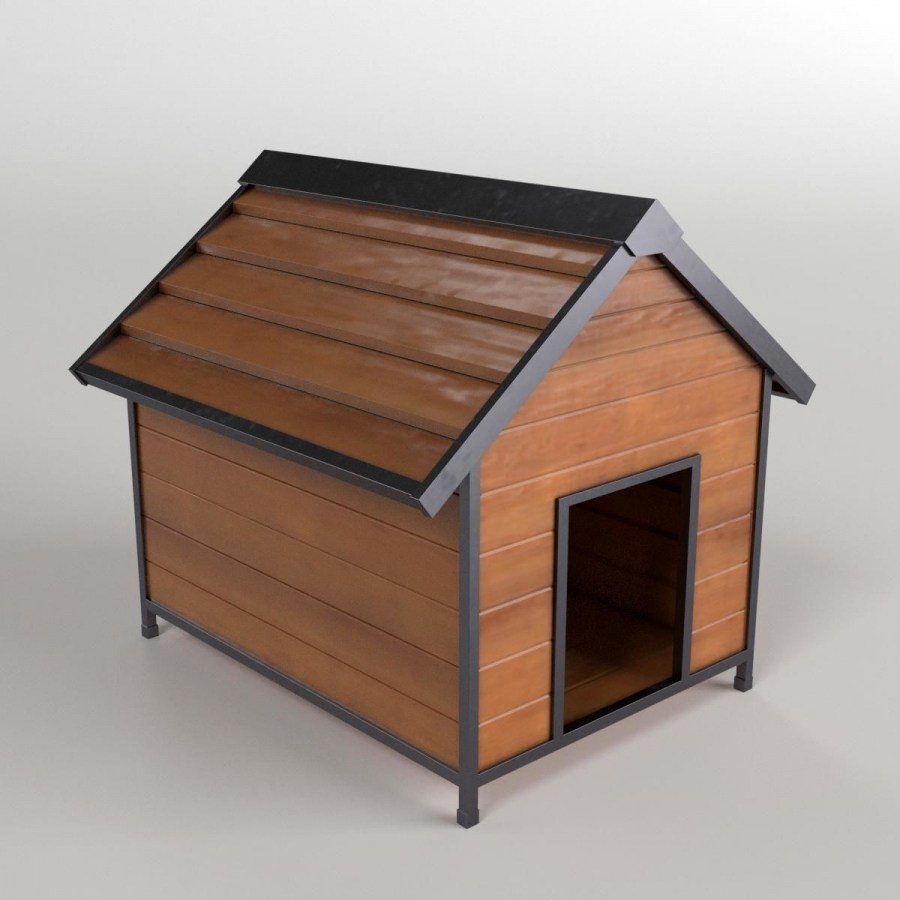
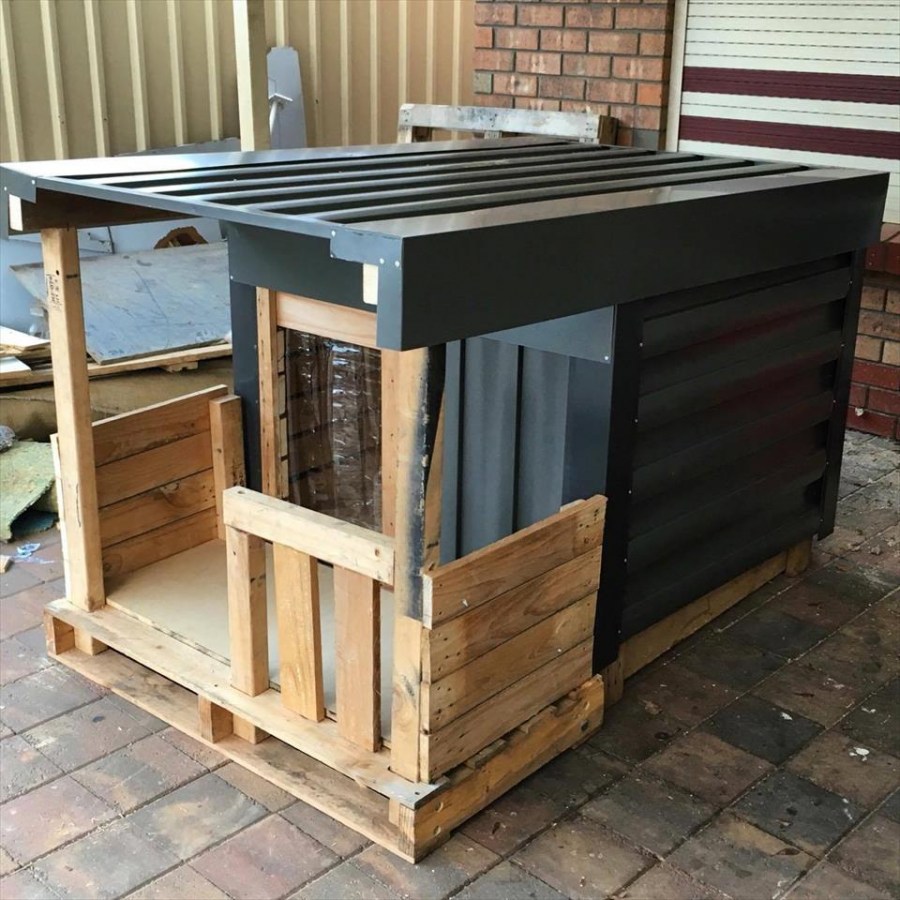
Shed doghouse - work steps
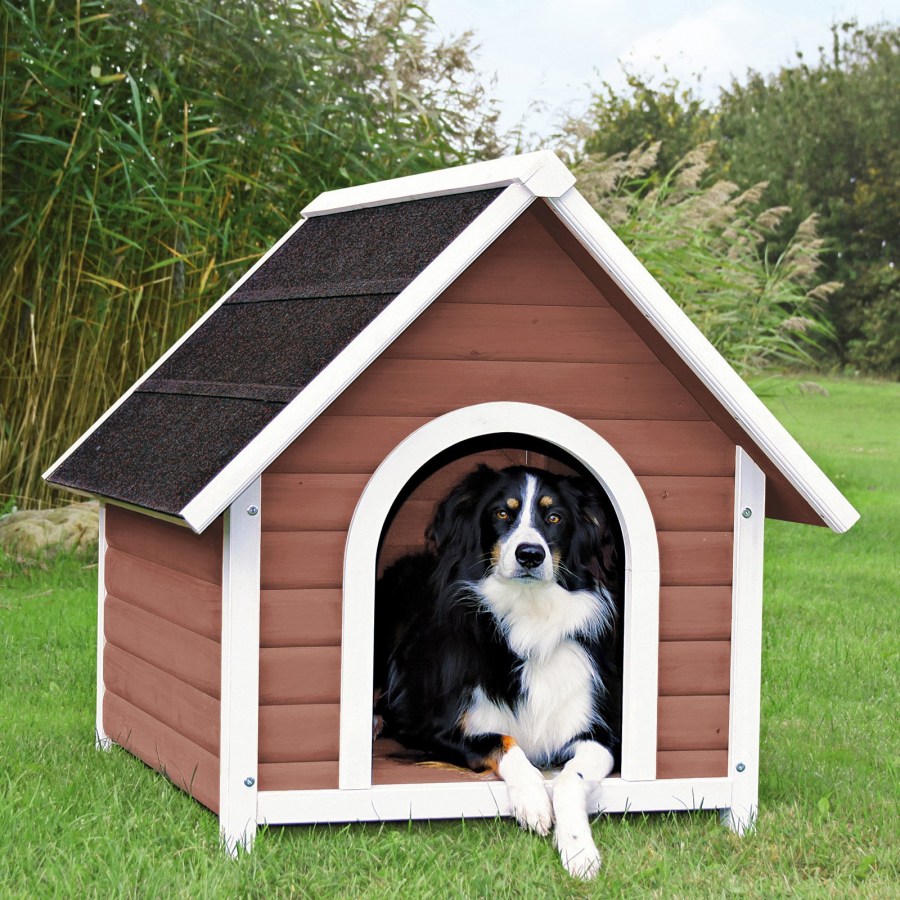
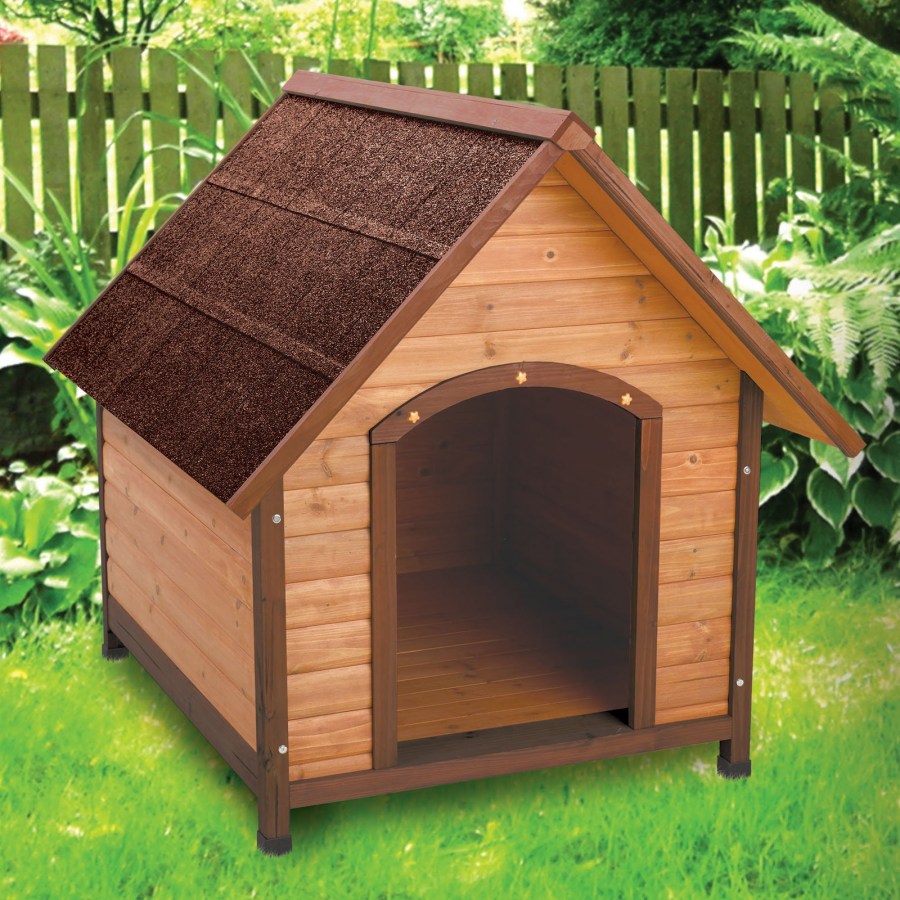
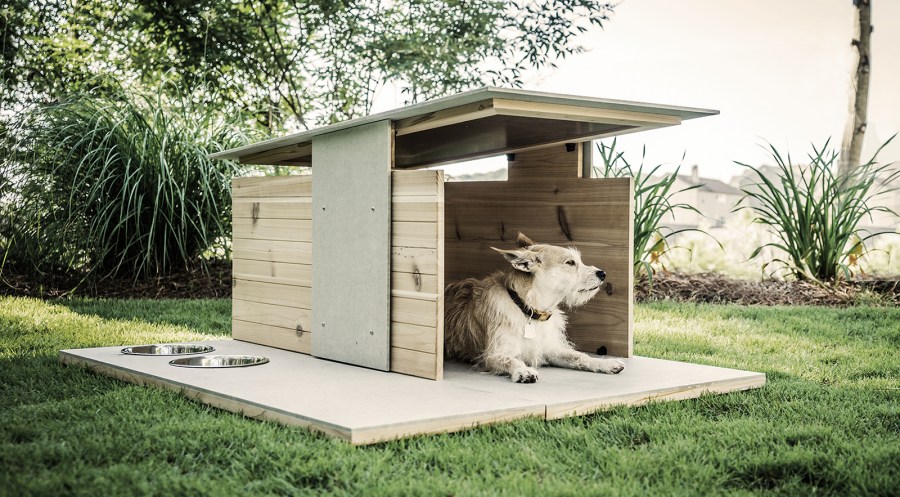
As a rule, dogs prefer to soak up the top of their house, it is for this reason that it is reasonable to build a shed roof. But, keep in mind that a slight bias should still be present.
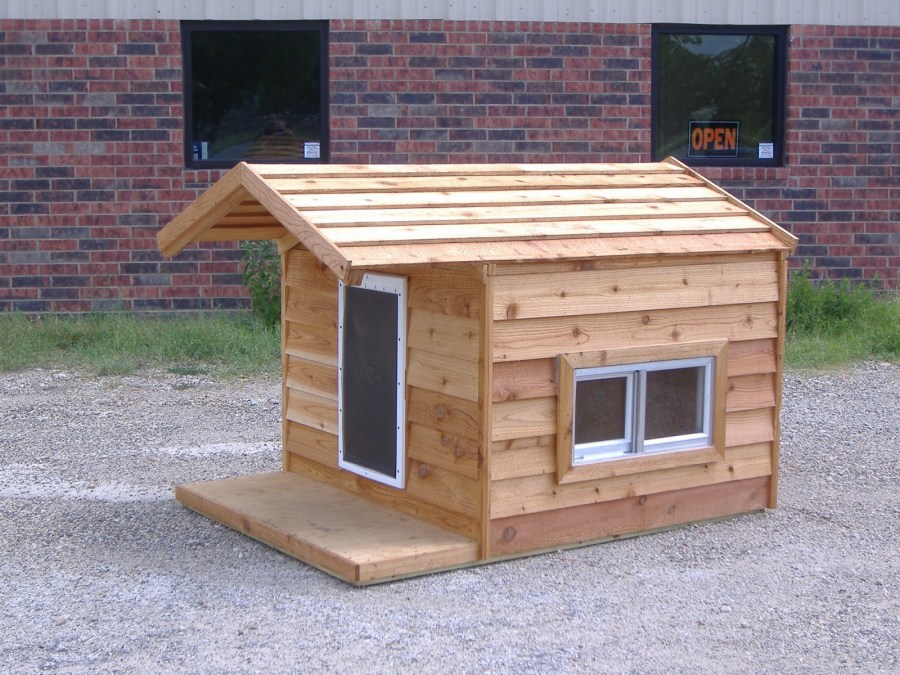
To protect the animal from winter frost and cold, you should make an insulated booth, which is best done at the first stage of assembly. For the same reason, it is reasonable to place the hole on the widest side of the kennel, moving it to any selected corner. The wind will not get inside, which will allow the dog to be in constant heat.

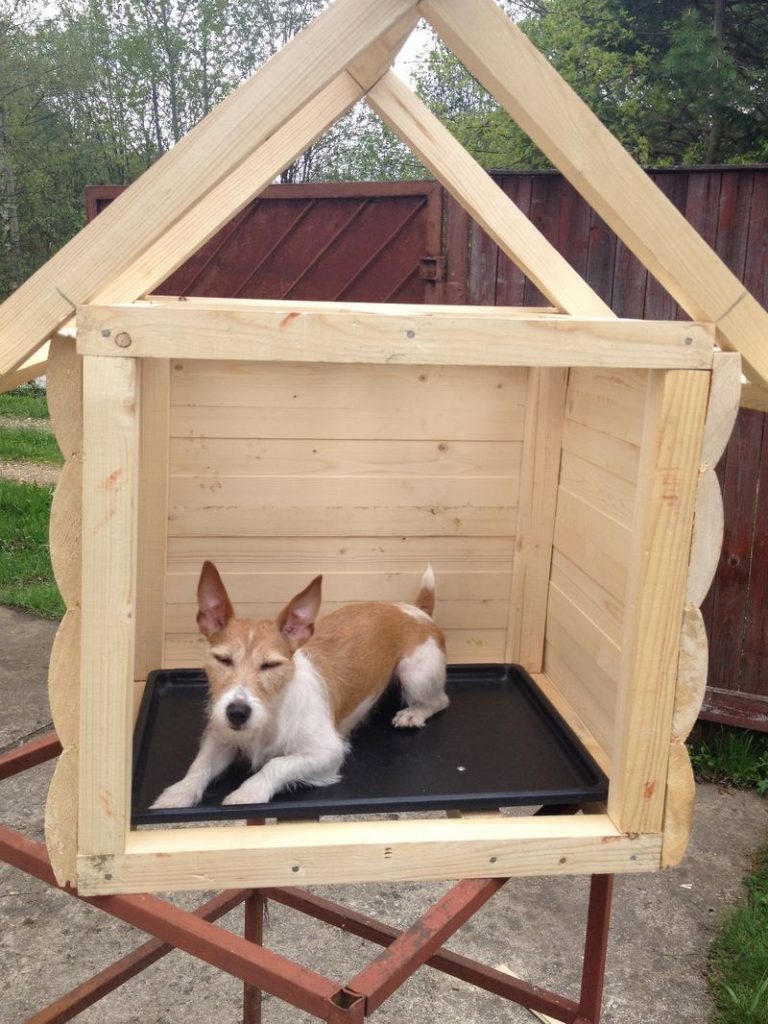
To complete the bottom of the house you will need 40 by 40 mm bars, which should be cut according to the length of the bottom and connected using self-tapping screws into a rectangle shape.Getting a large large dog, the frame should be further strengthened with transverse bars. Then it needs to be sheathed with boards from one side.
To insulate the booth, it is necessary to line the parchment inside, securing it with staples with staples. The next layer will be followed by polystyrene, tightly embedded among the boards. The height of the insulation material corresponds to the height of the bars. An additional layer of parchment is placed on the foam and the floor surface is built.


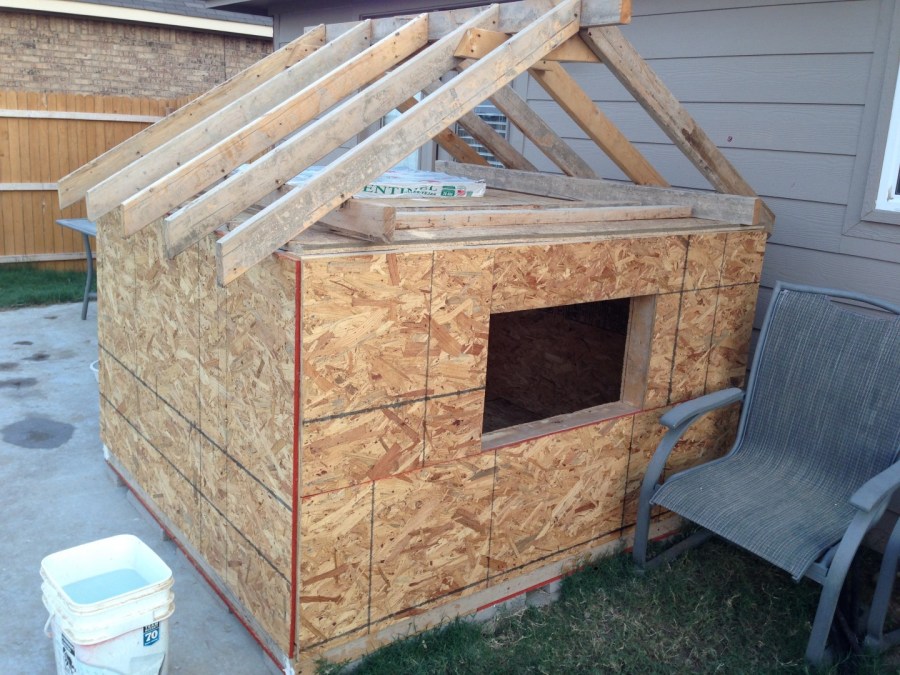
Next, we assemble the kennel frame:
- we saw 100 mm thick timber into four parts corresponding to the size of the structure, we fix them vertically at the bottom corners. To form a roof slope, it is necessary to lay large racks in the front and short racks in the back. All parts are fixed with screws, or nails;
- in the center of the surface of the walls you need to additionally fill the beam in an upright position, and two small bars on both sides of the manhole;
- to strengthen the frame, apply metal plates to the joints.

The finished construction of the base should be beaten with a lining on the front side and insulated inside: we close the walls with glassine using a stapler, then we stuff mineral wool or polystyrene.

Next comes a second layer of glassine, stuffed sheets of plywood or similar material. To avoid injury to the dog, galvanized nails should be carefully driven in until their hats are completely drowned.
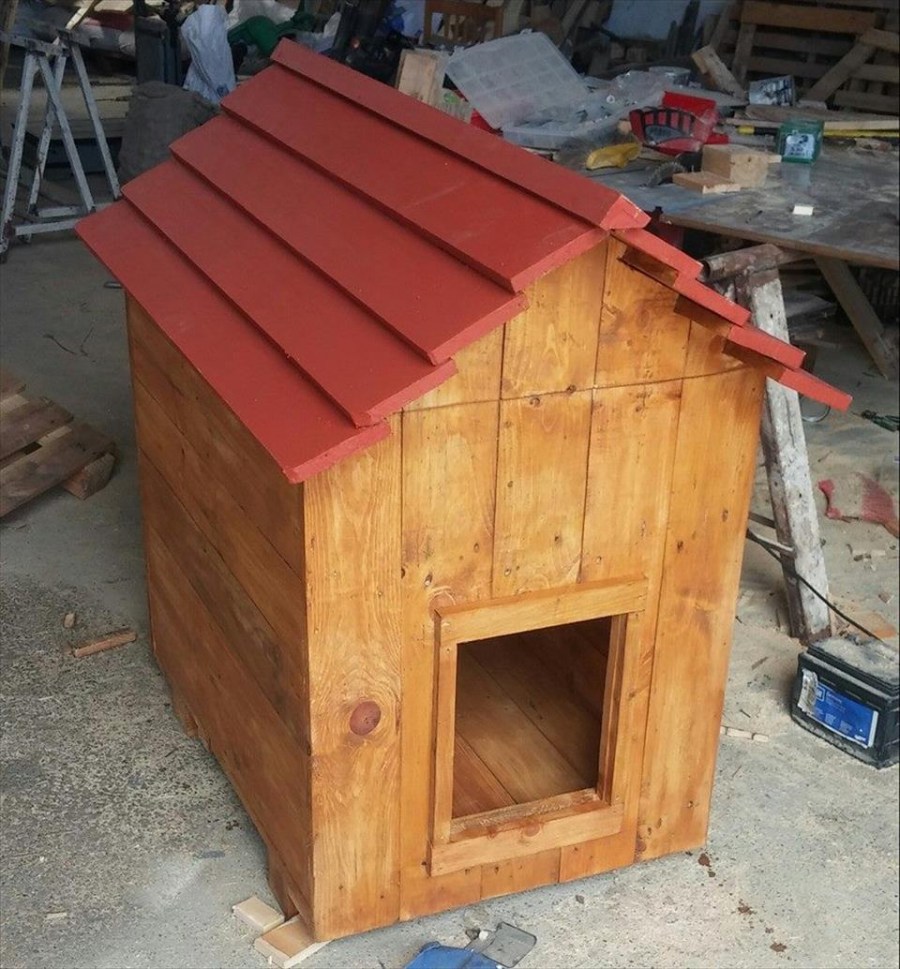
To erect a pitched roof, it is necessary to bring down the frame corresponding to the perimeter of the house. Among the bars, it is required to densely fill the pieces of foam, covering them with a film and fixing with brackets.
The plywood sheet is laid so that it overlaps the lower frame behind and from all sides a maximum of 10 centimeters. The front should protrude 20 centimeters to prevent rain from entering the room.
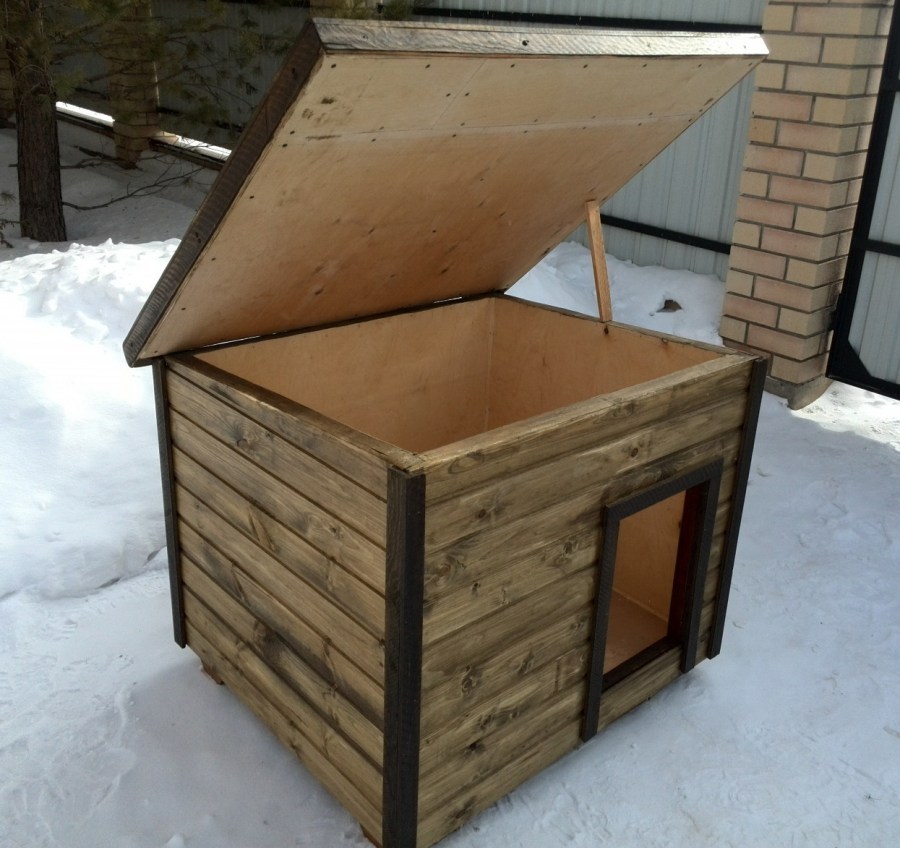


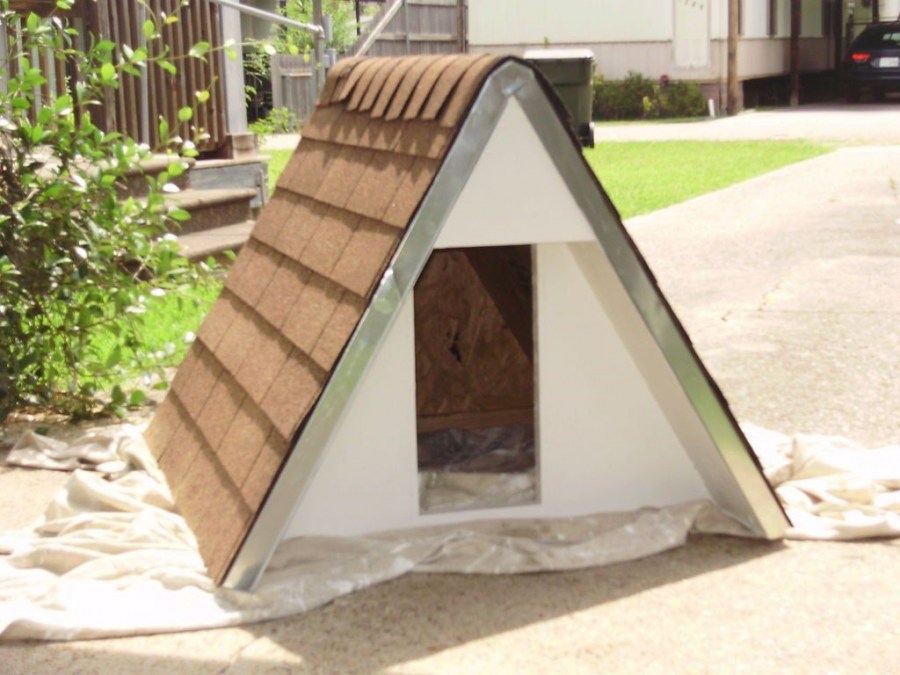
We already fasten the finished roof with loops, stuffing a layer of roofing felt or soft tiles on top.

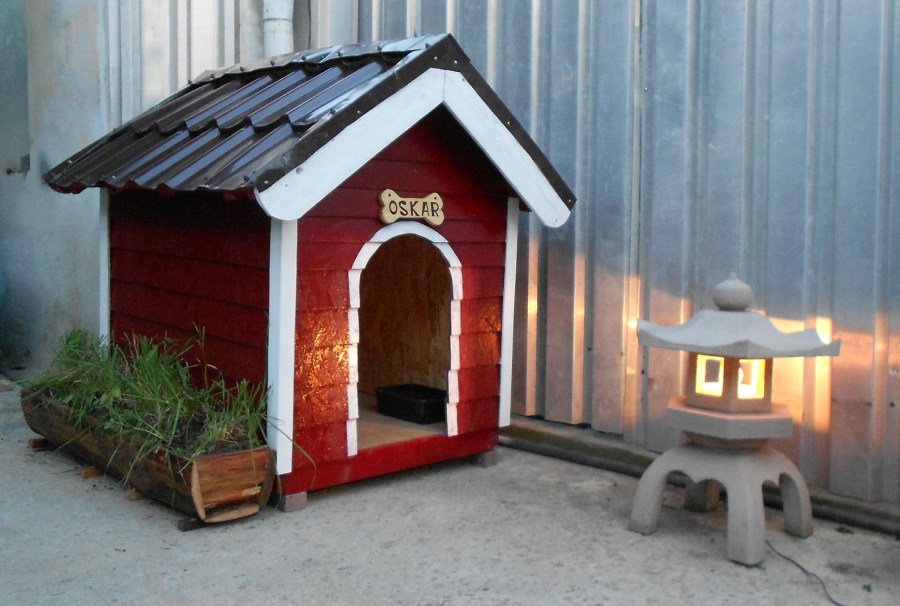
Decorating and installing a dog house
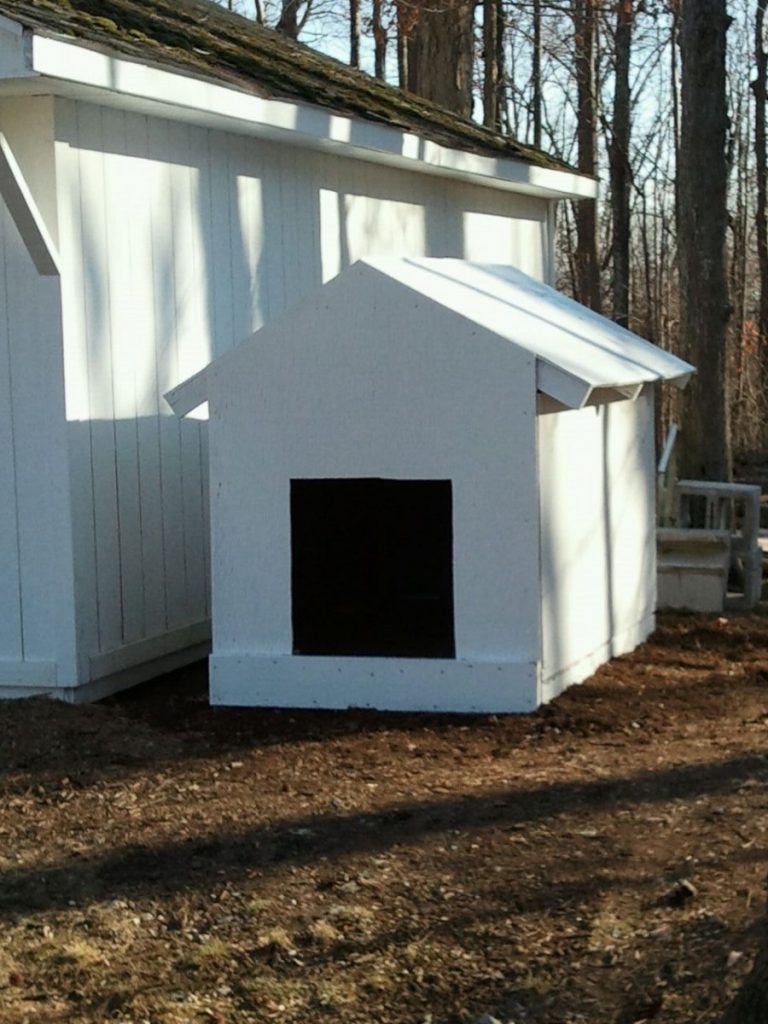
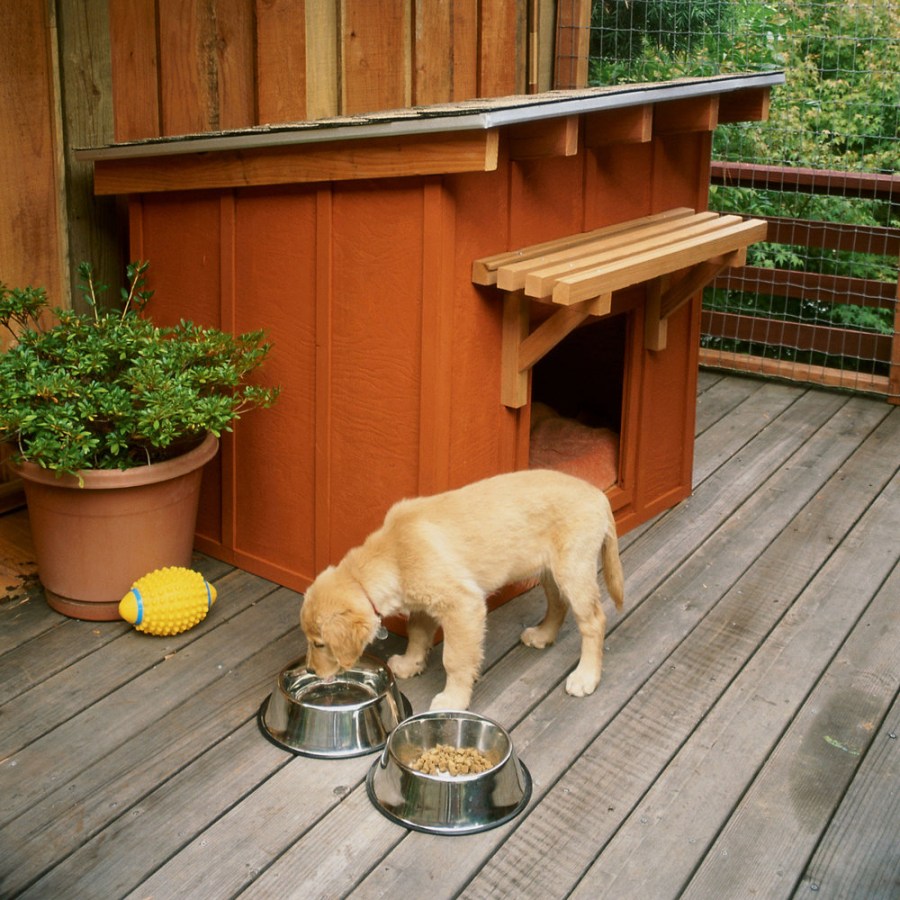
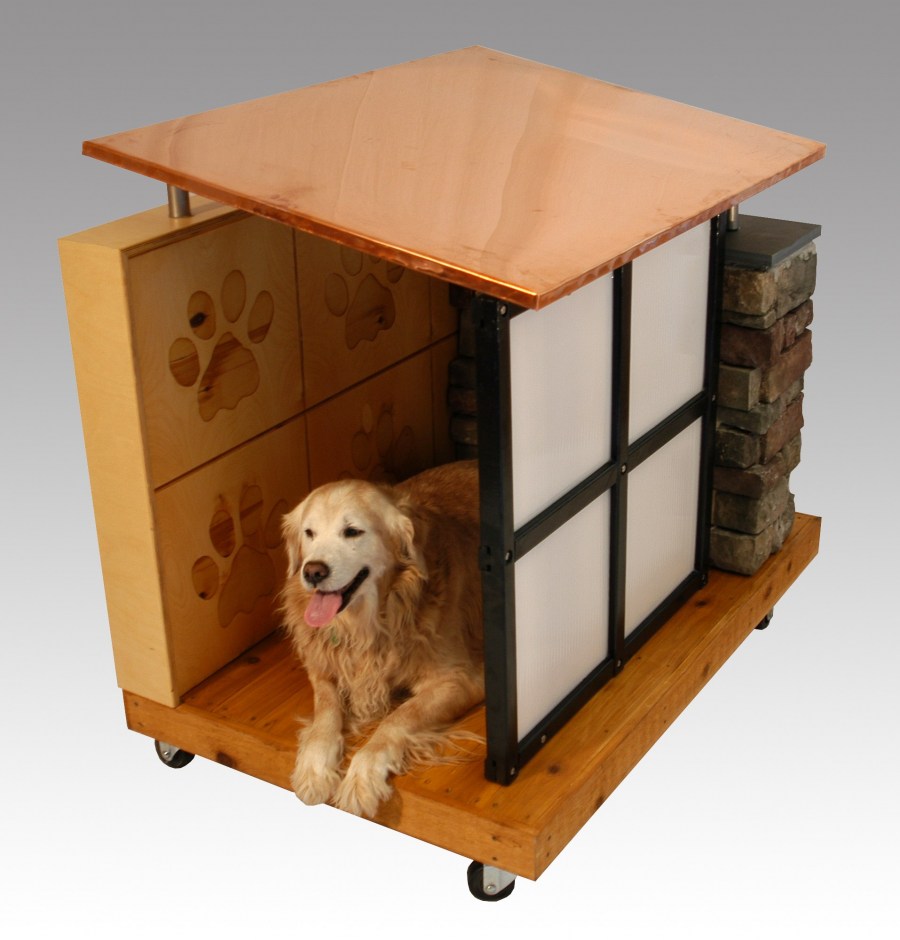
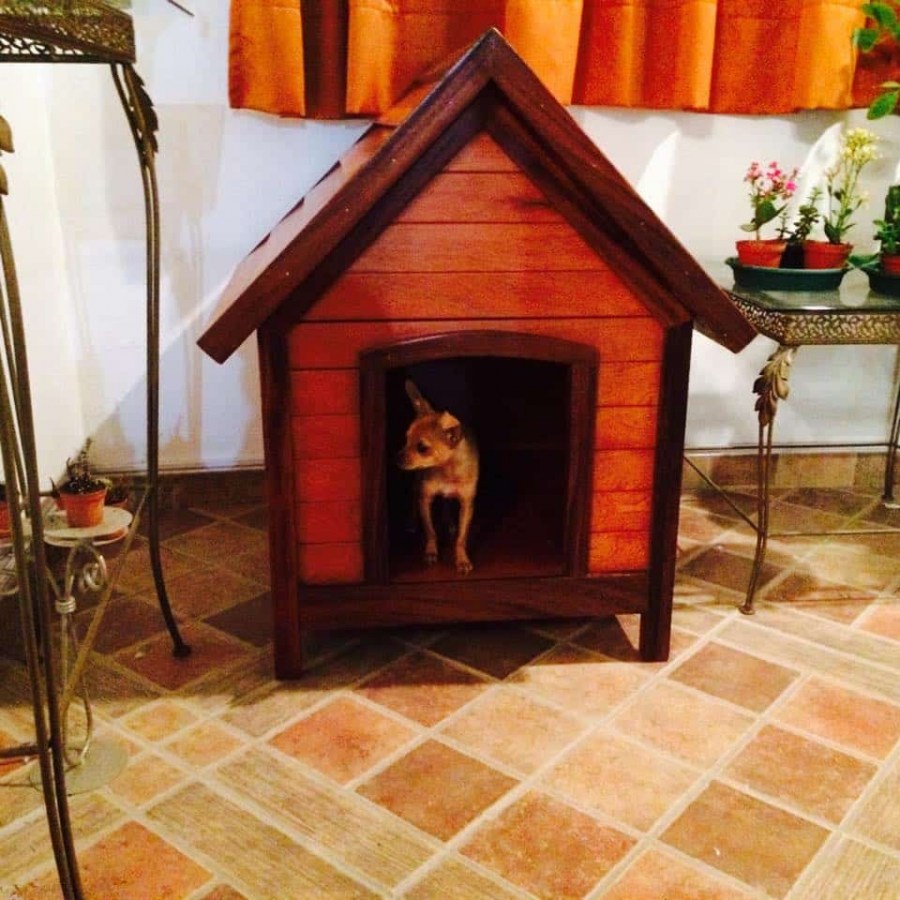
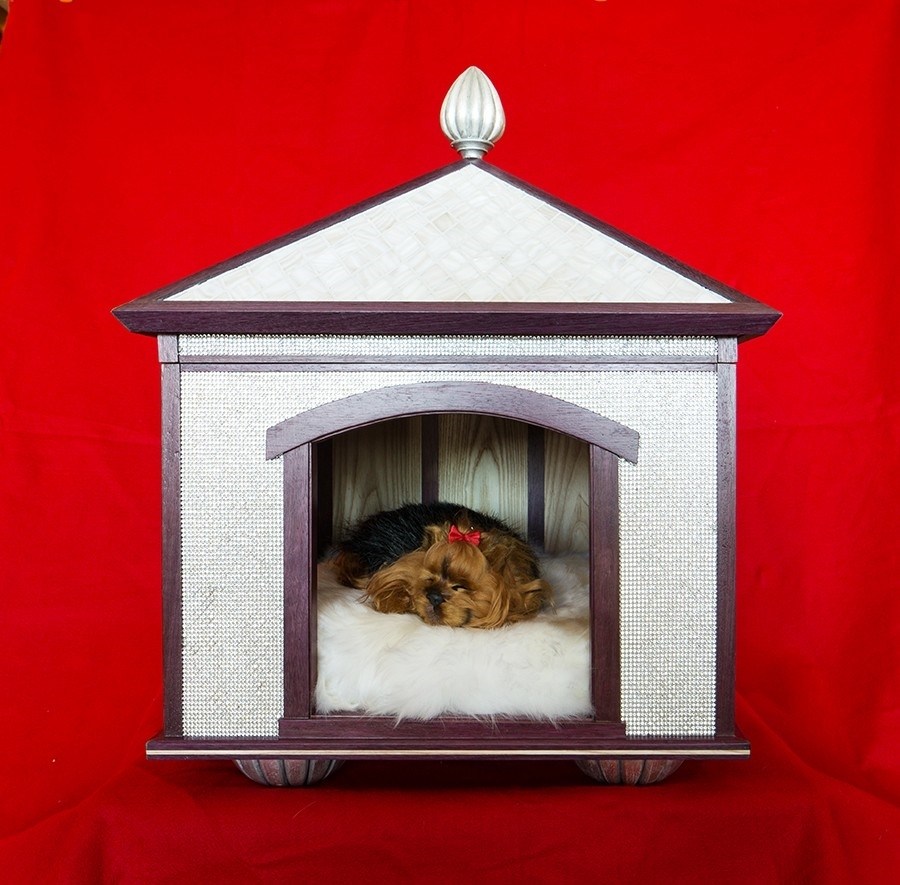
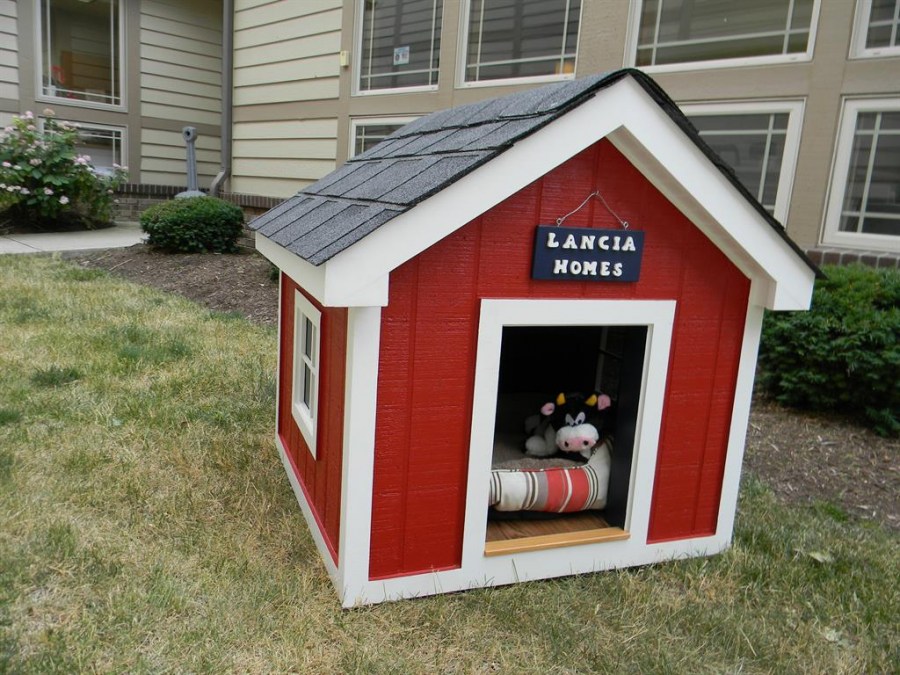
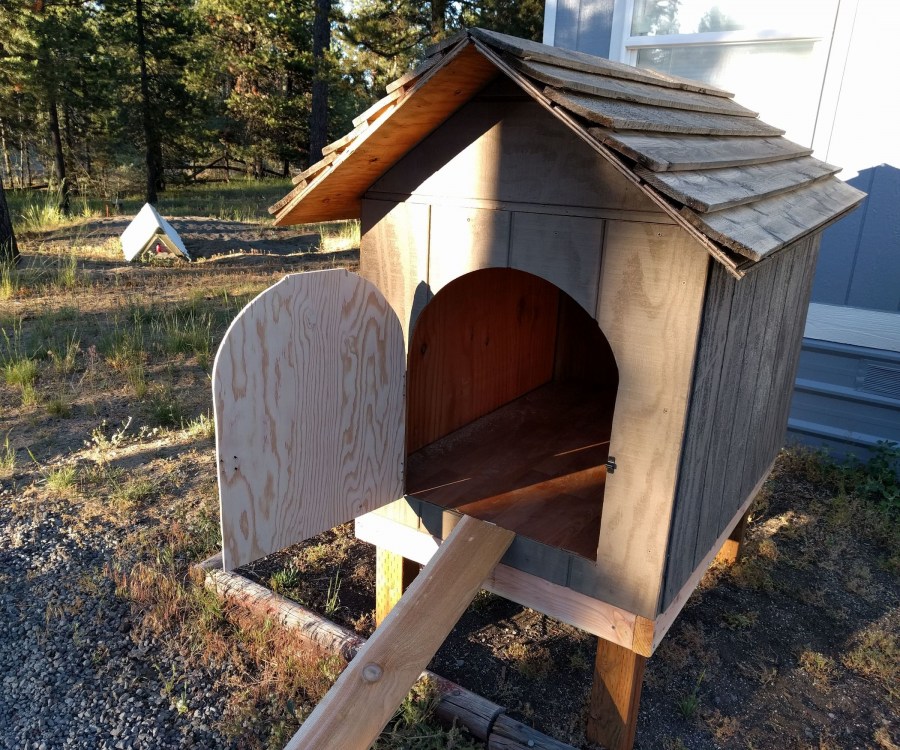
The photo of the dog booth shows an already finished construction, which must be treated externally with an antiseptic composition, or with special impregnating solutions and how to dry it. We fill a sheet of roofing material on the floor surface and fix a couple of bars, also covered with a primer mixture. For the aesthetic appearance of the kennel, the laz and the end parts of the cladding are decorated with platbands.

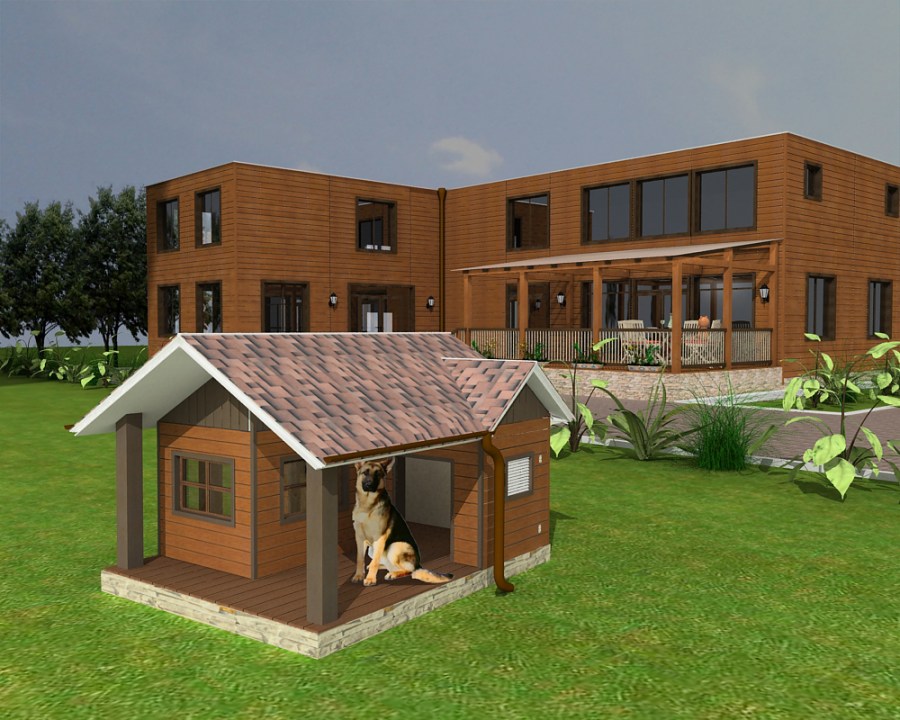
A ready-made house for a dog is important to correctly position it in a free suitable place of the house territory. The selected area should not get wet and fall under gusts of wind.
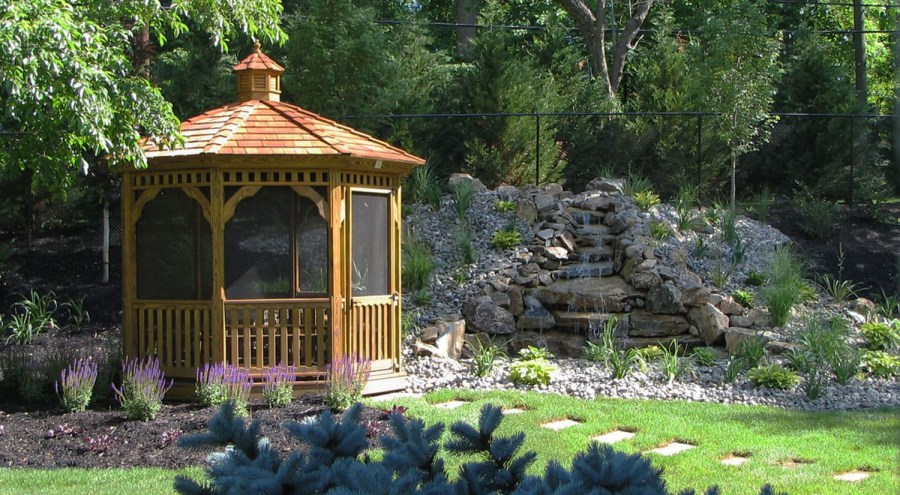
It is better if the surface of the soil is as even as possible, and the place itself is illuminated by natural light. The dog should see almost the entire territory of the protected area, in time to notice strangers.
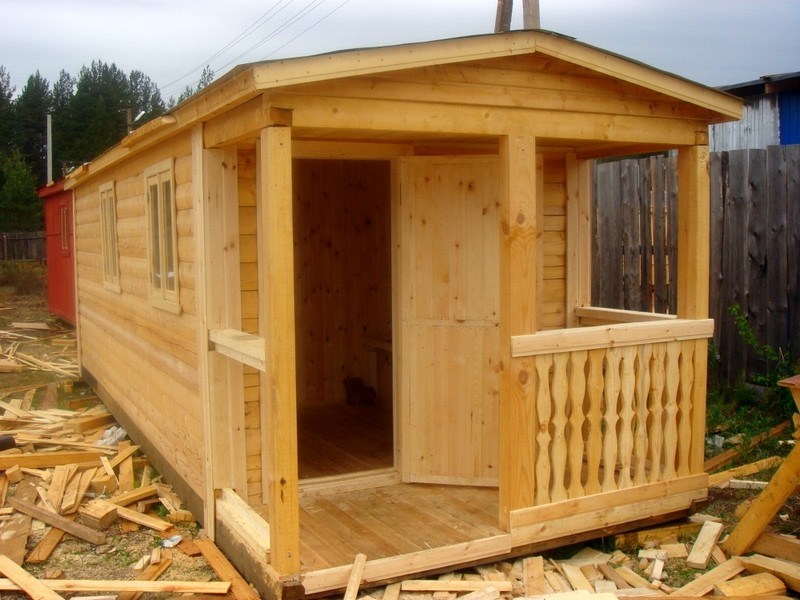
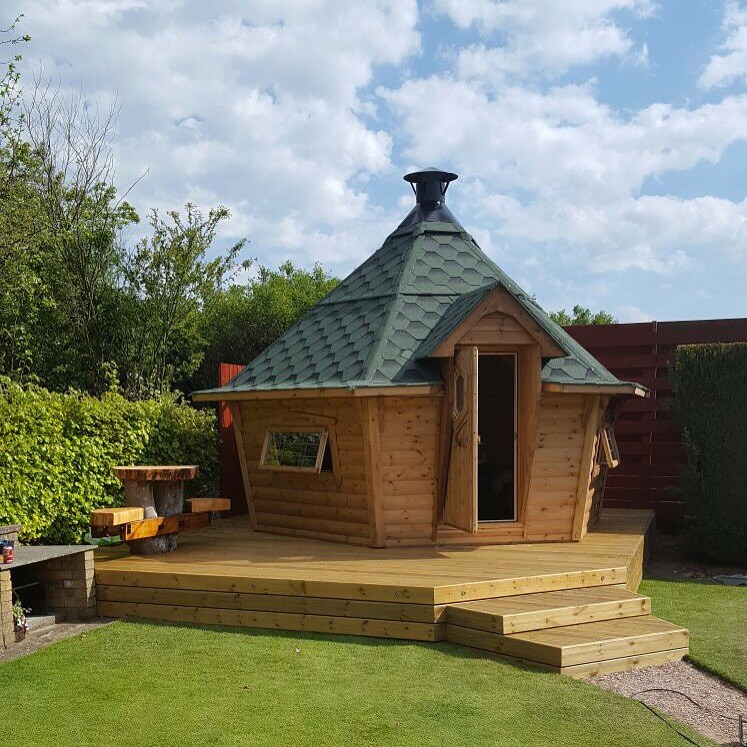
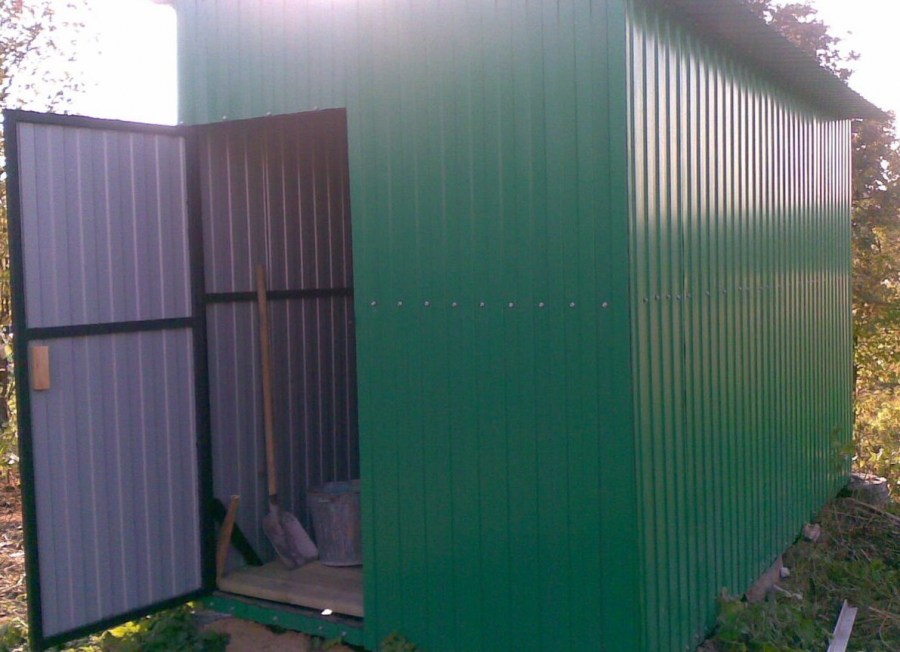
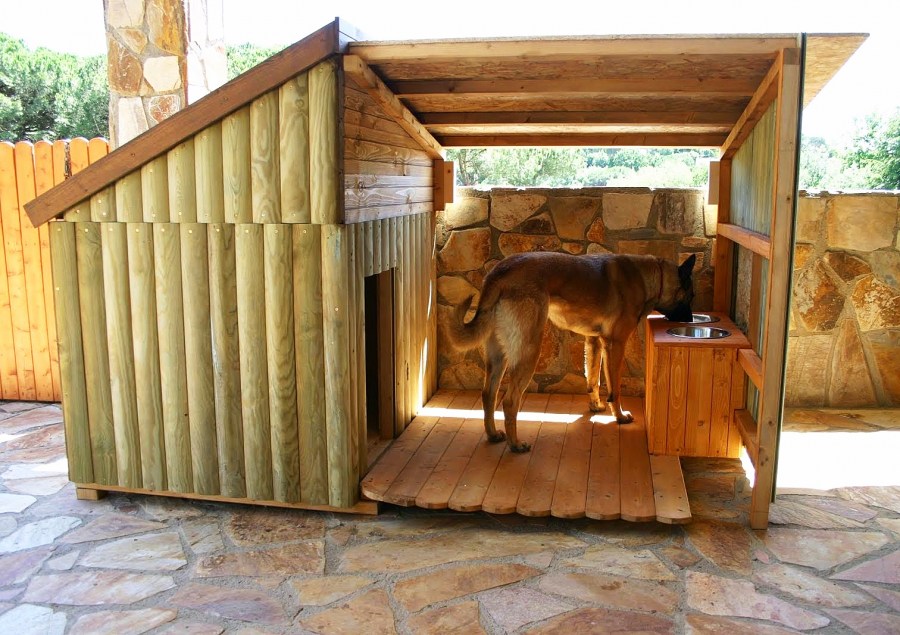
House in the Aviary
Your pet feels much better in a spacious enclosure with a dog booth, which is also not at all difficult to do on your own. In order to avoid inconvenience, stiffness and harm to the dog’s health, some nuances must be taken into account when building an enclosure:
- The most important factor is the size and size of the pet, the aviary parameter depends on these factors. Note that too large a cell area prevents the entry and preservation of warm air!
- Do not make the walls of the room deaf, as the dog will observe the ongoing actions on its territory.Most often, for this they use a grid - chain-links with ordinary cells.
- When choosing a floor covering, consider the habits of the pet.
- It is not recommended to completely enter the aviary under the roof.
- It is better to open the doorway inward, and on the door itself it is reasonable to put locks or shutters on both sides.
As practice has shown - a dog grown in a free aviary suffers from diseases much less often than its domestic counterpart! This fact is due to the constant presence of fresh air.
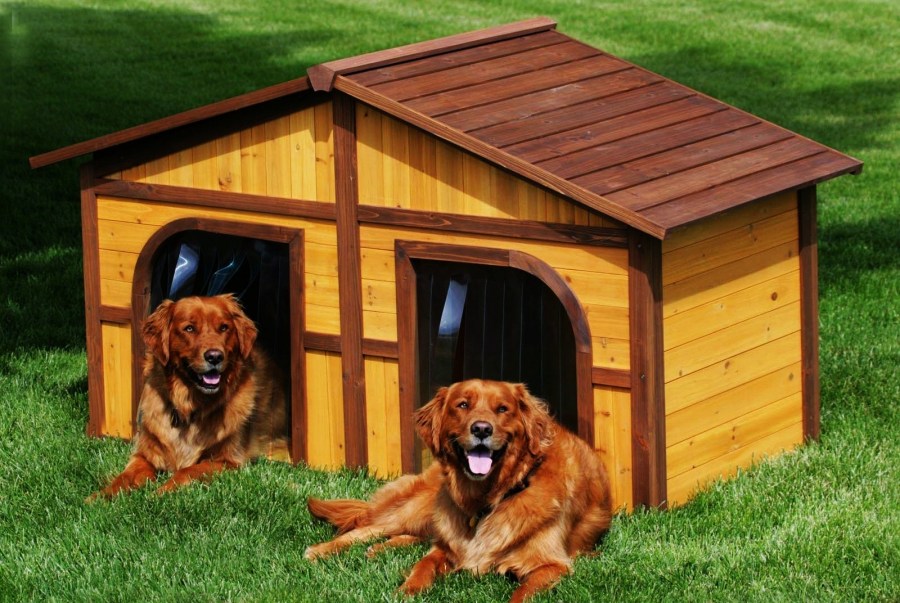
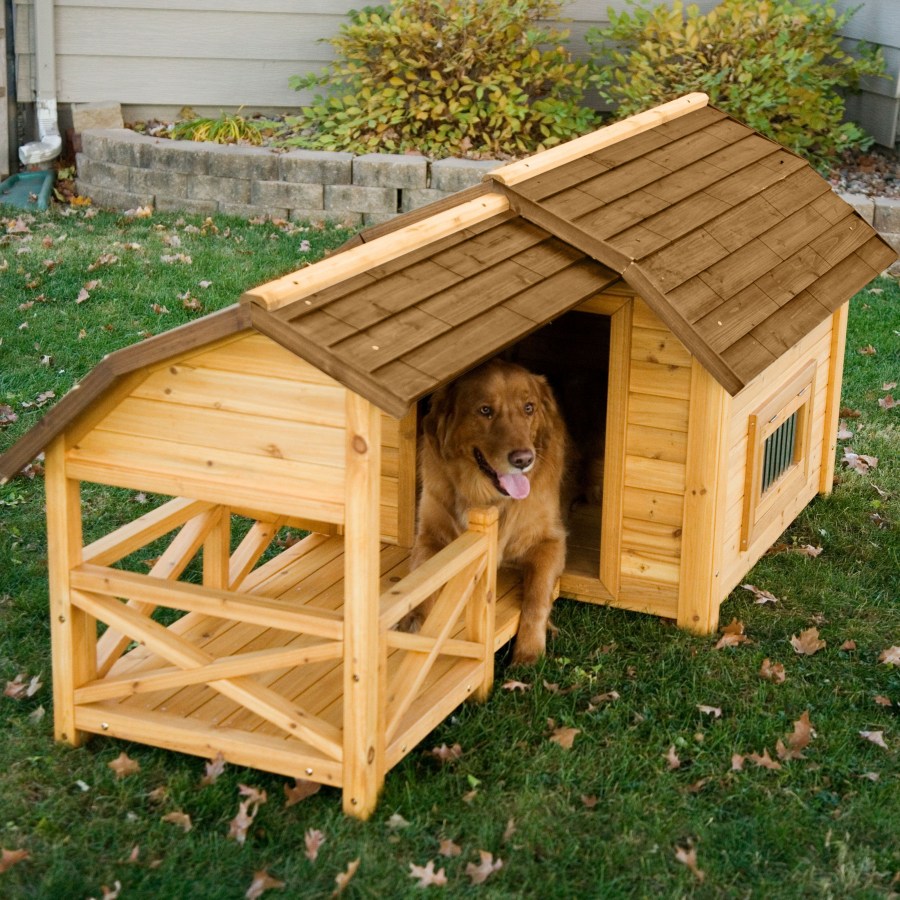
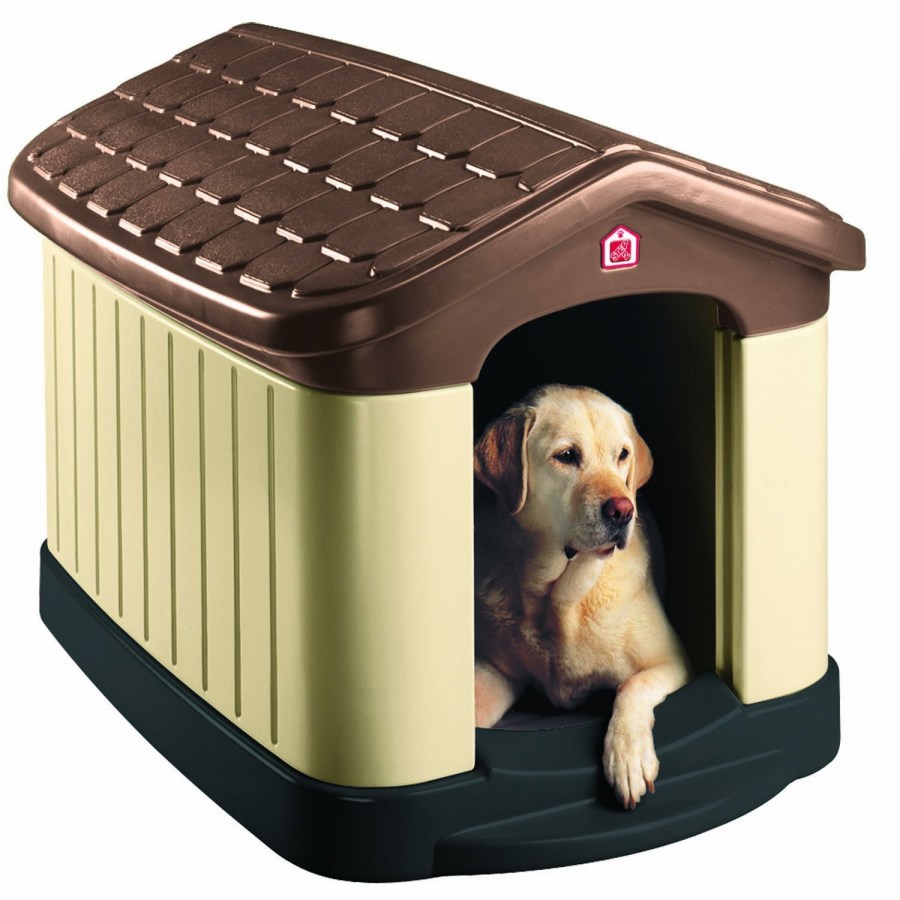
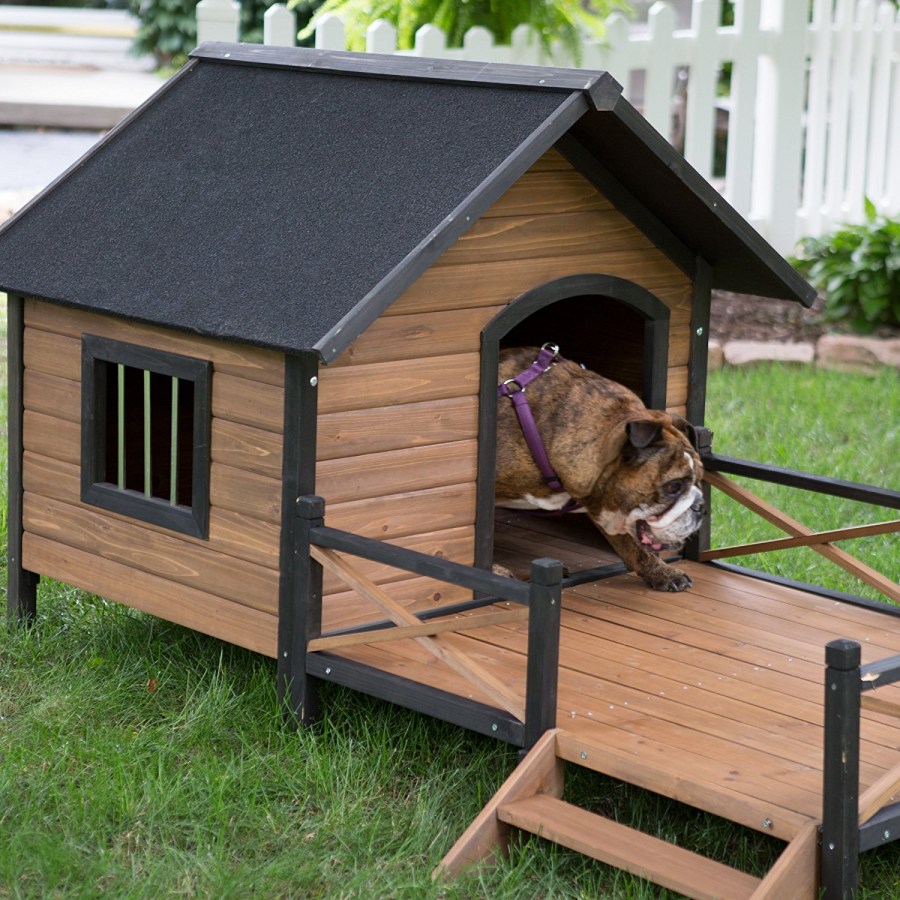
Photo of the doghouse


Join the discussion: