Compost pit - how to do it yourself? 95 photos of the best manufacturing options
The need for compost pits in their dachas is faced by most owners of suburban areas. Composting constructions make it possible to solve a variety of everyday problems: this is the disposal of organic waste, and increasing the fertility of all types of soils. Using compost is environmentally friendly, cost-effective and efficient.
You can not waste your energy and buy composters in specialized stores, or you can make them yourself. However, there are many pitfalls in building a compost pit with your own hands, and only a competently made compost pit will allow you to get high-quality fertilizer, while avoiding various negative consequences.
Where to start manufacturing compost pits?
The pits should be as far away as possible from residential buildings and located on the leeward side, since organic waste has an unpleasant appearance and smell. Recommended distance - at least 30 m from the property.
Do not place pits close to drinking water sources. The optimal distance is 25 meters.


Consider terrain features. You can’t have pits on the hills: along with the sediments, its contents will be spread over the site. You should not choose places on the slopes: excess water reduces the rate of fermentation. A flat plot of land is best suited.

Pay attention to the trees next to the pits. A good neighborhood will be alder and birch, but next to evergreen trees it’s better not to put pits.
To maintain proper compost moisture, select an area in the shade.

Do not forget about the convenience of access to the pit and choose the most suitable place for you.
Pit arrangement
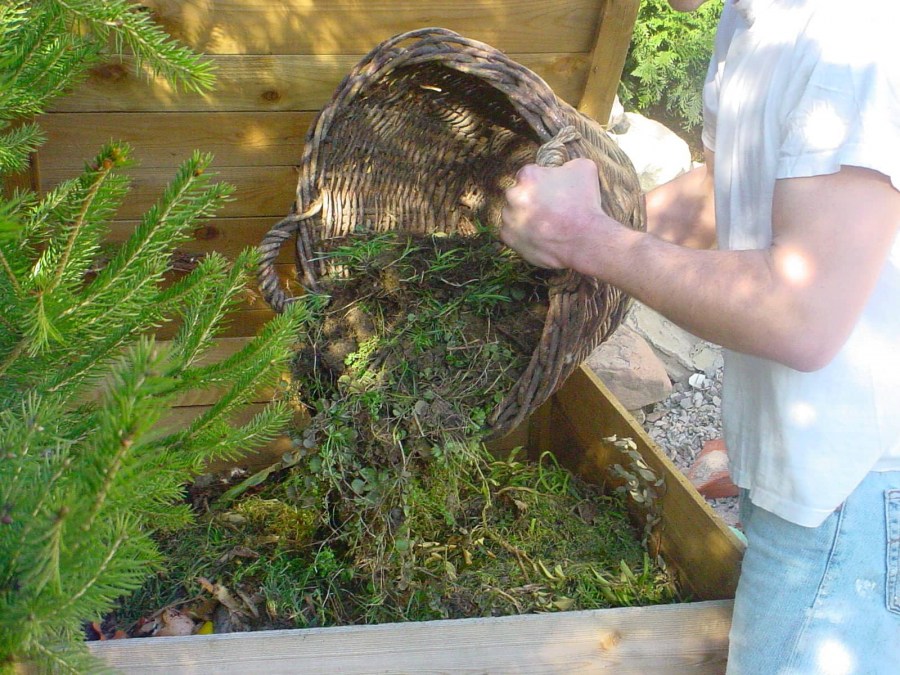
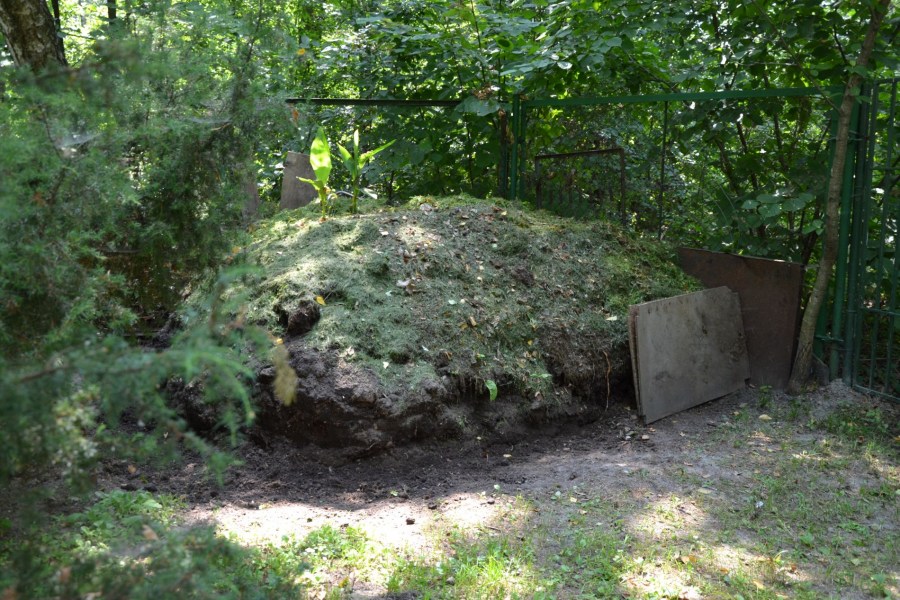
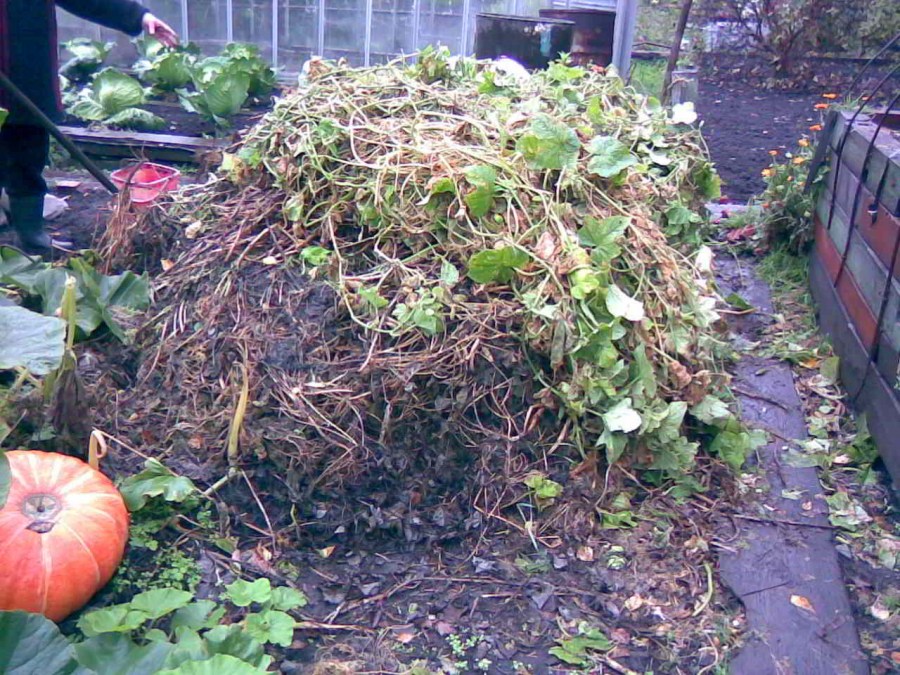
Many summer residents prefer not to equip compost pits and tend to use compost piles. The thing is the simplicity of working with compost: it is easier to load waste, mix and unload humus. But from an aesthetic point of view, they are unattractive, and the simplicity of working with compost can also be achieved for pits, if properly equipped.
Compost pit as it is
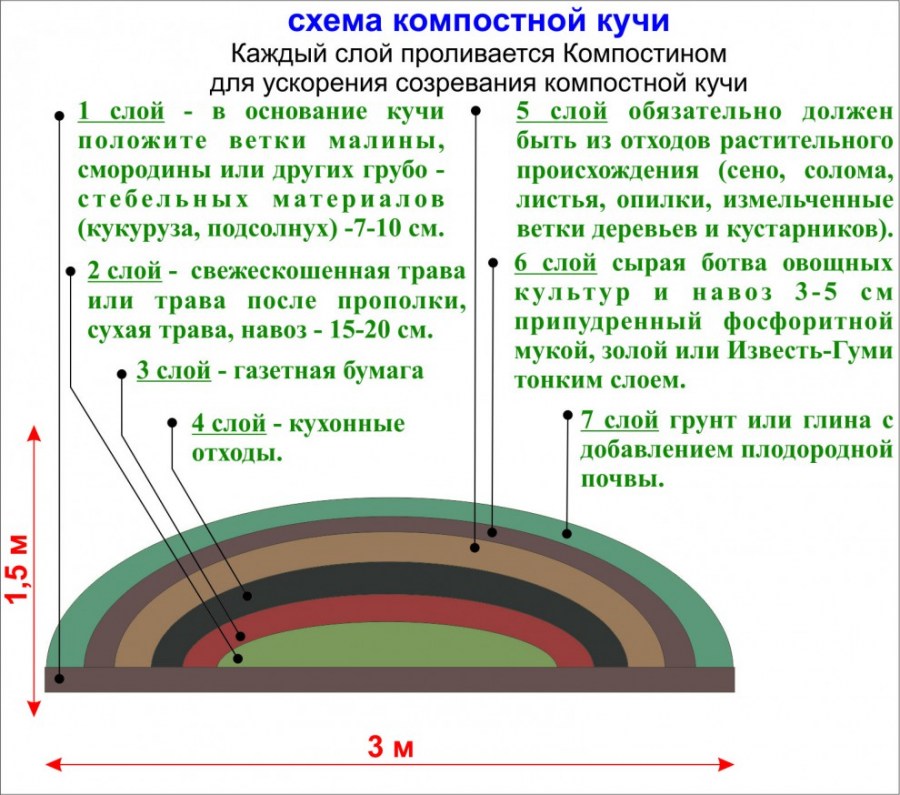
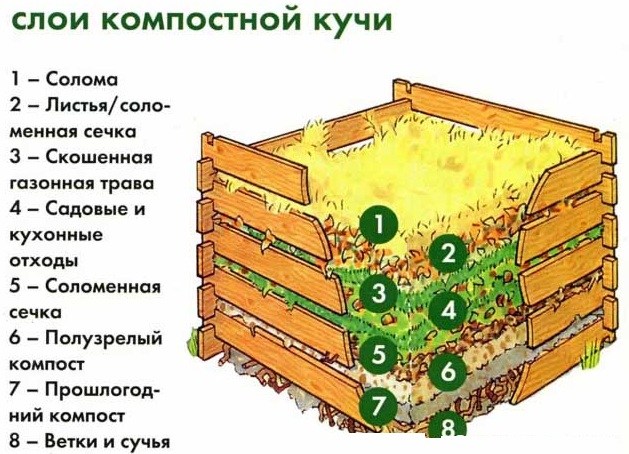
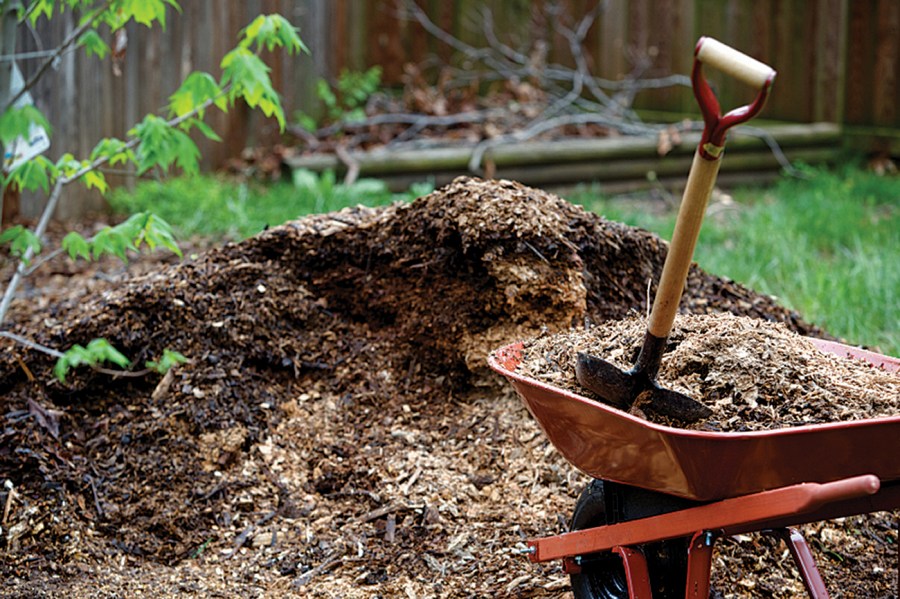
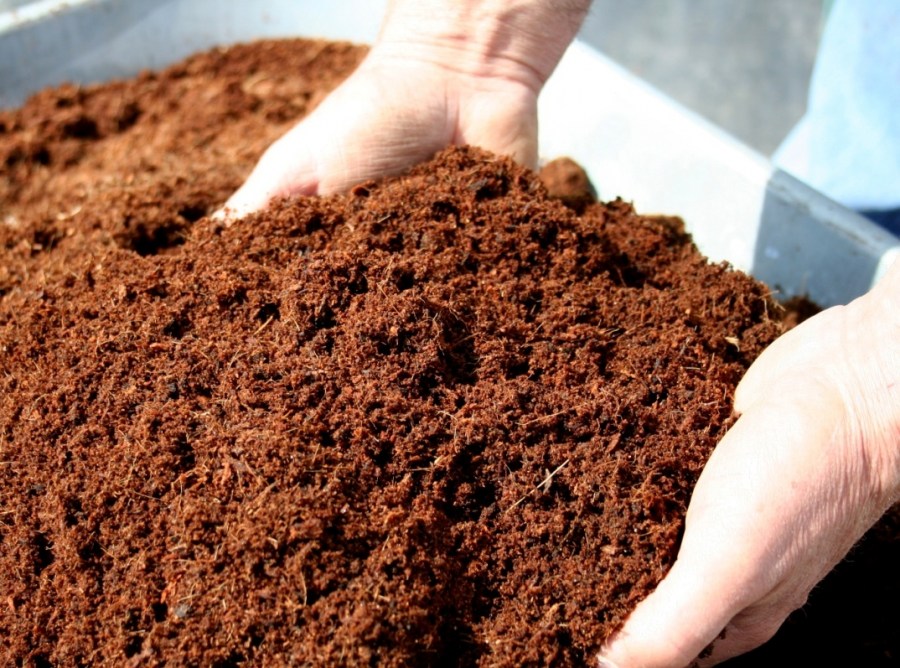
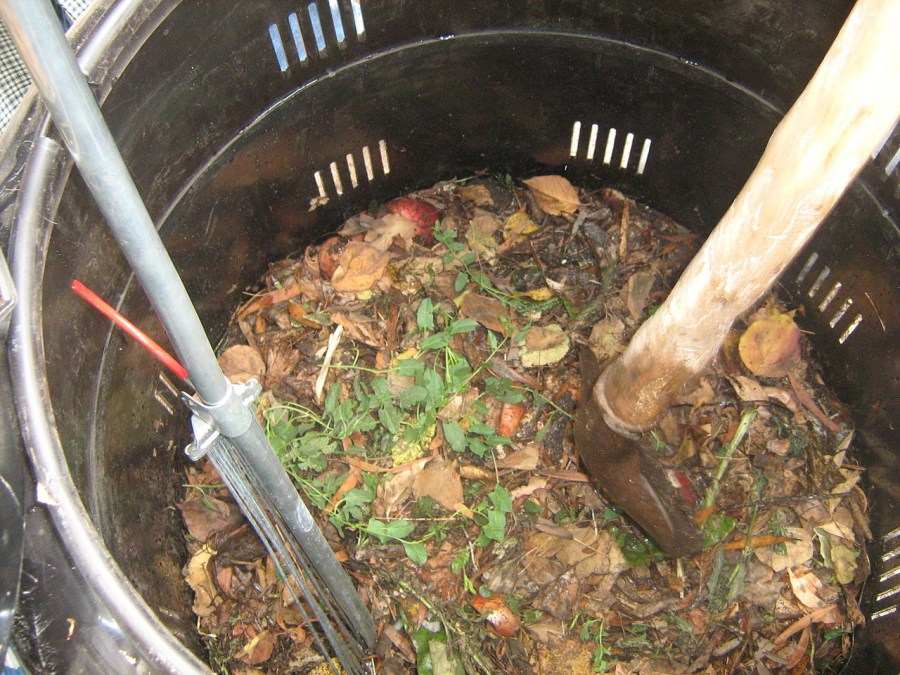
Compost ripening lasts from a year to two. For the processing of organics, access of air, moisture, earthworms and soil organisms, a variety of types of waste and the absence of certain of them are necessary. These conditions determine both the optimal places for compost pits and the variety of types of structures.
The optimal size is determined by the compost ripening time. Half of the pit is allocated for fresh waste (not older than two years), and the second for compost already ripened.
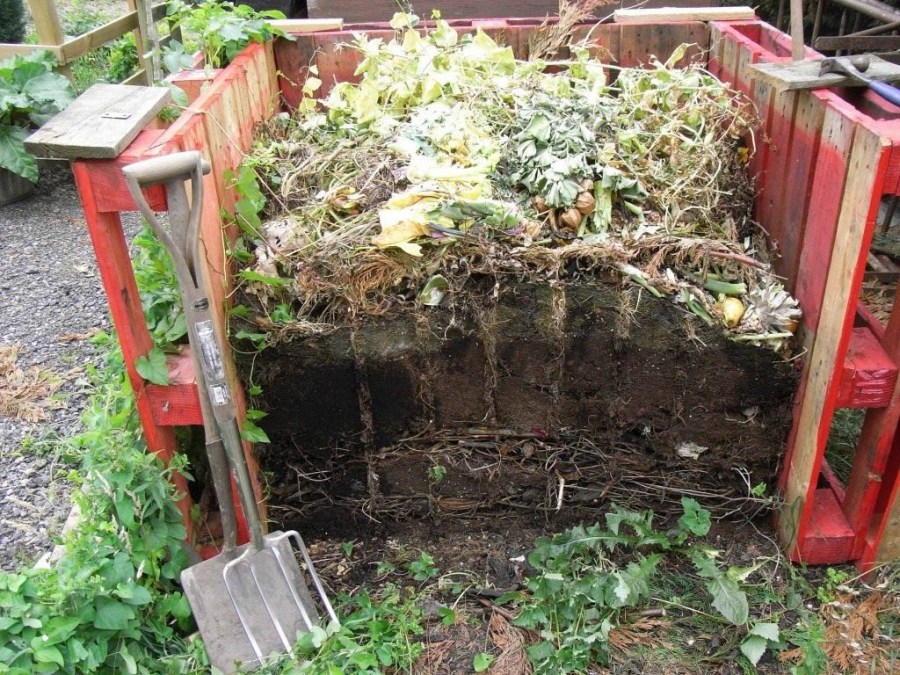
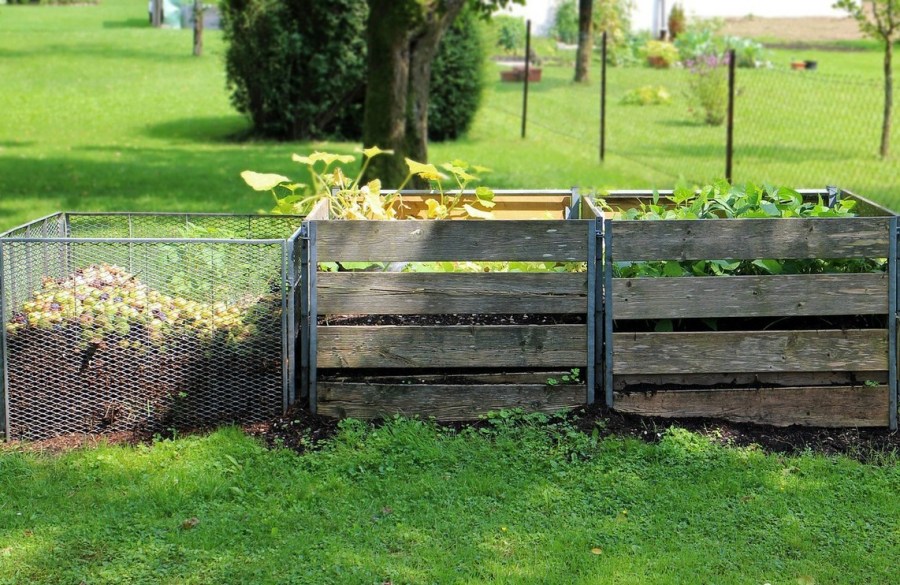
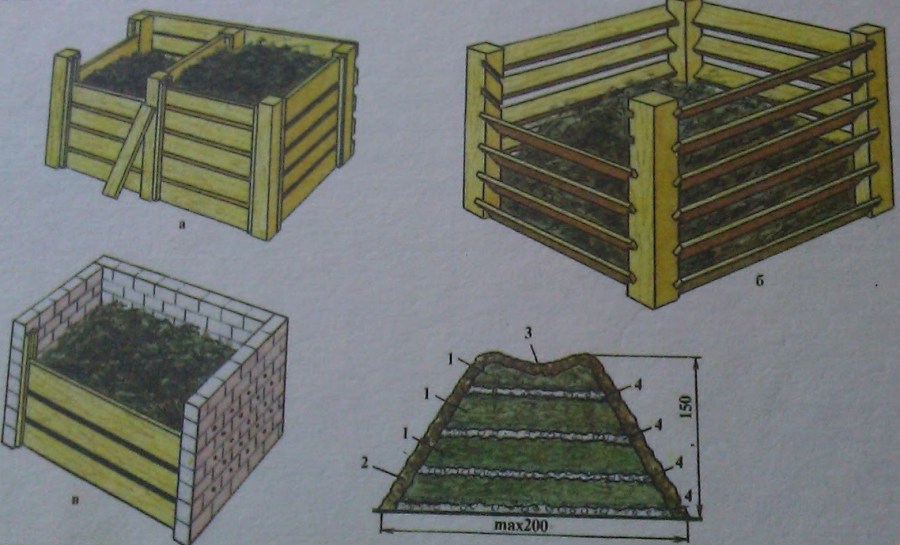
An important factor is the temperature of the compost, which due to rotting rises to about 60 C. The larger the size, the higher the temperature and the more efficiently weeds and pathogens are destroyed. The correct compost pit has the following parameters: depth - about 1 m, width - 1-2 m, length - up to 3 m.
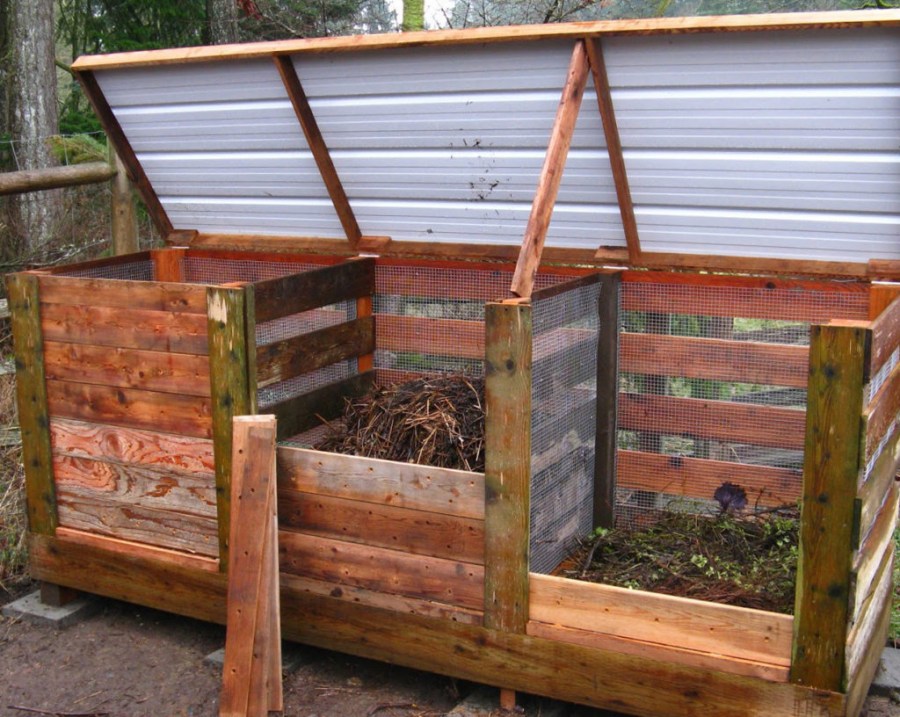
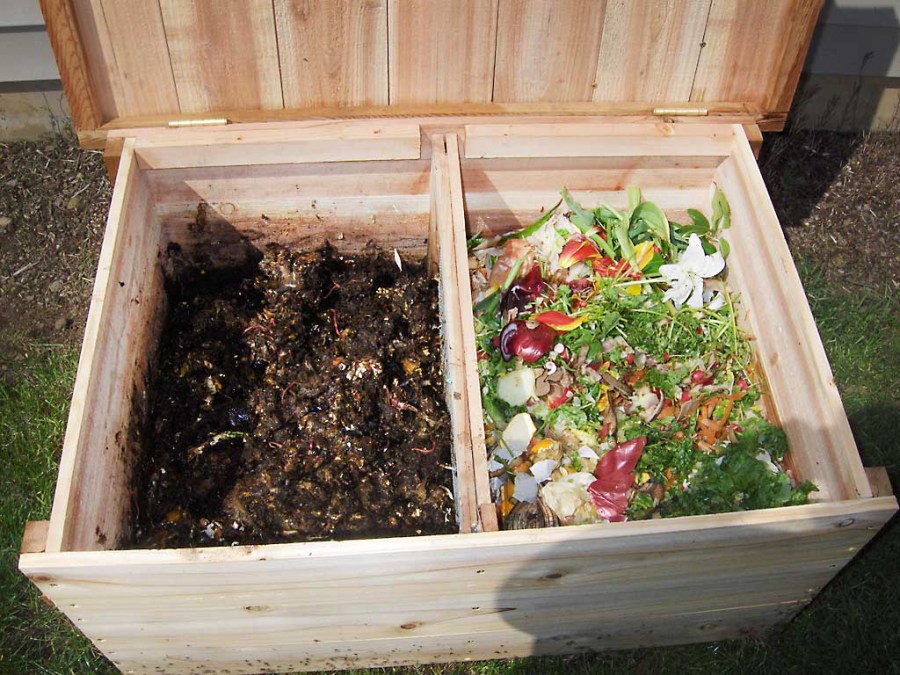
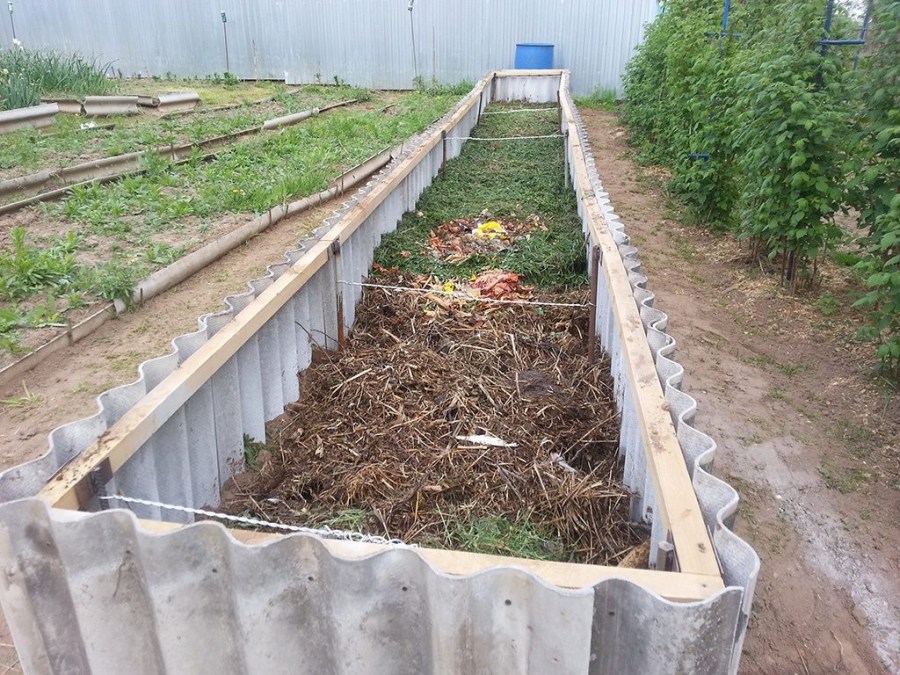
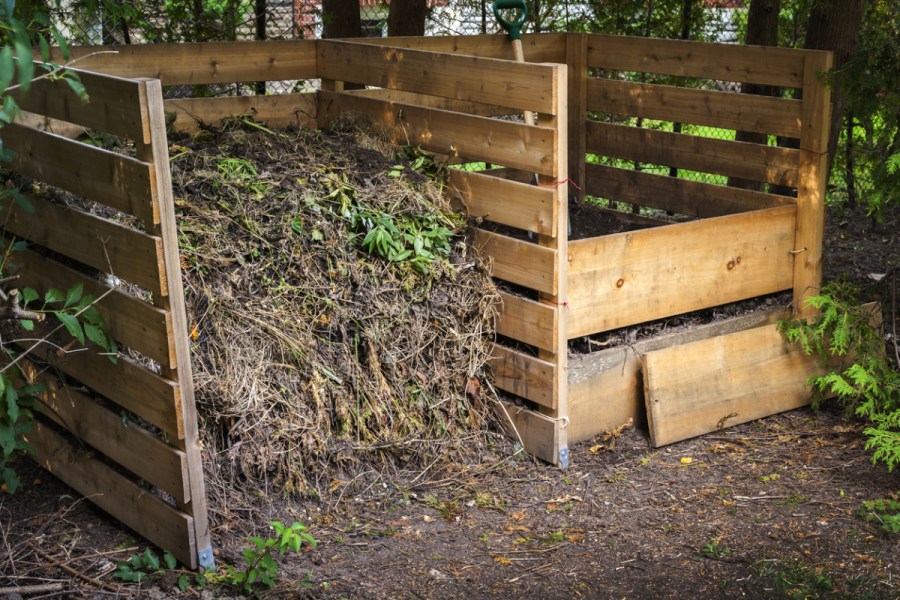
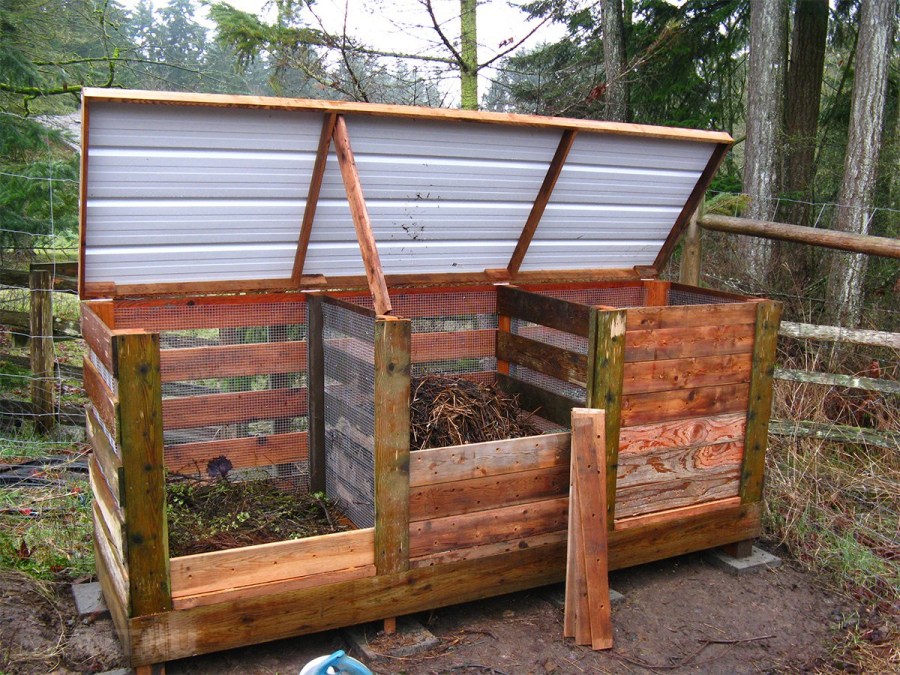
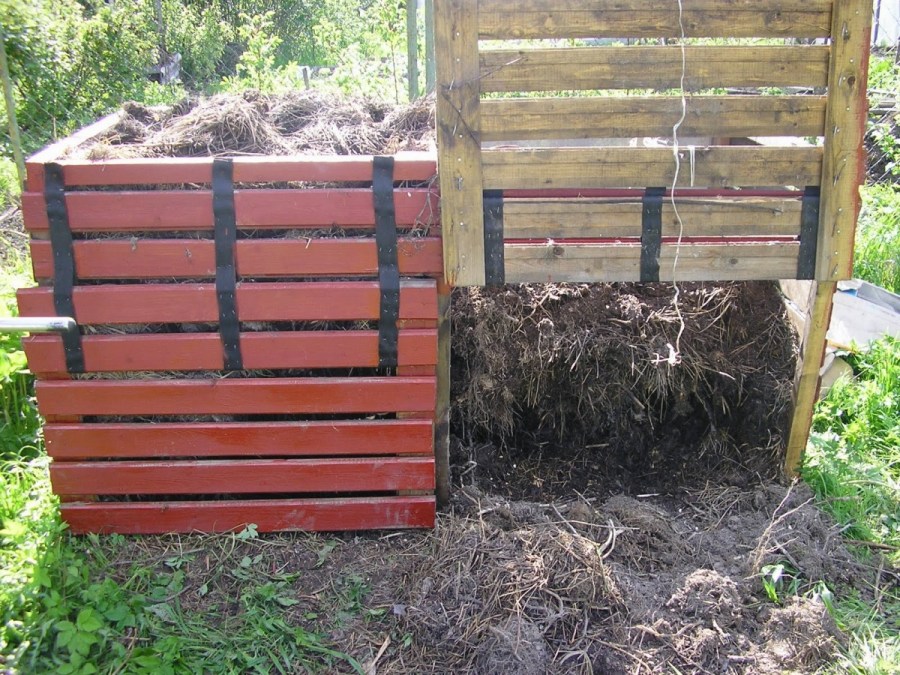
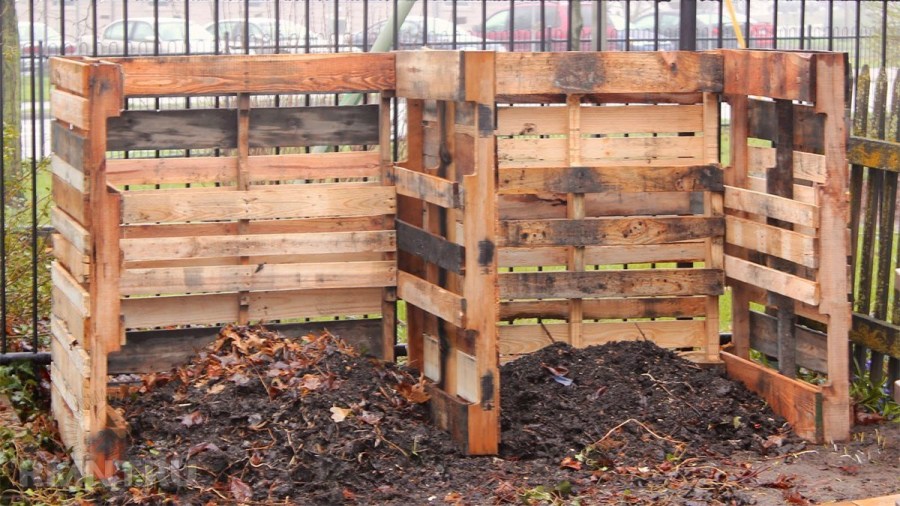
It is advisable to divide the pit into two sections: one for fresh waste, the second for ripened compost. Or three: for fresh waste, for ripening compost and for ready-made.

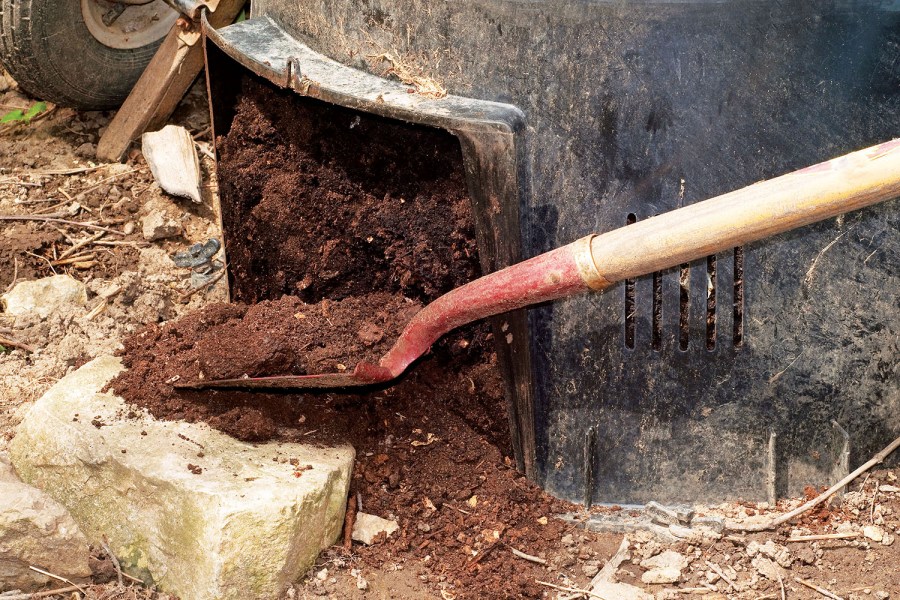
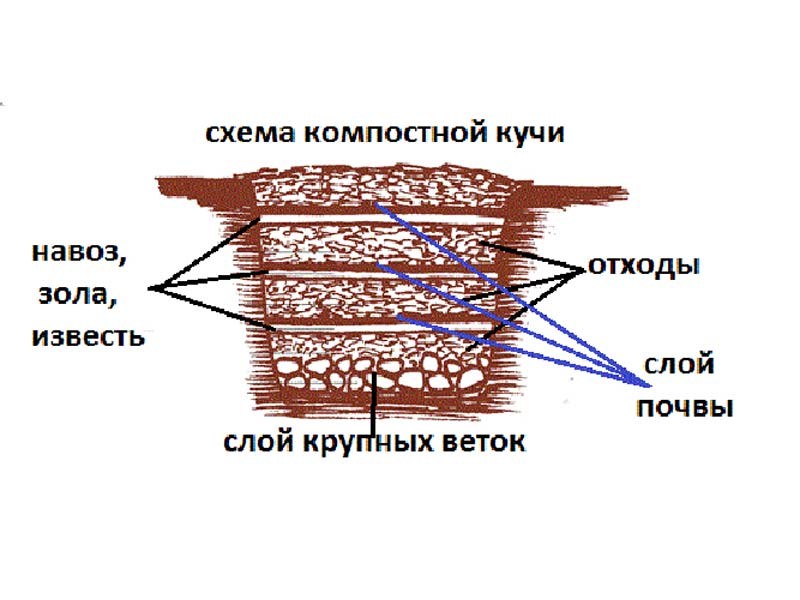
The bottom of the structure should provide access to moisture and worms. Do not cover it with dense materials like slate, metal sheets or film. A good drainage material will be the bark of trees, needles, straw and branches.
The pit should be closed from above, but in such a way as to provide air access.
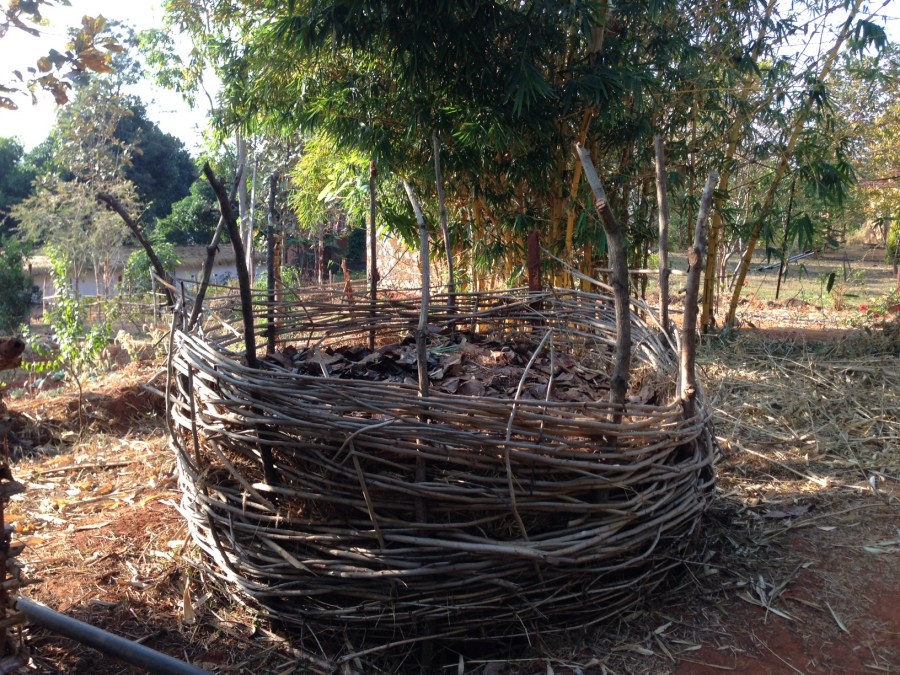
There are various designs of compost pits in their design.
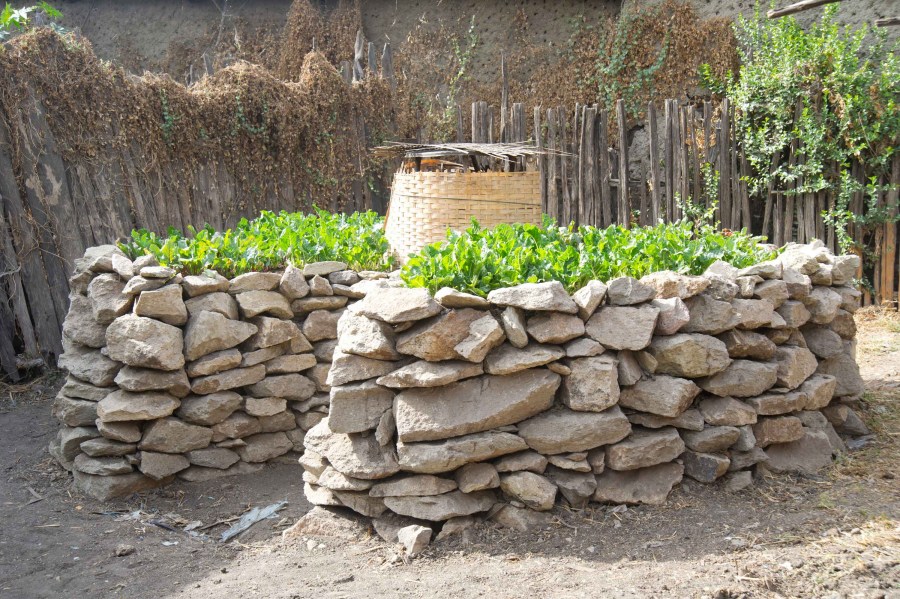
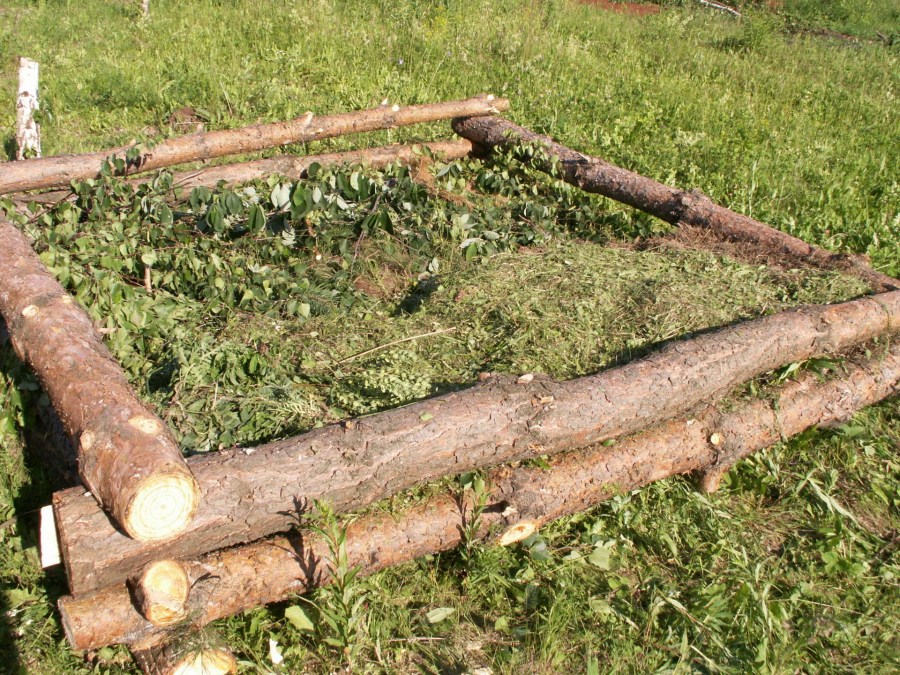
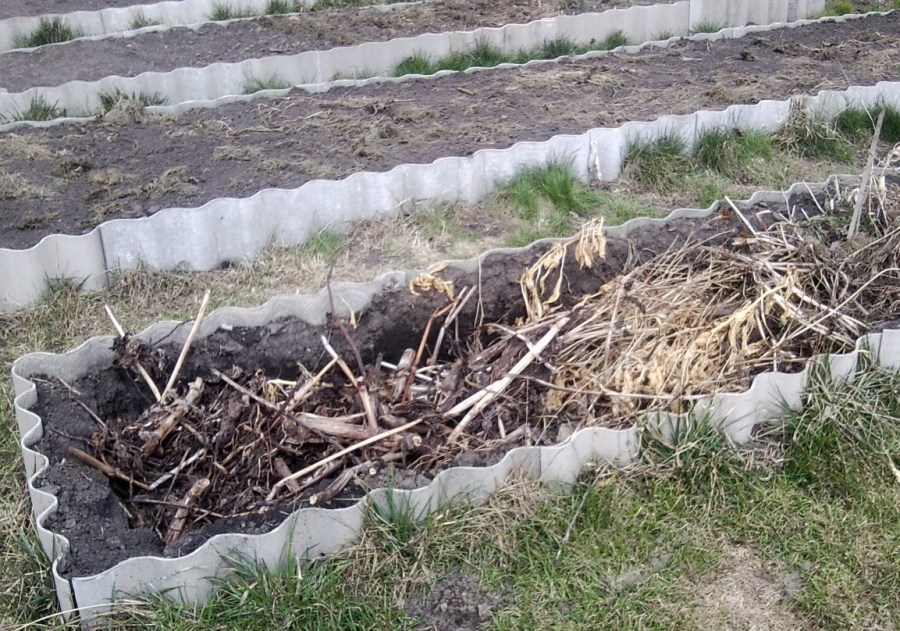
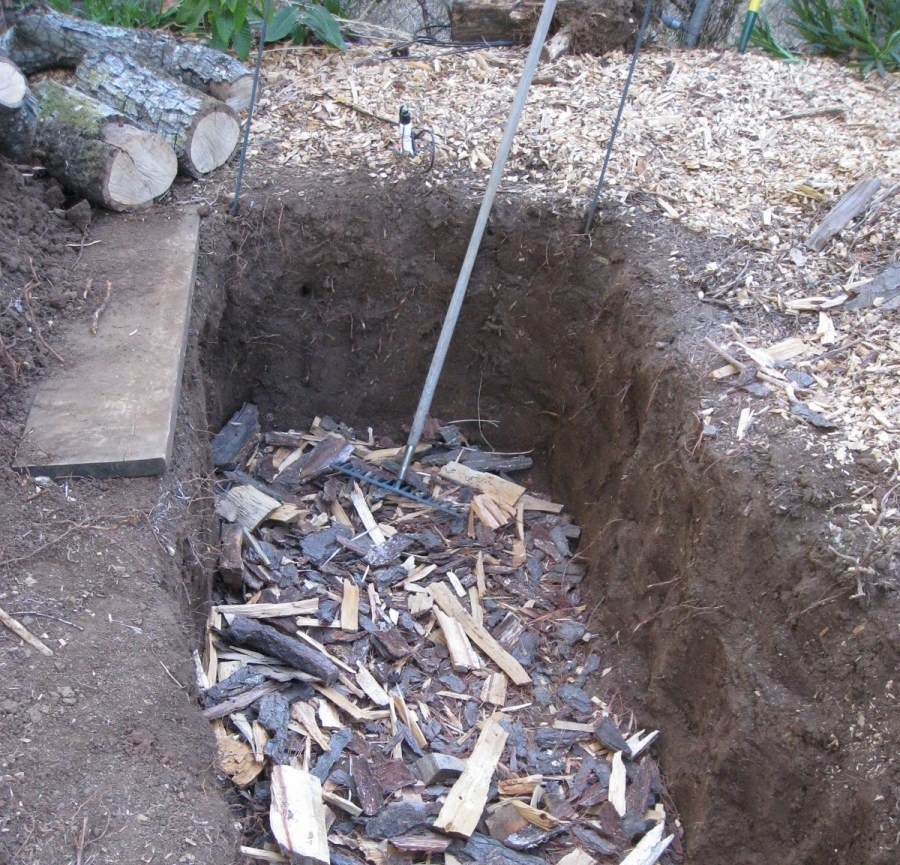
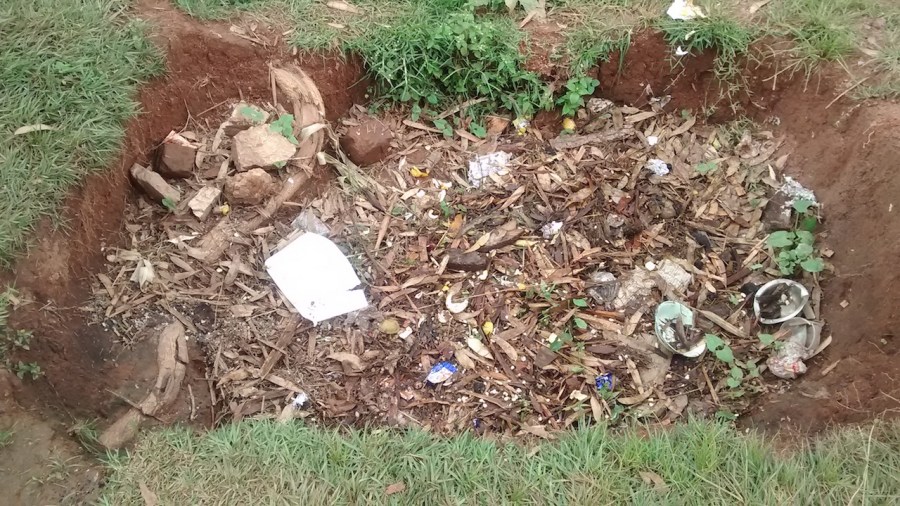
Earth pit
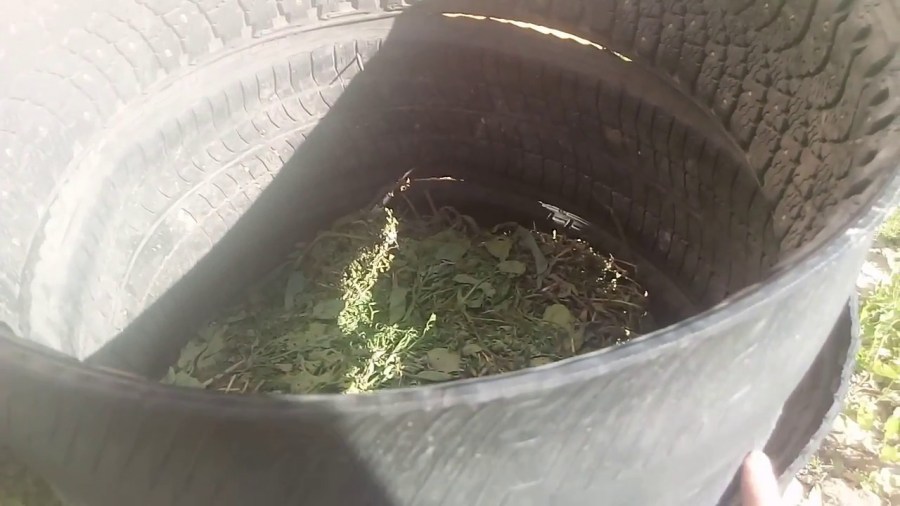
The easiest option. All that is needed is to dig a hole of suitable size, put on its drainage material, and waste on top. The structure is covered with film, tarpaulin or grass.
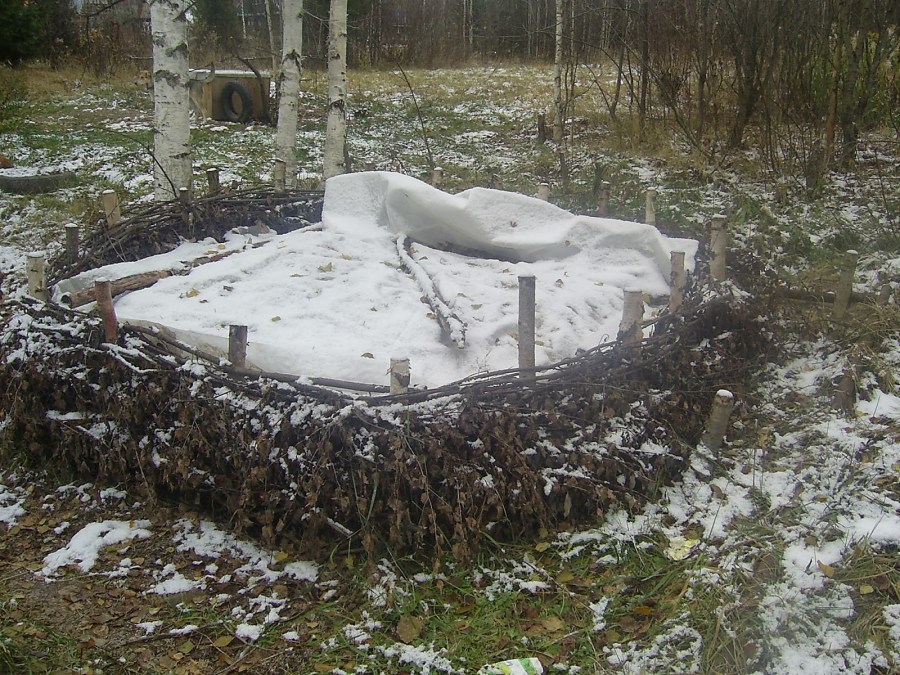
If you plan to use the pit for more than one year, it is worth strengthening its walls with any improvised methods - for example, slate, roofing material, plywood, etc.
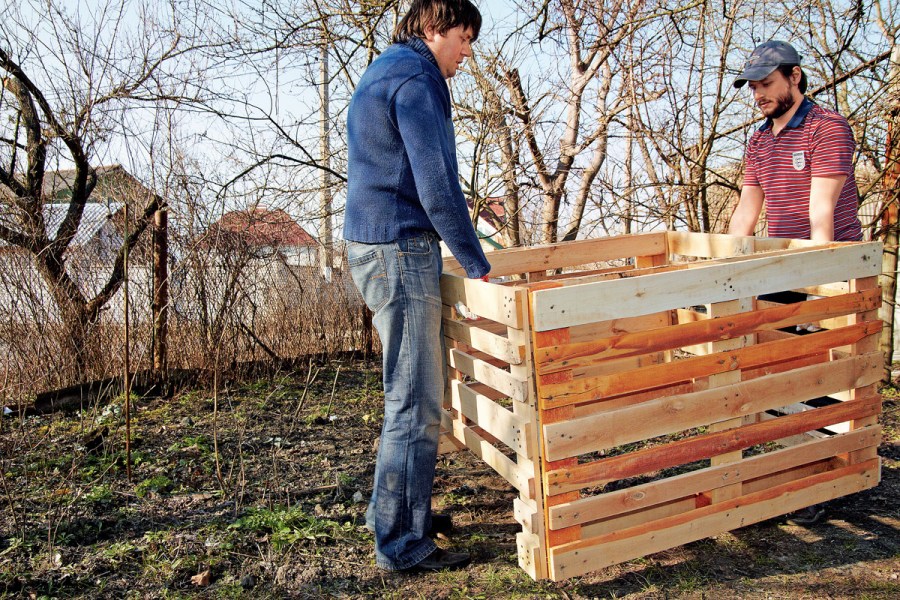
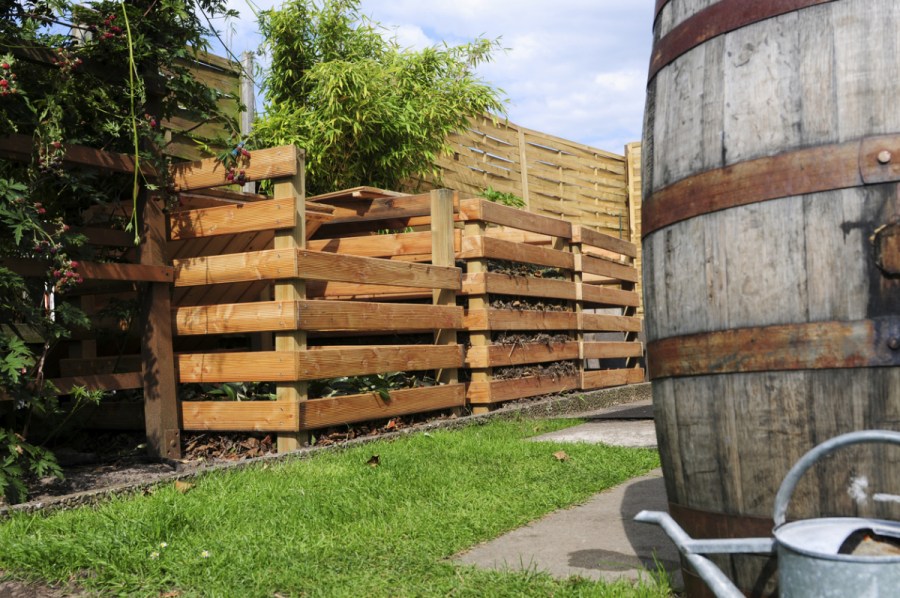
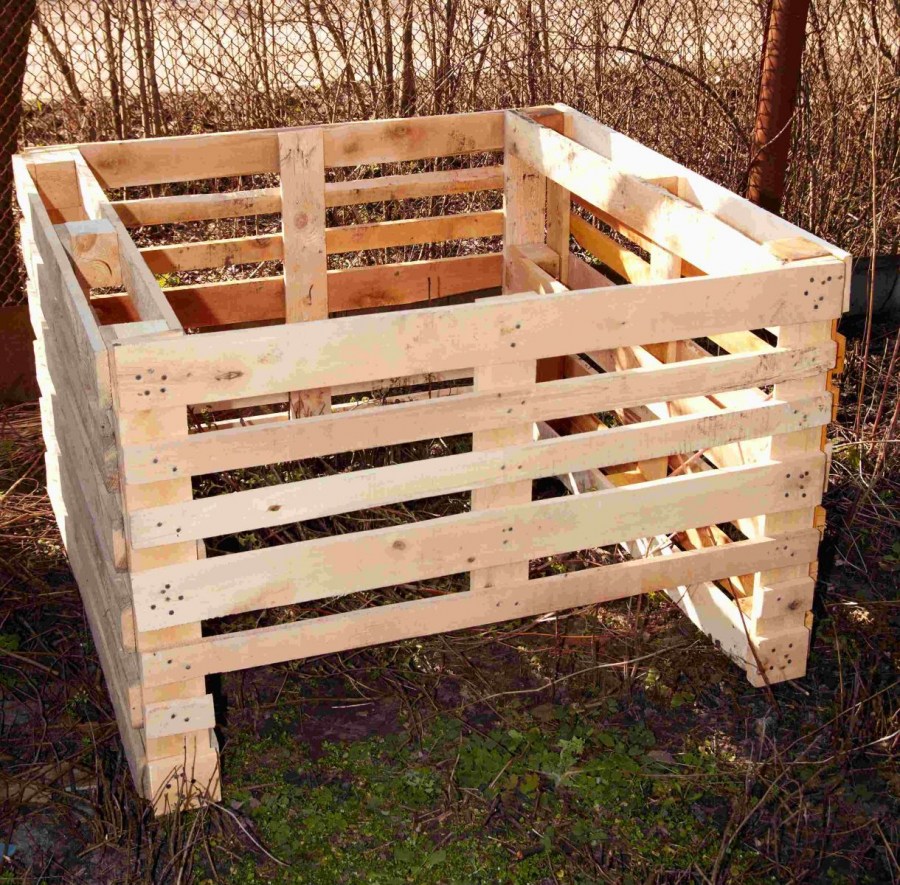
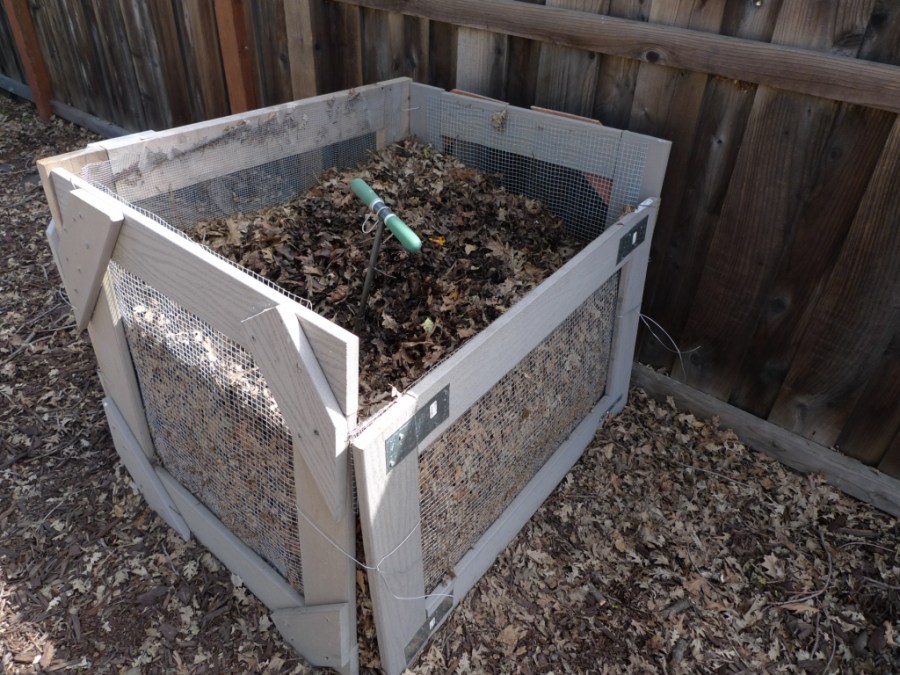
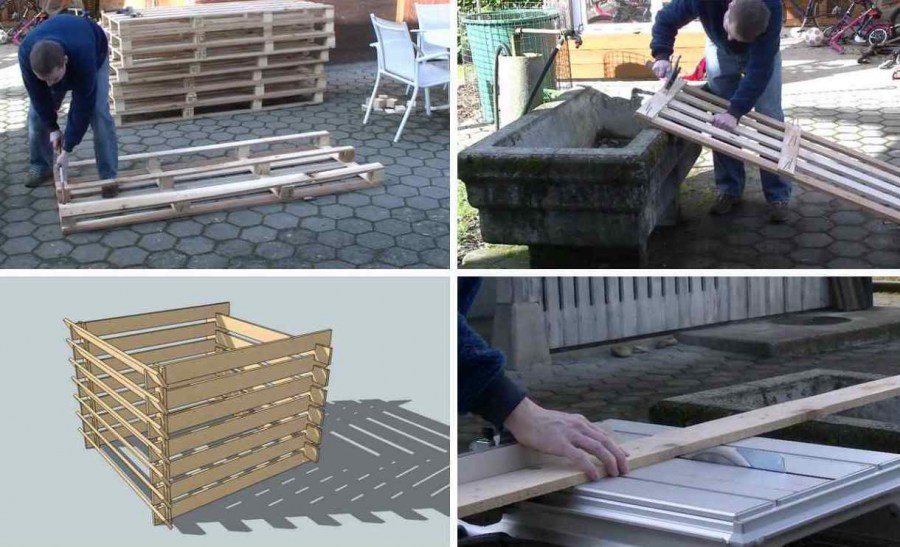
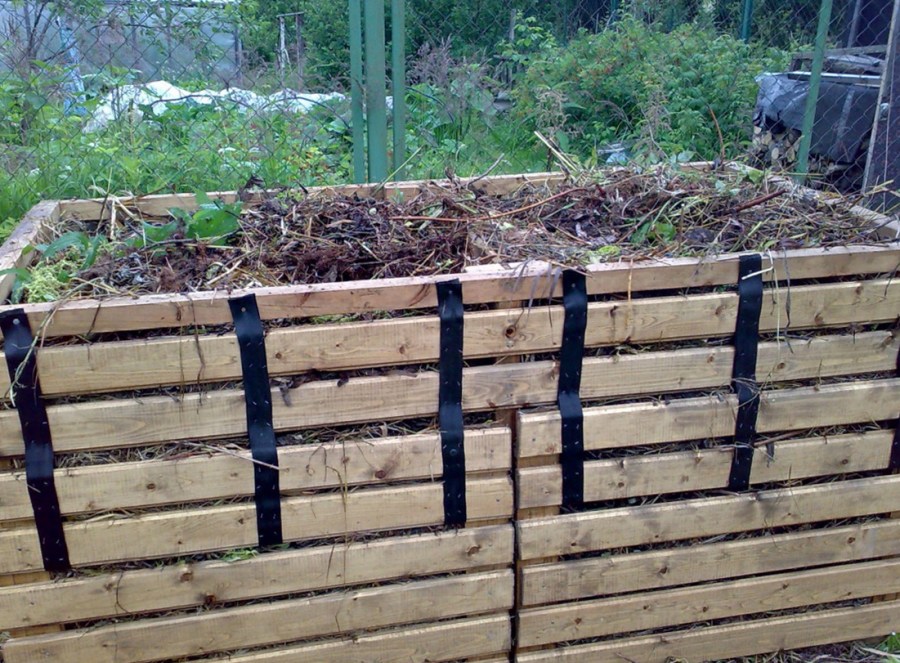
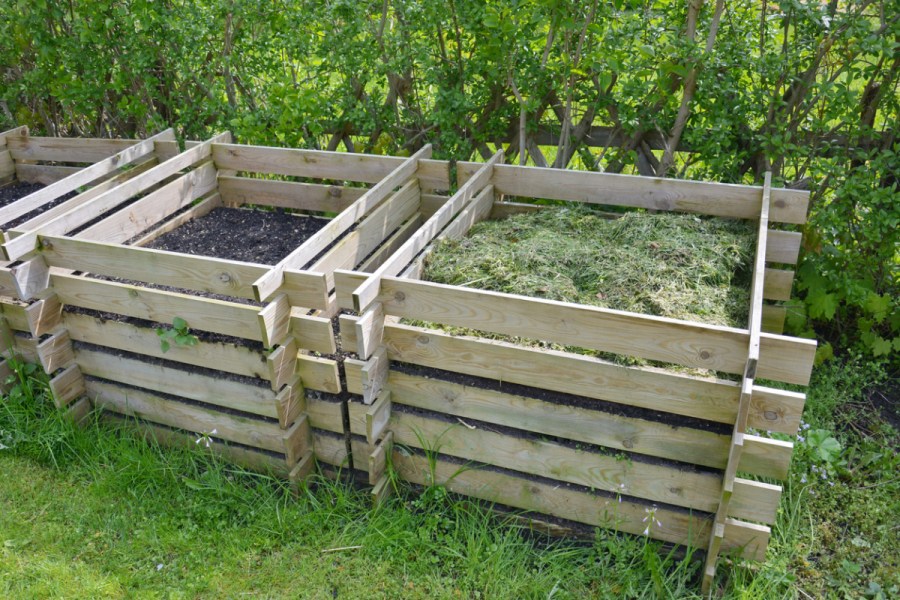
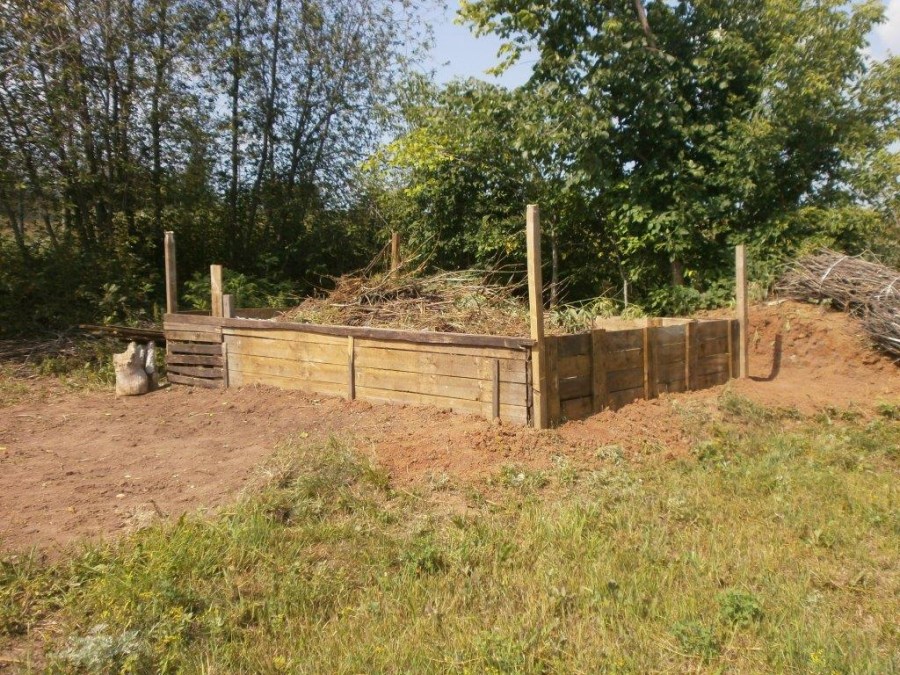
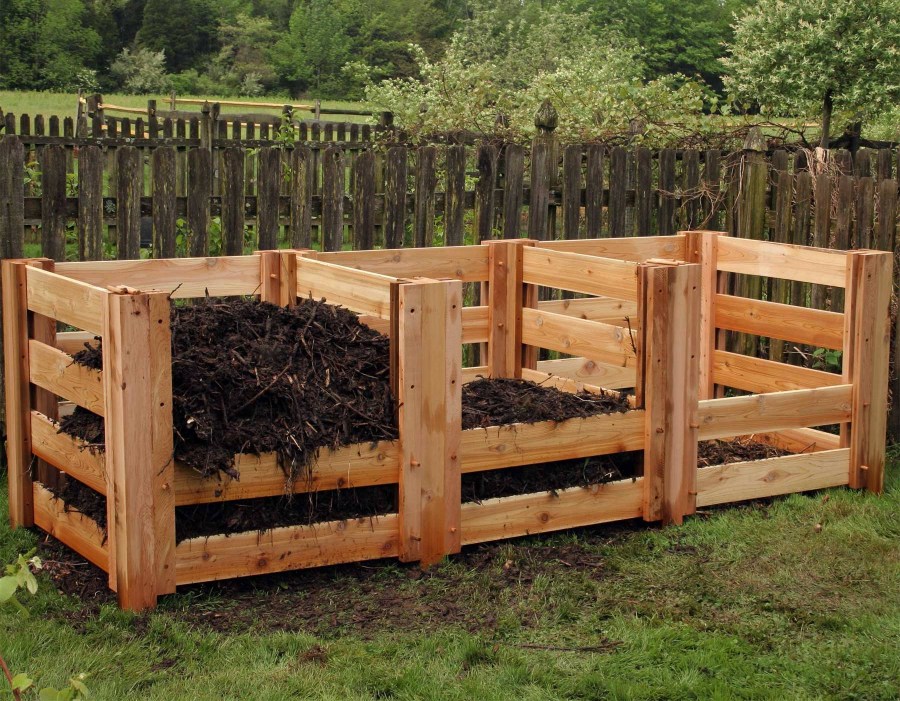
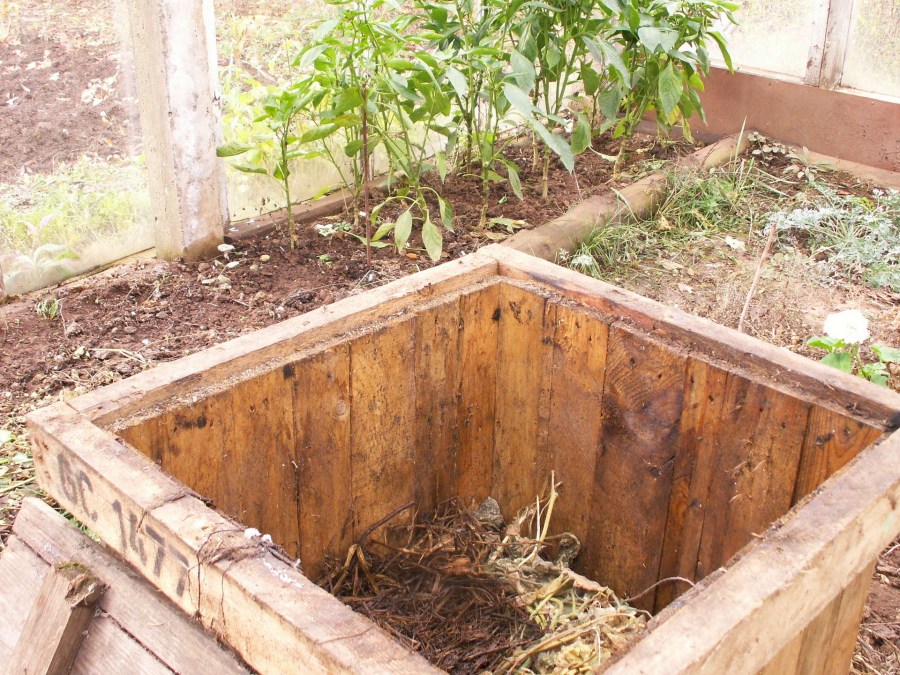
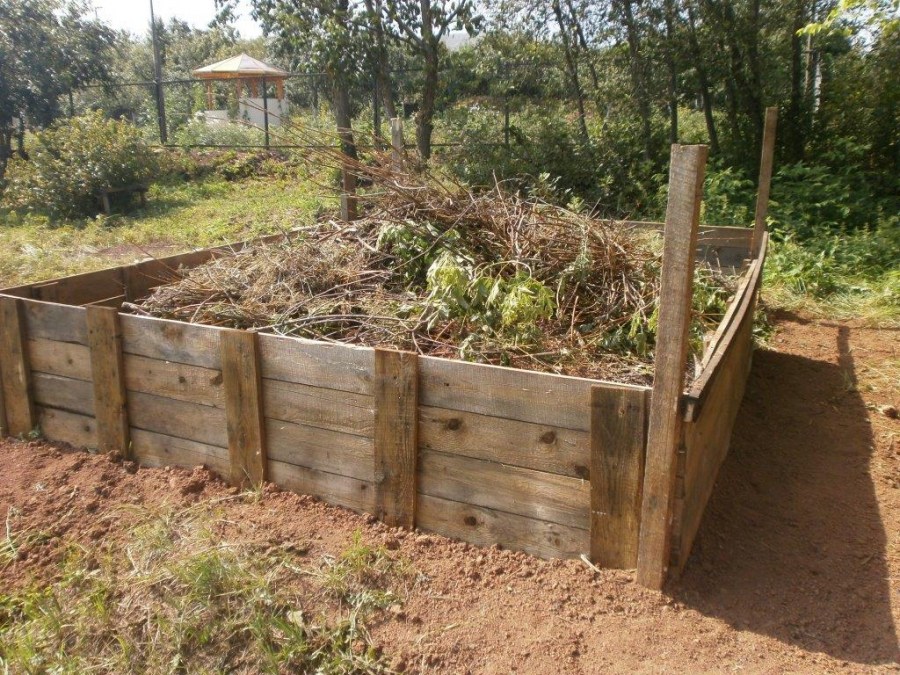
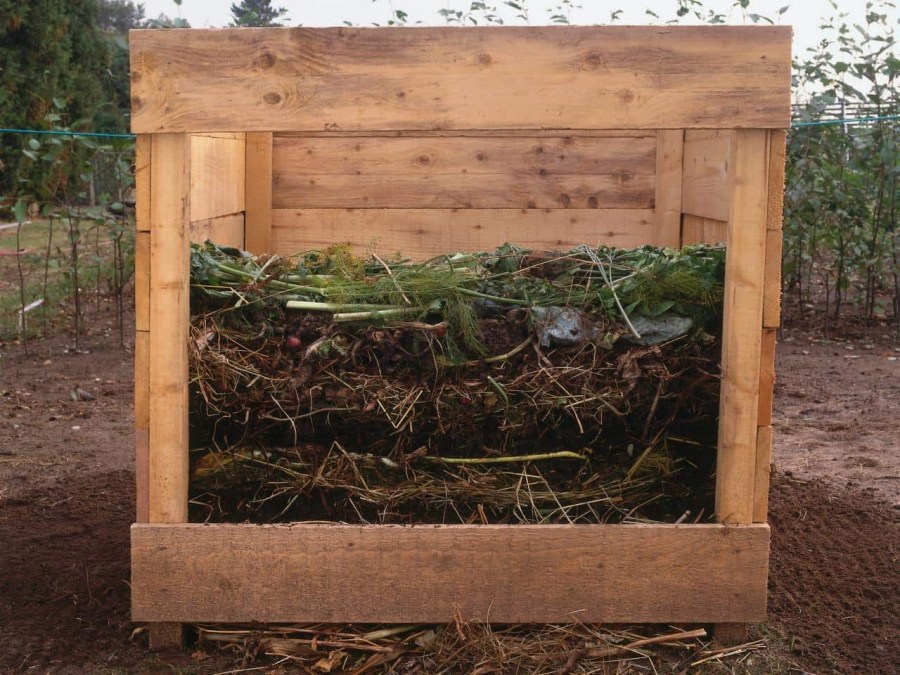
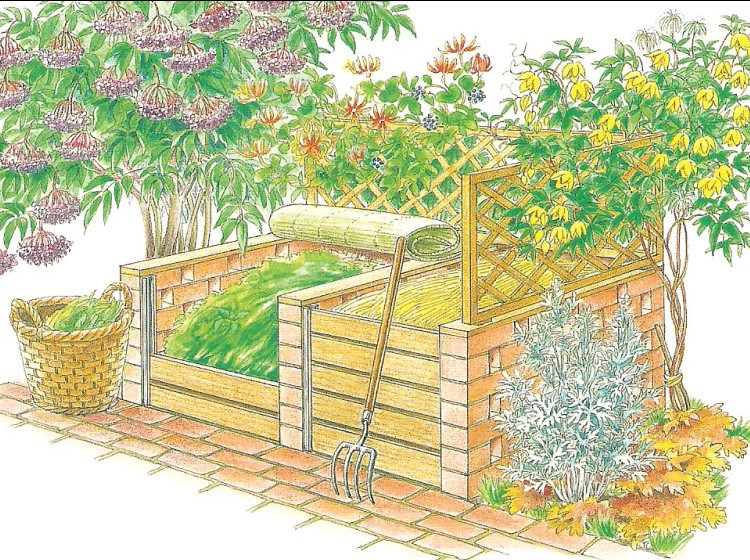
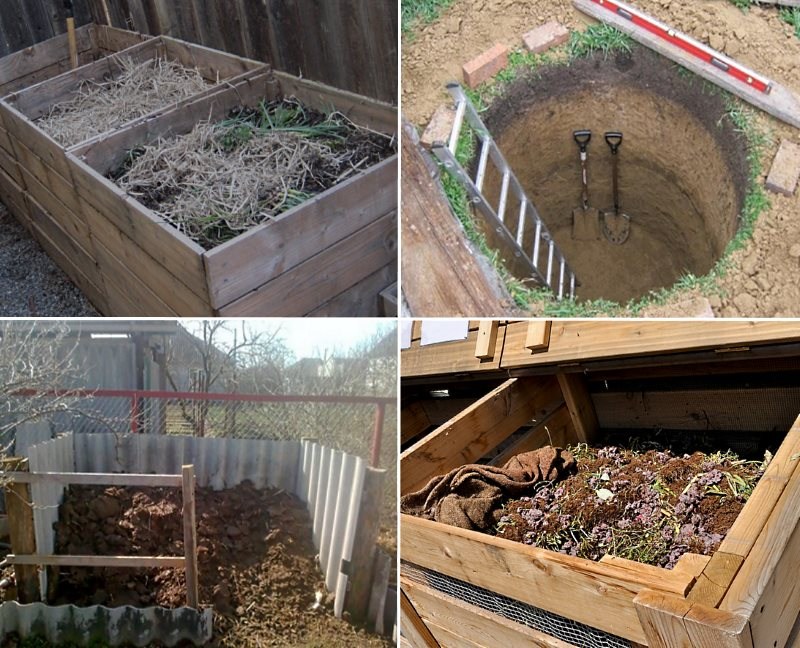
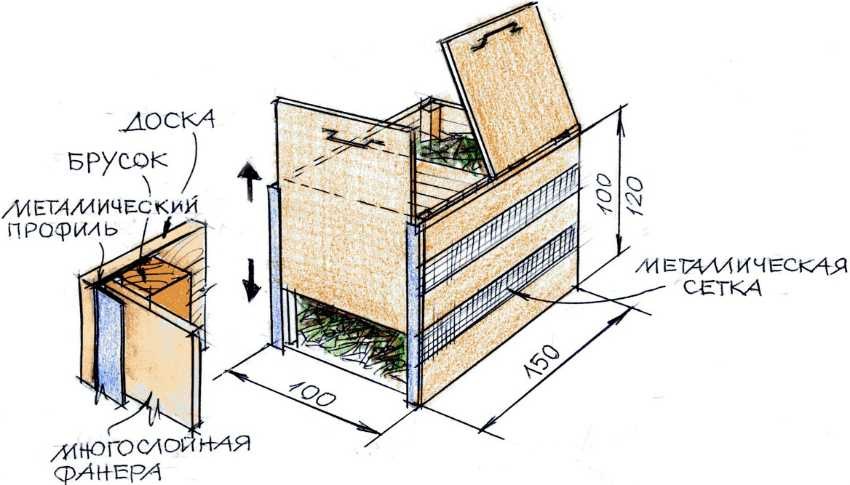
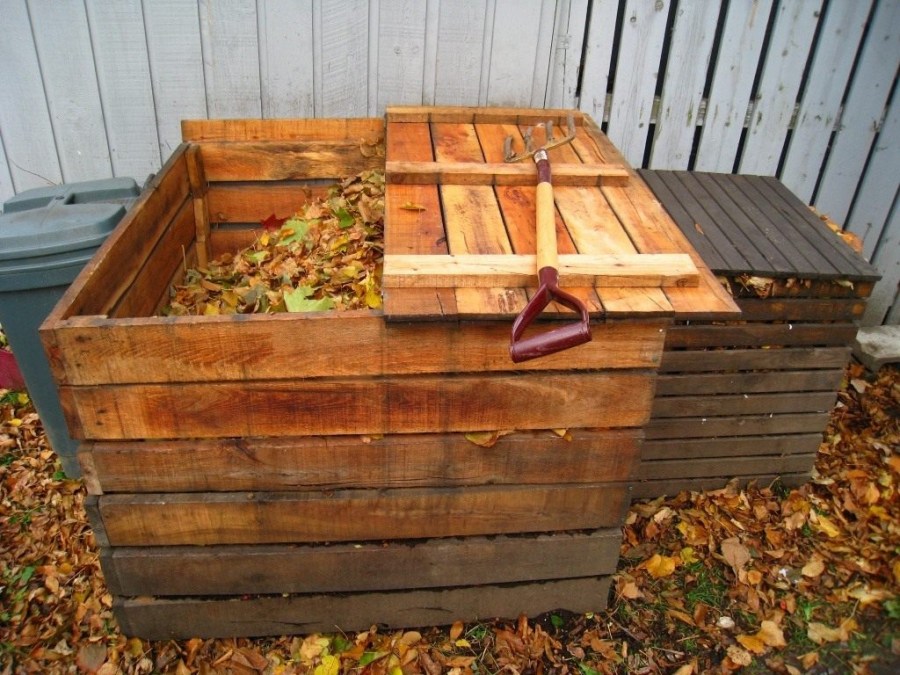
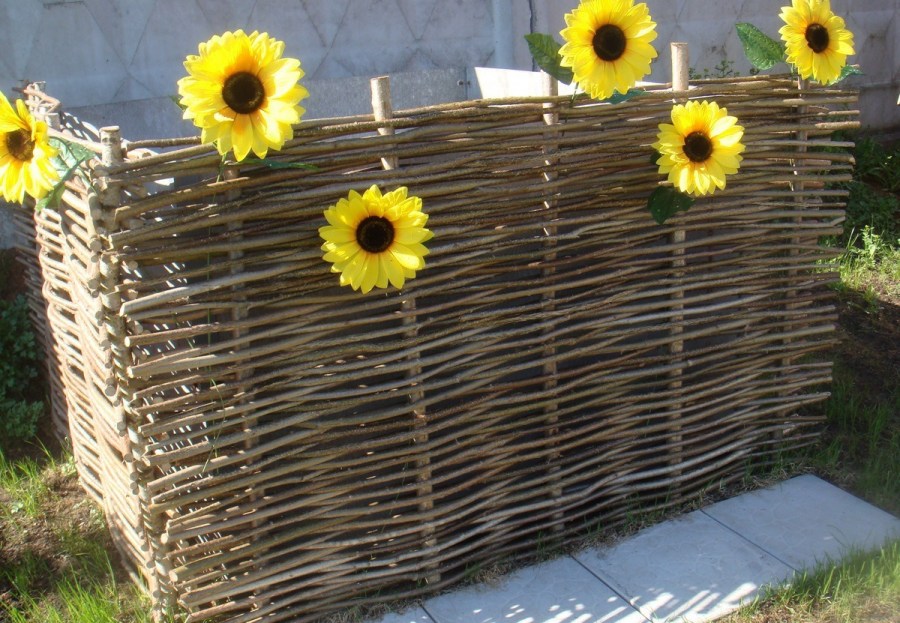
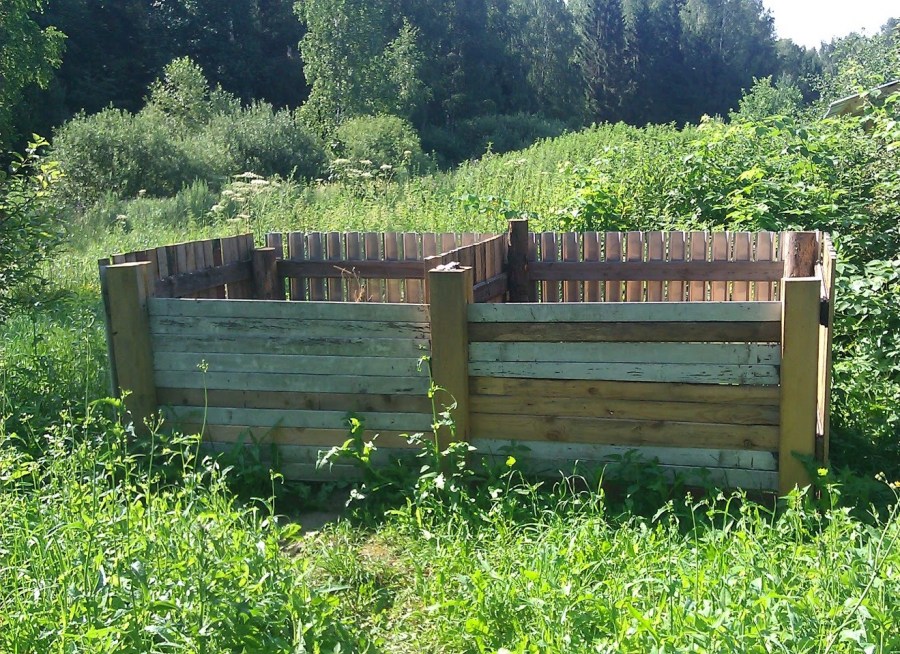
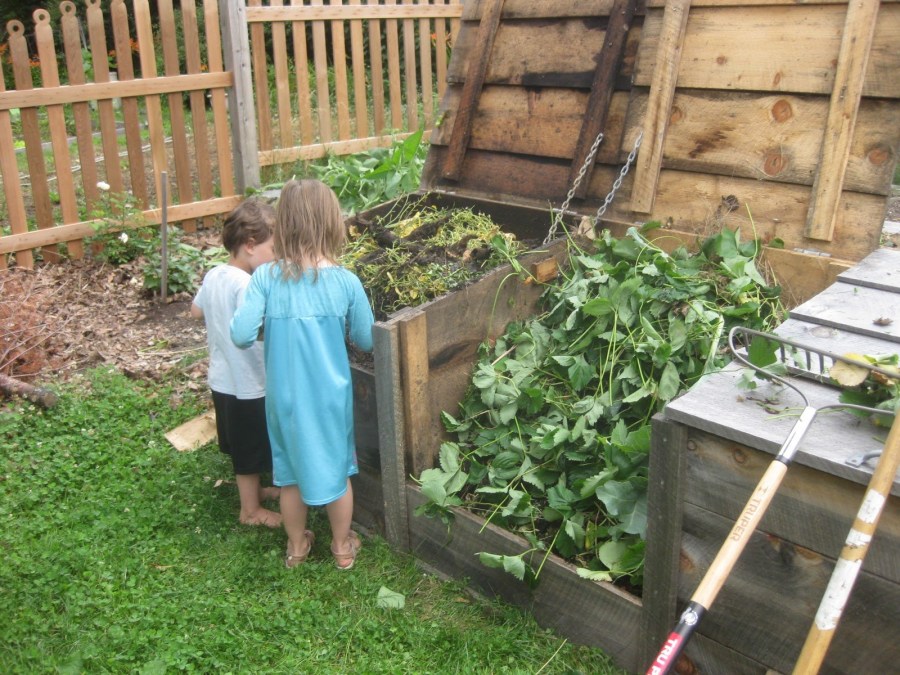
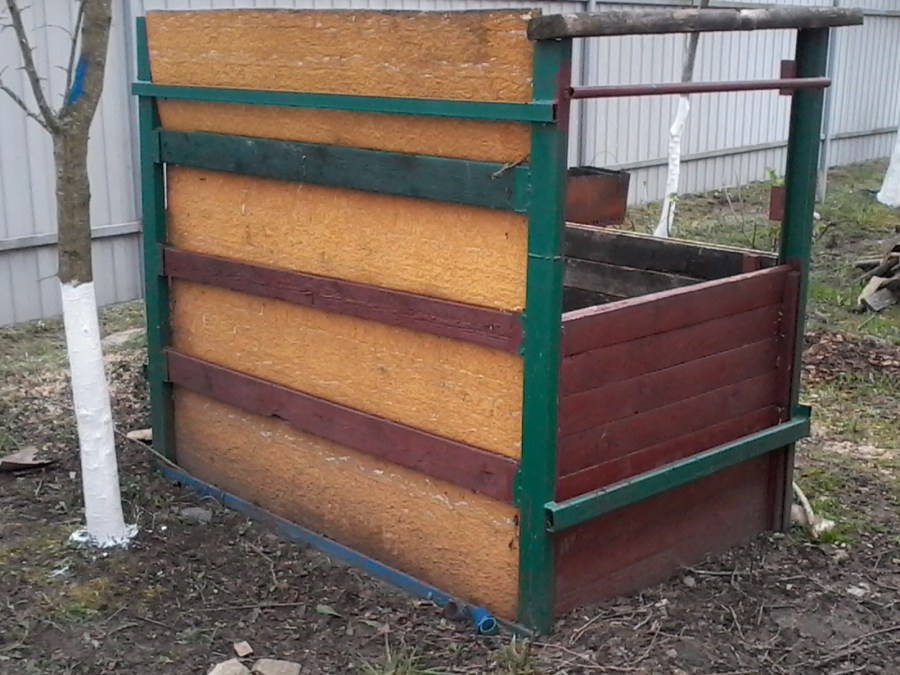
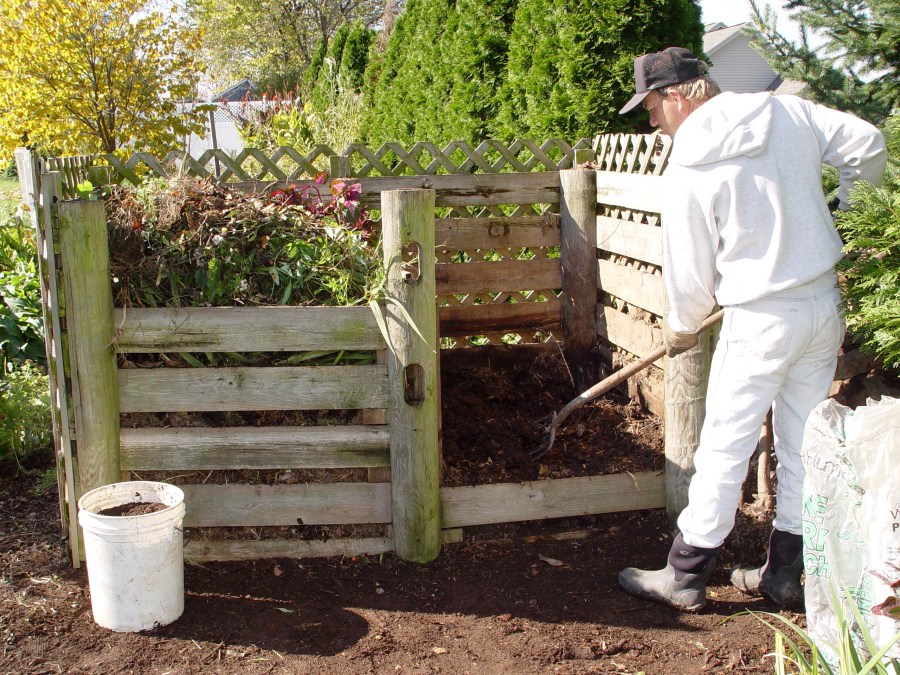
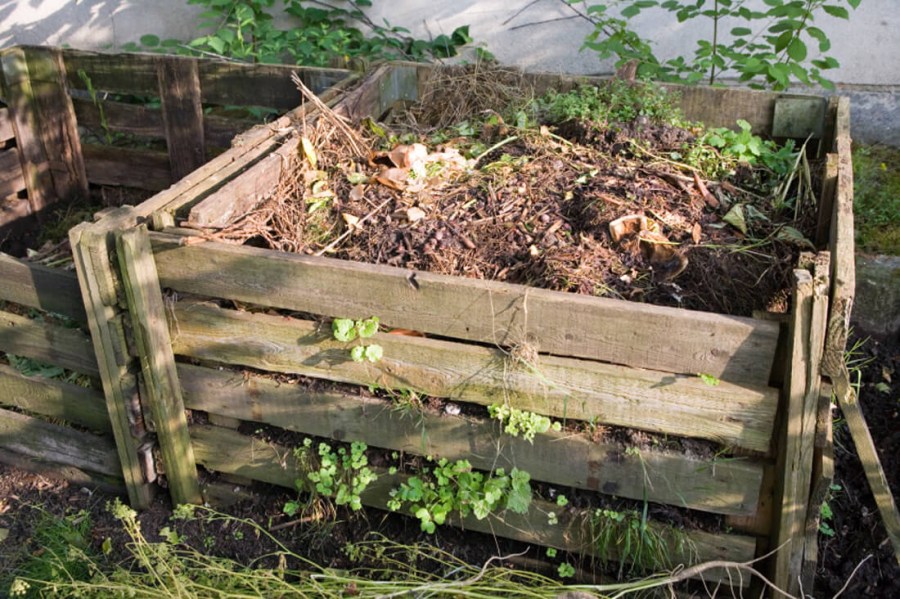
Compost boxes
The most common option. Most often they are made of wood, but other materials, such as slate, are also acceptable.
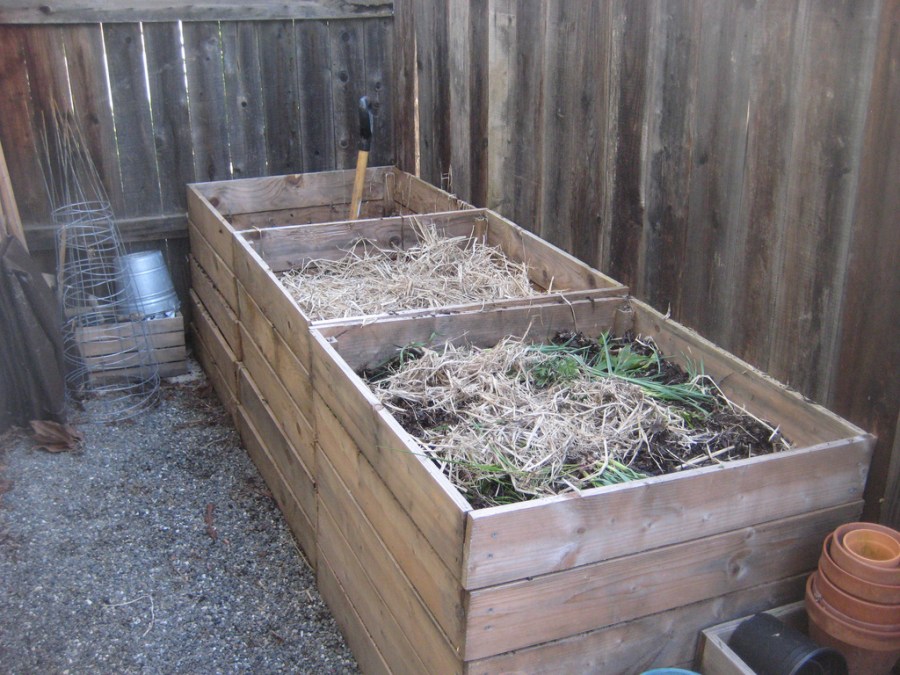
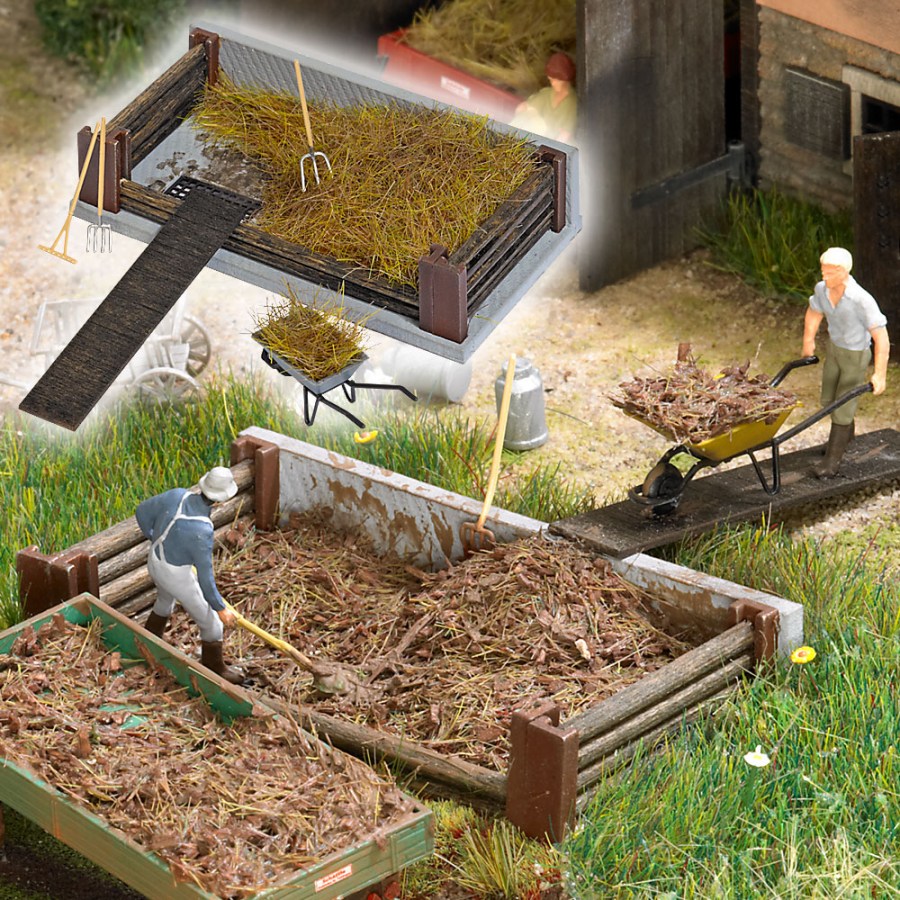
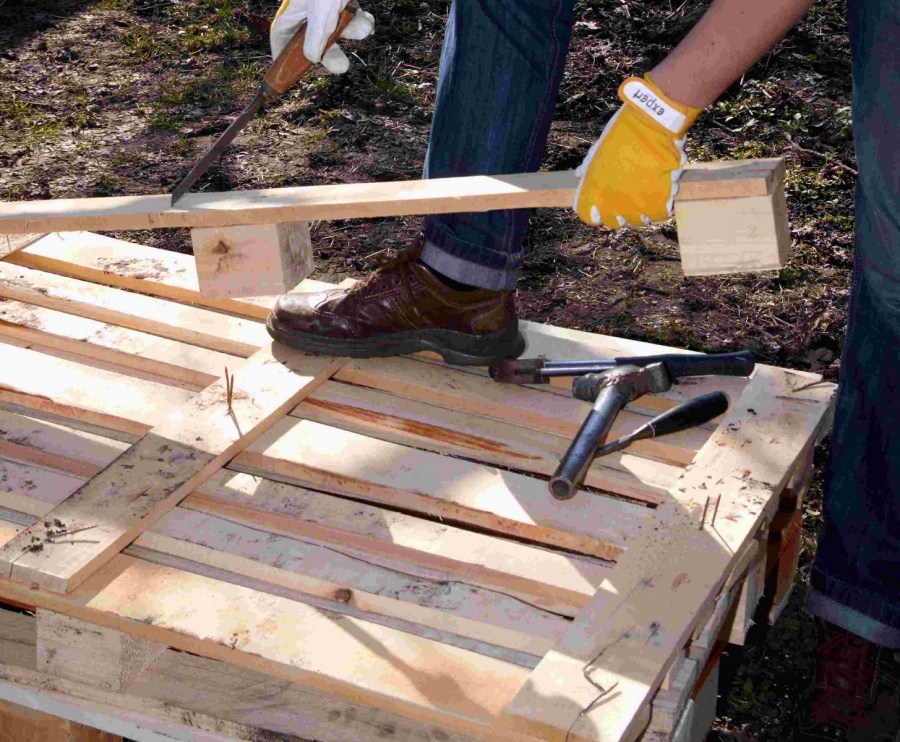
How to make such a compost pit:
- dig a hole of a given size and a depth of 80 cm, and then dig in the support bars
- about 20 cm from the edges of the pit. The bars should be treated with protective impregnation;
- three drawer walls are assembled so that there are enough openings for air in them (at
- necessary - drill them), and are divided into two or three compartments;
- set and level the drawer;
- cover the bottom with drainage material;
- screw the front wall and cover.

Wooden details need to be treated with special impregnation, and then coated with acrylic paint in several layers. This will perform not only protective functions, but also decorative ones: the finished box will look neat and beautiful. Photos of such a compost pit will not be ashamed to even upload to the Web.
You can leave only one compartment in a drawer. To do this, the box is installed on a raised platform, so that between the ground and the lower edges there is about 30 cm. Compost will be selected from below through this hole. Fresh raw materials are laid on top.

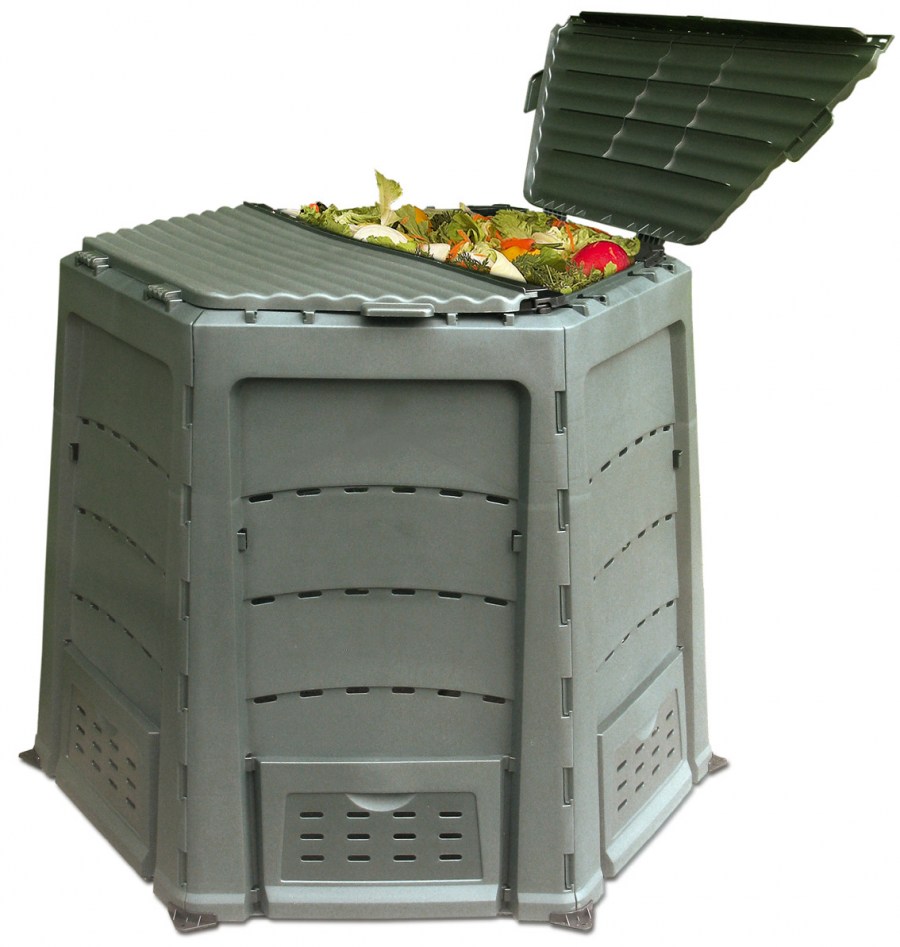
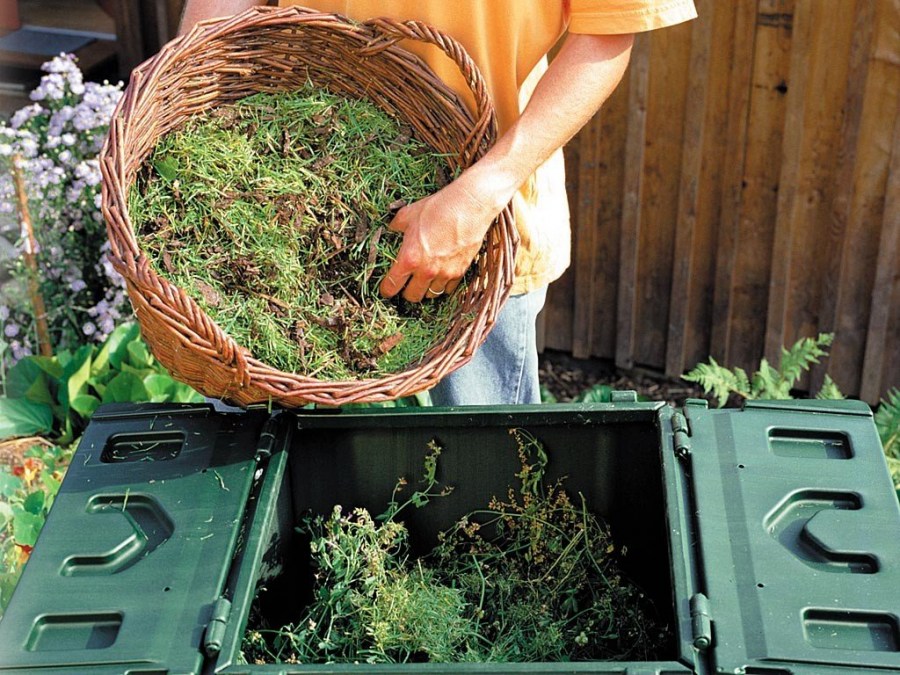
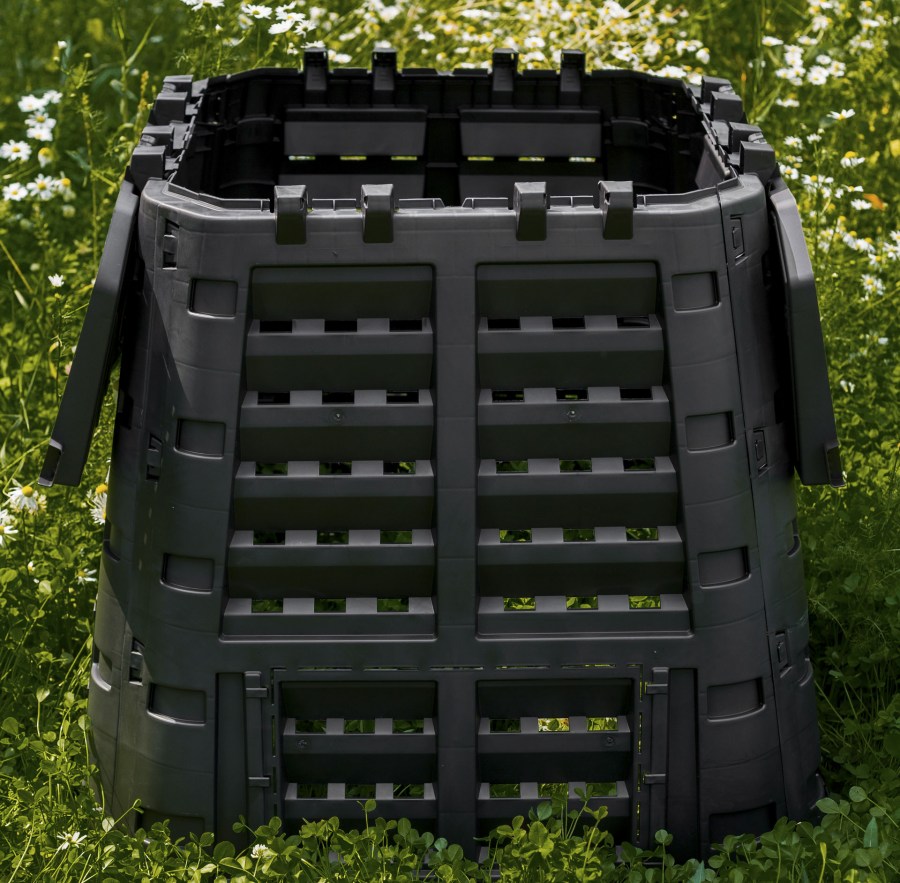
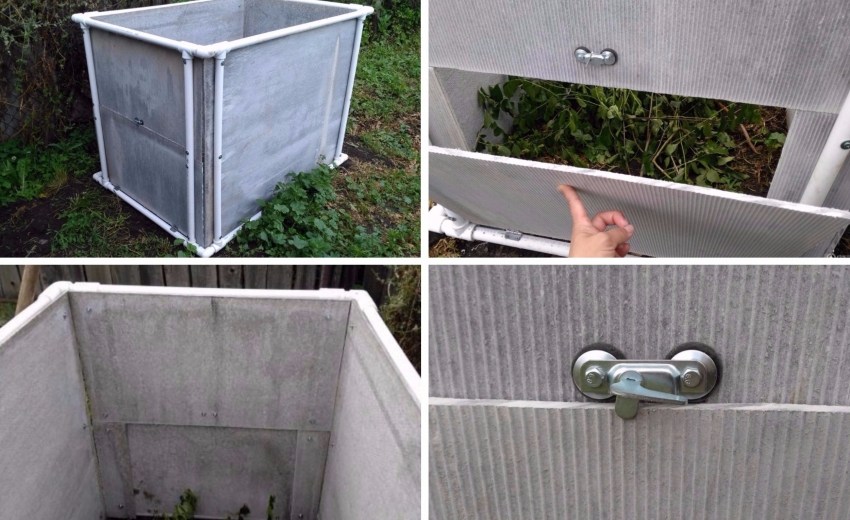
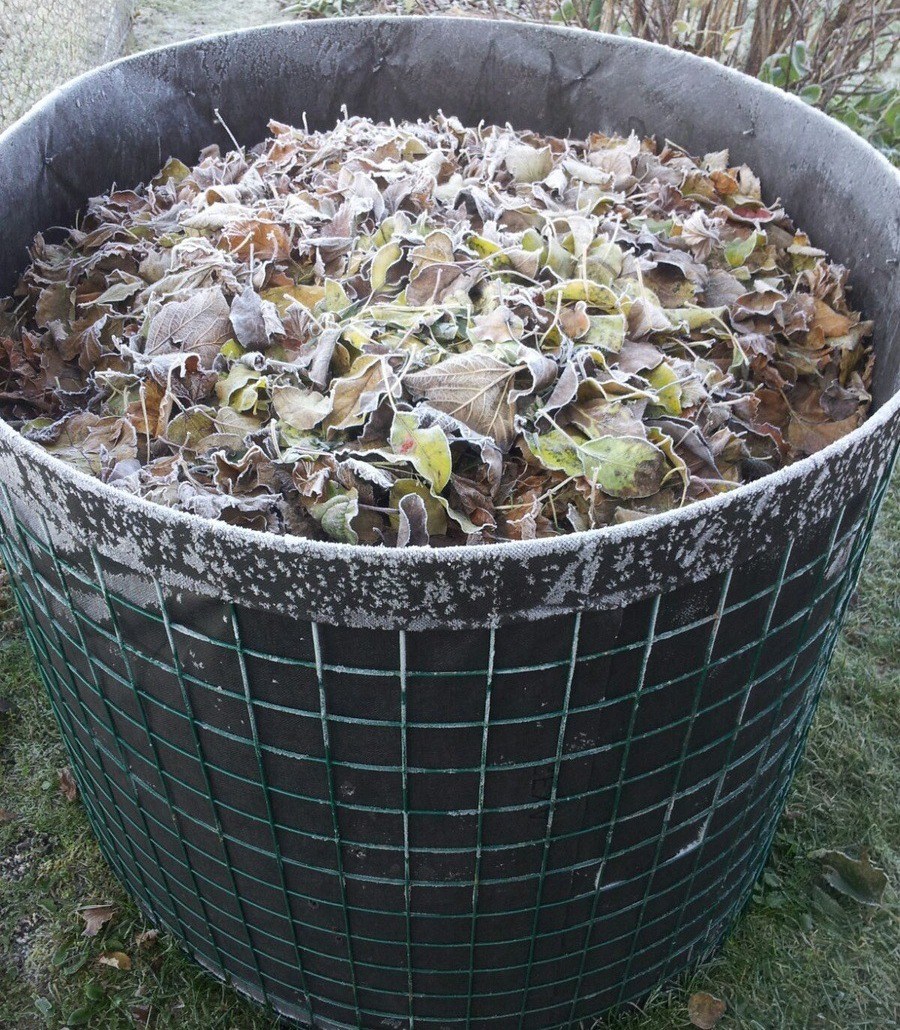
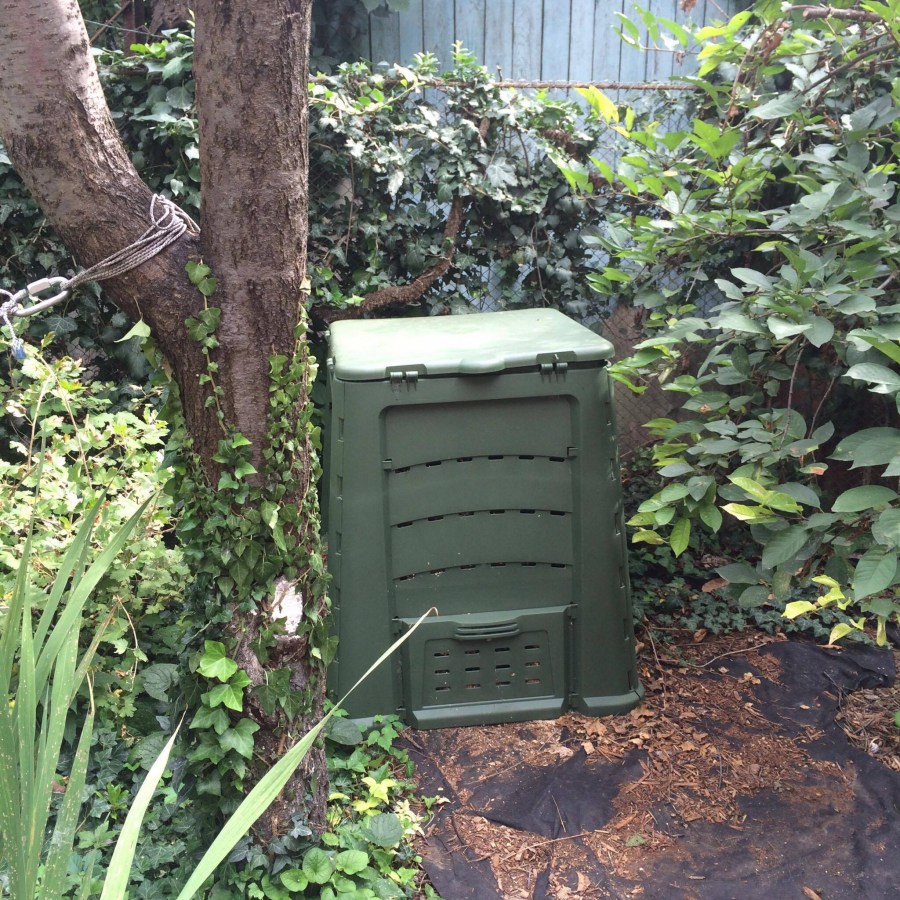
Plastic containers
In fact - a variation of the compost box. Conventional plastic boxes require improvement: they do not allow air and moisture to circulate, so ventilation holes will need to be done independently. You can purchase ready-made garden composts, they are equipped with everything necessary to ensure proper compost maturation.
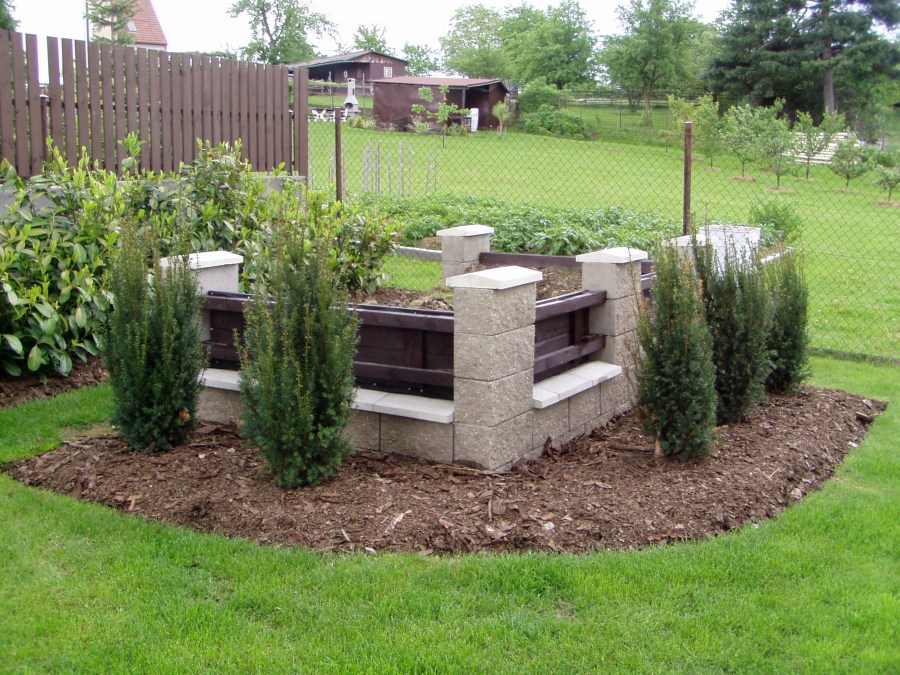
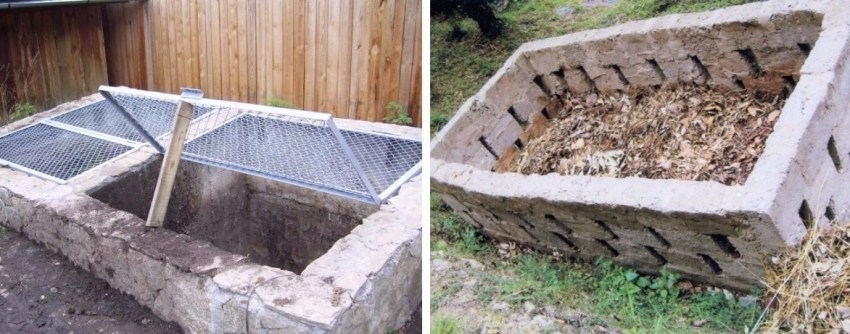
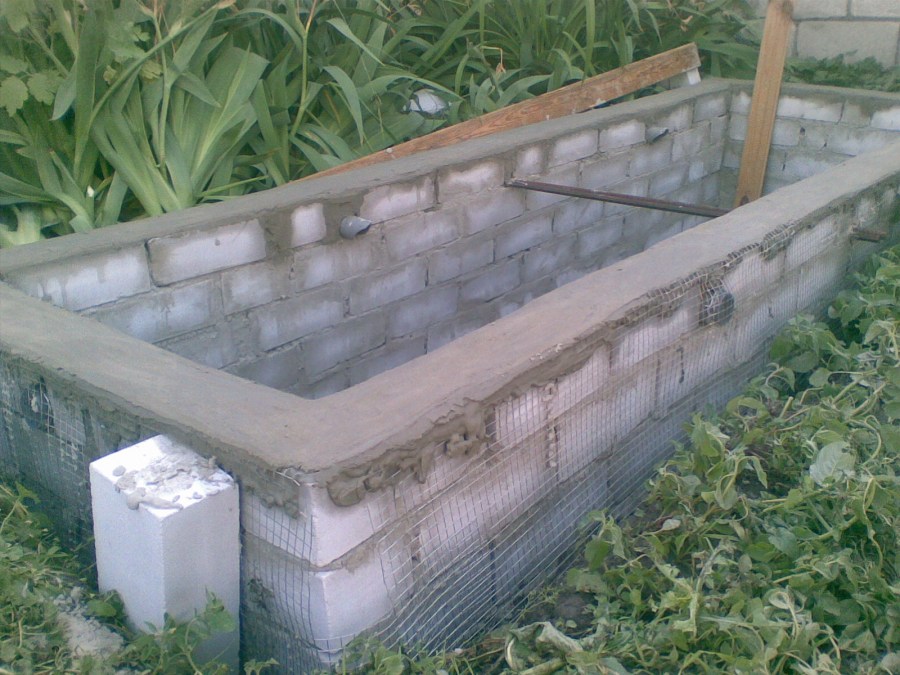
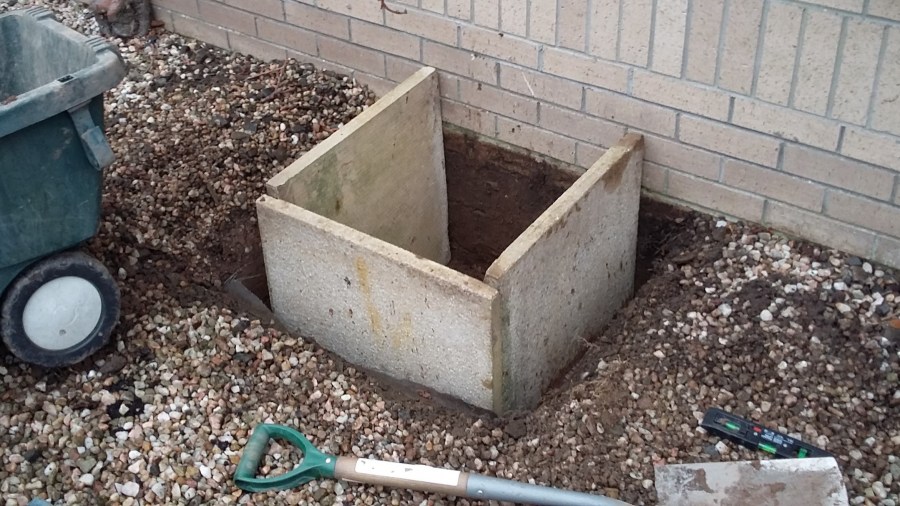
Semi-loaded hopper
This design is able to last many seasons, convenient to use and easy to maintain.
Installation of the structure is also simple:
- dig a hole about a meter deep;
- on the borders of the pit, formwork is constructed so that the concrete walls protrude about 1 m above the ground;
- poured with concrete;
- after the concrete has solidified, the formwork is removed, and the bottom of the pit is poured with a concrete screed;
- when the screed hardens, if necessary, they build internal walls (this can be done with the help of formwork, wooden boards or other materials) and a cover made of netting and metal frames. When mounting the roof of the hopper, ventilation holes must be left.
An important point: since the compost does not come into contact with the soil in the bunker, it requires periodic watering and planting worms in it.
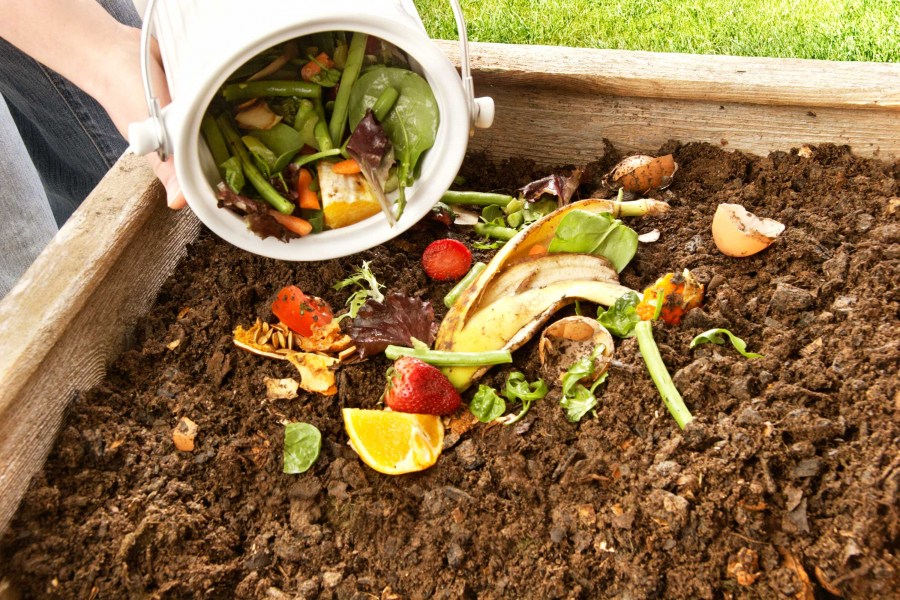
Ingredients for Compost
We will understand what types of waste must be used to get high-quality compost rich in macro- and microelements.
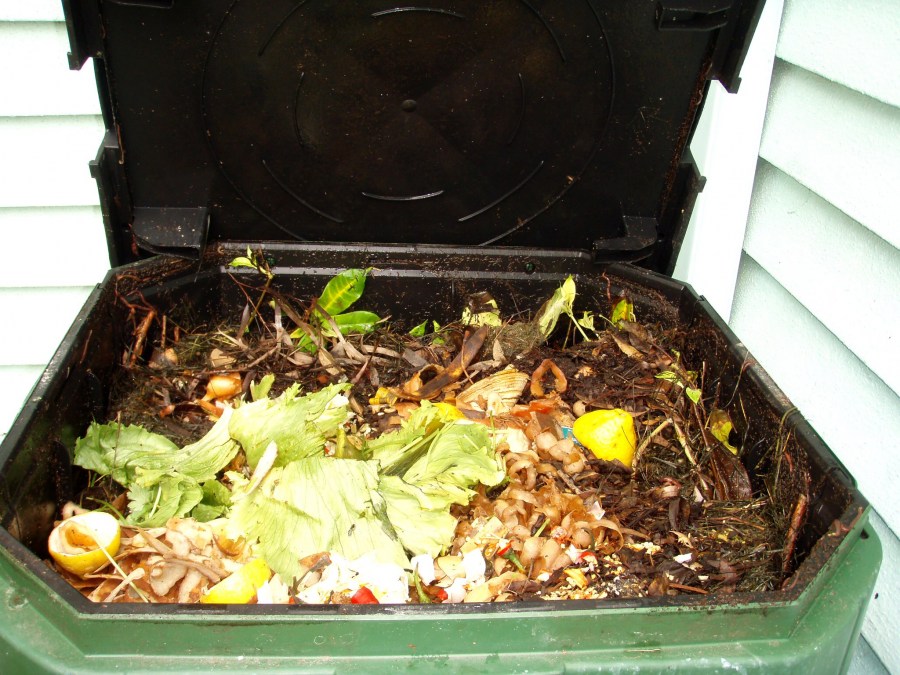
Types of waste that are the basis of good fertilizer:
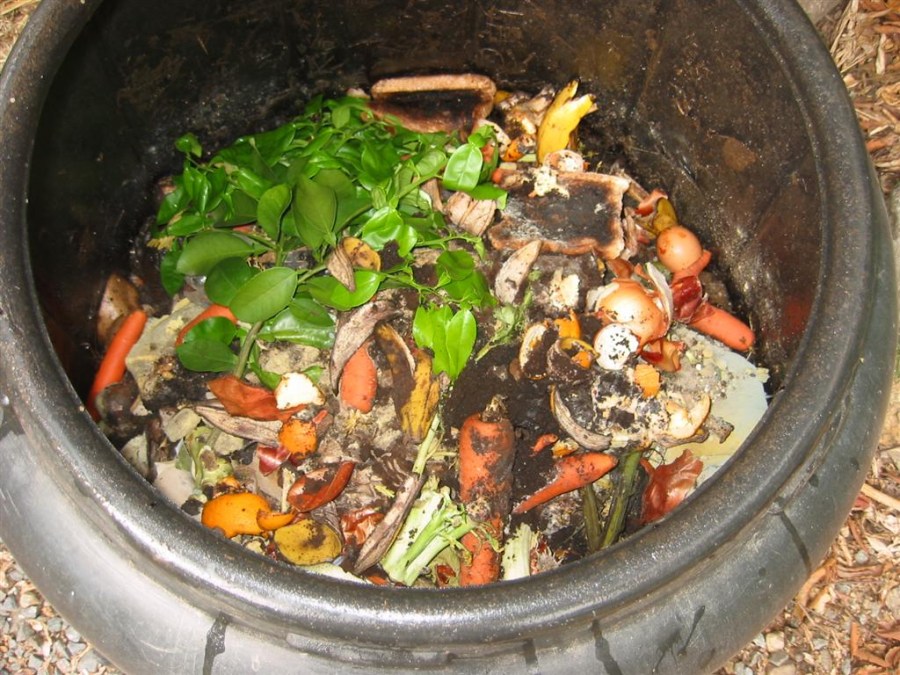
- grass (including weeds, mown before flowering), flowers, straw;
- food waste - peeling vegetables and fruits, berries, cereals, tea leaves, eggshell;
- foliage, needles, branches, tree bark, sawdust;
- paper (except color and laminated), cardboard;
- manure and bird droppings.
Additives that increase compost quality:
- phosphorite and dolomite flour, as well as other mineral fertilizers;
- ash;
- land - it should be strewn with each subsequent layer of waste, this will increase the rate of fermentation.

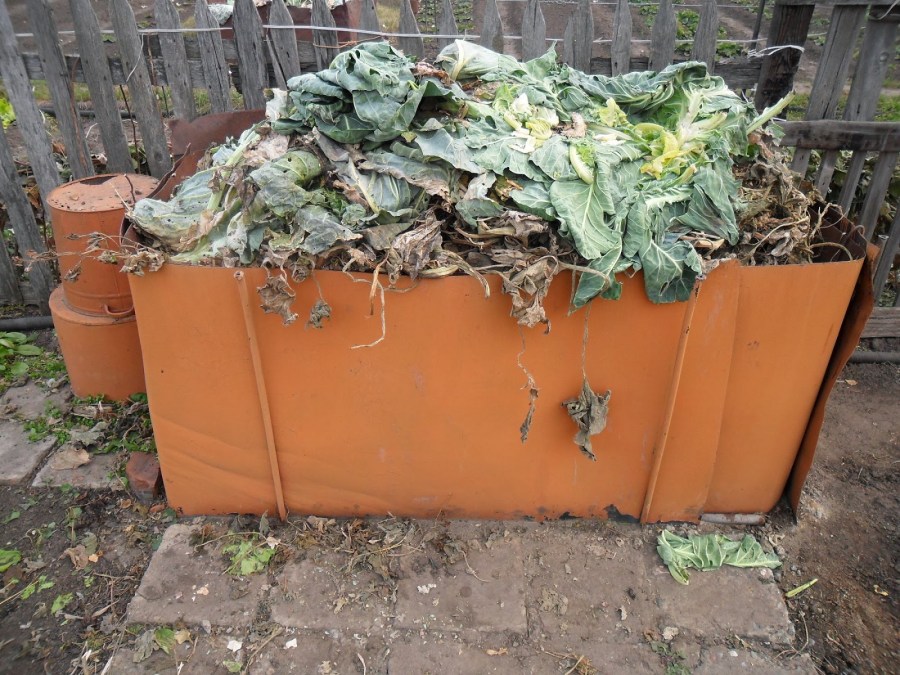
You can not put in compost:
- weeds with seed set, live roots of wheatgrass and horsetail;
- the tops of plants affected by downy mildew and late blight, especially - tomatoes and potatoes;
- herbicide treated plants;
- seeds of fruit trees;
- excrement of domestic animals;
- inorganic waste:
- protein waste (they exude a strong unpleasant odor during decay and attract animals).
Tips
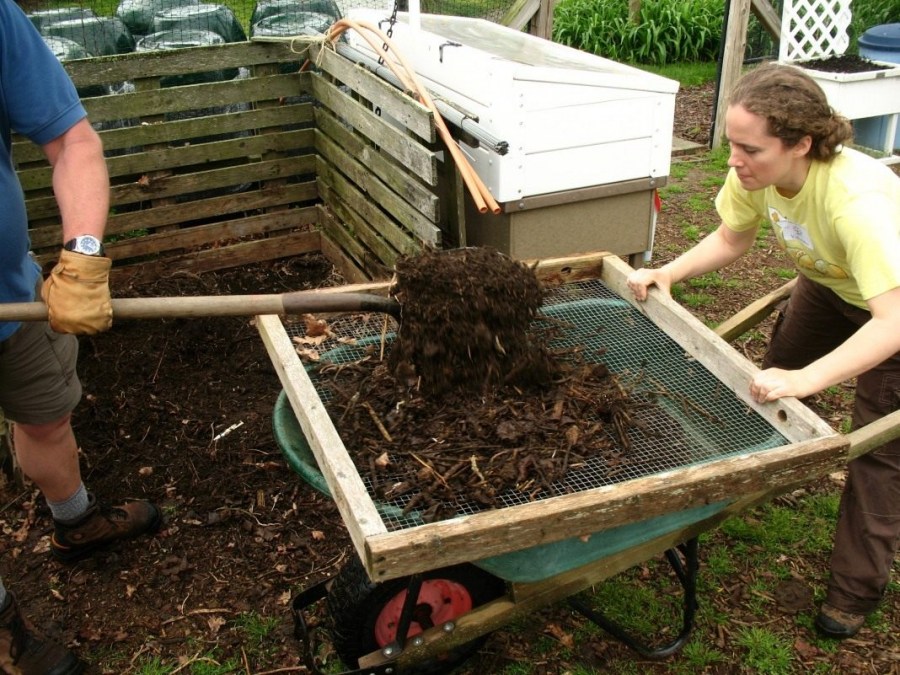
There are several simple rules, compliance with which will help to get high-quality compost more quickly:
- mix contents from time to time;
- maintain humidity by watering the compost pile as needed;
- dry waste should alternate with fresh, solid - with soft, brown - with green;
- do not ram the layers too tightly;
- the optimal ratio of dry to wet material is 5 to 1;
- sometimes plant worms and add rotting accelerators. Accelerators are sold in specialized stores as concentrates;
- fermented cow manure and certain plant species (such as dandelion, valerian, yarrow and chamomile) also accelerate fermentation.
Following these recommendations, you can get an environmentally friendly and nutrient-rich fertilizer, of which you can be 100% sure.
How to make a compost pit


The type of flower garden is an irregular flowerbed. It is significantly different from its predecessor. Firstly, it is its durability, due to the fact that it is formed from different plants. They bloom in succession, replacing each other, and you can enjoy this beauty throughout the flowering period. The stages of flowering plants alternate in waves. In addition to flowering plants, it is worth using evergreen flowers, this will help to keep the flowerbed green all the time.
Compost pit photo


Pond Cleaning: 80 photos of proven pond treatment methods
How to equip a garage - internal and external design (135 photos)
Flowerbed of stones: 85 photos of beautiful and stylish modern projects
Join the discussion:
Interesting compost pit solutions. We used old barrels for these purposes at our summer cottage, smeared them with resin on both sides and, after drying the resin, buried them in the ground. Barrel pits are covered with lids. They were placed behind the barn, away from the house and the main paths. The contents of one of the barrels is already ready for use, in the new summer season we will apply. Of course, barrels are not durable, then we’ll come up with something else.
No compost pit in the country can not do. We also built a wooden structure for these purposes. Moreover, it was installed on a previously made small recess. But I advise you to think in advance what kind of tree you will make a square from. Keep in mind that with the compost its internal walls will also rot. I recommend a closer look at the ash.
The compost pit is probably a really good source of fertilizer, but I honestly don't like the smell from it. I prefer to buy ready-made fertilizers. Plus, in order to place it, you need a place.And not always this place can be picked up. Near the house, for example, it is difficult to plan - the smell does not look very good. And if at the same time there is a small, four hundredth section, then if it is absolutely a pity to throw away weeds, then make a compost hole somewhere in the forest, next to the dachas.