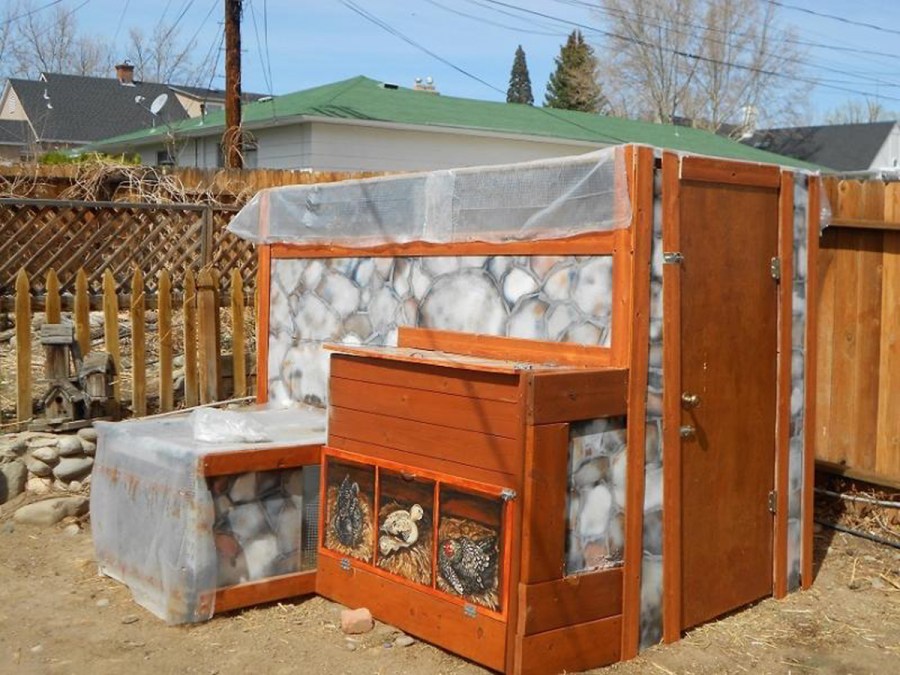
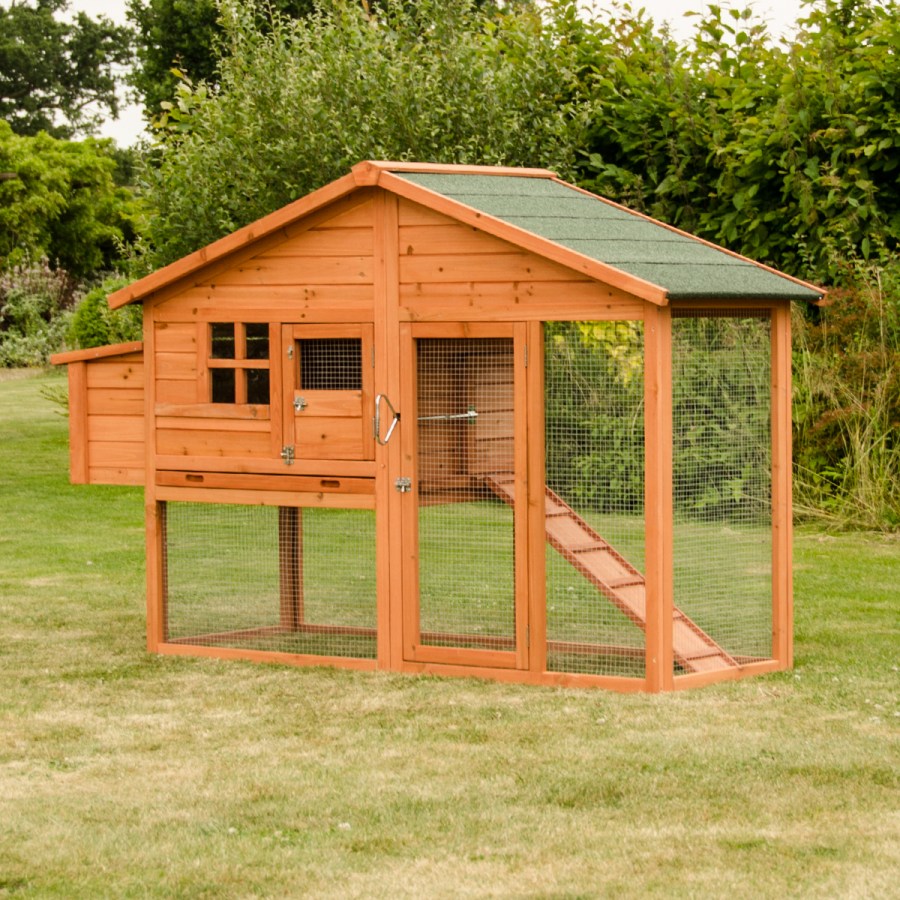
Do-it-yourself chicken coop - construction, decoration and do-it-yourself arrangement (95 photo ideas)
Before starting construction, the first thing you need to decide on the size of the future premises. The best solution is to place no more than five chickens per square meter. If the total area is very small, you can compact the house by increasing the number of nests and perches. So to say "add floors" one above the other.
If you are arranging a chicken coop for laying hens, it will be quite comfortable and cozy. Broilers with this are harder, they do not like to climb to a height.
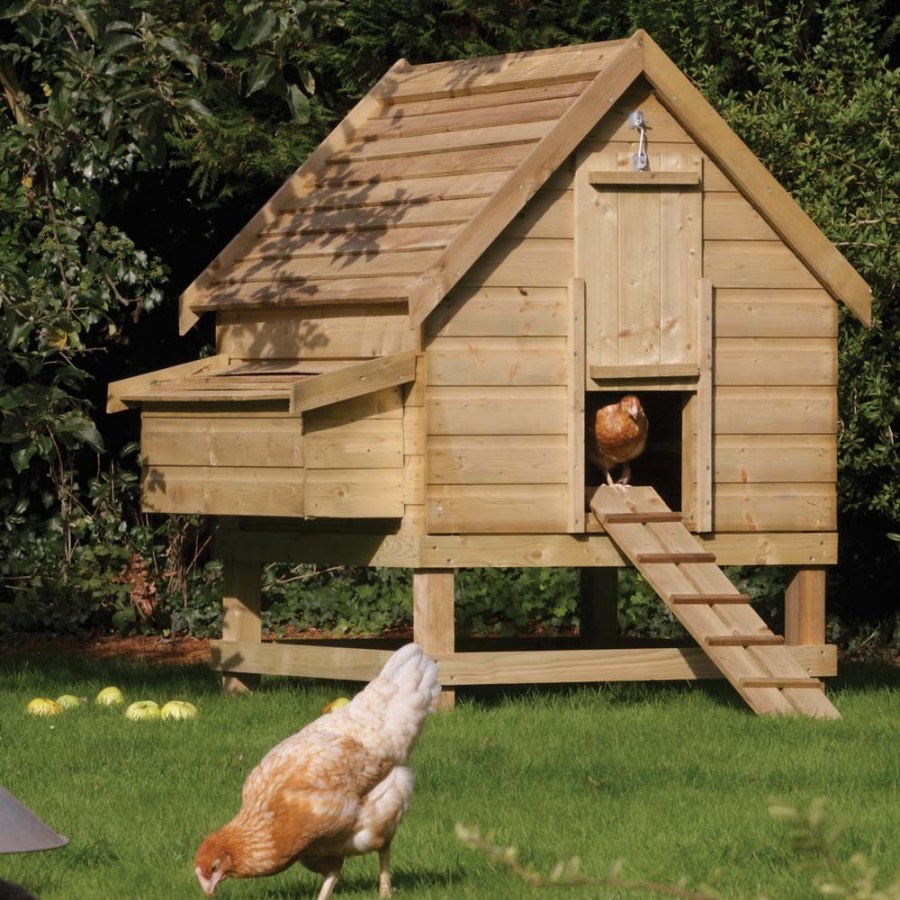
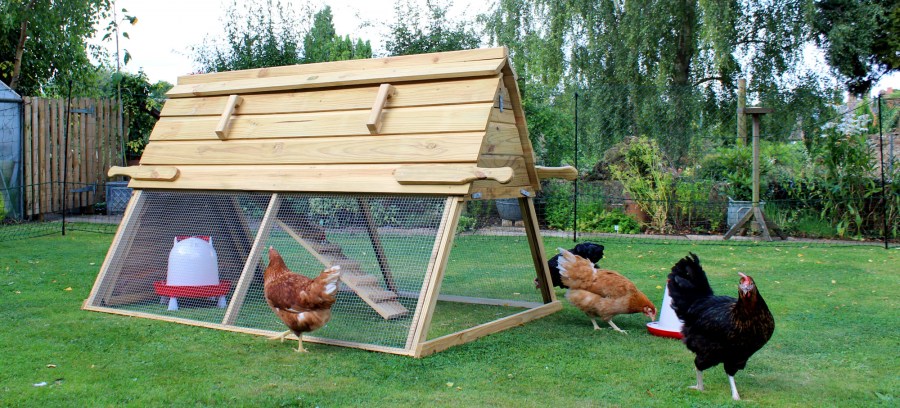
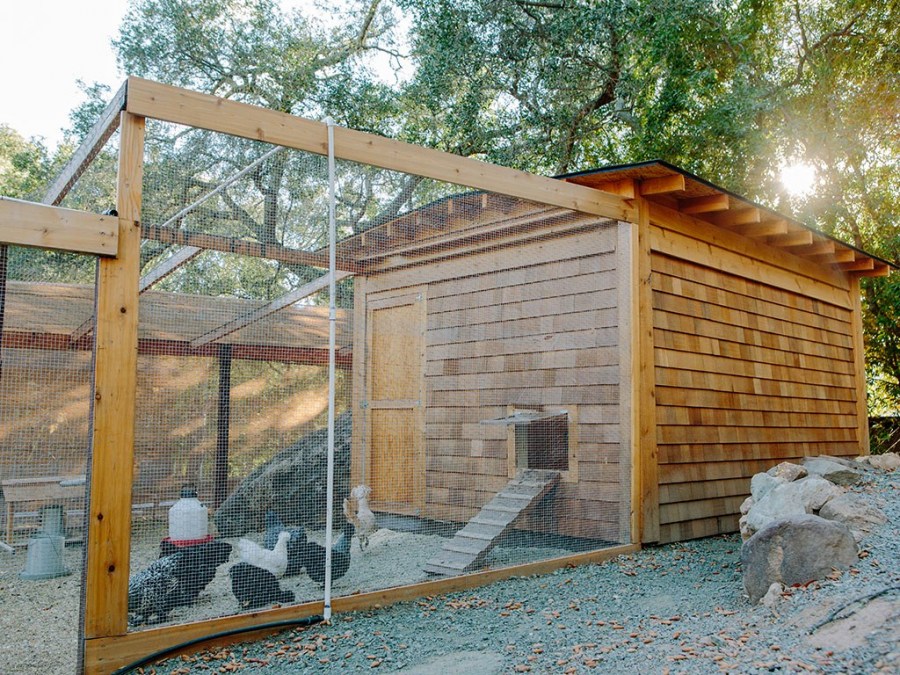
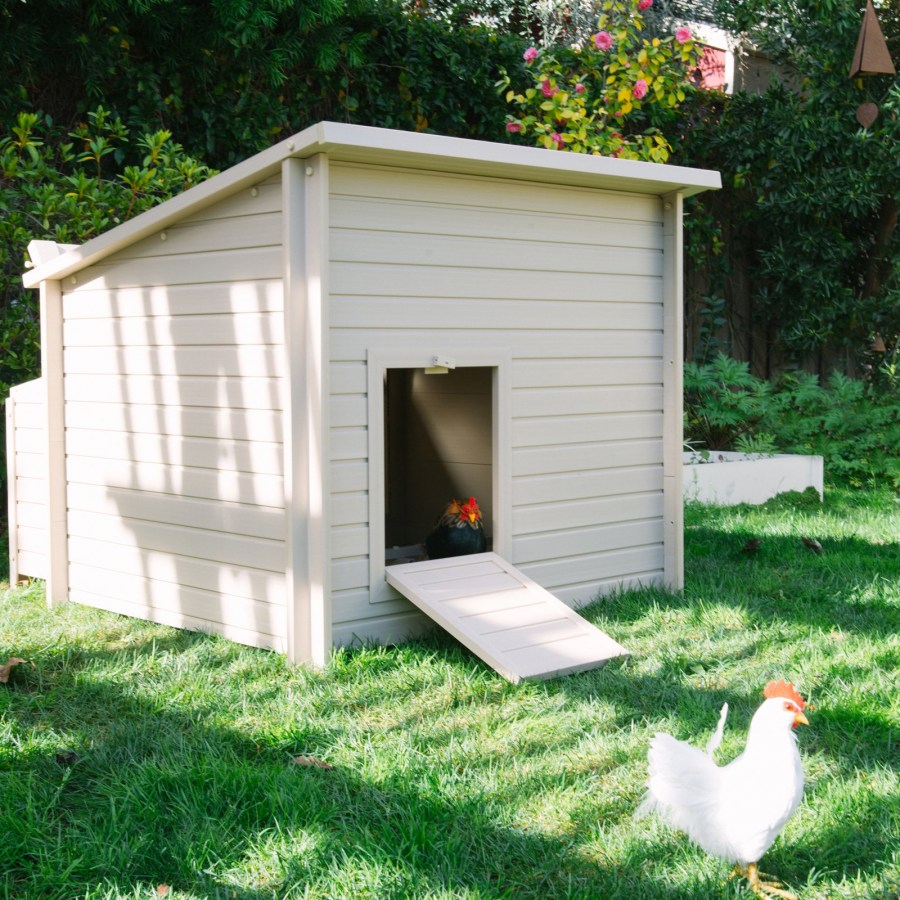
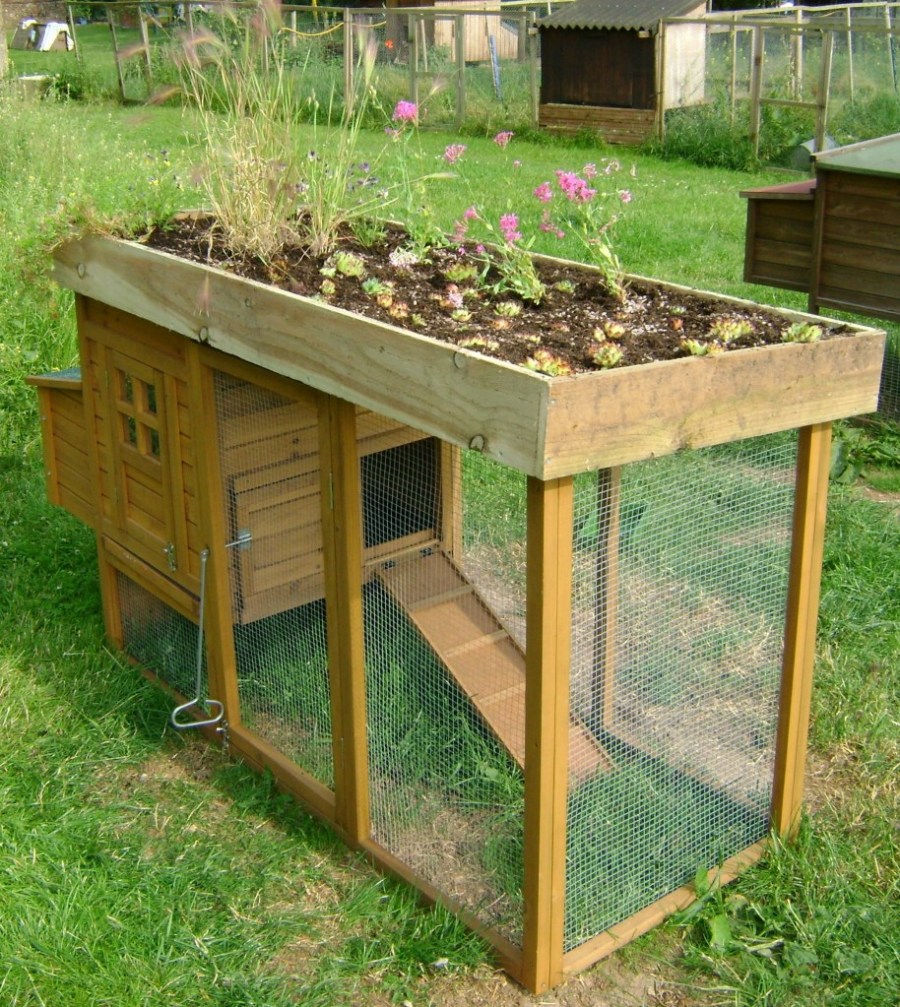
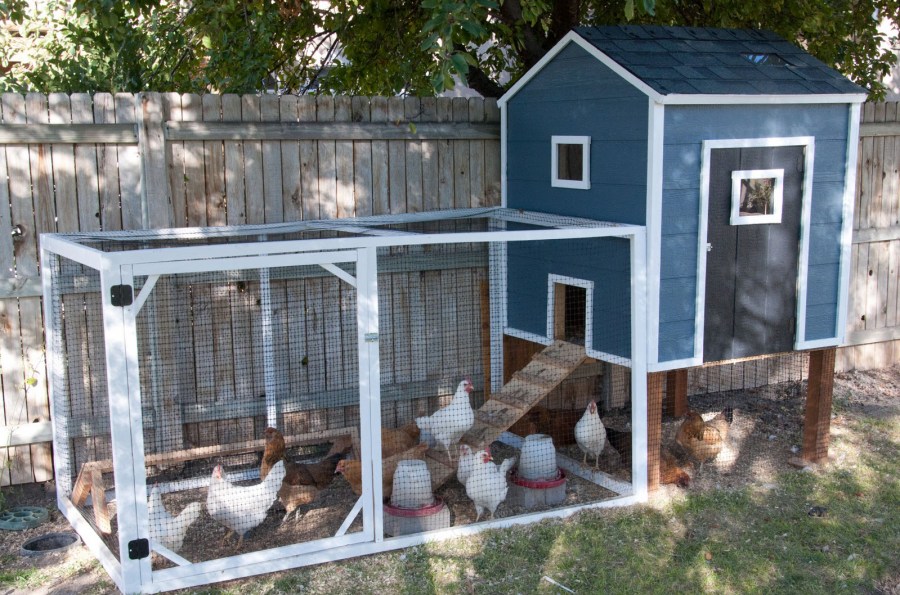
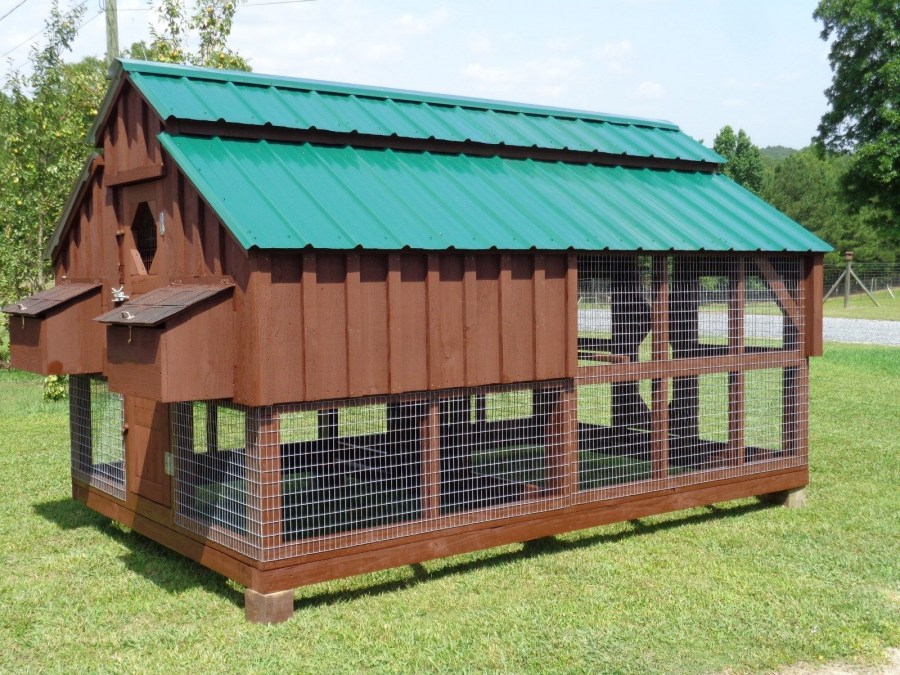
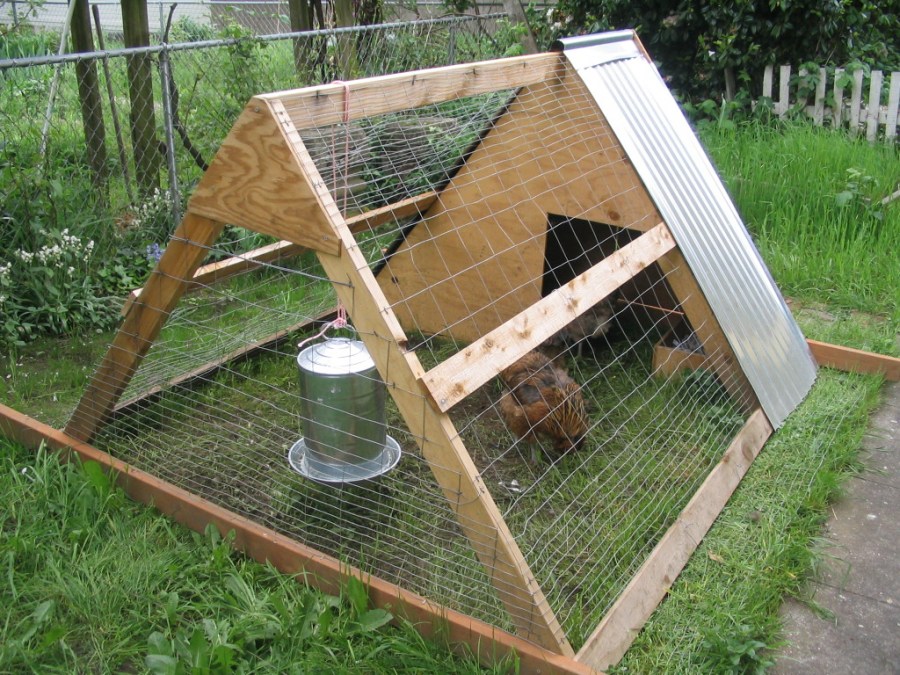
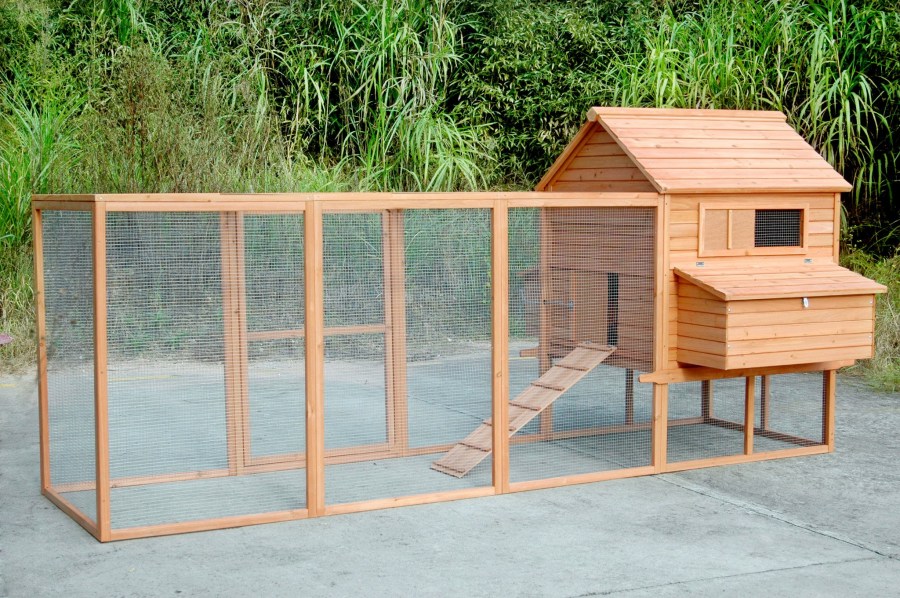
Chickens can be taken out to minus 15 degrees in calm weather, so the fenced adjacent area will be extremely useful. One or one and a half meters of height is enough for birds, the main thing is that it is convenient for you to use the building.
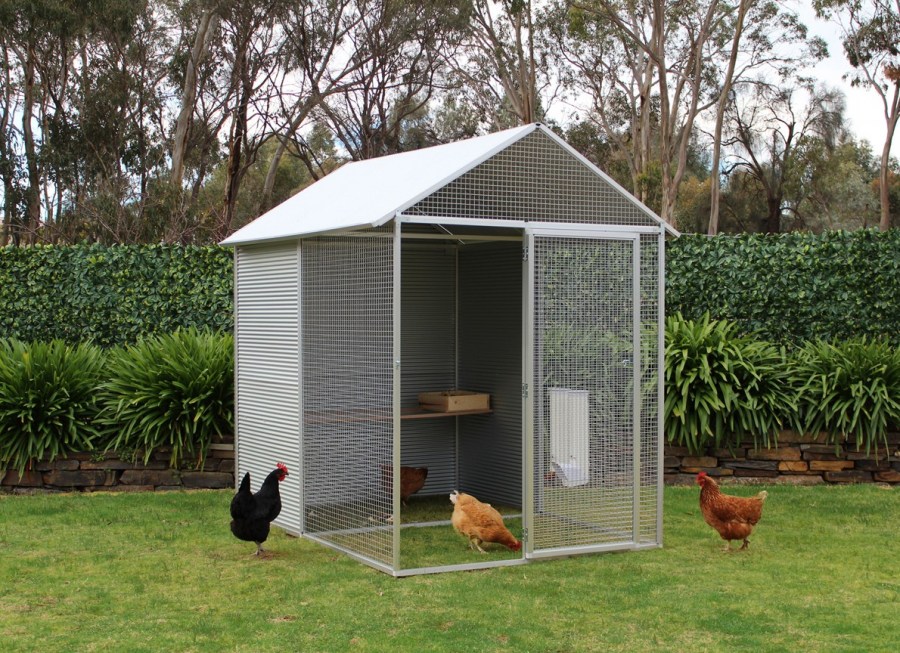
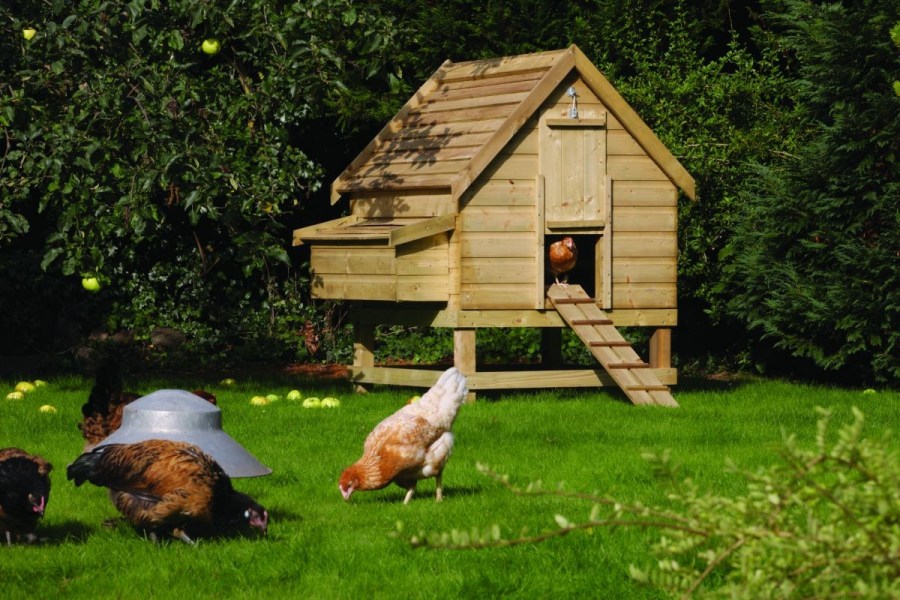
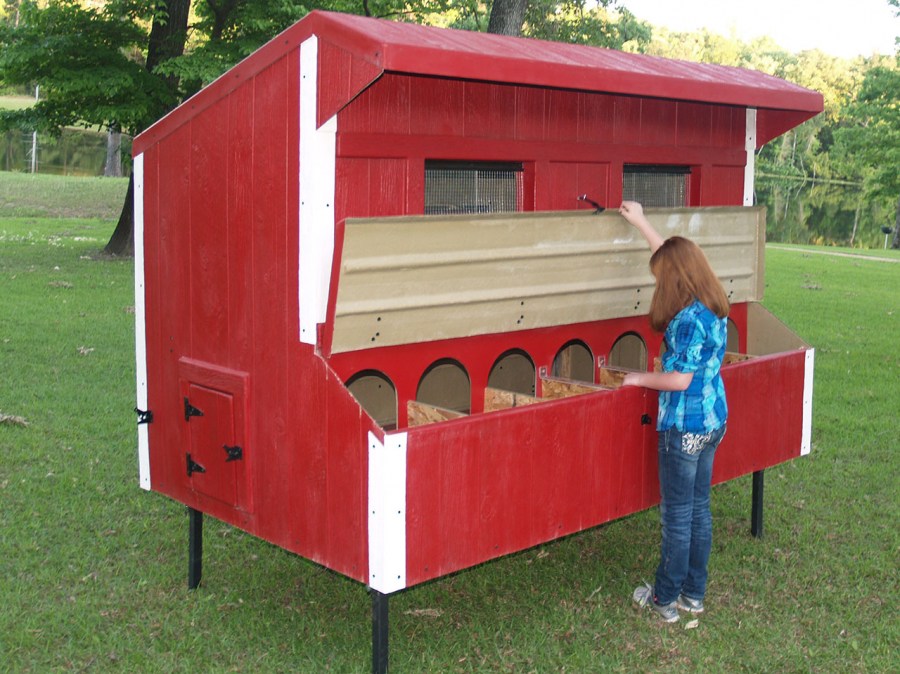
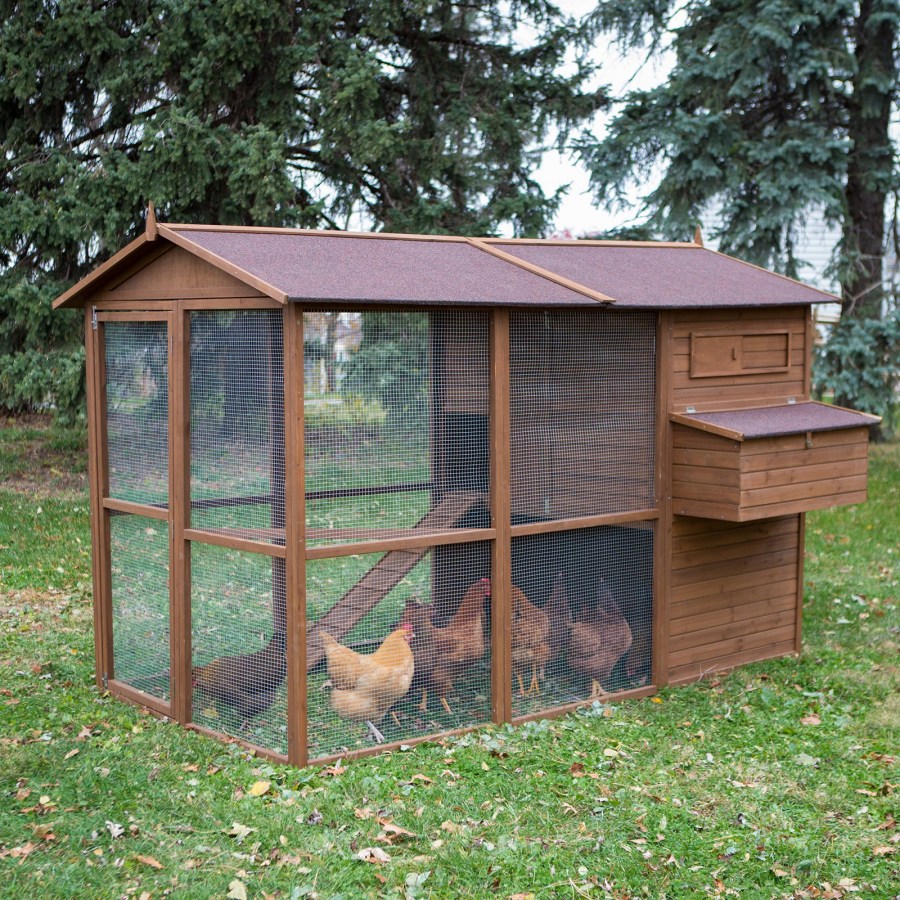
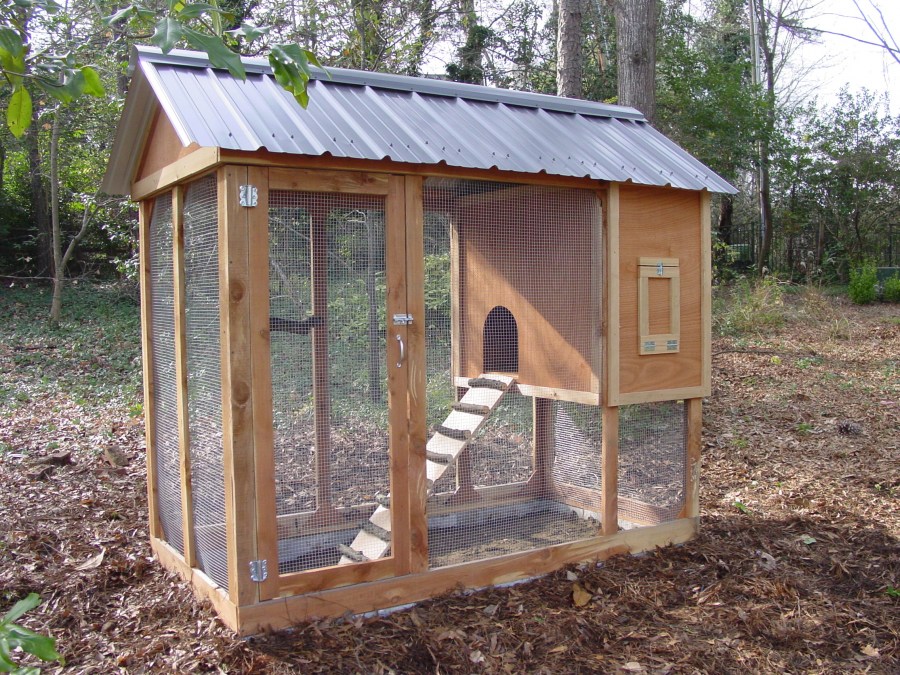
Types of chicken coops in the country and private territory
Each owner seeks to meet the budget as much as possible, for this wall it will be quite successful to build from cinder block or foam concrete. In the event that there is clay in the public domain, it will also be nice to arrange a hut or dry home-made bricks.


In our strip, winter weather requires warming of the premises for poultry and livestock, here, as an option, you can consider the construction of the type of dugout. Half a meter above ground level with a window on the south side will be enough.
It is important to note that for the window you will need a double, and preferably triple glass. You can only insulate the part protruding above the ground level and the roof. Walls can be showered with earth, excluding the south. In winter, during a snowfall, it will be very warm.

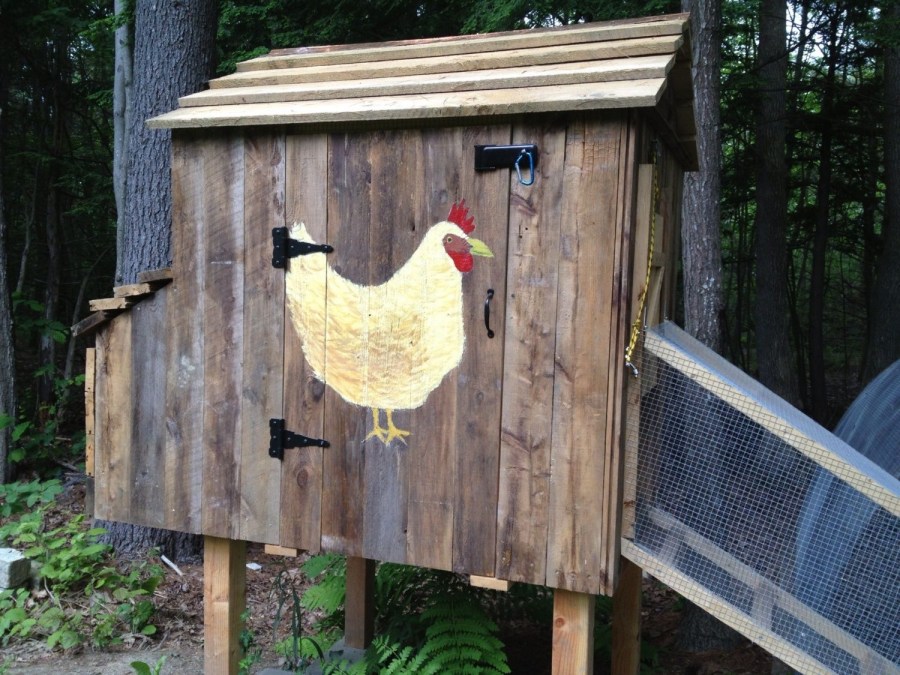
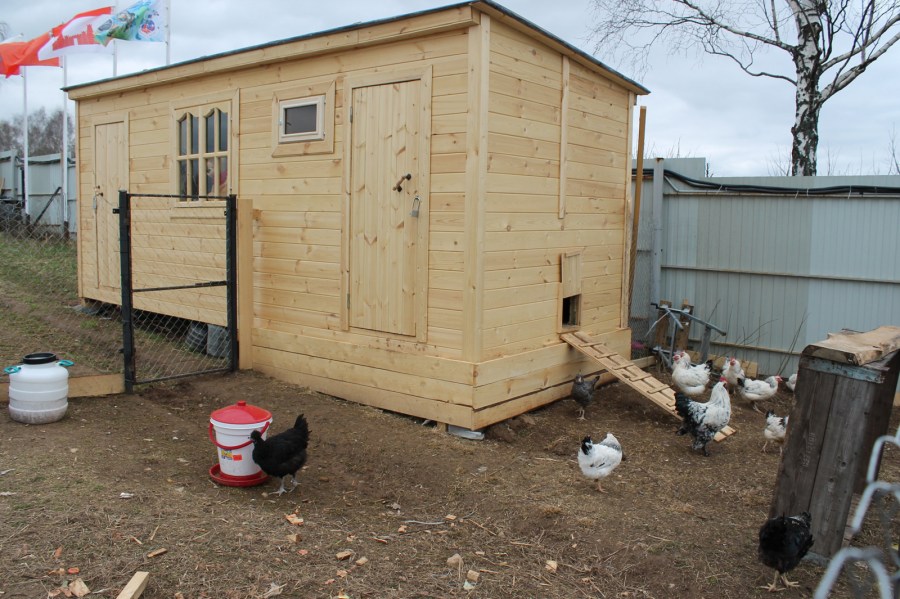
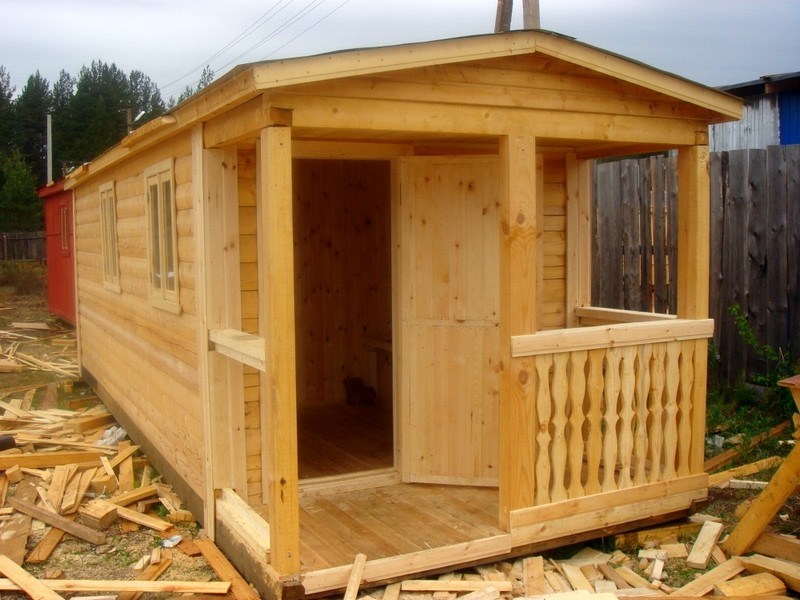
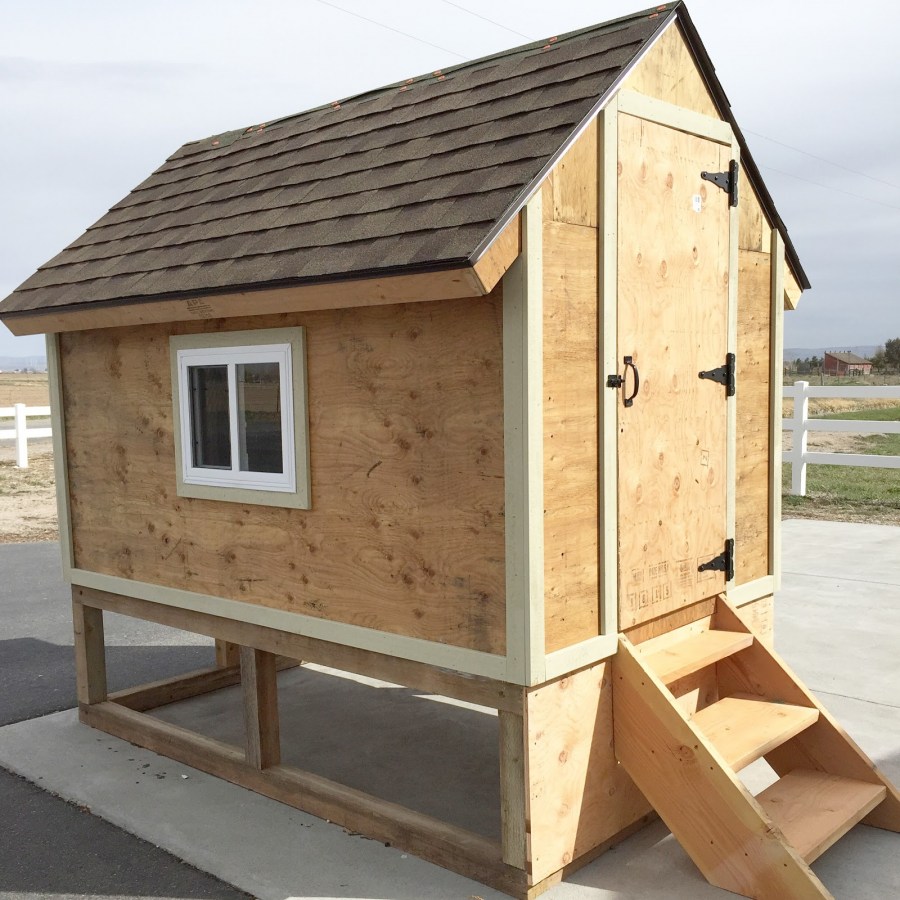
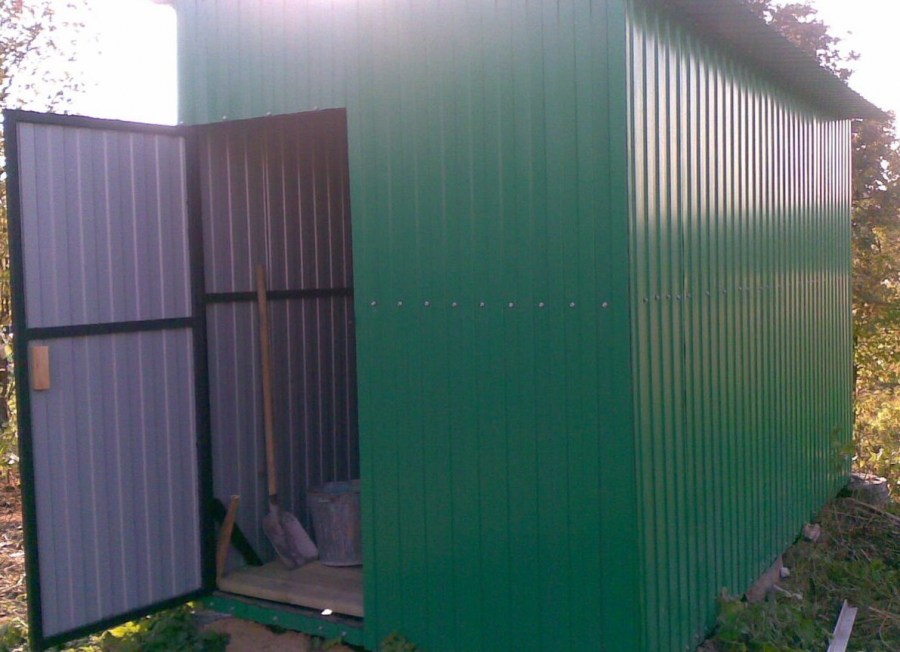
No less popular frame wooden buildings. Quite affordable, you can build a room from a small section beam, then sheathe it with plywood, a board or other affordable method. Convenience lies in the fact that the walls of the chicken coop turn out to be hollow and it is possible to sew insulation into them.
Practice shows that next to chickens, mice who like to live near the grain like to settle down very much, they are located just in these insulated walls, so people often add a small metal mesh under the skin.

It is better to take care of this once, than then to fight the invasion of rodents. Regarding the thickness of the insulating layer, here take into account how much the temperature drops on the thermometer in the most frosty period.
Log walls do not require additional insulation, however, chickens are very fond of yanking tow from the seams, therefore it is advisable to foresee this moment and hammer the seams with slats.
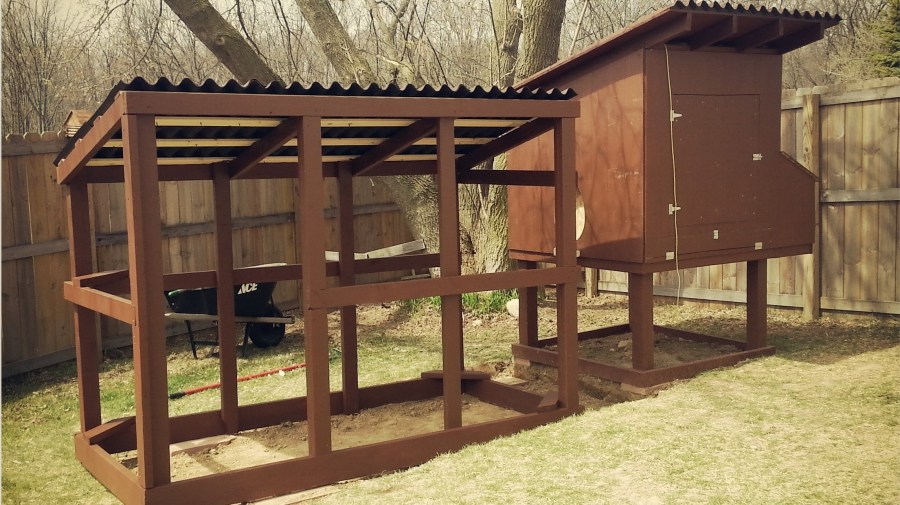
Foundation
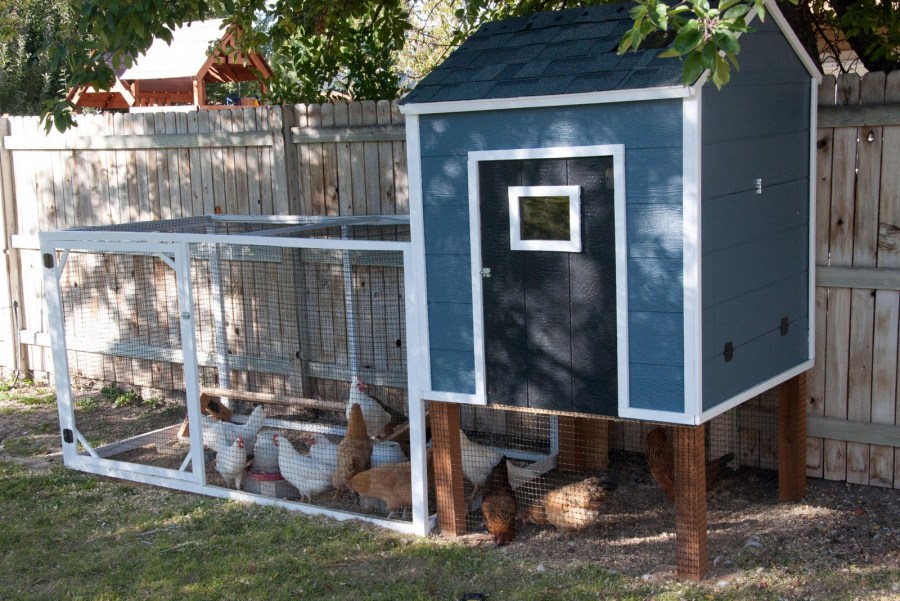
If you set out to build a foundation for the chicken coop, the first thing they usually consider is columnar or pile. In this case, it is enough to set up the supports on the drums and every two or three meters between them.
As a rule, buildings are lightweight, so you can use ready-made blocks, even in a home-made version. Particularly strong foundations are built only when the walls are conceived of heavy materials such as bricks, foam blocks, cinder blocks or a shell rock.

Frost protection
It is important to pay special attention and think over in advance the insulation of the chicken coop frame and the heating of the room. Since heating is a costly thing, financially it will be more profitable to take care of the insulation of the shed in advance, so that in the future there will be no additional heating costs.


Insulation of the chicken coop can be arranged both inside the walls and directly outside. Suitable inexpensive modern tools that will be affordable.
Polyfoam is used most often, it is lightweight, the cost is minimal, and the heat insulates perfectly. A five centimeter thick slab replaces a 60 centimeter brick wall. In installation - it does not happen any easier. You can put the blocks on glue or nails with additional fixing washers or use improvised means.
Mineral wool, which is well suited for insulation, is also on sale, but it requires additional costs for wind and moisture protection on the outside and steam protection on the inside of the walls.
A very useful material is polystyrene foam, according to its characteristics it is better than polystyrene and rodents avoid it, its surface is thought out, it looks good and does not require sheathing. Of the minuses - a fairly high cost.
Nature also gave us a lot of materials that can be used for insulation at all for free. Walls can be clogged with sawdust, you can mix them with clay and coat the surface. For the southern regions, this method will work well. The middle lane, and even more so the north, nevertheless provides for increased measures.
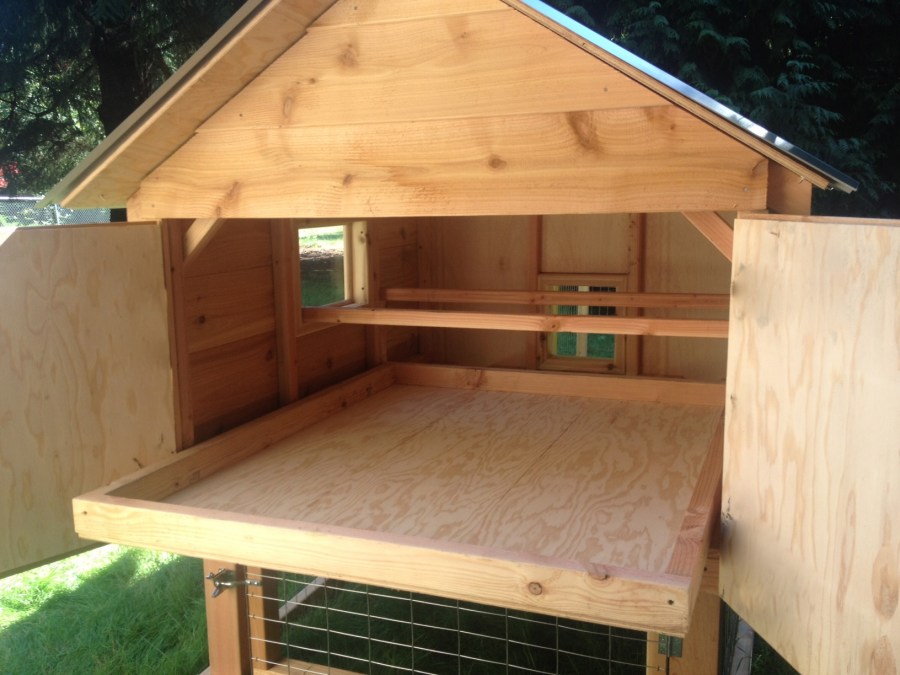
You will also need to take care of the ceiling, if it will let heat out, all efforts will go down the drain. Cardboard retains heat well, it can be upholstered on the surface, but it is better to use plywood and leave sawdust or hay in the attic.
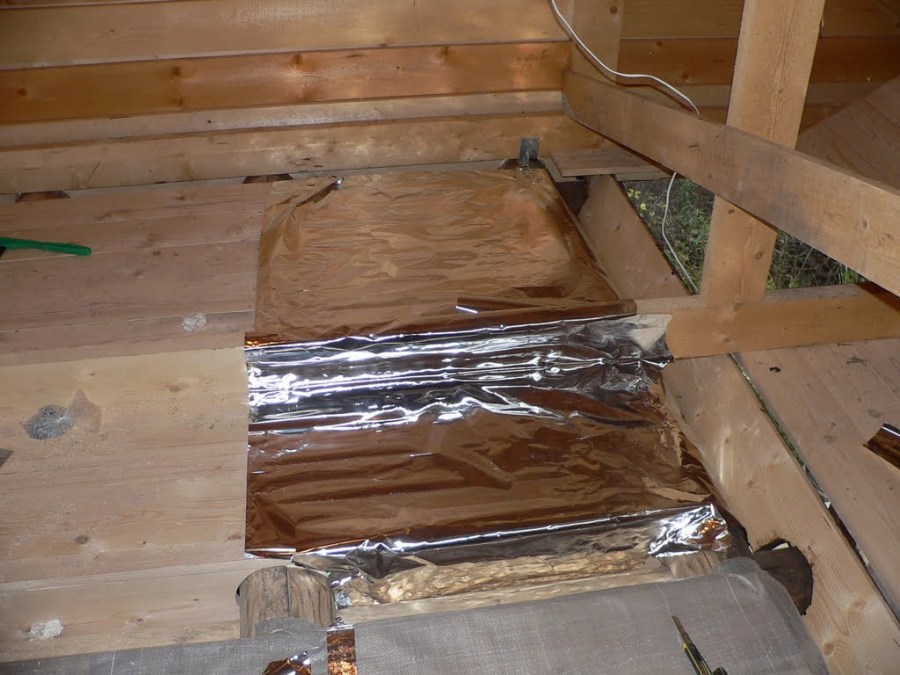
An additional layer of insulation will not hinder the floor in the same way, this is done according to the system of any residential premises. Warming is laid between the rough floor and the finishing floor, between the lags. It is better to try to seal the floors as much as possible, it definitely will not be worse from this.
By the way, a wooden floor is not the only option, you can lay a mixture of clay with straw or concrete. Concrete floors are cold, it is advisable to wall the insulation layer, at least from bottles.

Another way to avoid heating costs is to integrate a vestibule or dressing room into a simple chicken coop. This move significantly reduces the loss of warm air when opening and closing doors.
If you still need to heat
In this case, you need to think about everything in advance, then the layers will well bring eggs even in the most severe frosts.
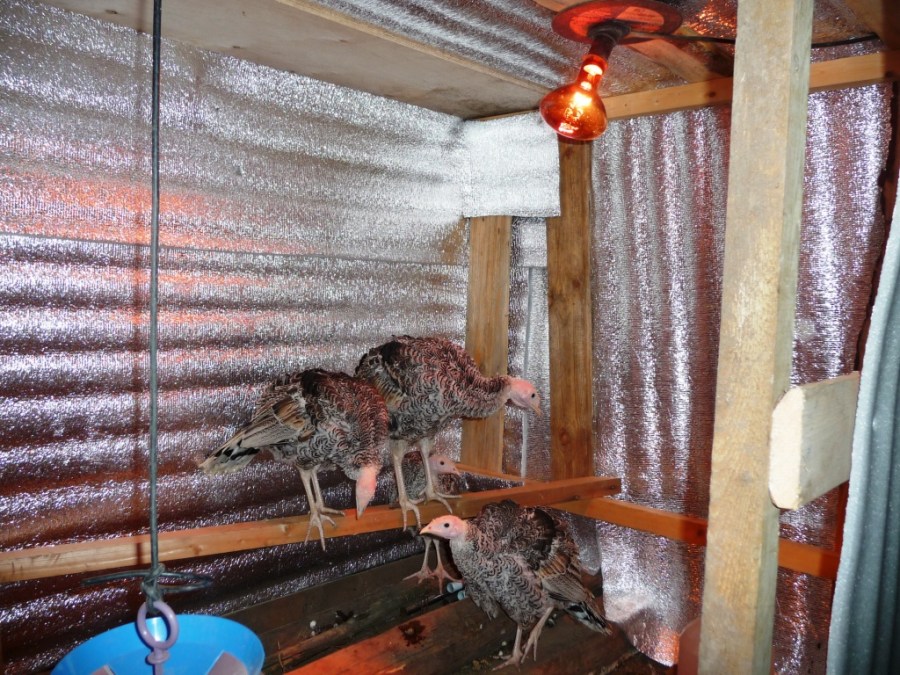
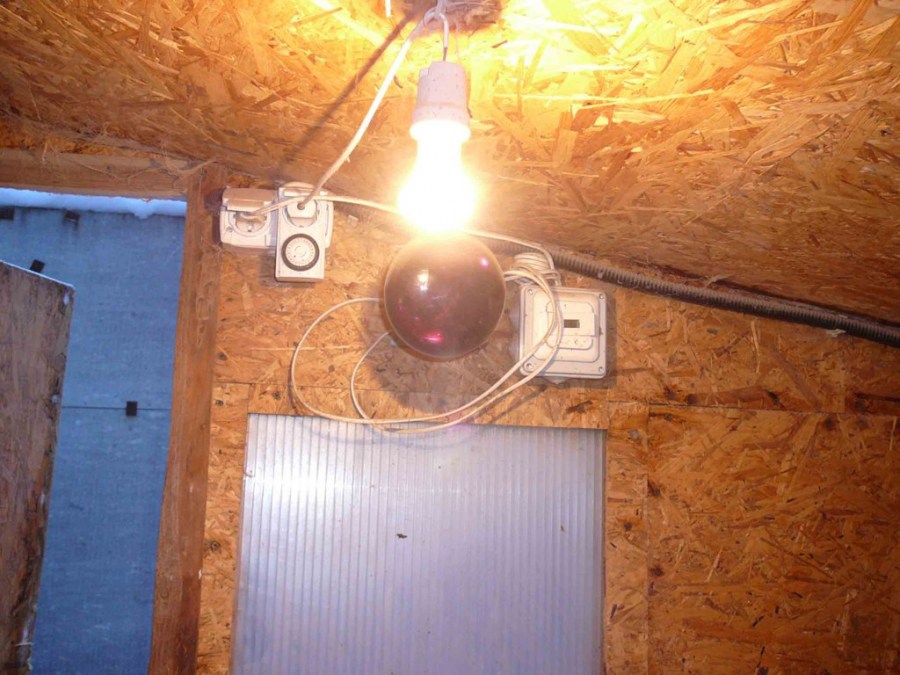
If electricity is supplied, the room can be heated with infrared lamps or heat fans. To reduce energy costs, it is advisable to purchase equipment with heating sensors so that it turns off when the desired temperature is reached.


Emitters work differently, they warm objects in the coverage area and the bird, when it freezes, gathers there. Such lamps consume a little electricity, but often burn out. When installing lamps, it is important to take care of fire safety, since everything can be said in the chicken coop.
Oil radiators will not work, they wind a lot of light, but they heat slightly. Open devices with a spiral in a room with a bird are dangerous, as they will often be unattended.
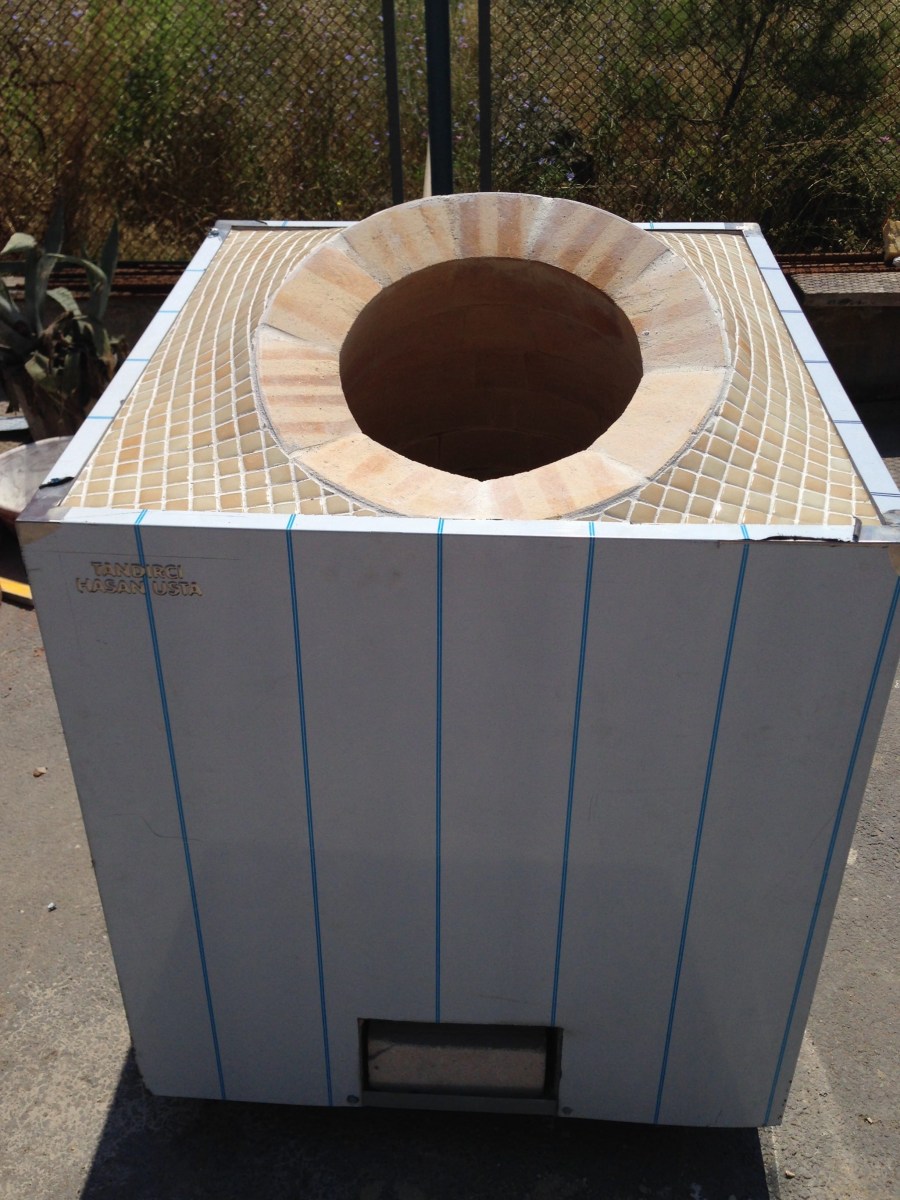
Some people experiment with a cauldron or a stove. Lined with brick, it is able to retain heat for up to two days, provided that the room is well insulated.


Sawdust decomposition
You can limit yourself to the heat that appears during the decomposition of sawdust. This option is better than hay, because sawdust removes excess moisture well, then the chickens do not get sick and they have something to do. Birds often dig sawdust, this warms them and prevents them from eating fat.

To do this, the chicken coop is pre-insulated well, a threshold board is nailed in front of the entrance so that the insulation does not fly out to the street, the floor is lined with a fifteen-centimeter layer of wood sawdust before the first frost. For a month everything is left as it is.
Then, when it becomes clear that the sawdust is stale, a characteristic smell appears, then the layer is replenished by ten centimeters. By spring, it will reach about 50 cm. This method preserves the temperature at about zero degrees, which is quite enough for the bird, especially if the animal starts to freeze, it can always burrow.
With the onset of heat, you can apply the leftovers, like compost, to get fertilizer.
Take care of oxygen access
When constructing chicken coop ventilation, it is important to take care of the absence of additional gaps and to prevent drafts. As a rule, a plastic pipe is mounted under the ceiling with an exit through the roof.
It is possible to make an additional intake of air at the floor level, the main thing is to protect all this with a grill or damper. If there is constant light, you can embed the hood.

It is not difficult to regulate the humidity of the room; to increase it, you can install containers with water. But if it is increased, an infrared lamp will help, it perfectly removes condensation.
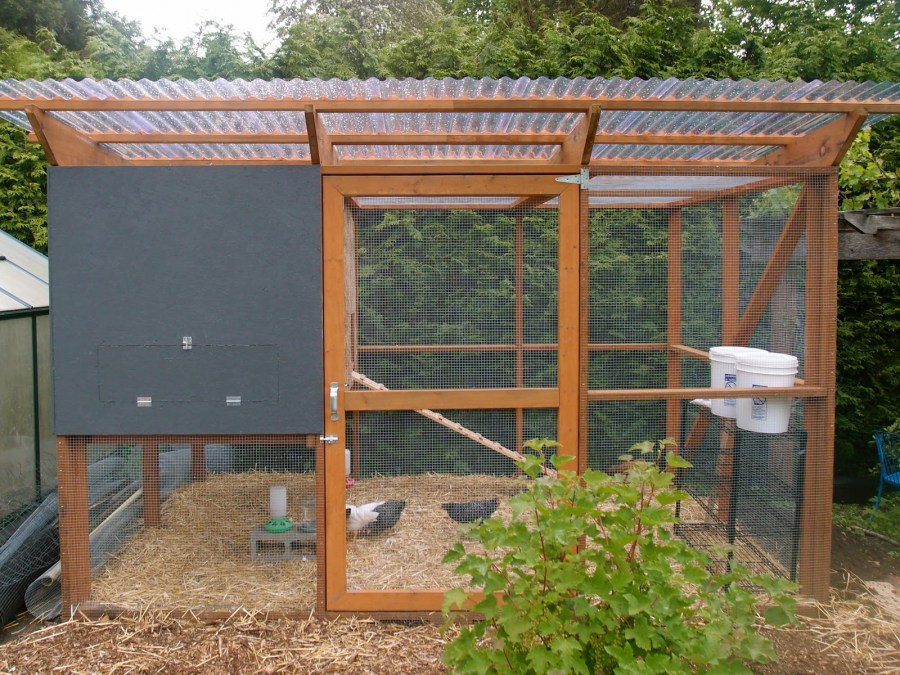
Lighting device
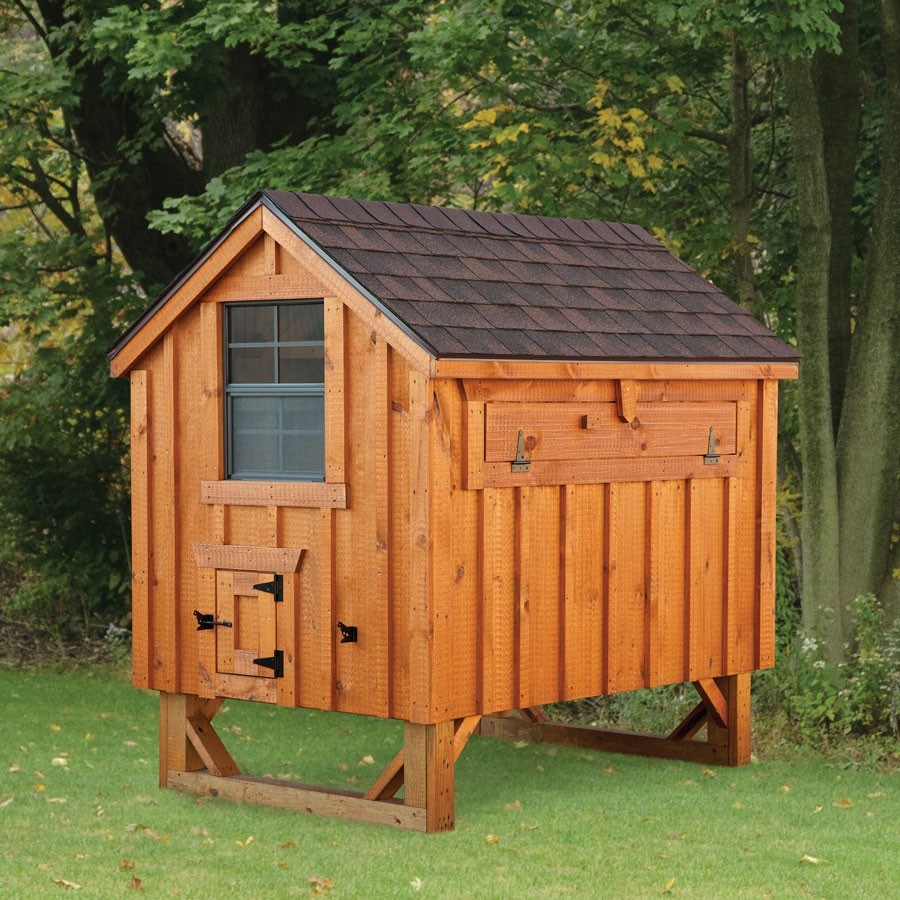
The chicken coop cannot do without a window on the south side. Yes, it lowers the temperature slightly, but the bird is a living organism that needs sunlight. In addition to at least double glass, it is important to provide the net with an aperture inside, for the safety of chickens.
In winter, when daylight hours are shortened so that the hens rush better, additional lighting is turned on. For convenience, you can configure the automatic inclusion of light at dusk, at least for a couple of hours. Of course, you can do this manually.
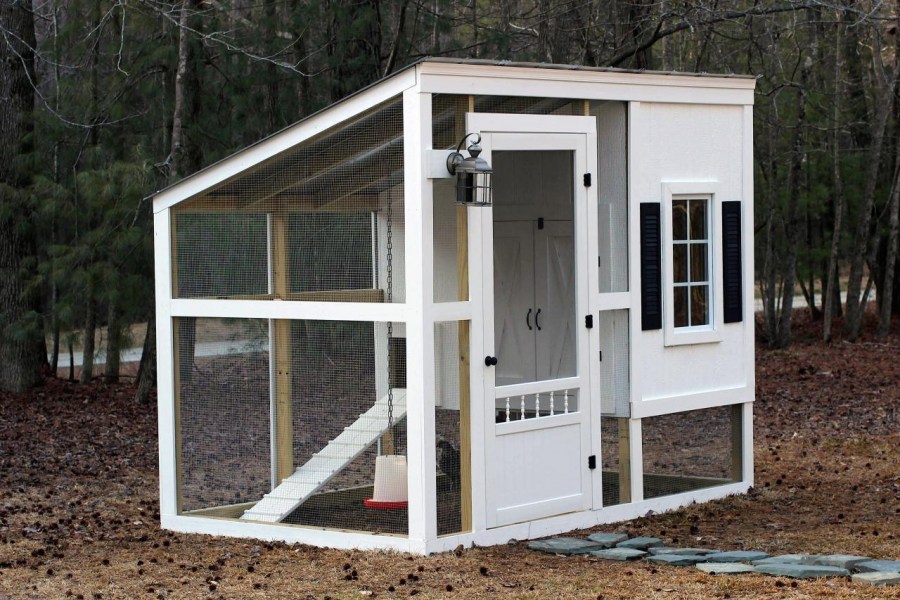
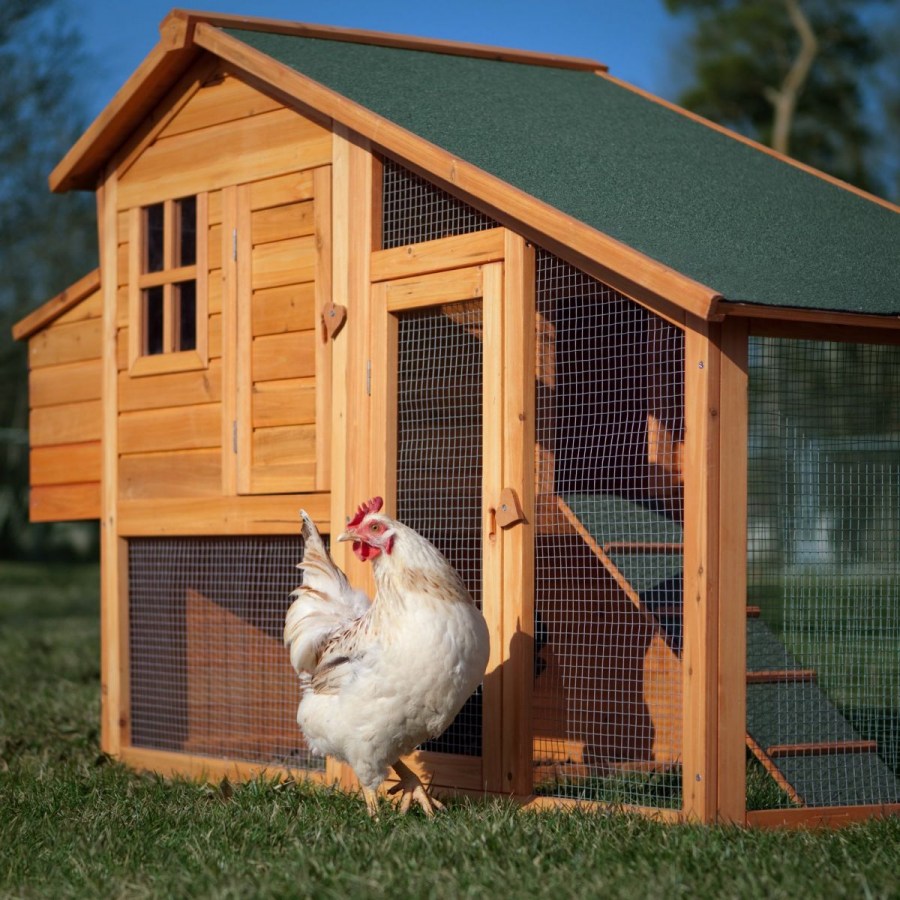
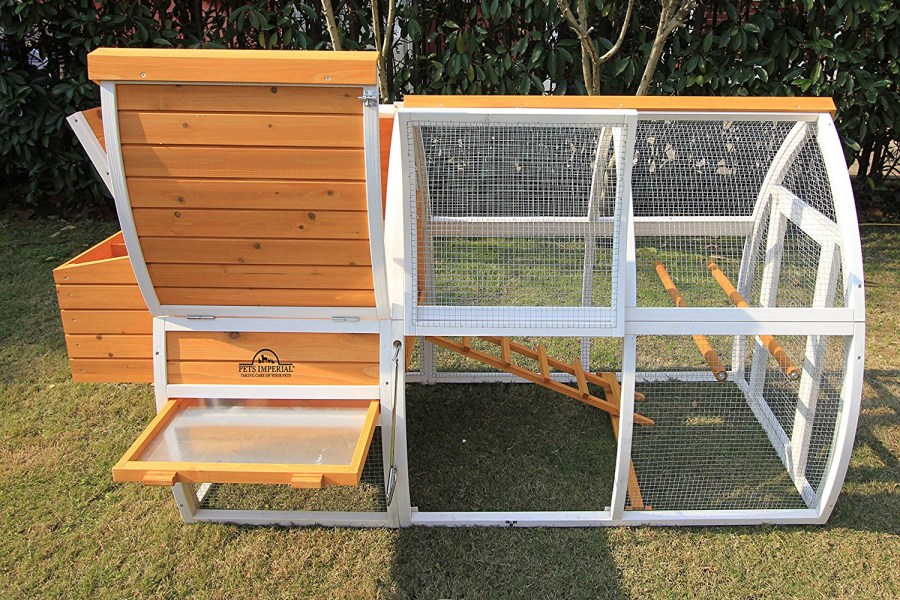
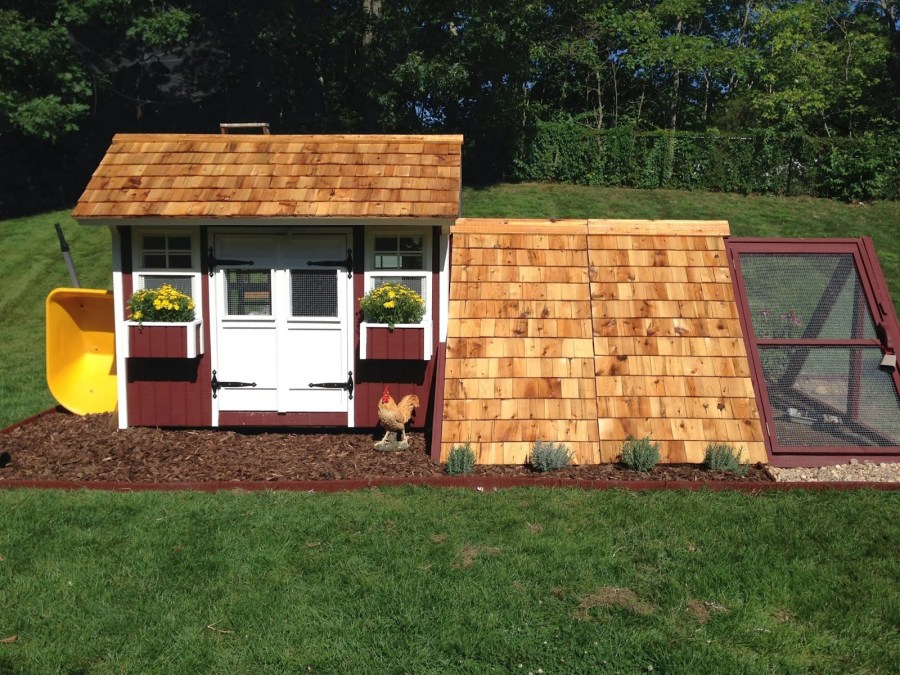
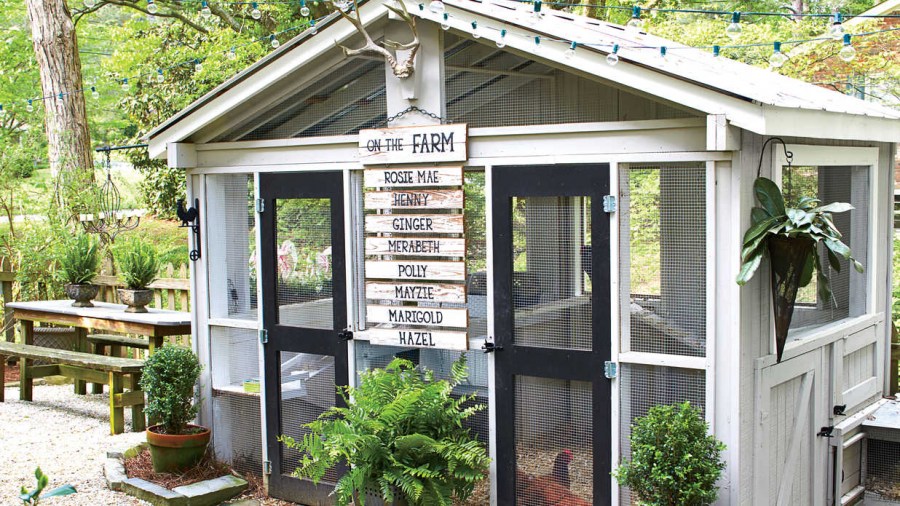
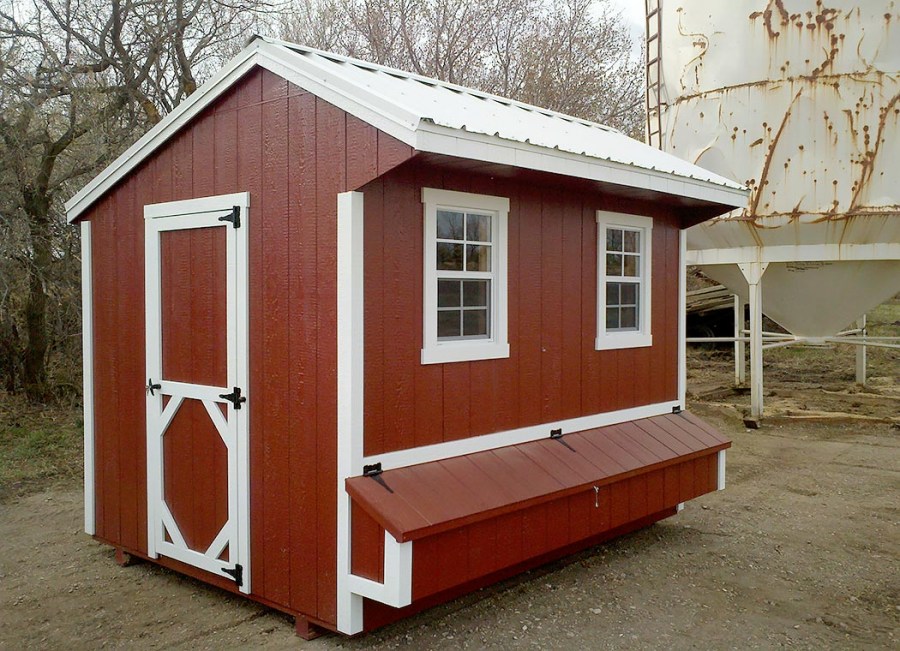
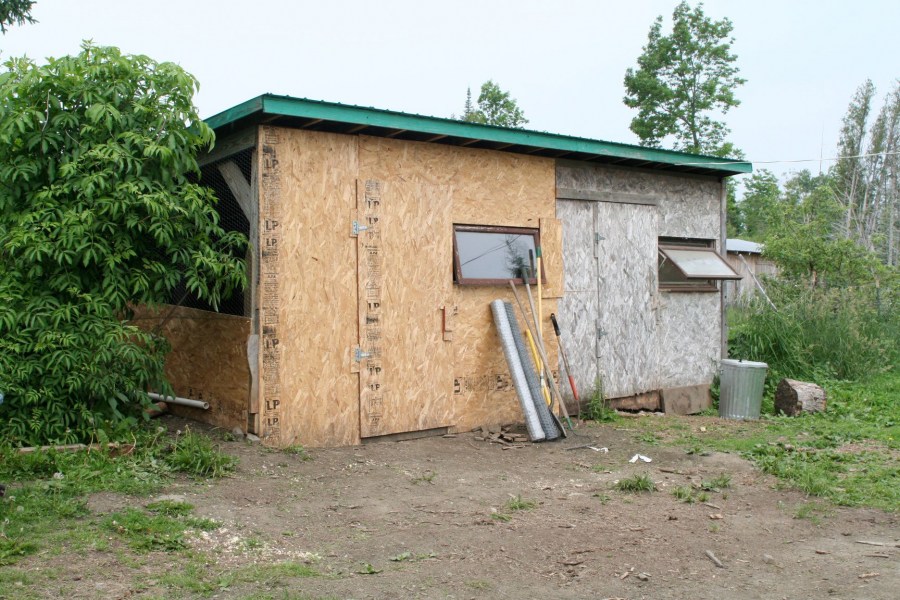
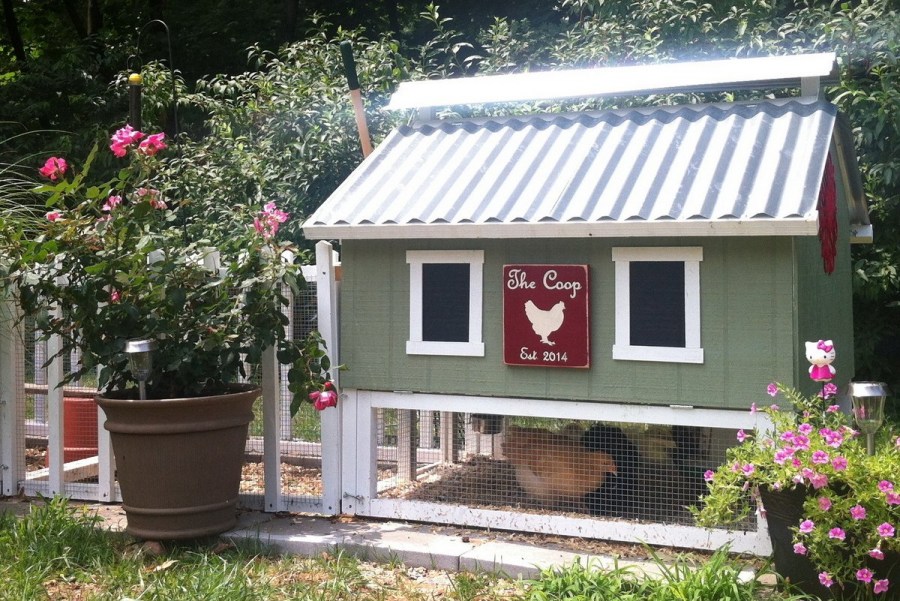
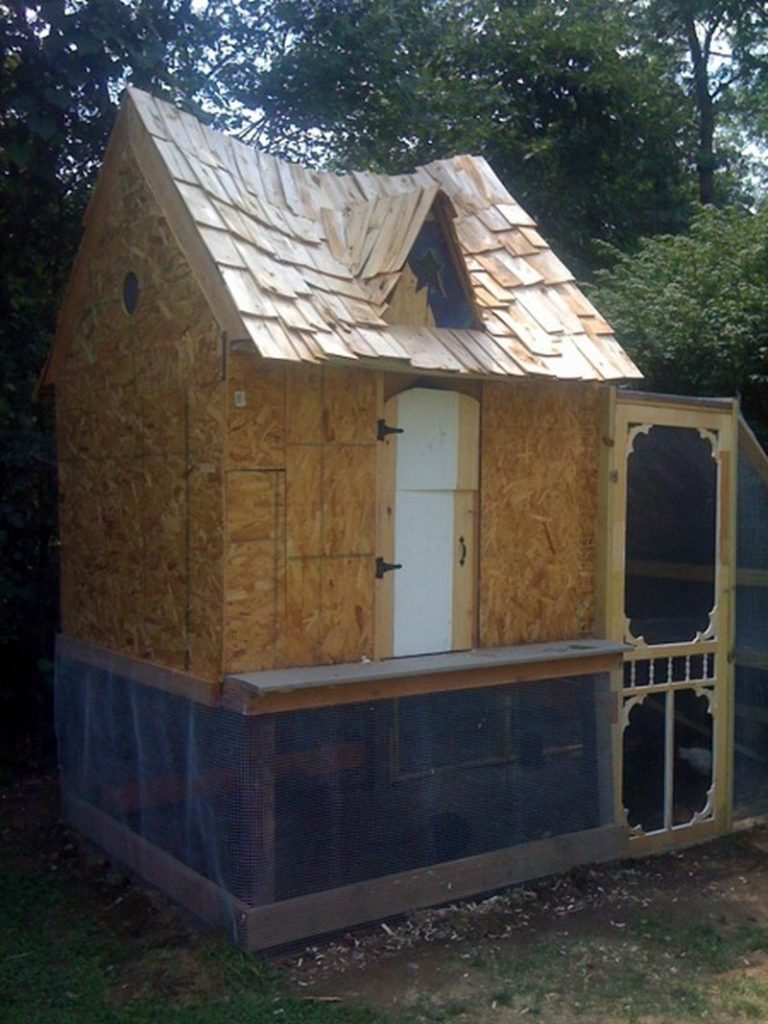
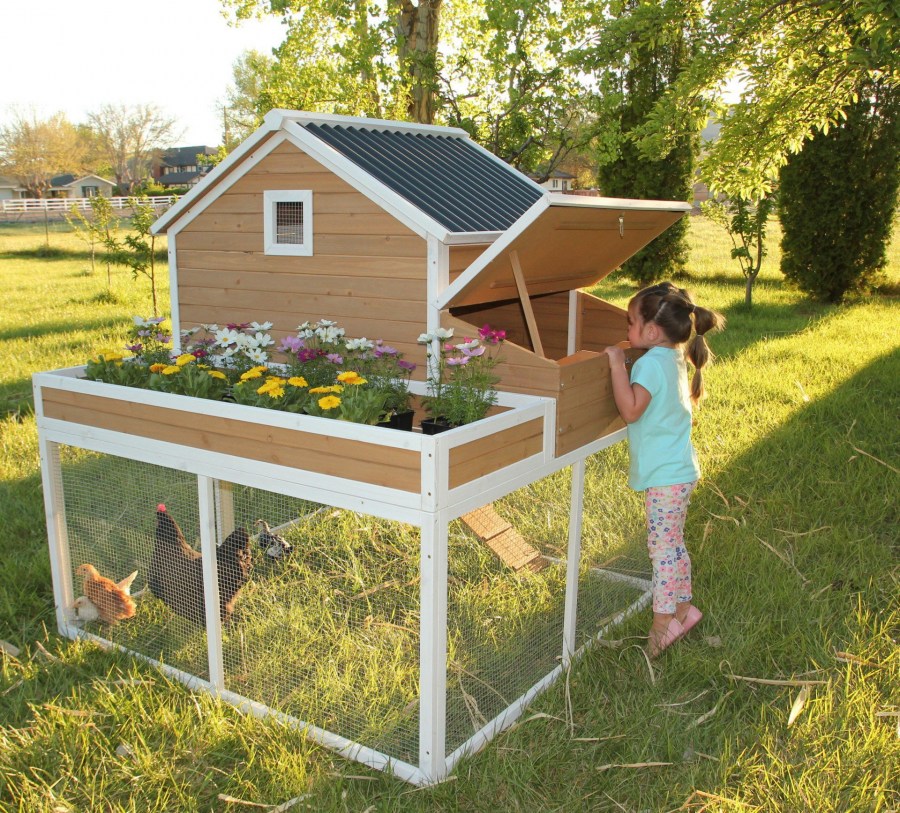
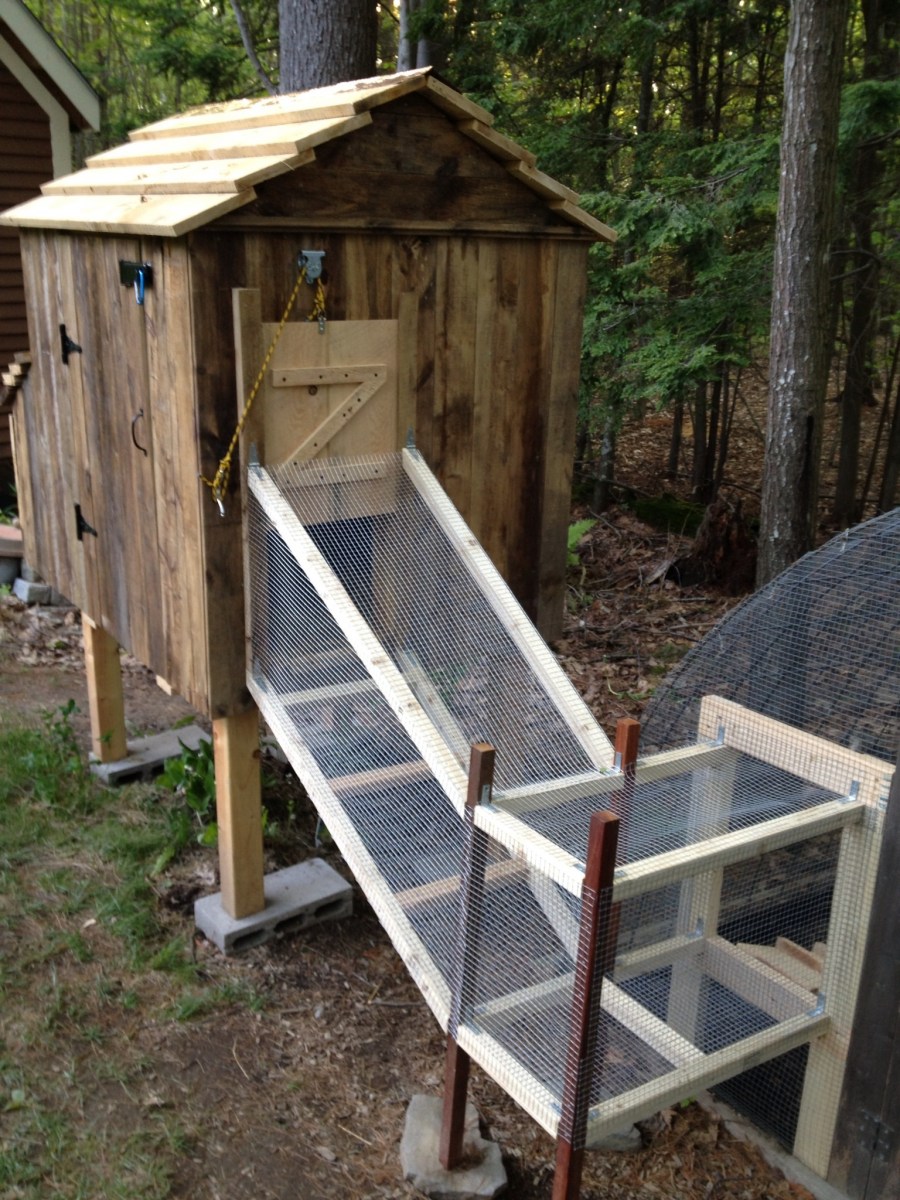
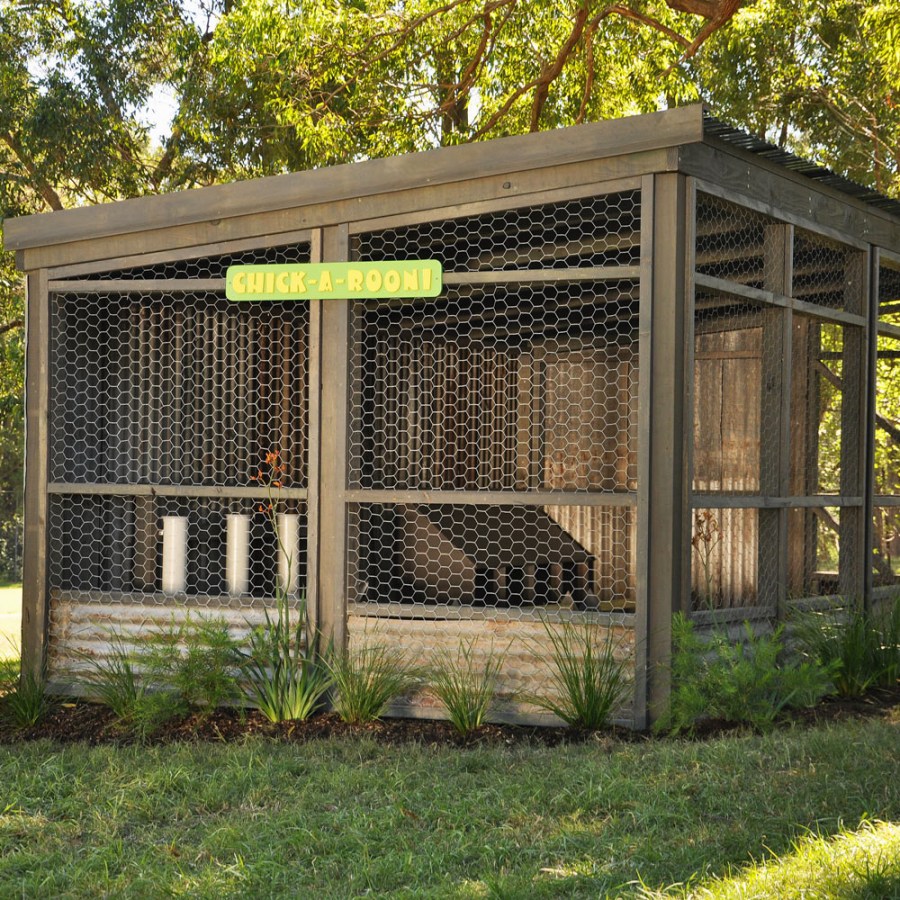
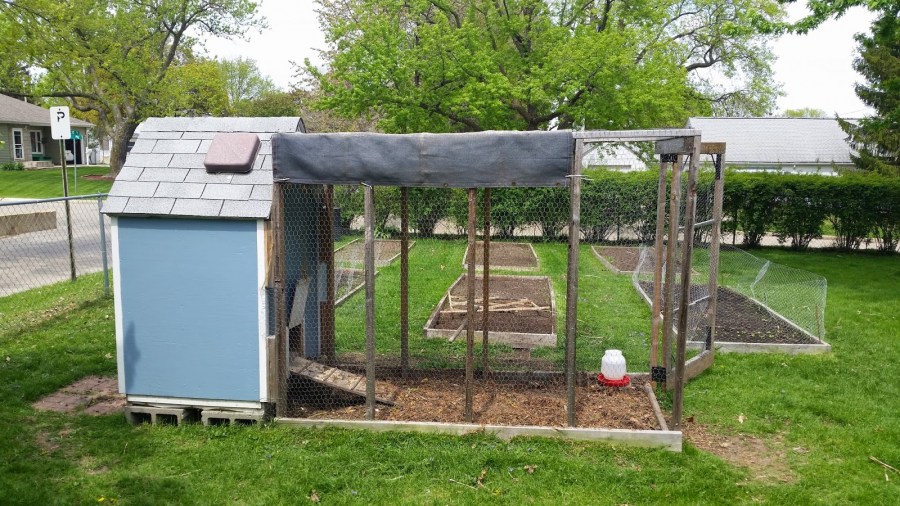
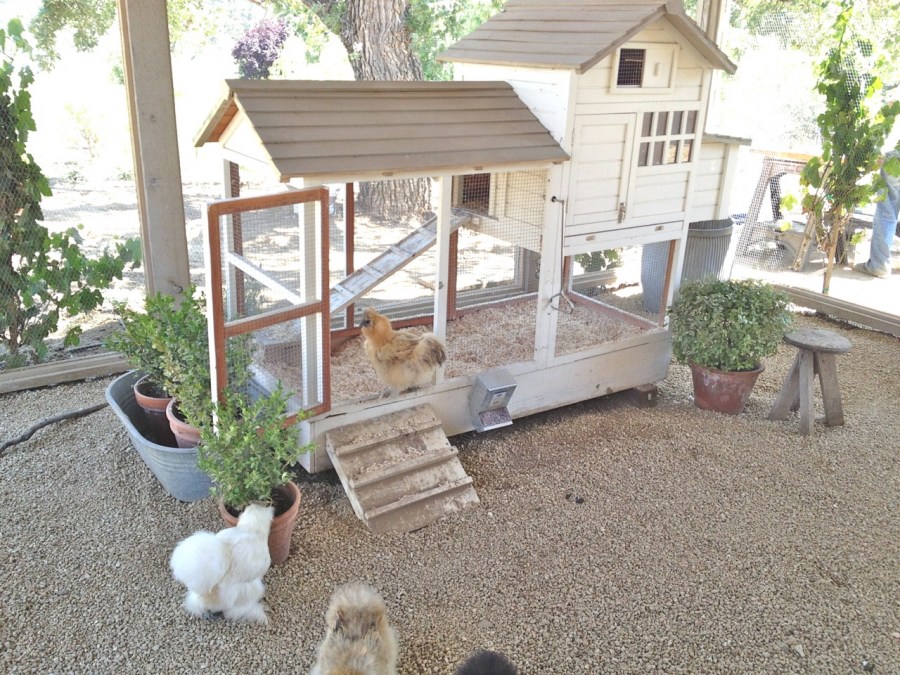
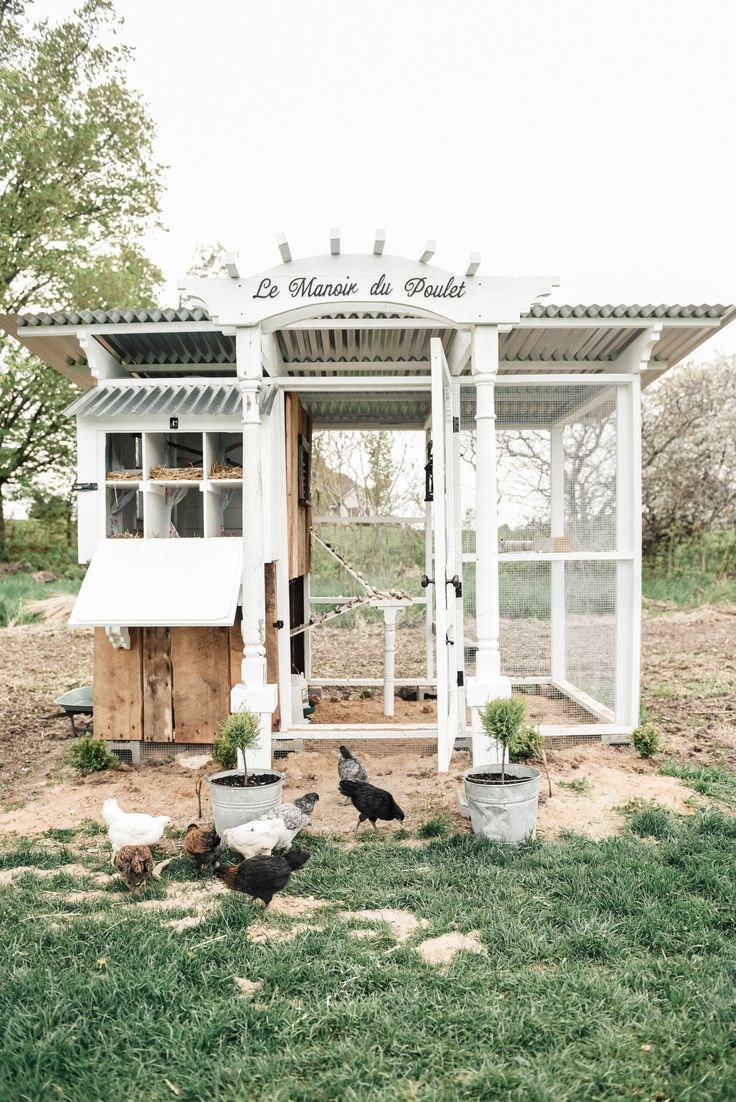
Also check out the photo of the chicken coops with your own hands for a more complete picture of the design and, possibly, to discover interesting solutions.

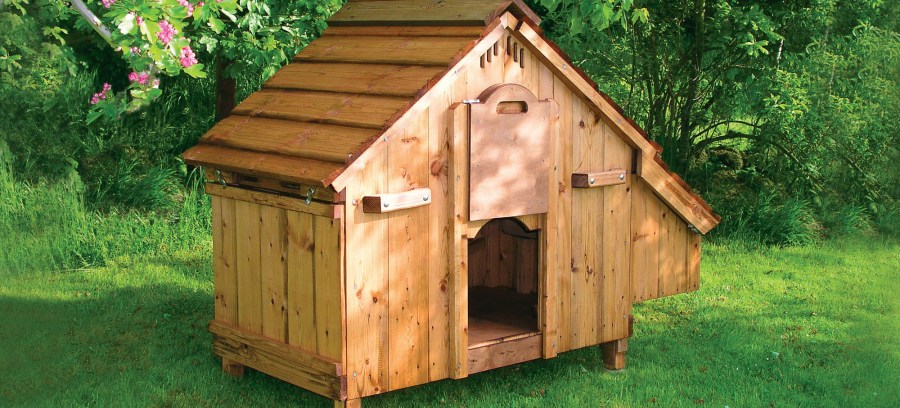
DIY chicken house photo


How to remove a stump with your own hands? Simple instructions with photos and tips
Wooden canopy: 85 photos of stylish and practical designs
Entrance to the site: 95 photos of the correct construction of a reliable access road
Pomegranate tree: planting, care, growing from a stone + plant photo
Join the discussion: