Do-it-yourself sandbox - the best ideas, materials, the simplest drawings and diagrams (80 photos)
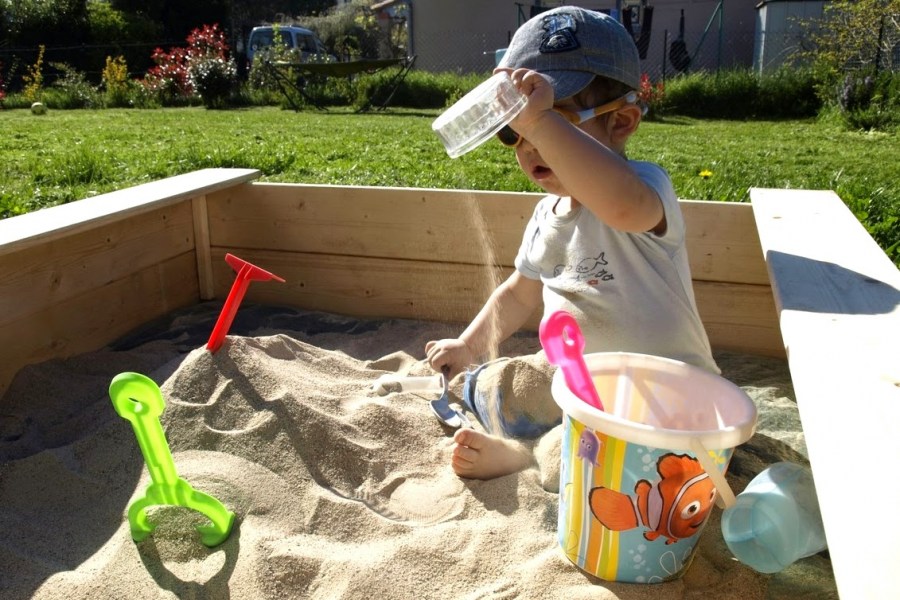
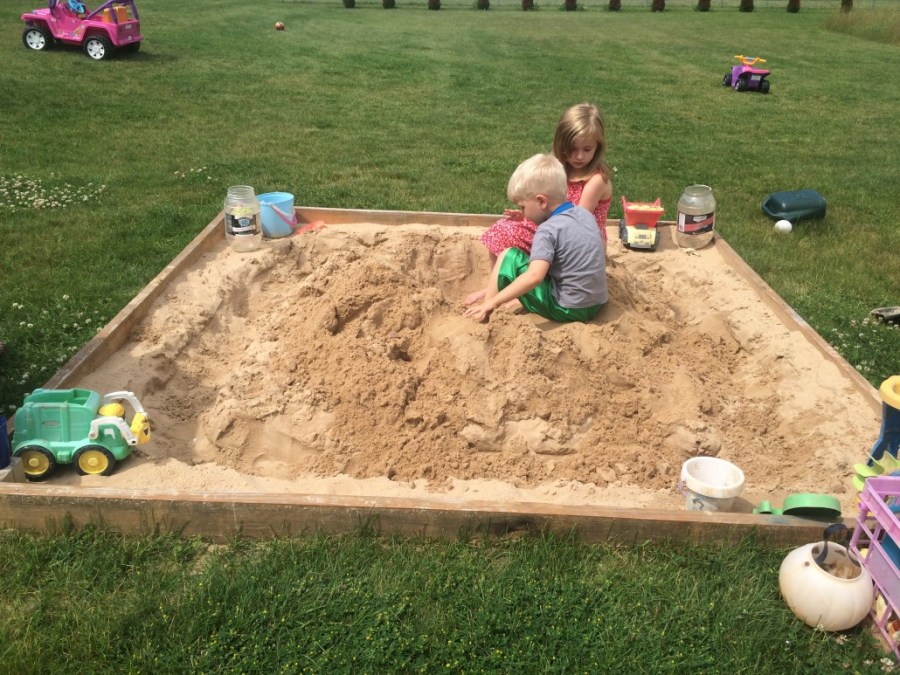
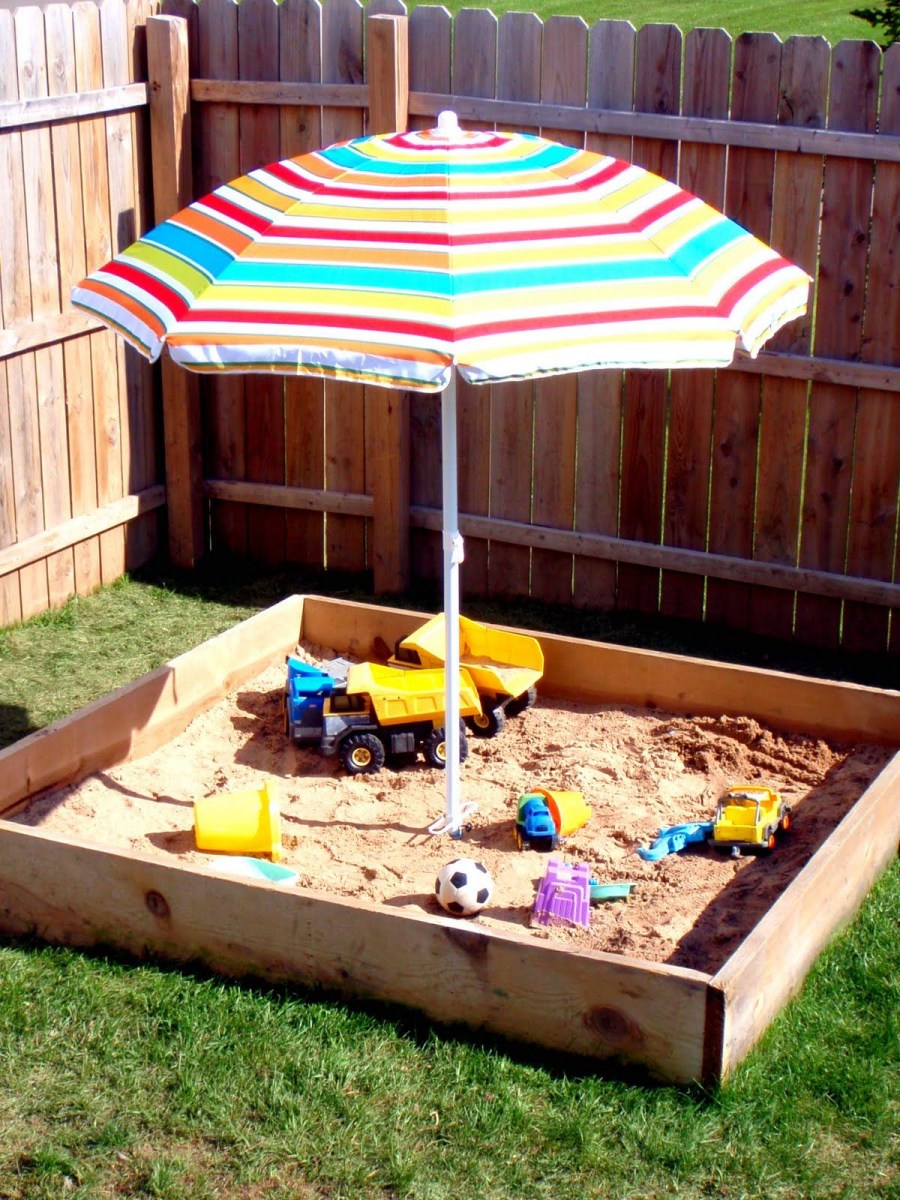
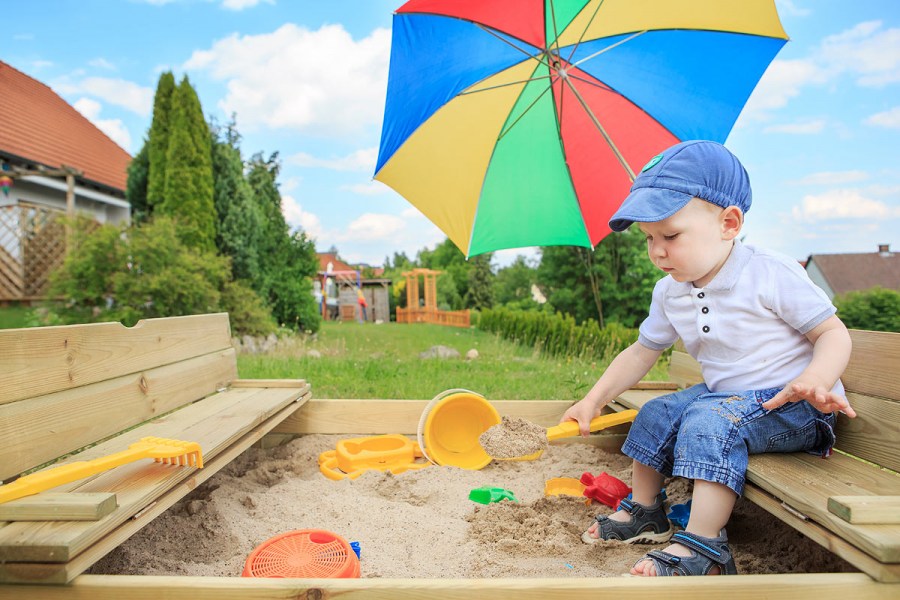
The sandbox is an indispensable attribute of the playground. Kids love to mess around in the sand, making cakes and playing fun games. Having made the sandbox with your own hands, you will take their attention for long hours.

Why put the matter aside? After all, you can make it without much effort in just half a day.
Project drafting
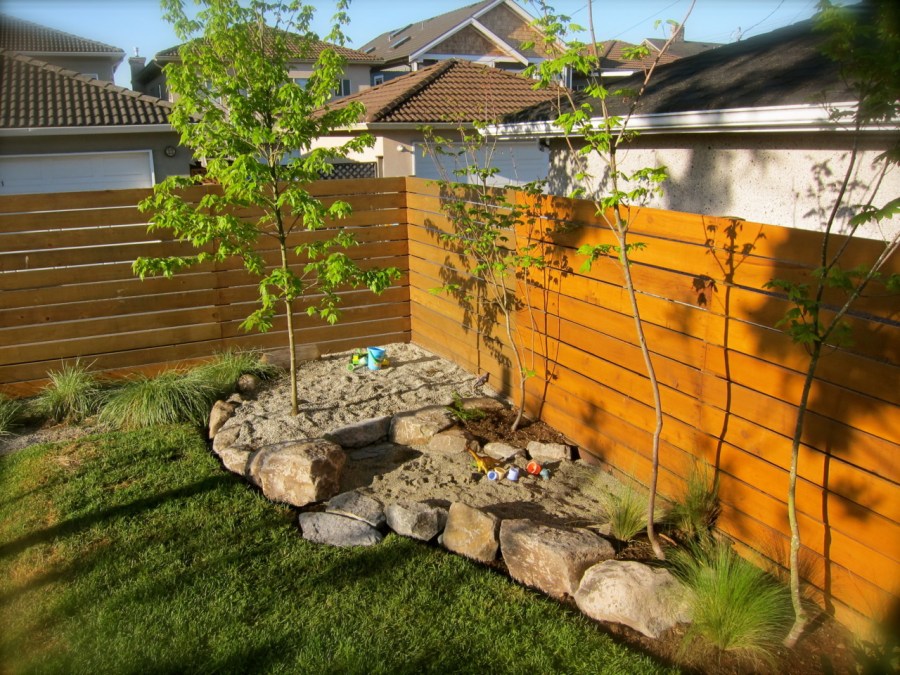
First of all, determine the location of the sandbox. The selected site should be convenient for games and safe. These are open and even spaces where parents can always control the child. At the same time, for obvious reasons, he should not be visible to strangers from the street.
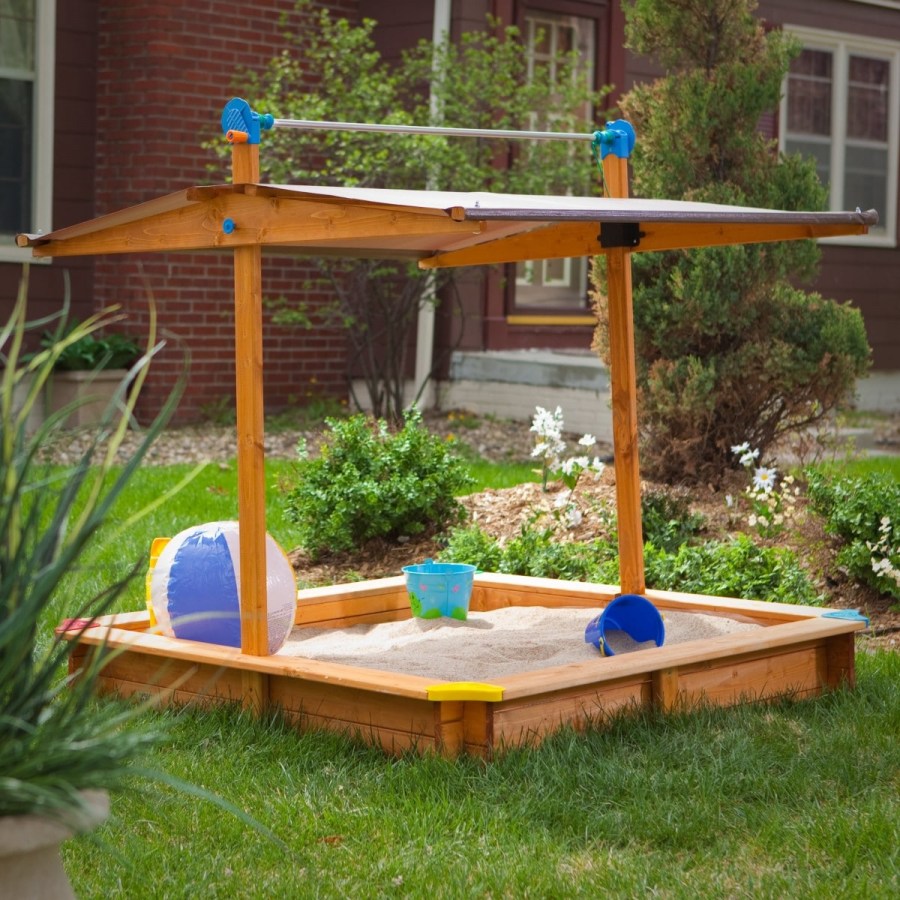
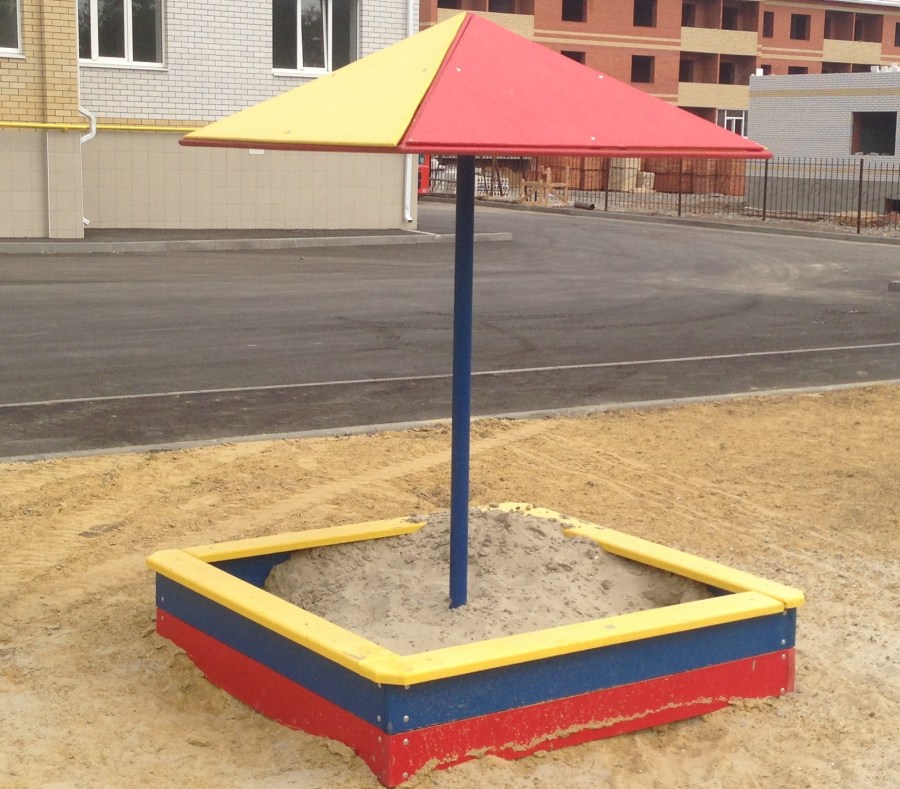
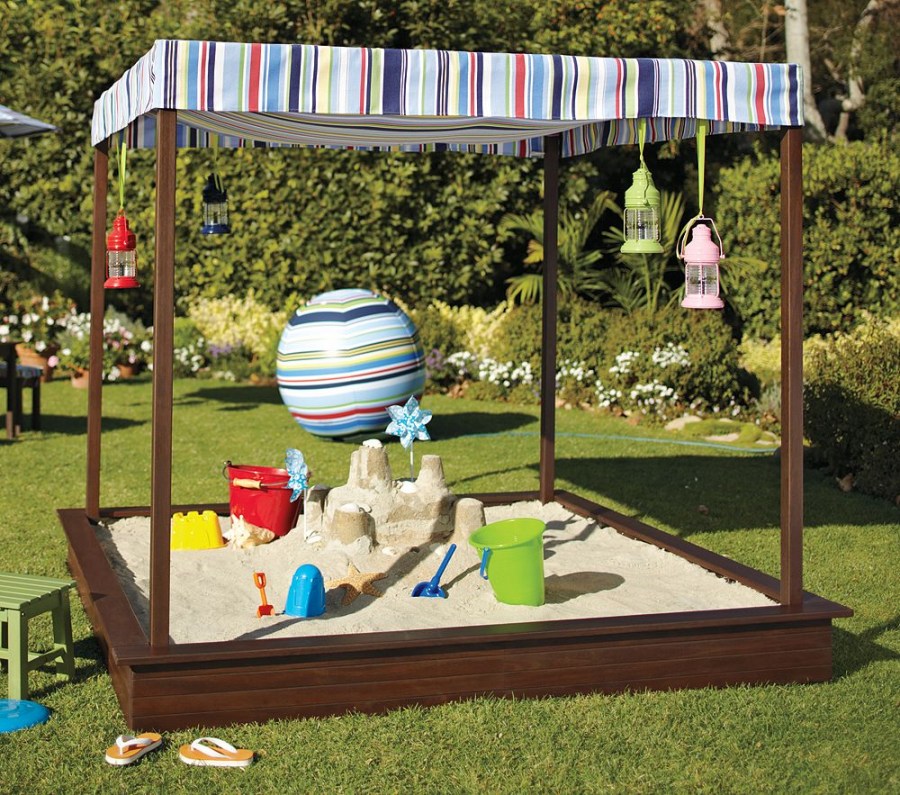
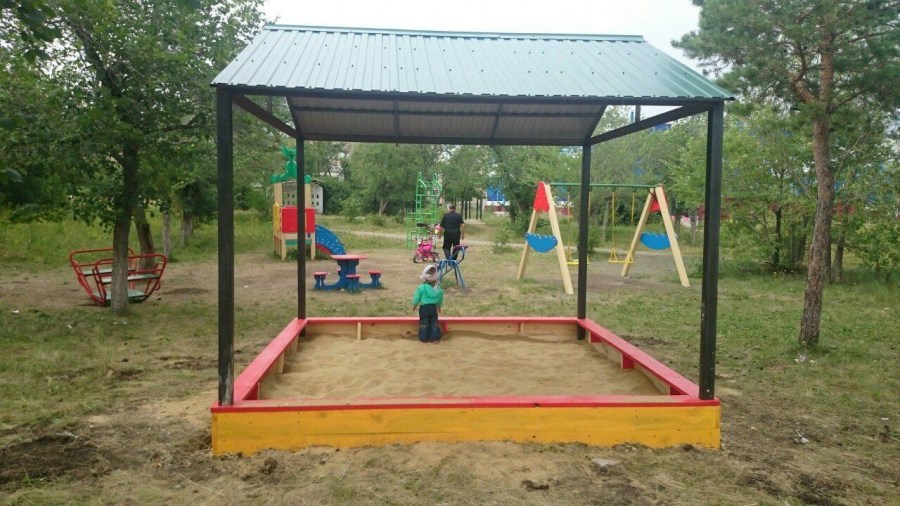
The territory should not be fenced with sharp bushes or fences, but a strong tree growing nearby or an installed canopy is a good option that protects from the sun. The proximity of the old tree is undesirable: there is a risk of falling branches.


The size of the sandbox is selected based on the number and age of children. Standard dimensions - 1.7x1.7 m; for children up to 3 years, a 1.5x1.5 m site will suffice, and an older child will be more comfortable on a 2x2 m site. The height above the ground is 25-40 cm and is selected based on the height and age of the child: he must step over it.
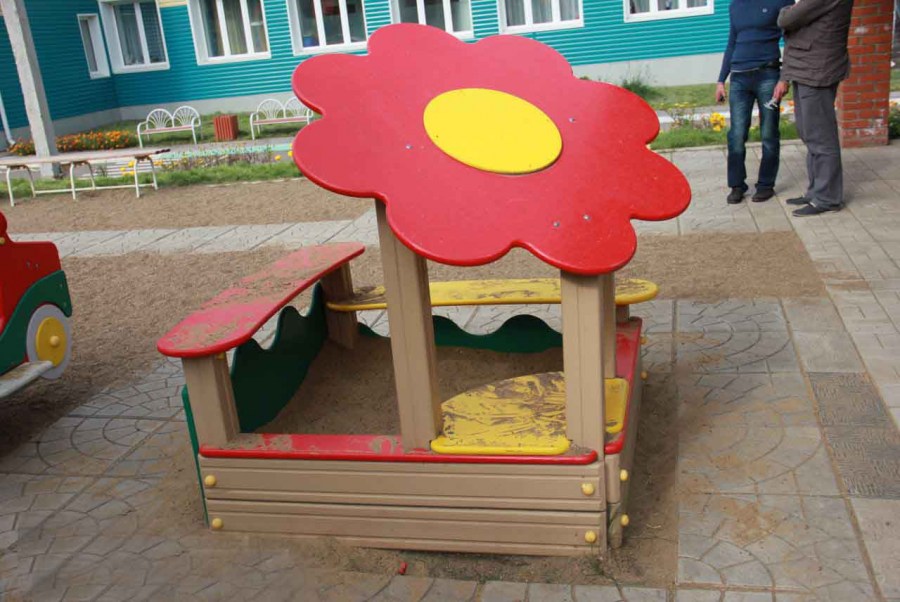
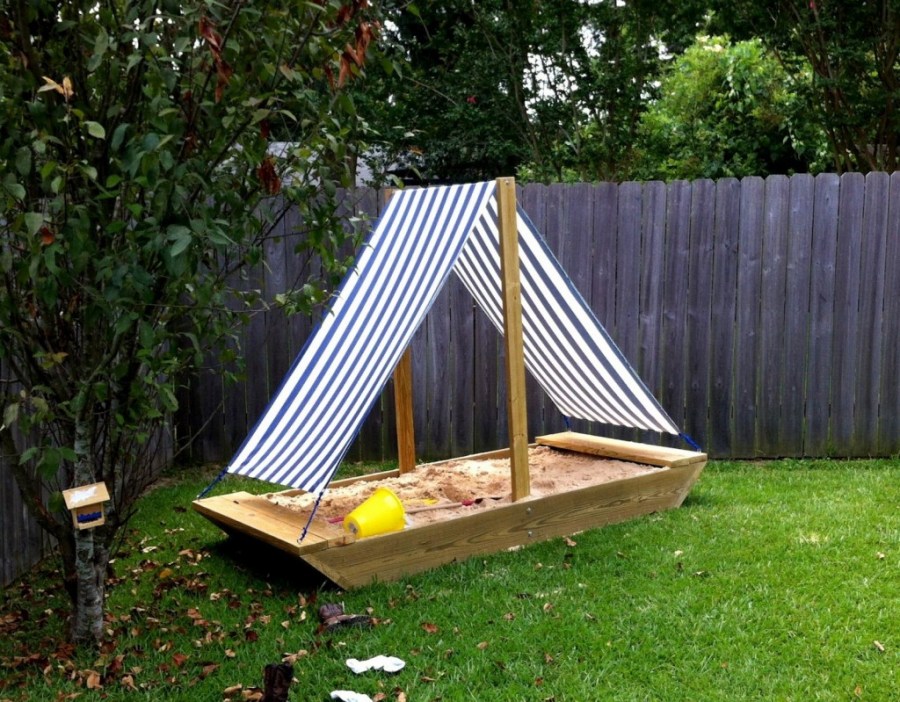
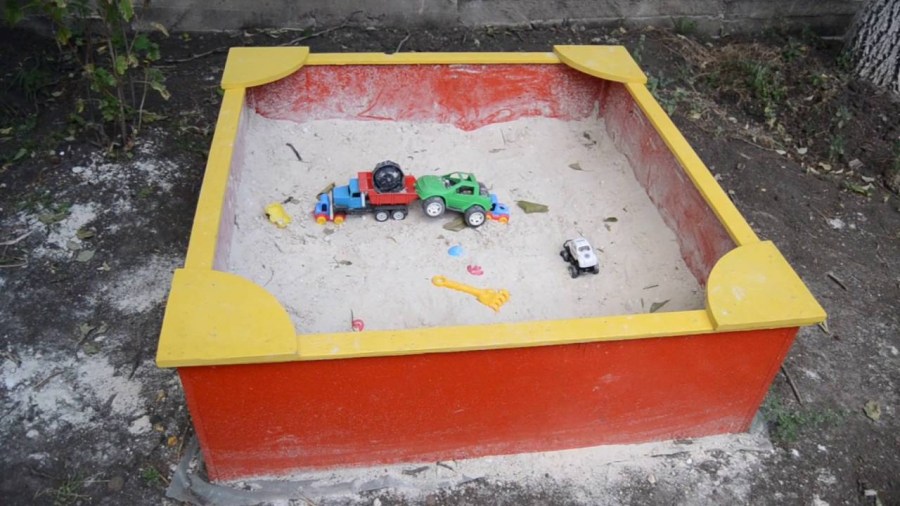
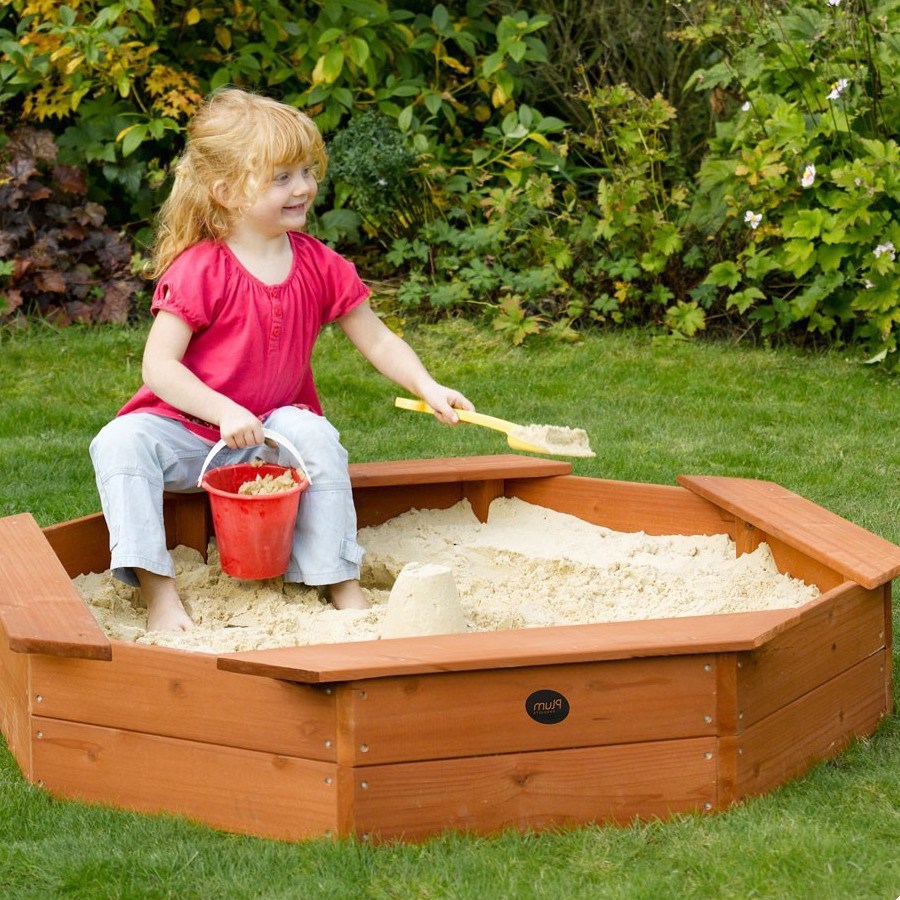
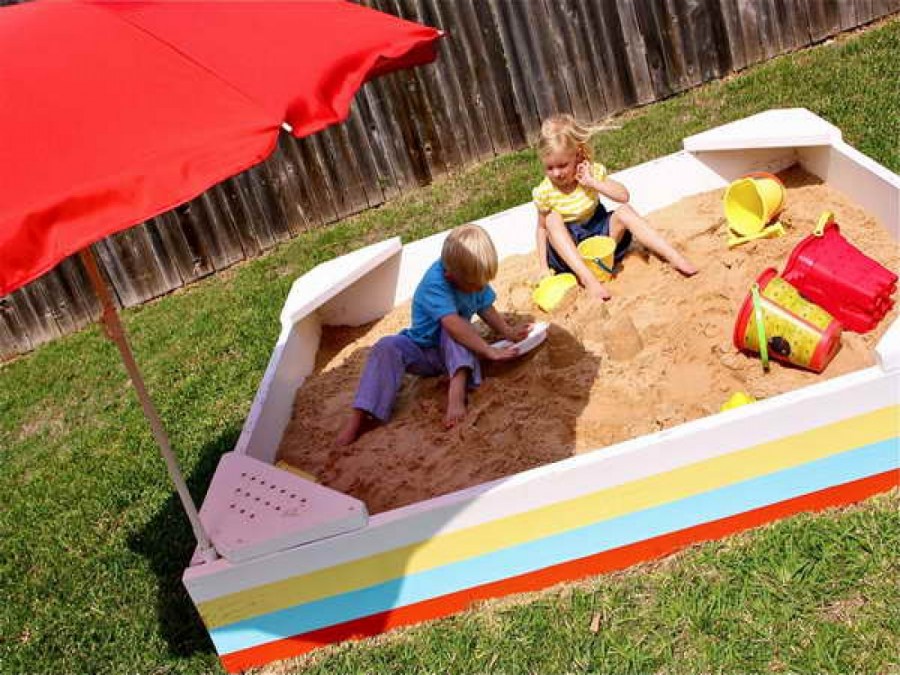
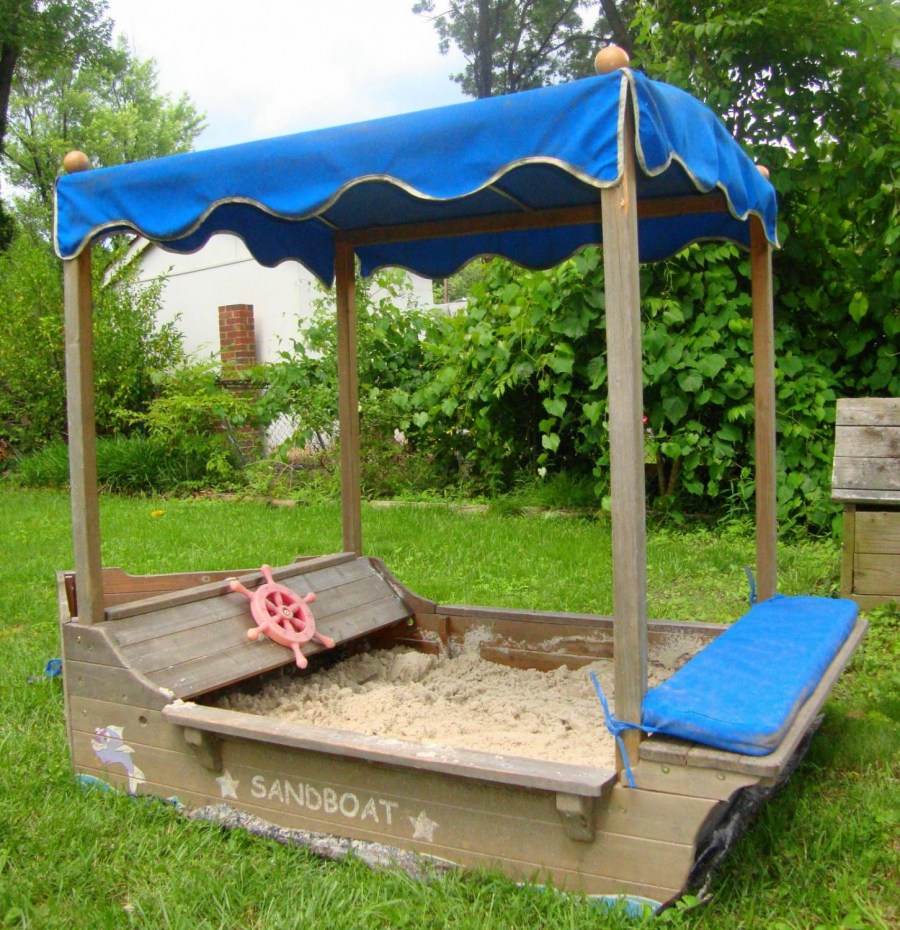
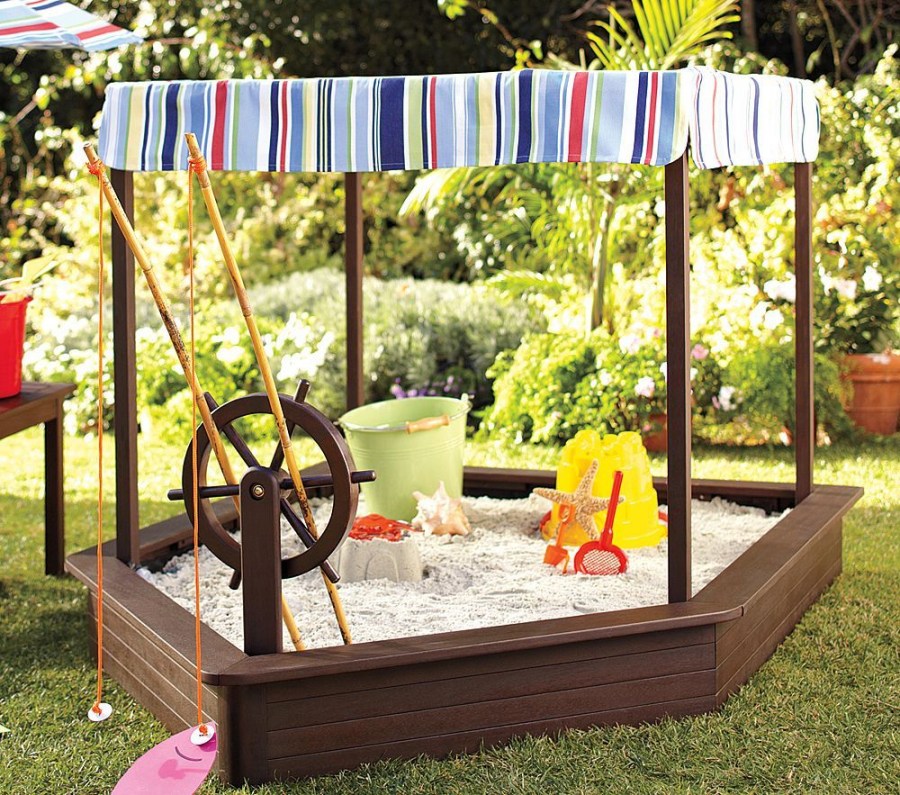
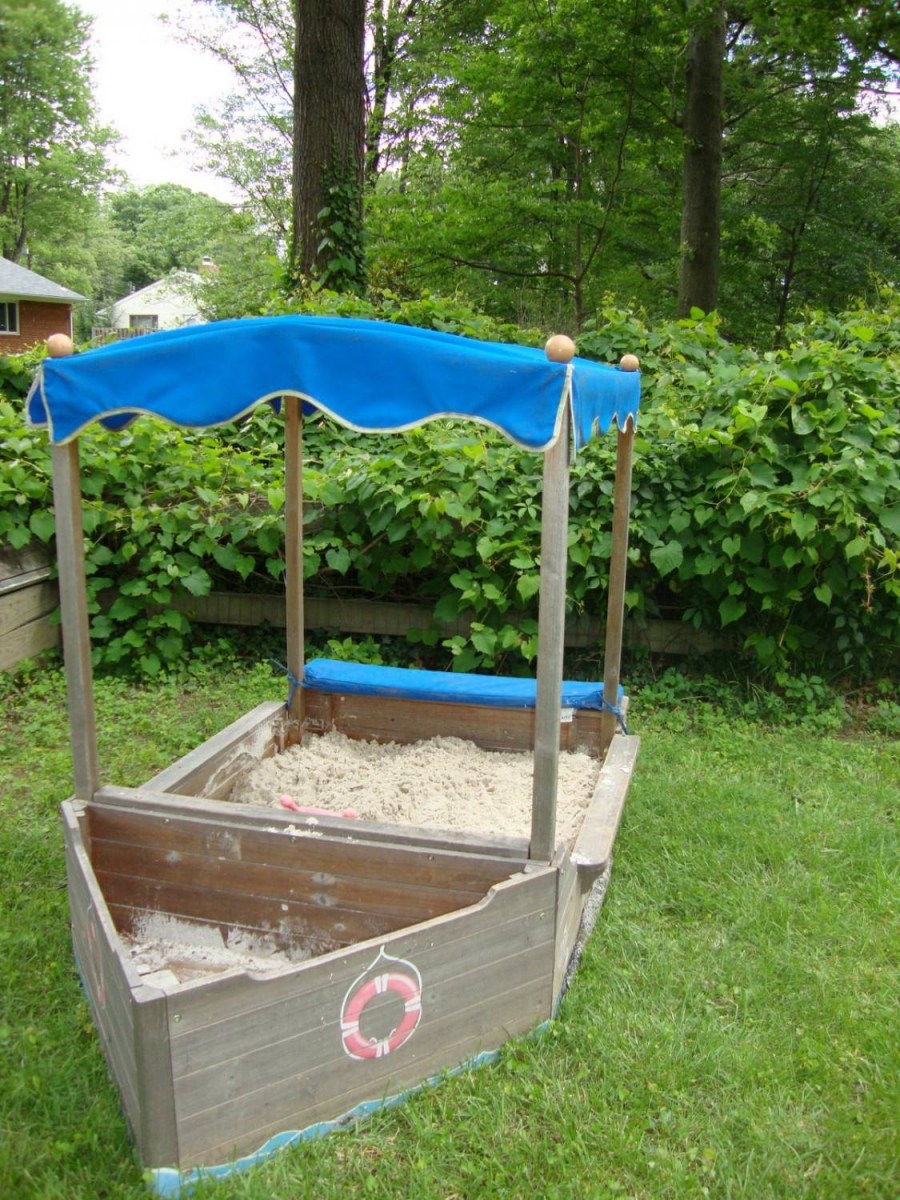
The classic shape is a rectangle or square, although nothing prevents you from increasing the number of corners or, conversely, making it round. If you have enough skill, give the children a very unusual sandbox in the form of a car or ship.
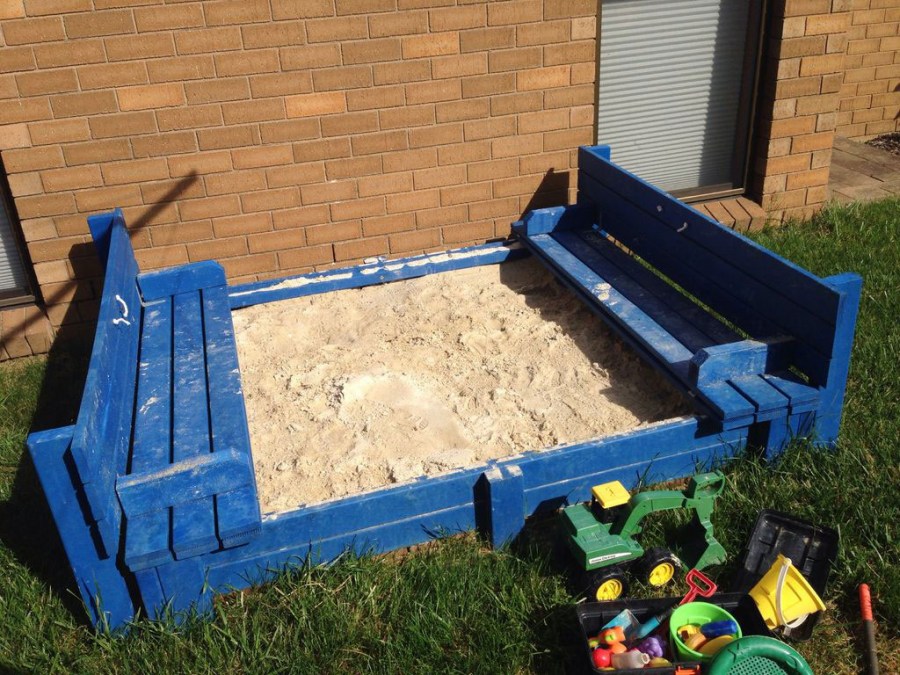
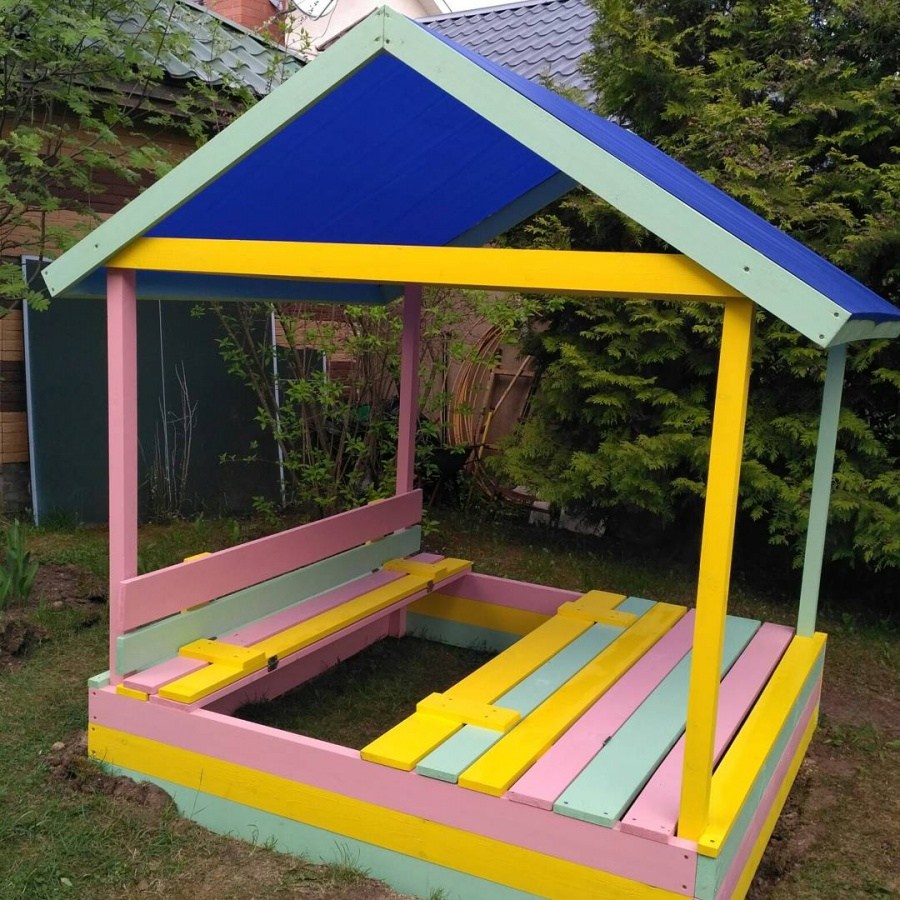
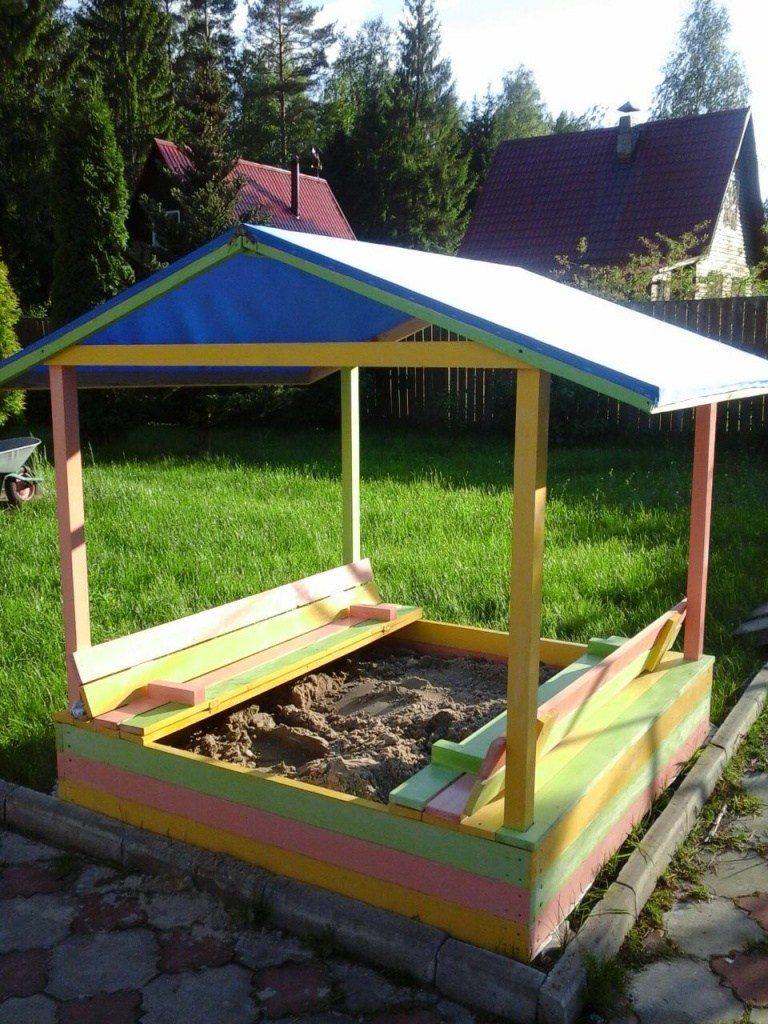
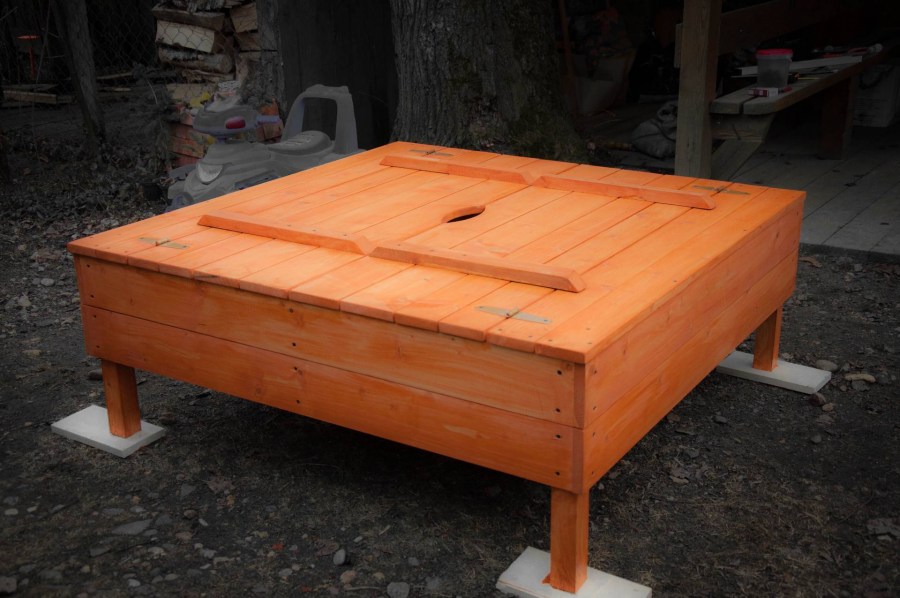
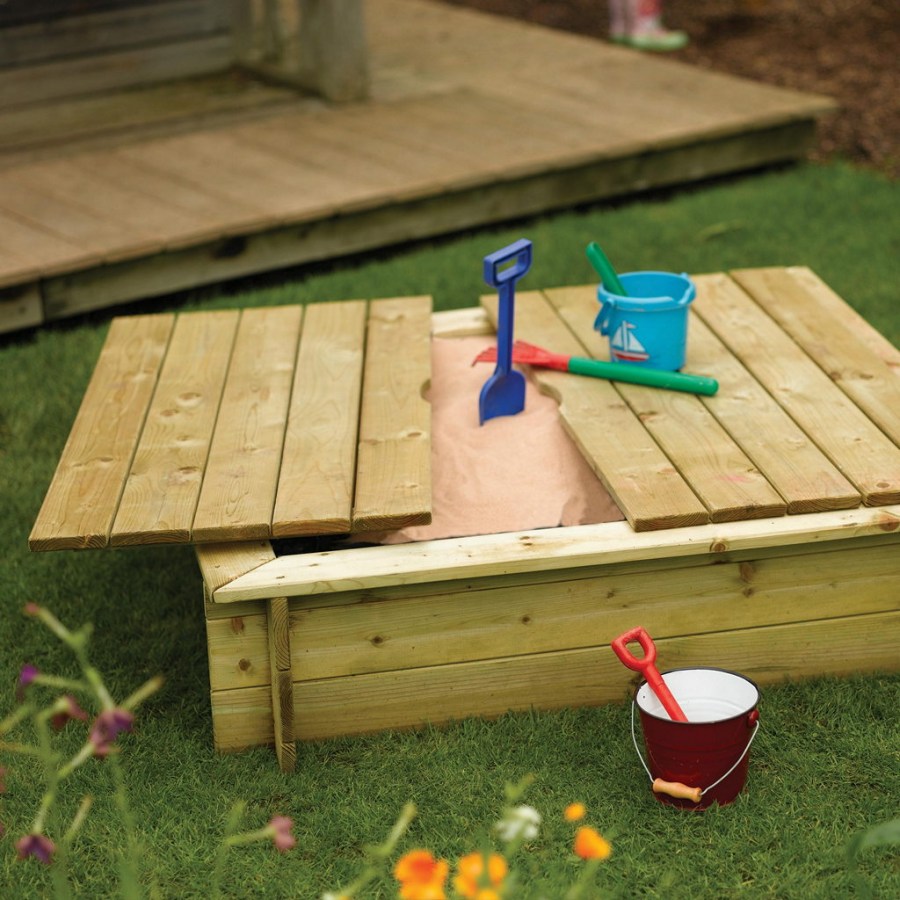
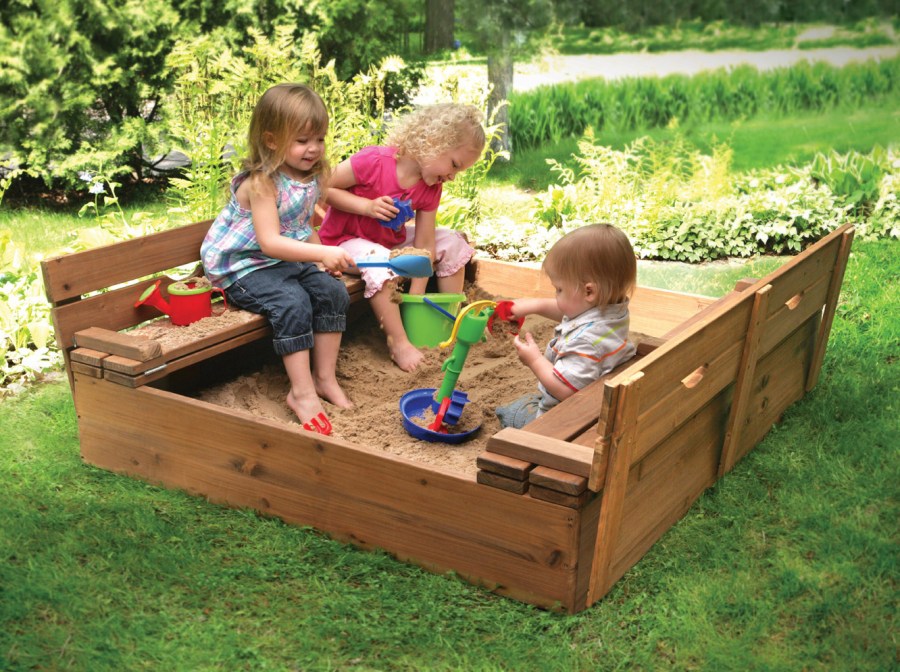
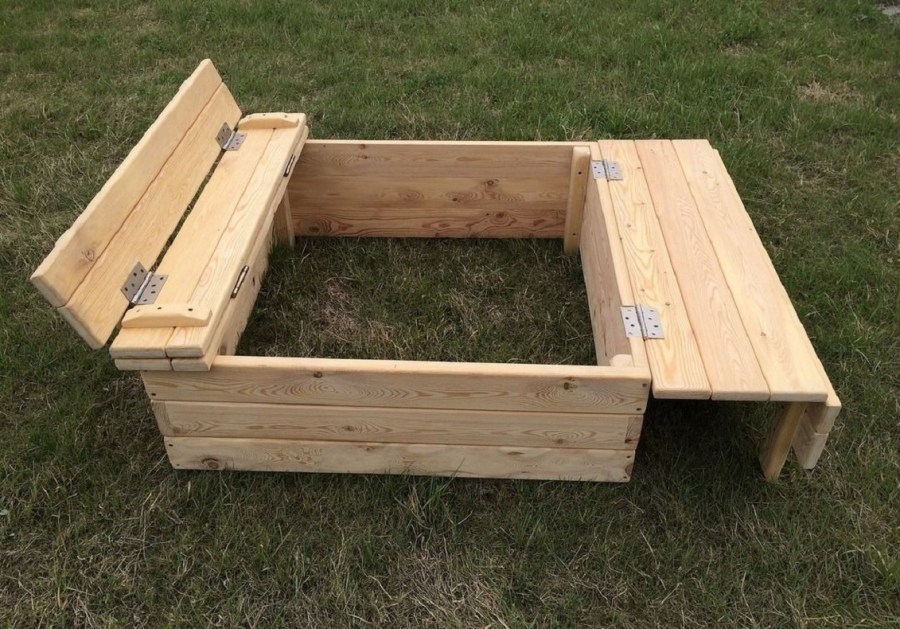
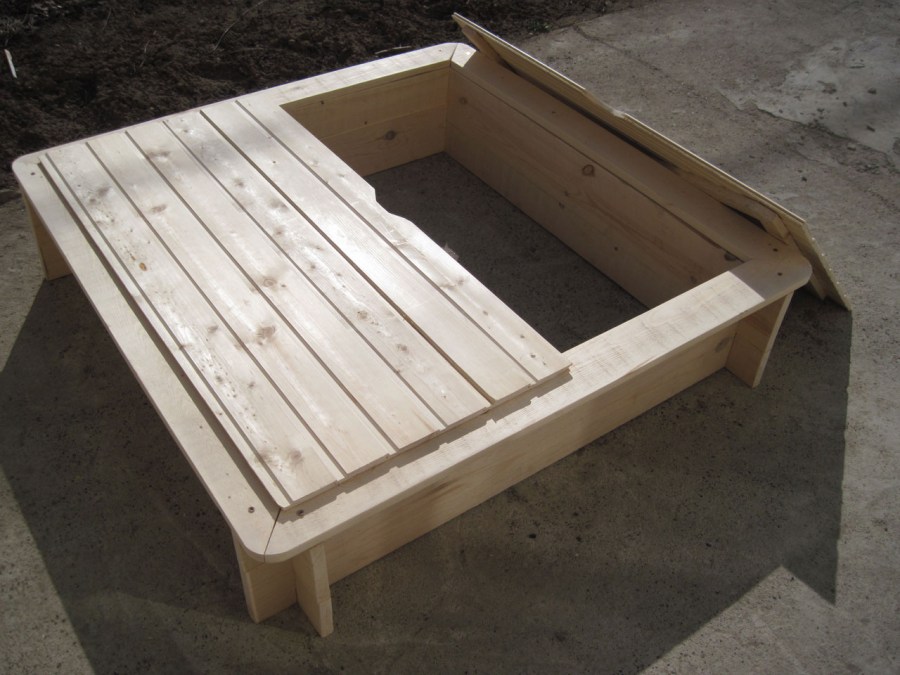
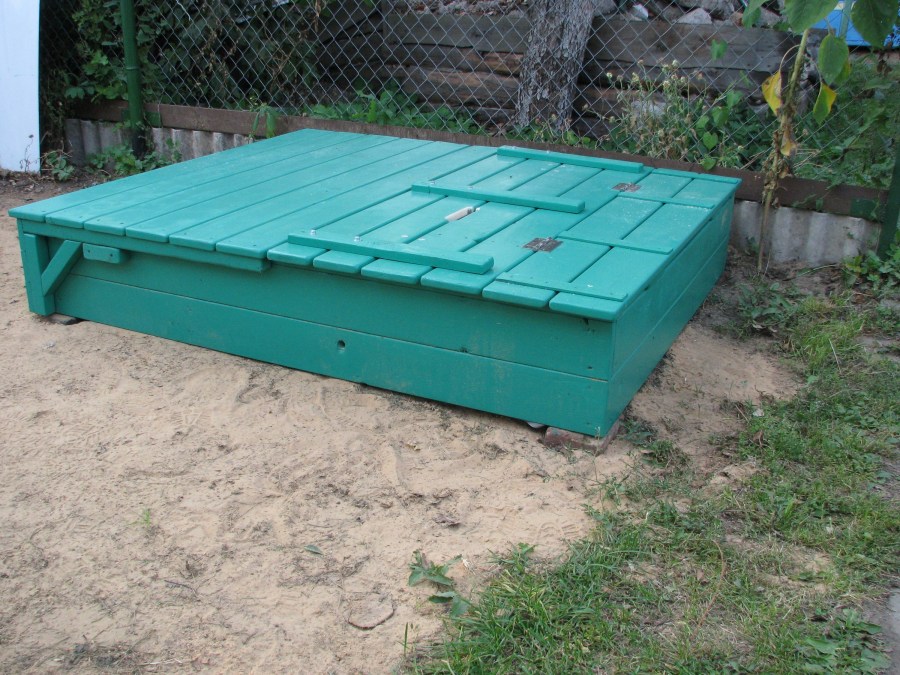
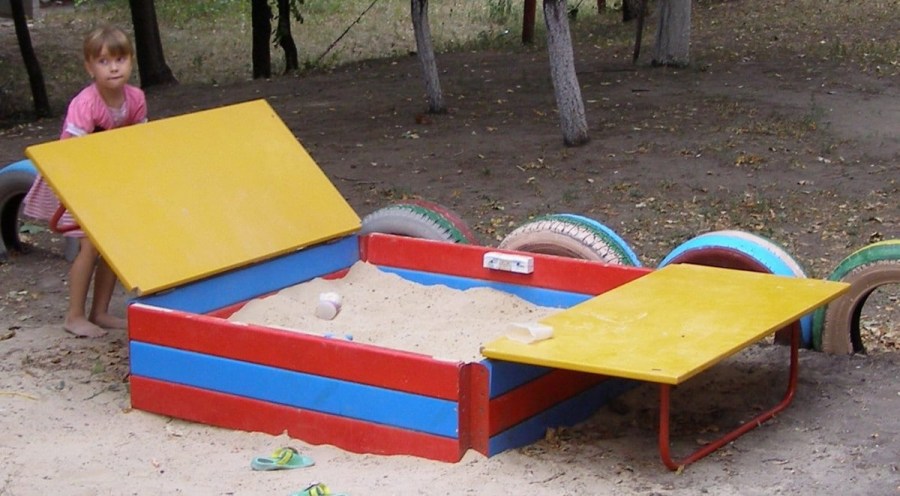
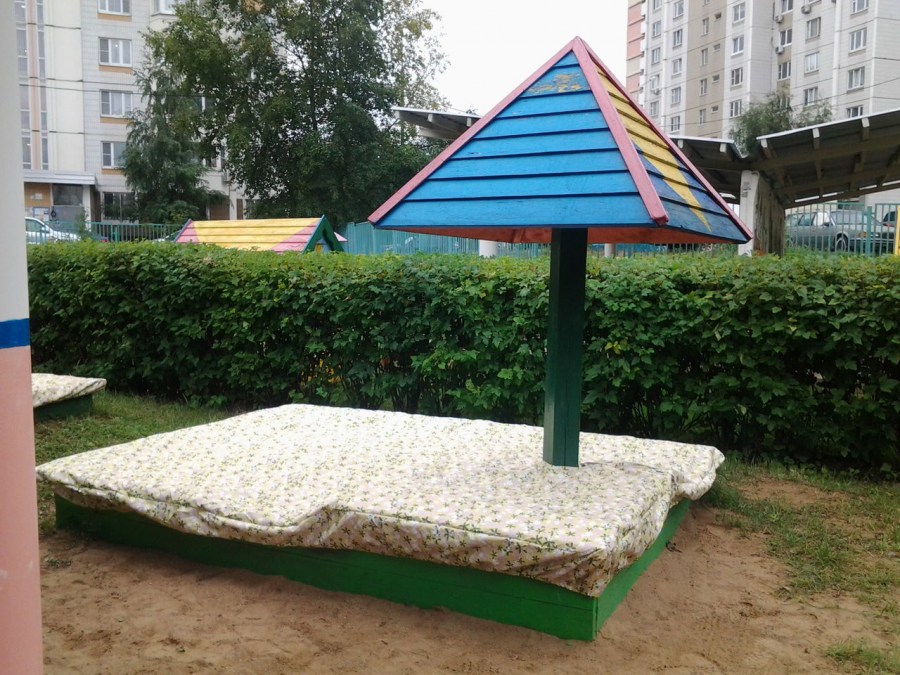
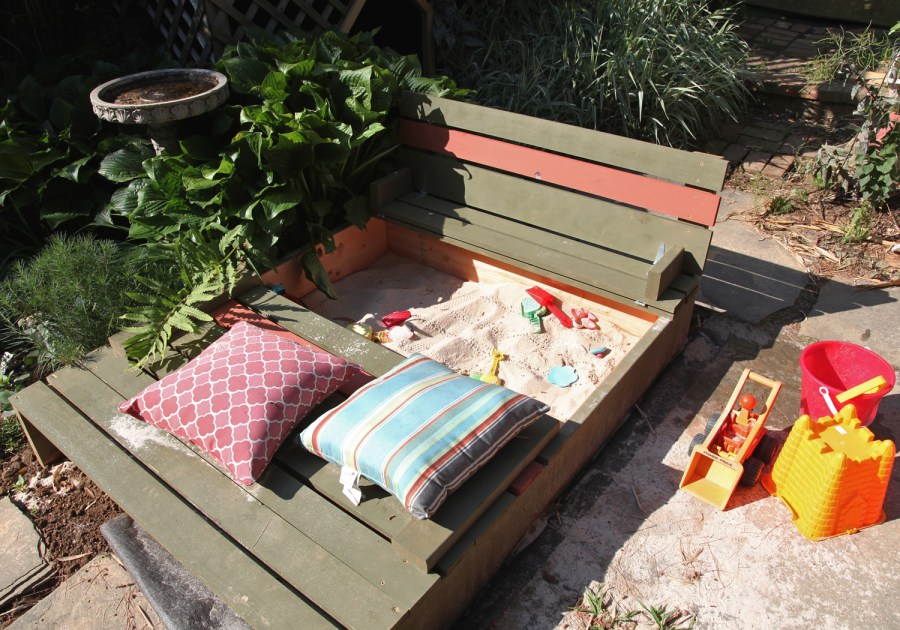
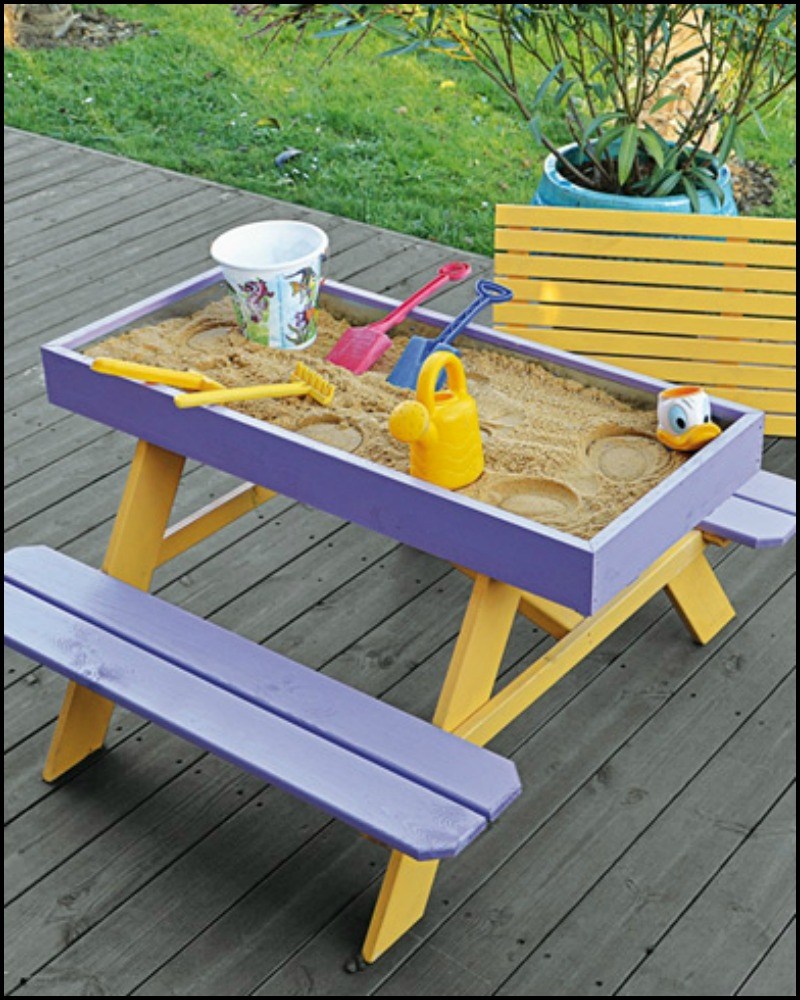
Also decide whether to make a cover. An open sandbox is easy to manufacture, but a closed one provides protection from debris, weathering of sand and animals. It is convenient to store toys under the lid, and it itself can turn into a table and bench. There are several types:
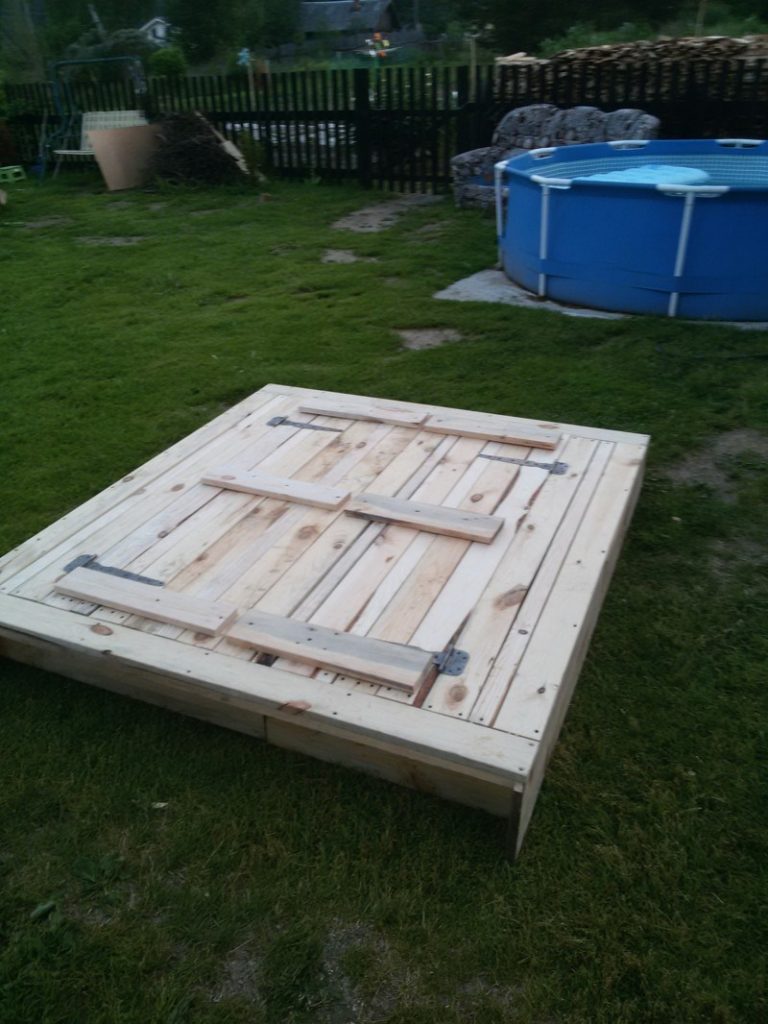
- Shield - connected boards of suitable size.
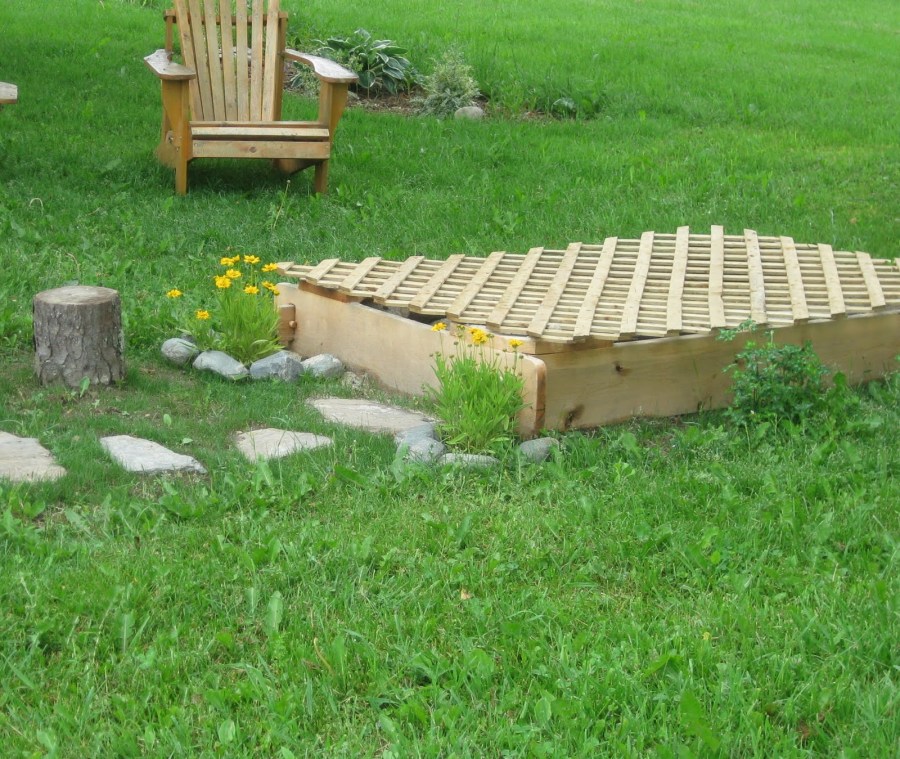
- Awning pulled on a sandbox.
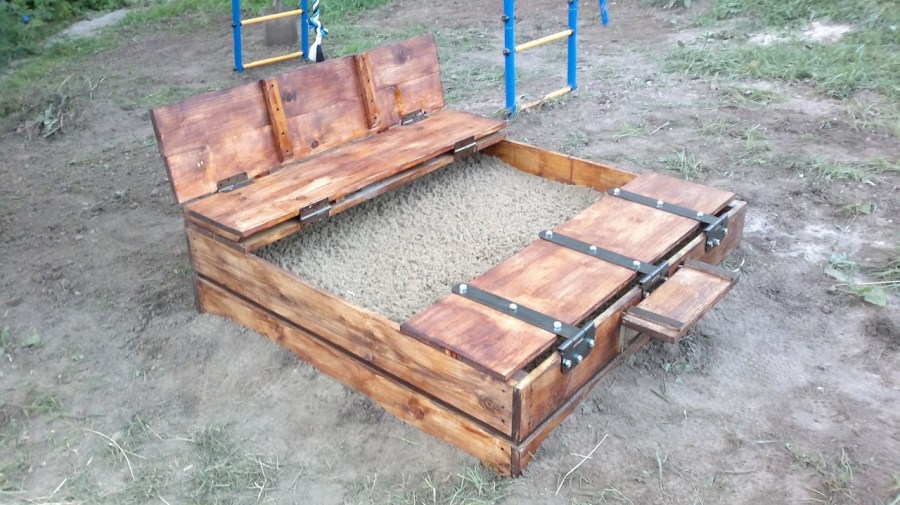
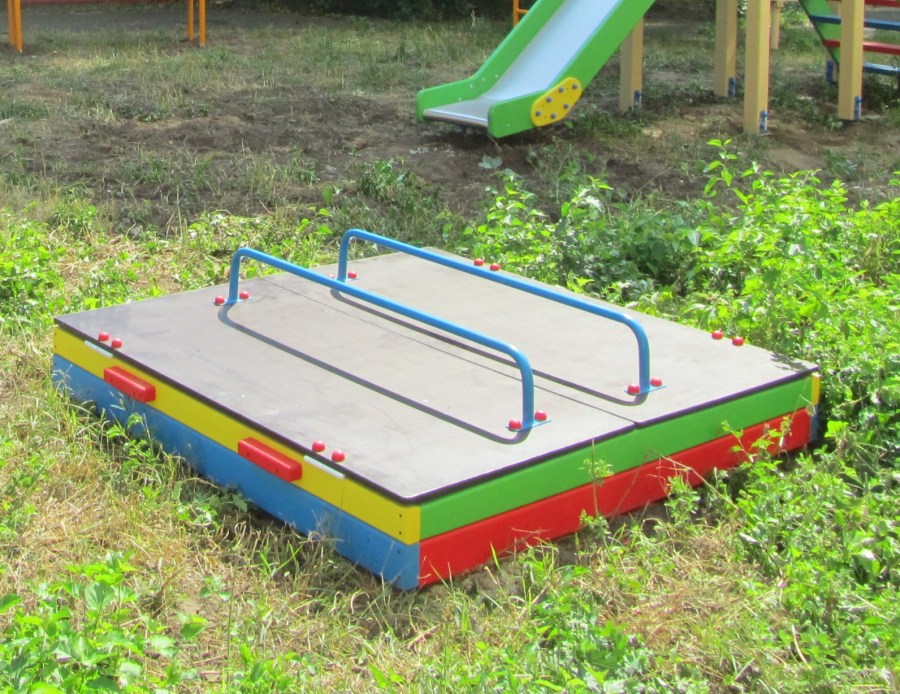
- Two shields. For convenience, handles are often attached to them. Due to the presence of hinged hinges, this is a very practical design: the boards fold up to form benches with a back.
Materials and Tools
Most often, children's sandboxes are made of pine boards, logs or timber. Less popular materials are metal and plastic. Unusual designs can be made of plywood.
Wood is by far the most suitable material: it is safe and environmentally friendly.


The metal sandbox is durable, but unsafe, afraid of rust and difficult to manufacture.
Plastic is lightweight, compact, easy to transport, and does not overheat in the sun. It is expensive and unstable to ultraviolet light.

Also stock up on tools. For an open sandbox you will need:
- Roulette, pegs and rope for marking the territory;
- Shovel;
- Sand;
- Hacksaw;
- Wood screws;
- Geotextile or film to the bottom;
- Antiseptic impregnation, primer for wood processing;
- Sander (if the boards are polished by the manufacturer, it will not come in handy);
- Oil or acrylic paint.
It is better to process the tree before starting work: the boards are carefully sanded and primed. It is necessary to minimize the risk of splintering and scratches from a poorly sanded edge.
Sand
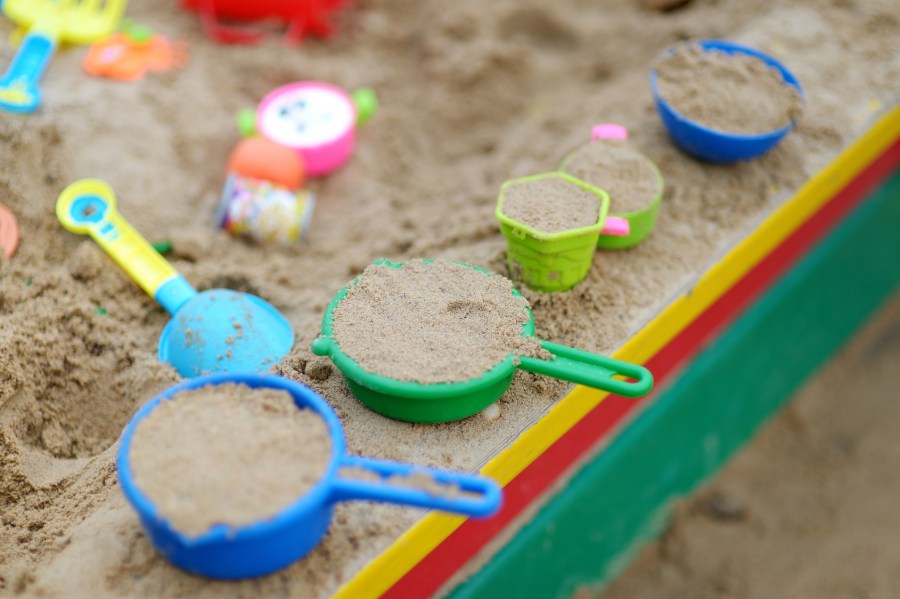
What do children most often do in the sandbox? Of course they sculpt! Therefore, sand should have this property.
Fine white sand will not appeal to both children and adults: it is poorly molded, dusty and crawls into the eyes. Even builders are supposed to wear a uniform, a respirator and glasses when working with it.

Quartz sand will not be the best choice, since it significantly scratches the skin.
The so-called ravine red sand will appeal to children, but it is not recommended to choose it.Due to the presence of clay, it is very dirty, harmful microorganisms are bred in it.
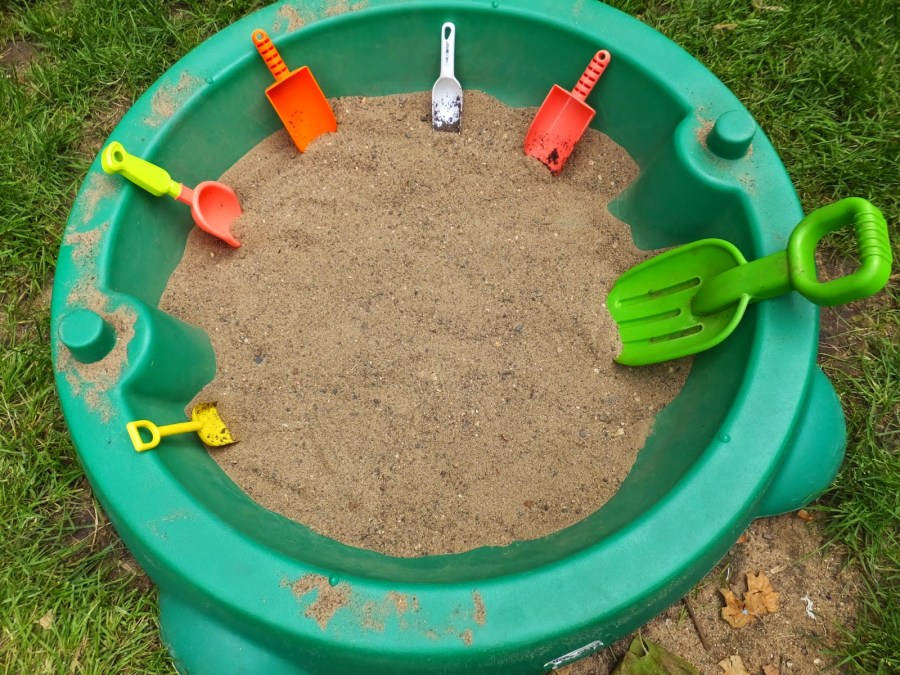
Medium-grained yellowish sand (sometimes called river sand) will be the best solution. There is less clay in it, but enough to make the children happy. At the same time, its quantity plays an exceptionally positive role, making grains of sand not traumatic and preventing the establishment of unwanted inhabitants.

Work stages
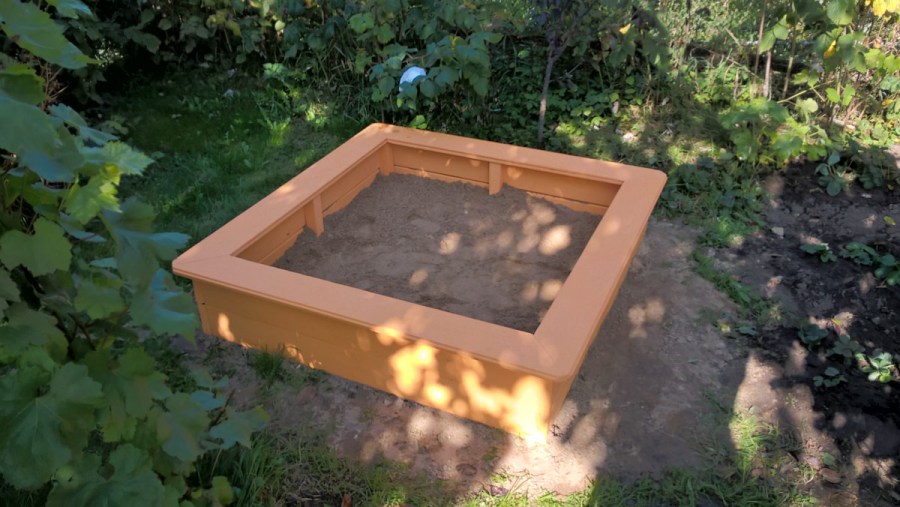
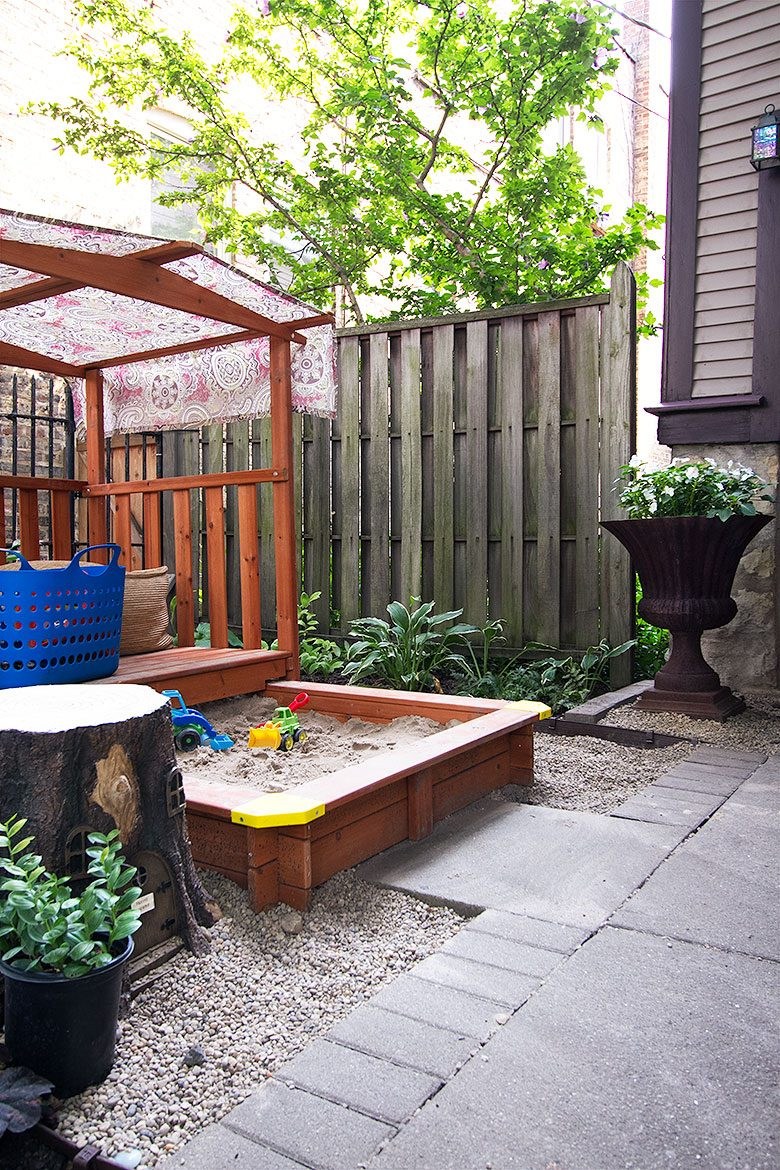
Consider the process of creating a simple square or rectangular sandbox with a lid.

Site preparation: Clear the area of unnecessary garbage; Use a tape measure to shield the perimeter, drive in the pegs and connect them with a rope. Check the marking again. It is easy to do this by comparing the diagonals: they should be equal.
Base installation: Remove topsoil (approximately 30 cm). Pour and compact a layer (5 cm) of sand or gravel. It provides a drain of water and protects sand from soil. Otherwise, they will mix, and insects and other inhabitants will start in the sandbox.
Reinforce drainage with geotextiles. It lets water through, polyethylene does not, so when using a film, make holes in it.

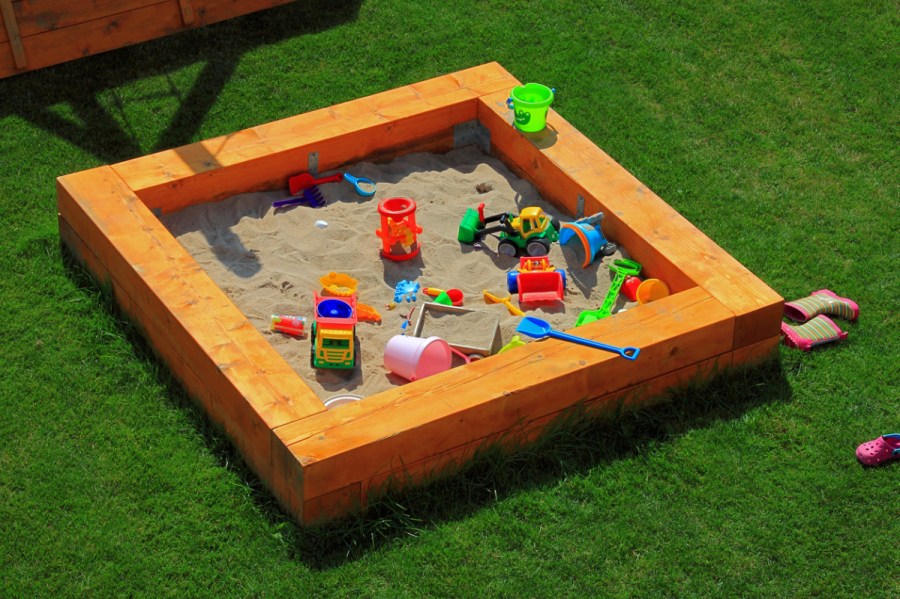
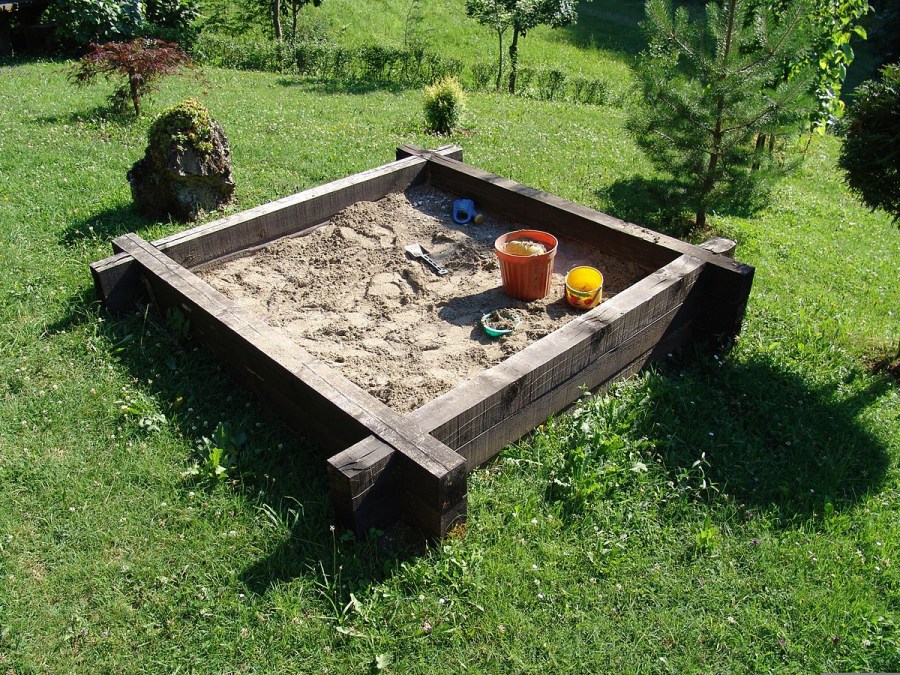
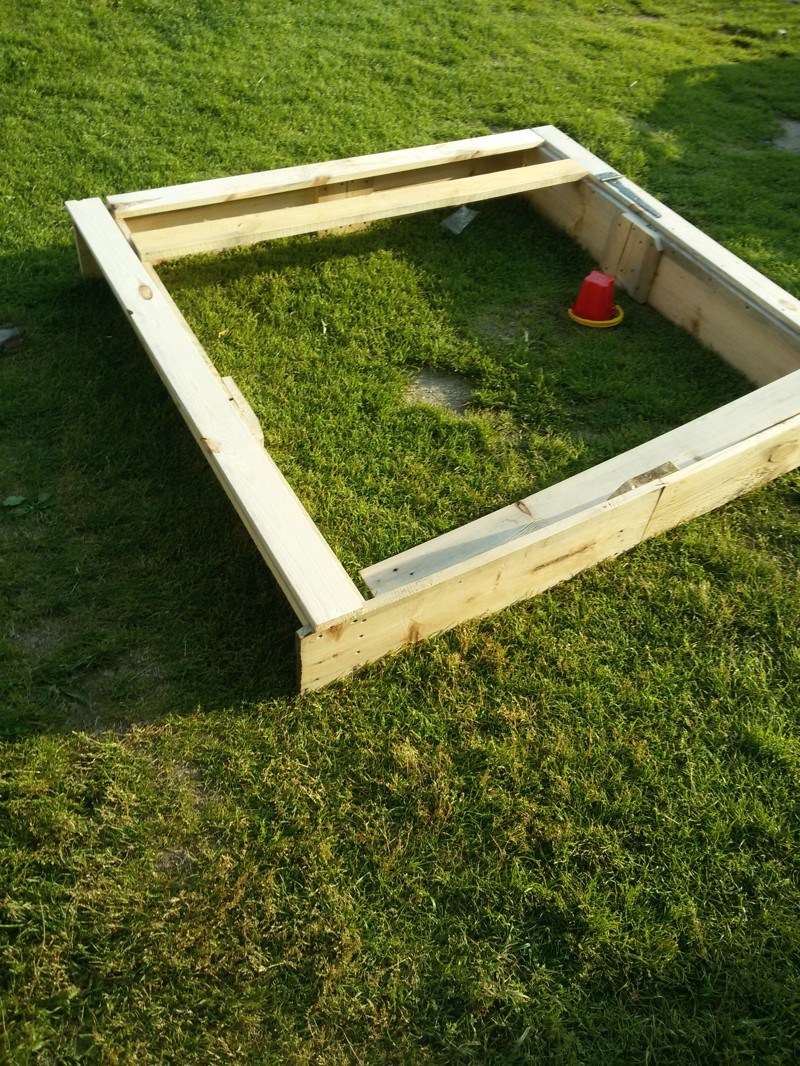
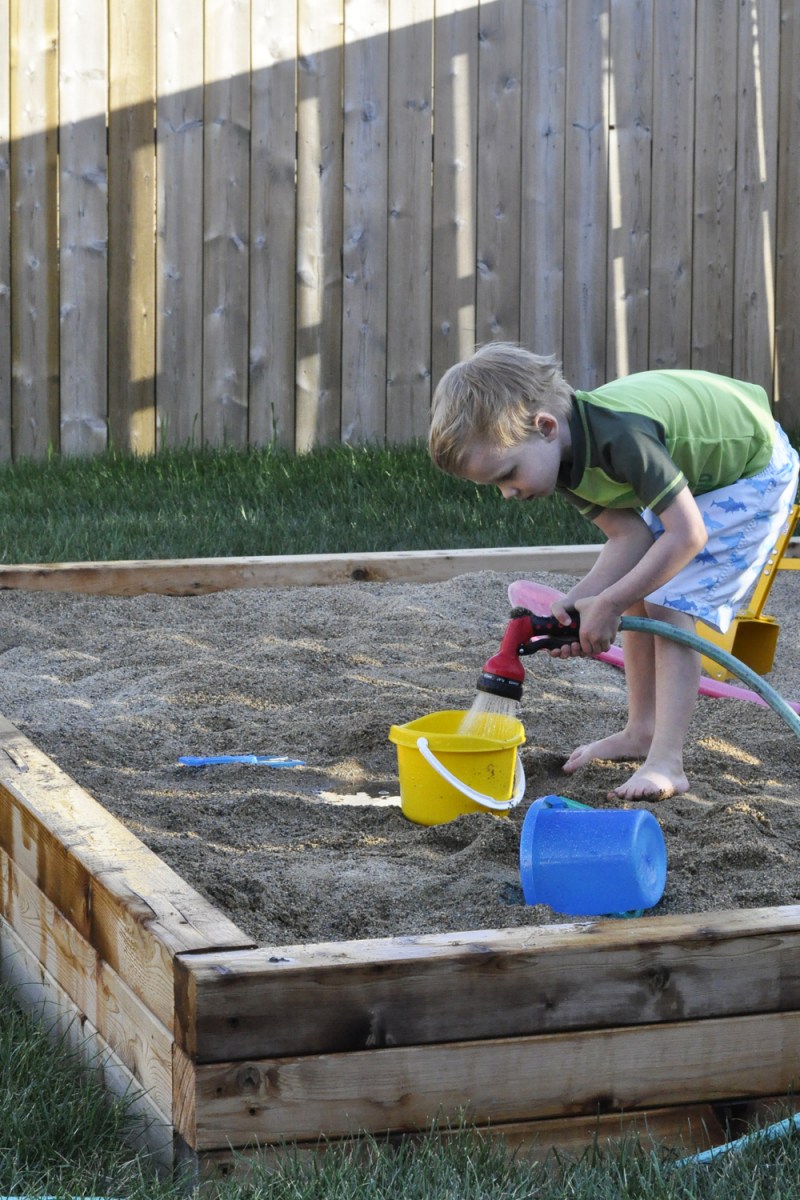
Installation of the sides: Process the workpieces (bars 45 cm long and 3 cm thick boards): sand, coat with an antiseptic and prime. Set the bars in the corners to a depth of 20 cm. Attach the sides to them. Install horizontal overlays. These can be boards of arbitrary width, also pre-processed.
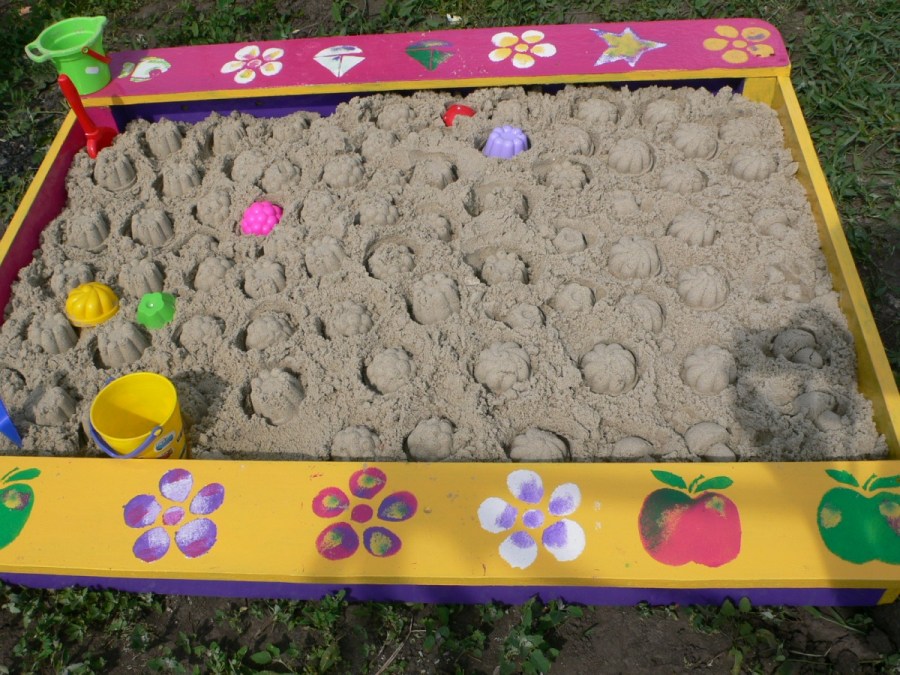
Lid mounting
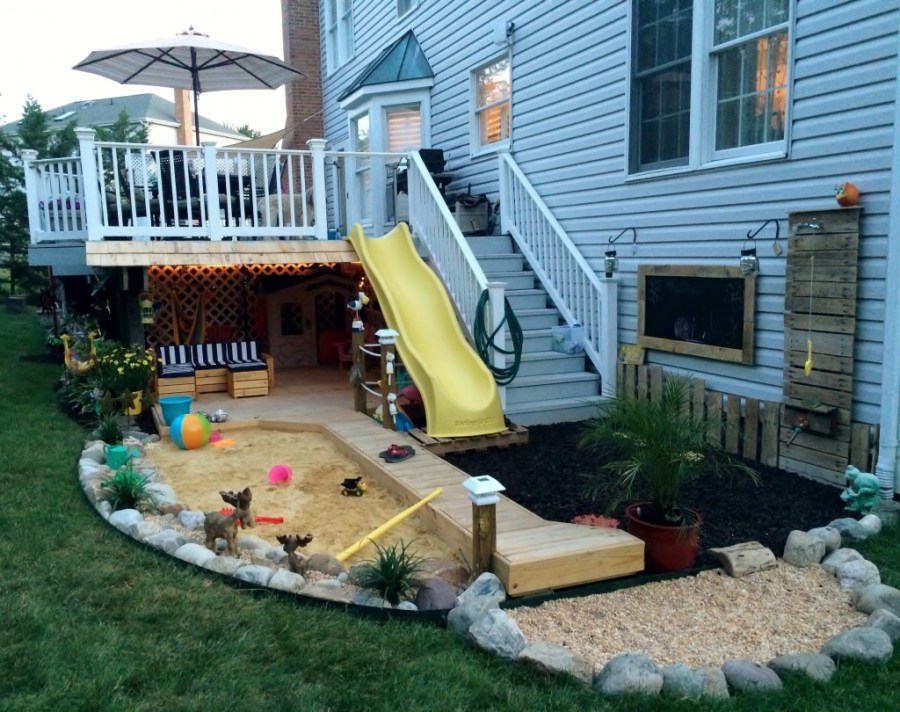
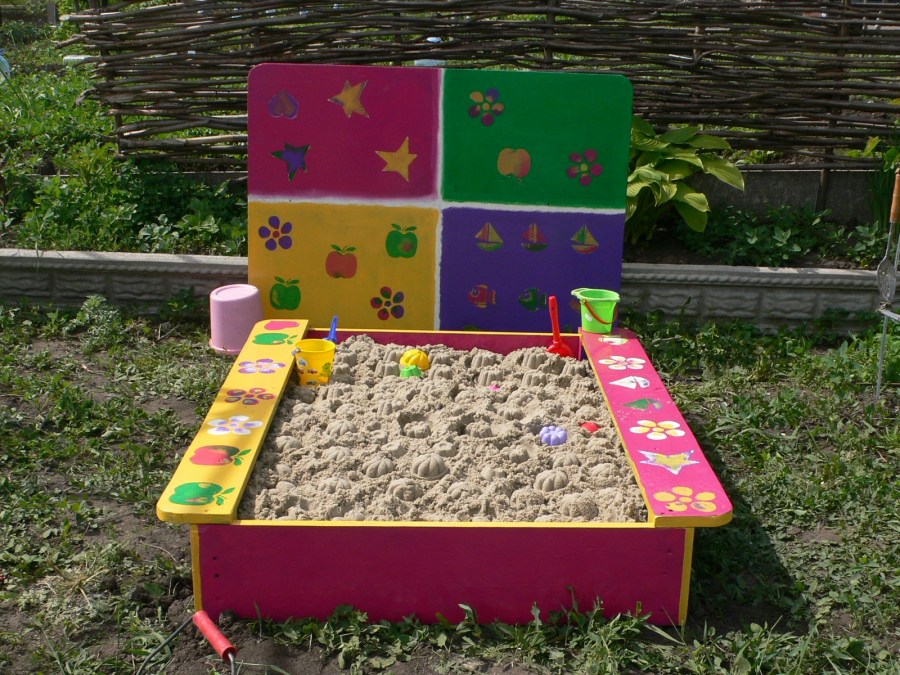
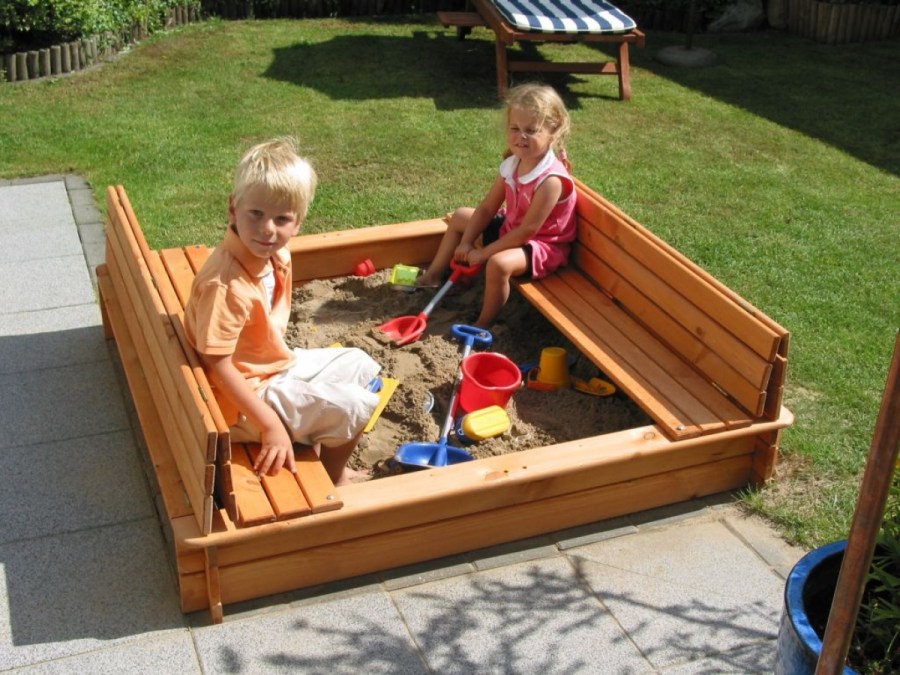
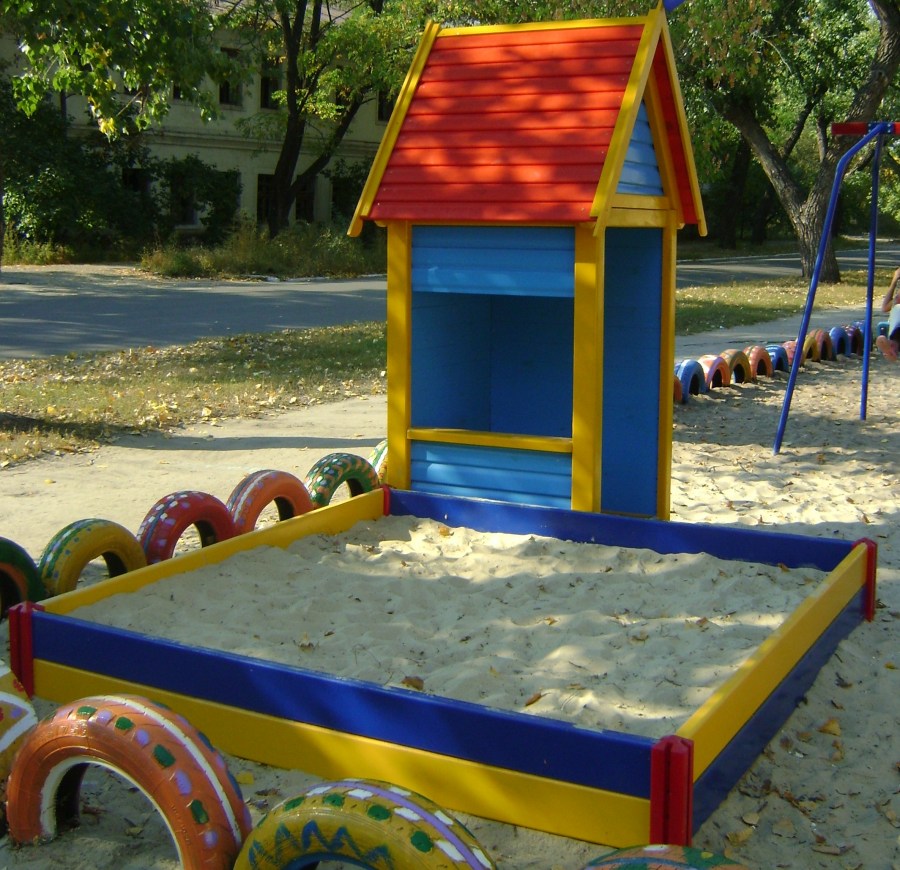
Dressing. Look at the photos of sandboxes for children: even this simple item on the playground can look beautiful and original. Color it, decorate it with cheerful drawings and ornaments.
To create more complex designs can not do without a diagram or drawing of a sandbox on the site.
Custom solutions and tips
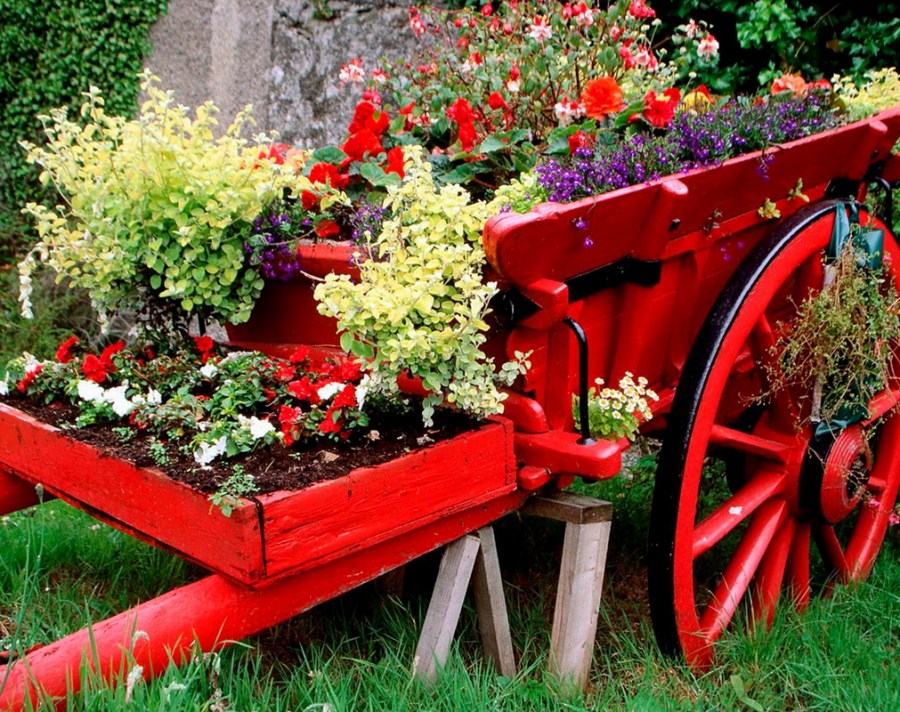
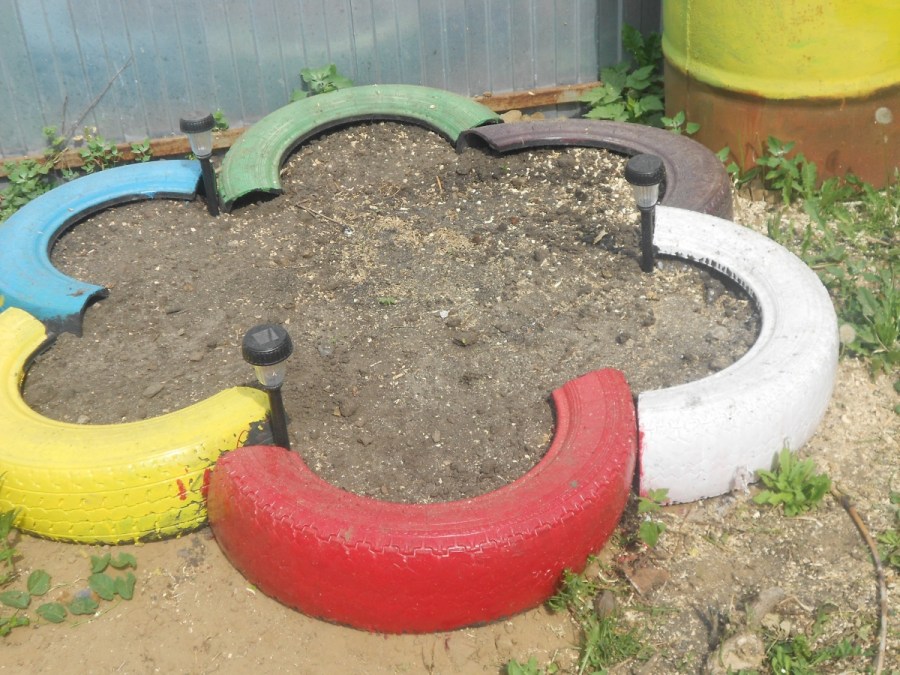
A sandbox from a garden border is an inexpensive option, especially relevant if you are simultaneously arranging a garden. The plastic constructor is easy to install, but in practice the elements of flower beds have proven their worth. You can use special sets of modules for building sandboxes.
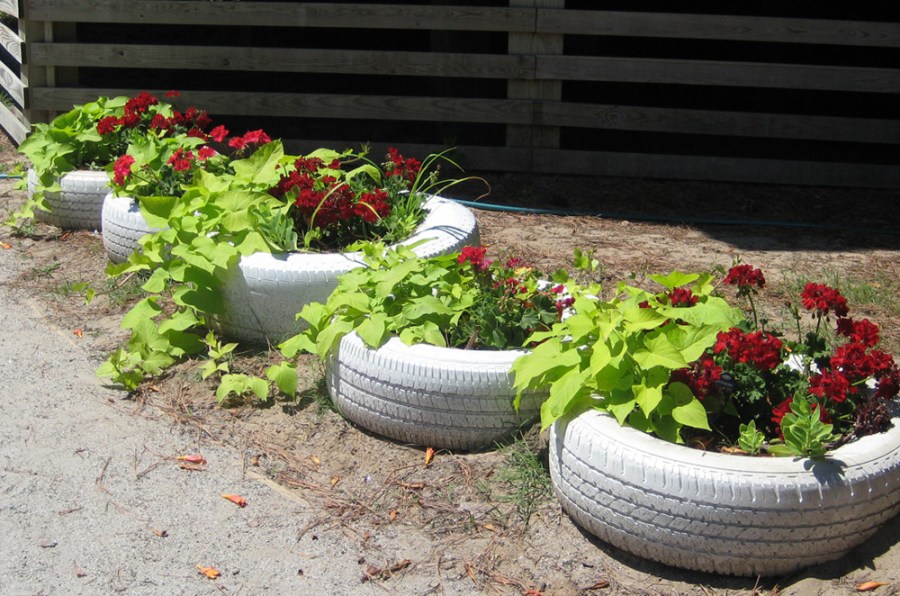
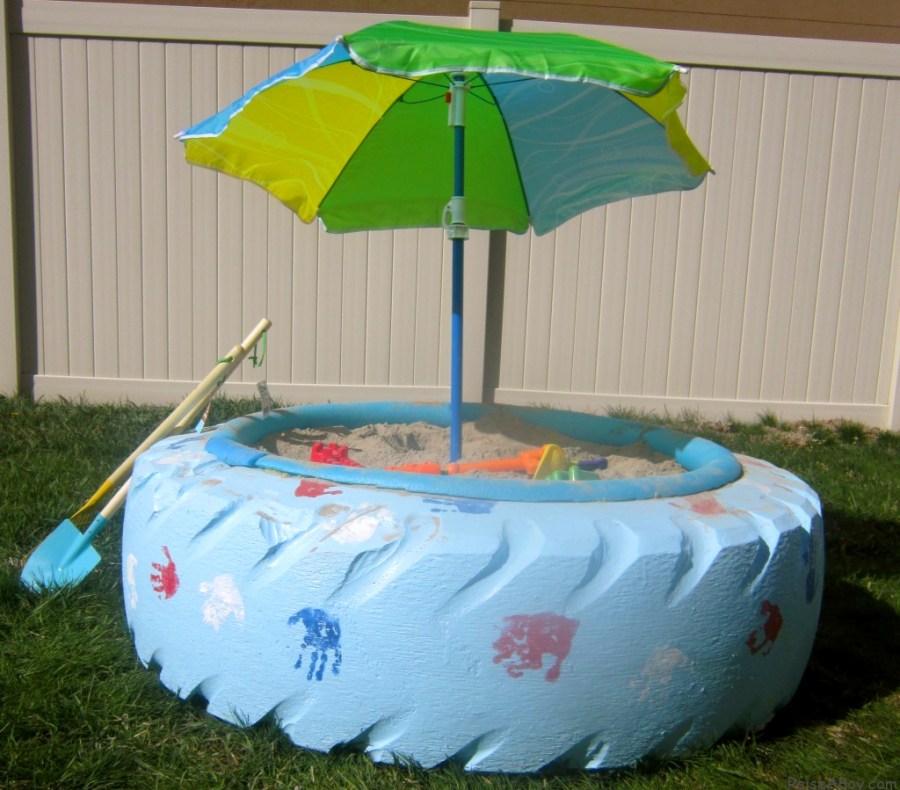
Unhygienic, but free approach - tires. It is not recommended for several reasons: it accumulates moisture, which causes sand to deteriorate, steel cord inside the tire can cause injury to the child.
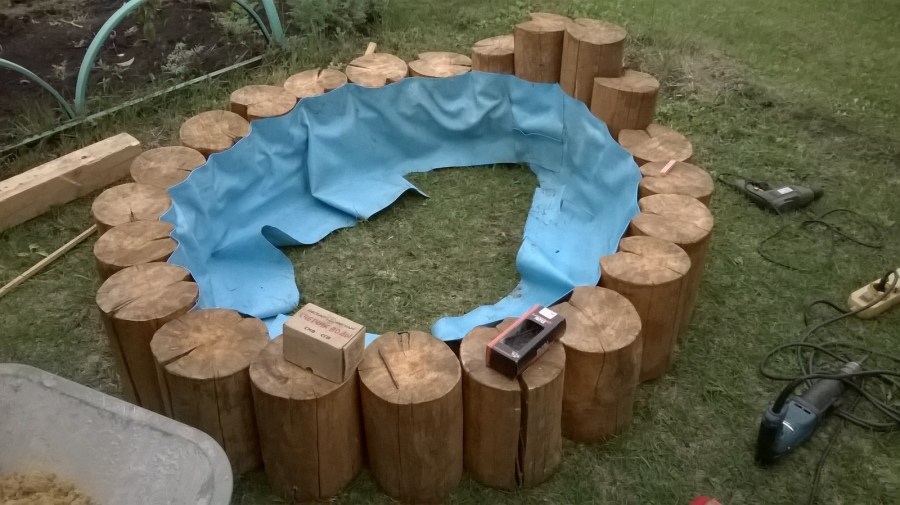
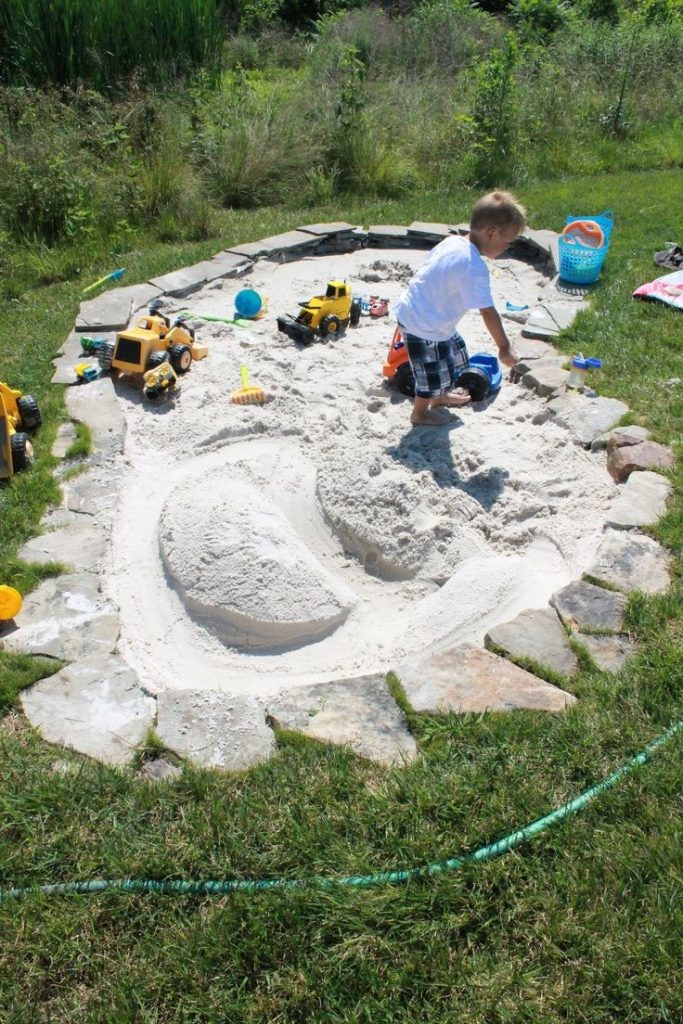
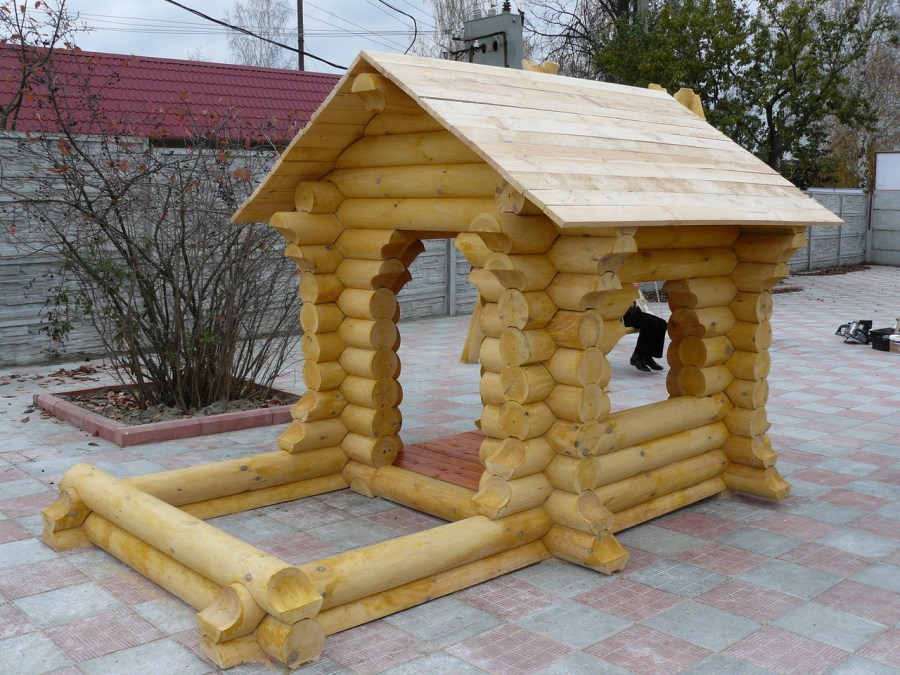
You can save materials without using a horizontal pad: position the seats in the corners. A sandbox of this type, made of logs and stumps, will look very impressive.
We hope our article helped you figure out how to make the sandbox comfortable, practical, and safe for children. As you have seen, there is nothing complicated even for a beginner in this; as they say, there would be a desire.
DIY sandbox photo


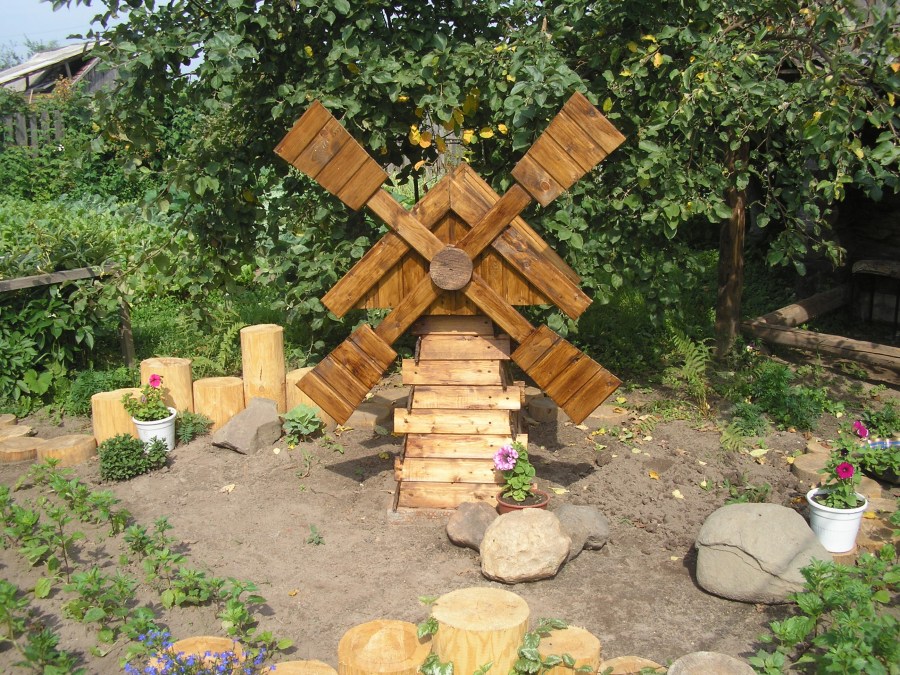
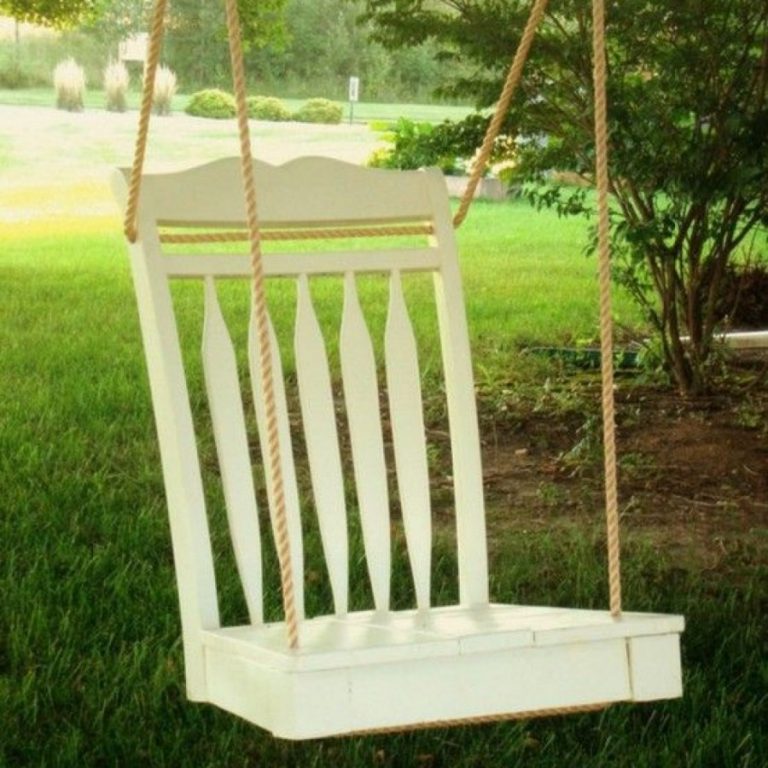
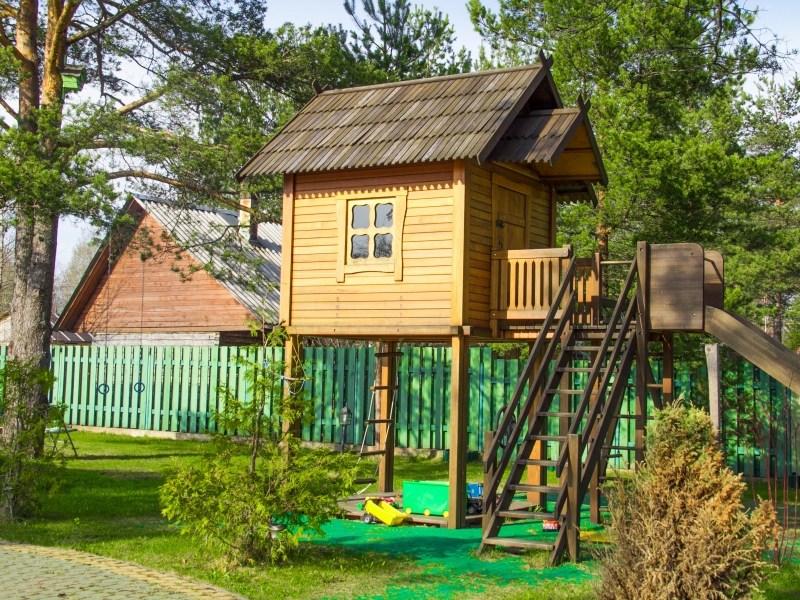
Do-it-yourself site improvement: photos, instructions, workshops, recommendations from the pros!
Facing - 115 photos of a beautiful design. Options for the best materials for cladding
Summer cottage design: 125 photos of optimal ideas and possible alternatives
DIY rabbitry - 110 photos and description of the stages of construction
Join the discussion: