Laying paving slabs: preparing the foundation and paving with your own hands (85 photos)
The solution checked by time - paving slabs for the yard, giving, a garden. The best coverage for a relatively small area cannot be found, and there are several reasons for this.
Functionality. The tile is convenient for walking, it can easily withstand a small car or other form of transport. This is the type of coating that is not afraid of frost, moisture, sunlight and temperature changes.
Easy to maintain and repair. Replacing a cracked slab is much simpler than tidying up a damaged concrete or asphalt surface.

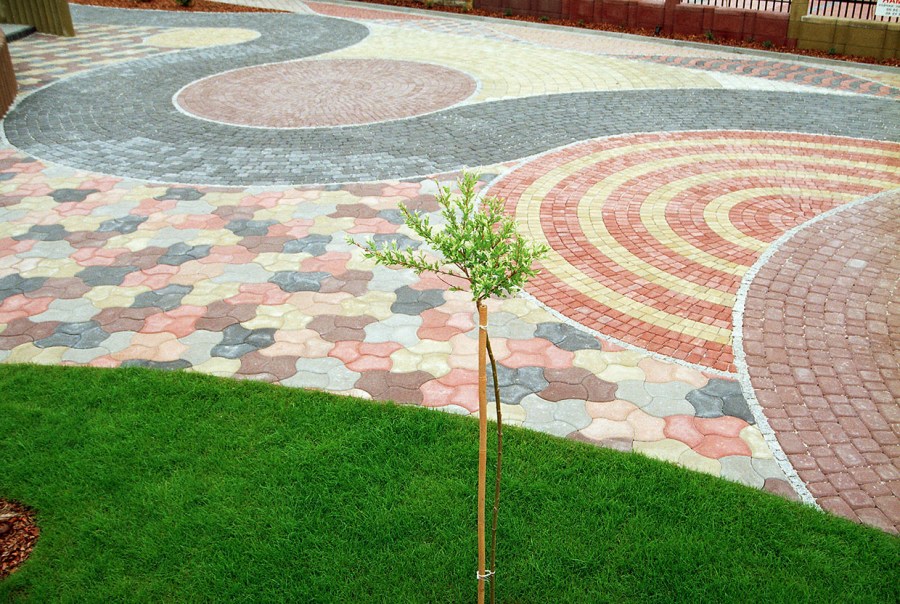
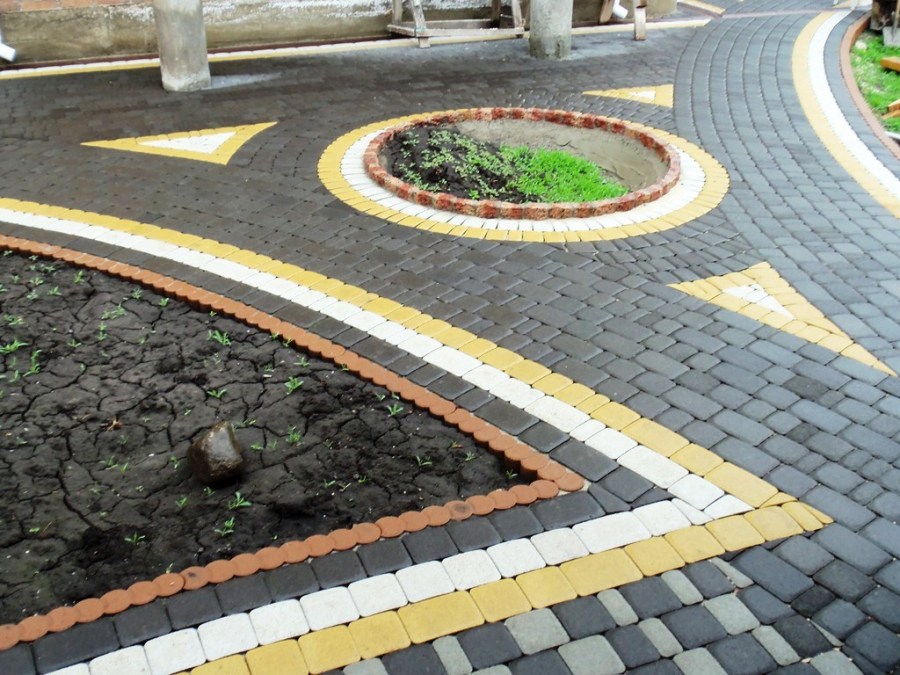
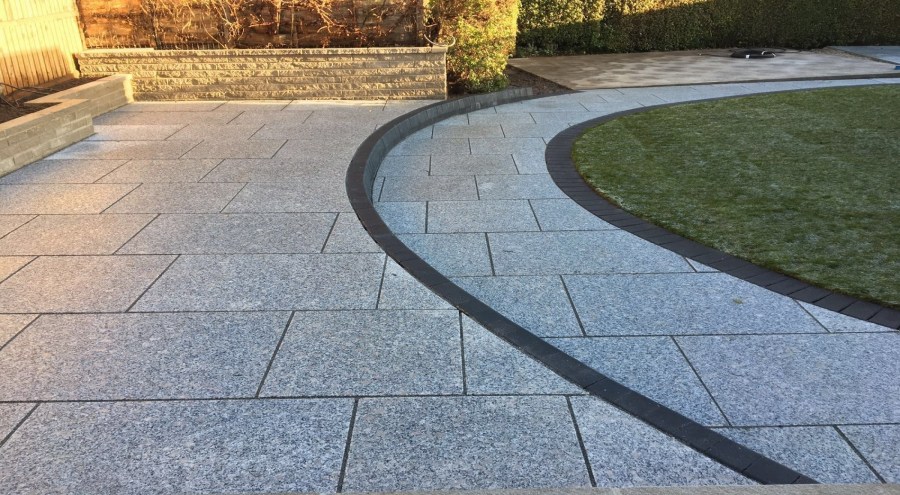
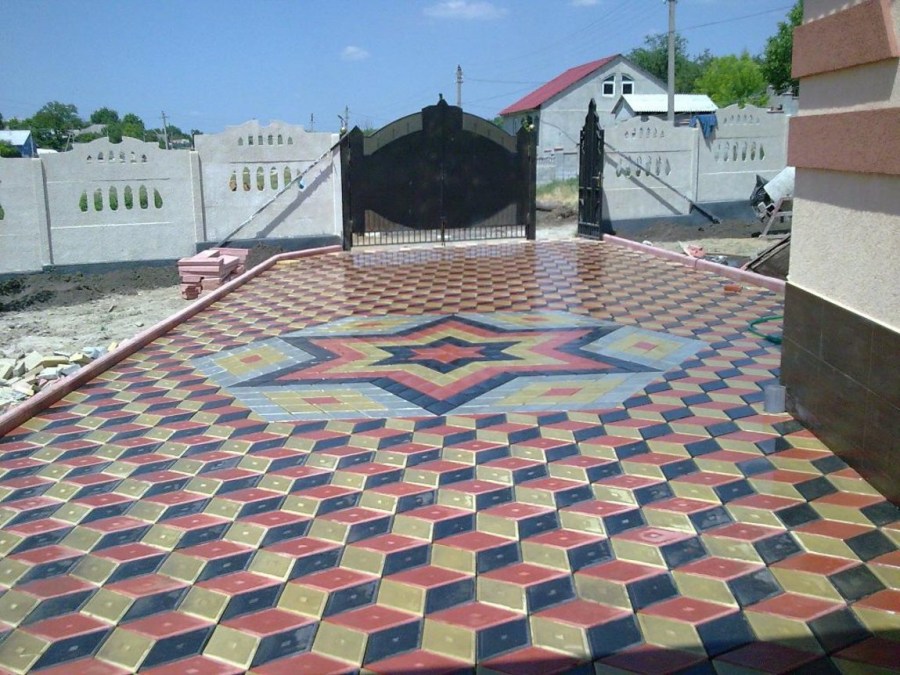
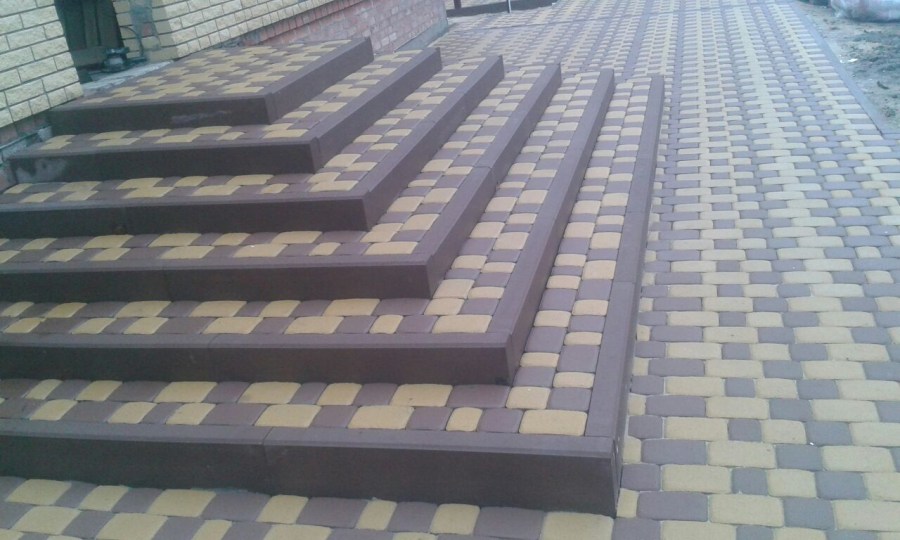
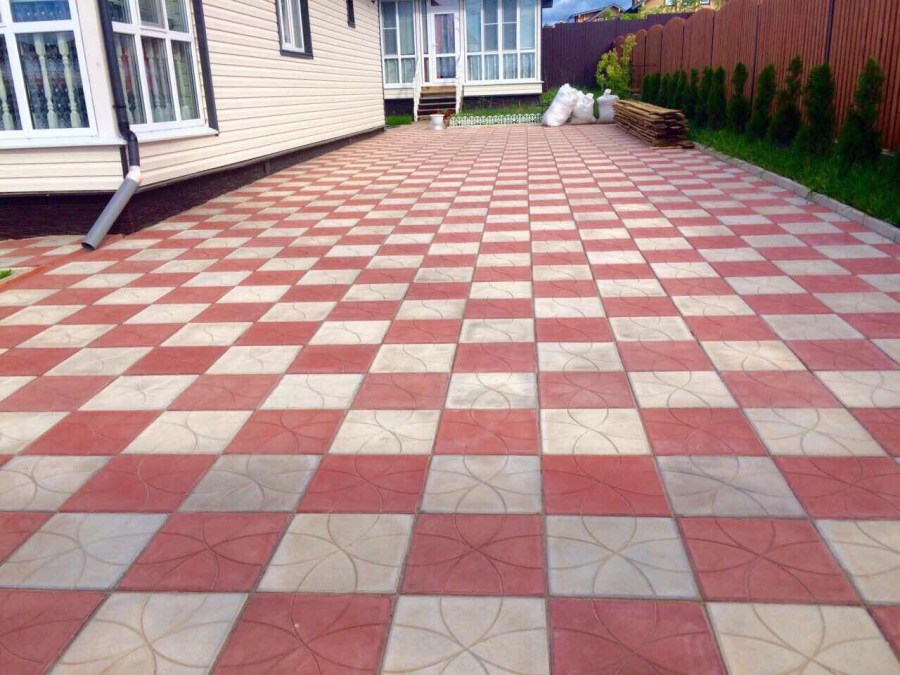
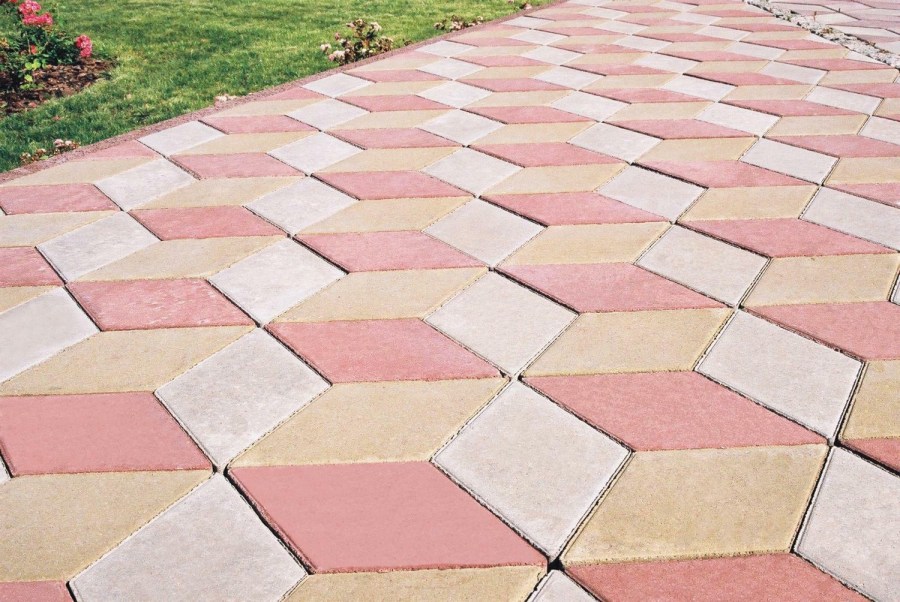
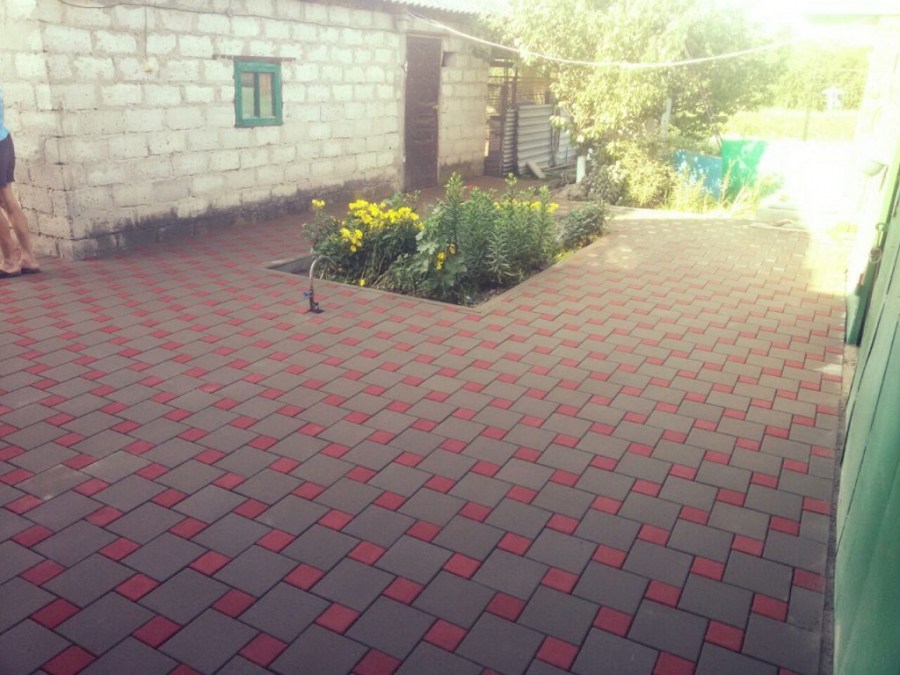
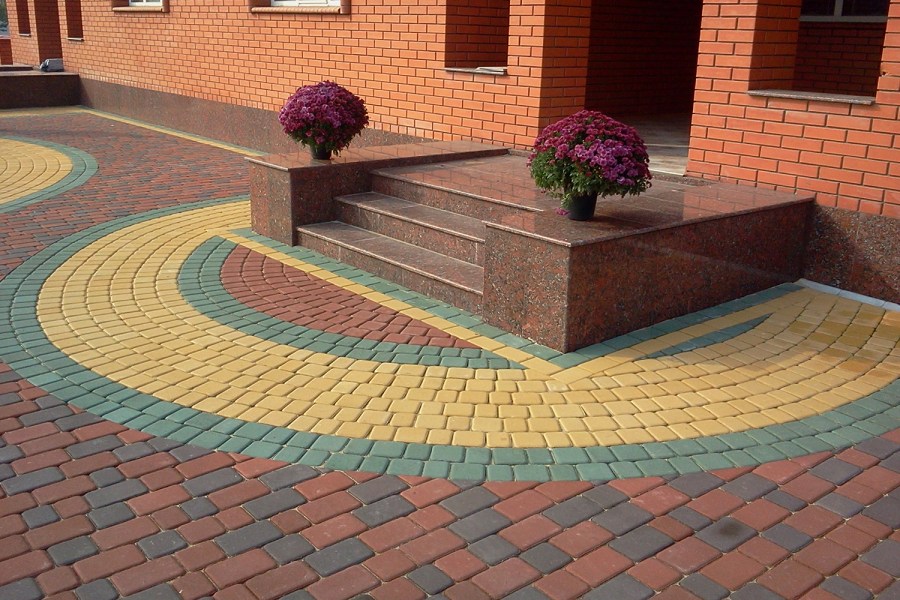
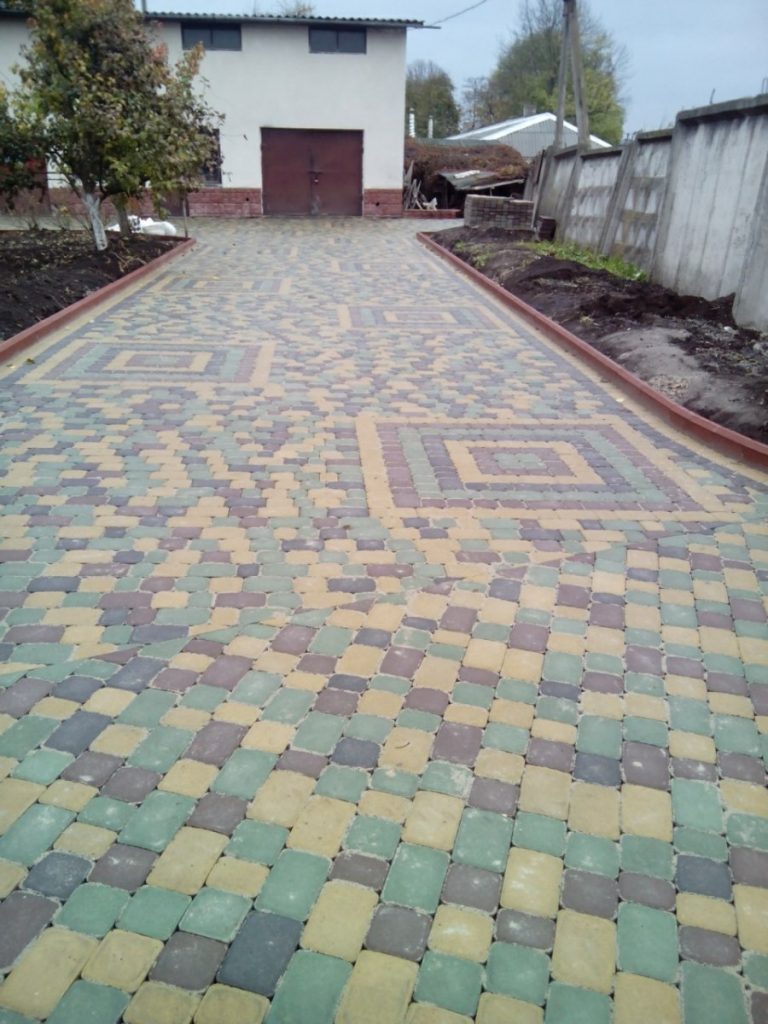
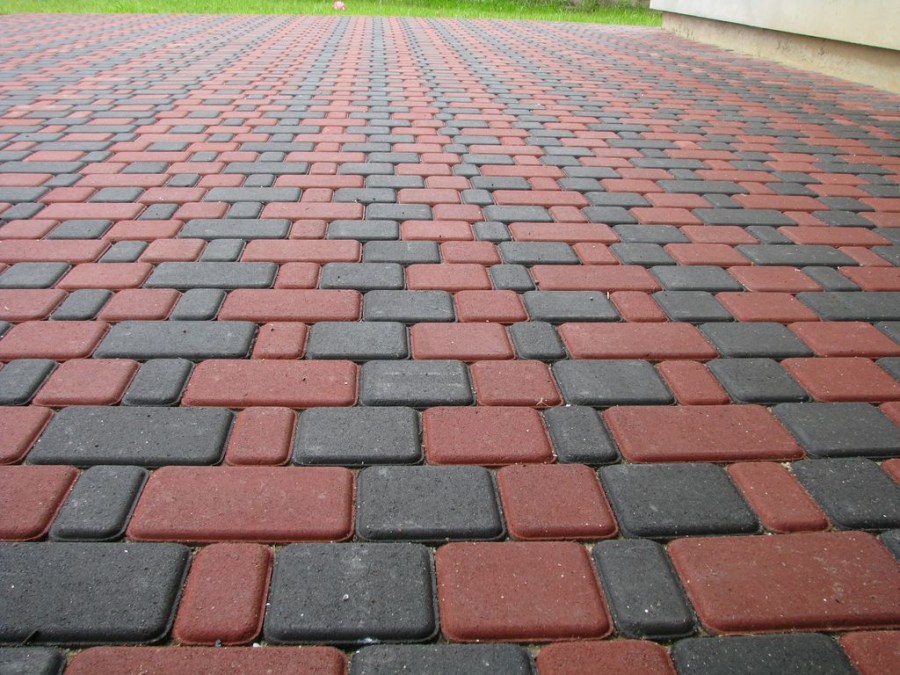
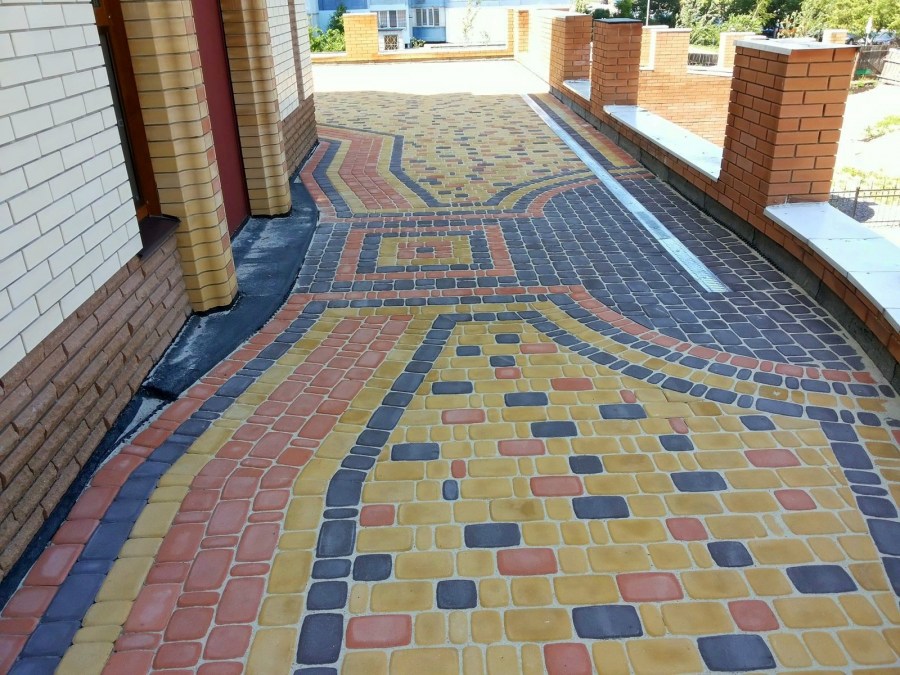
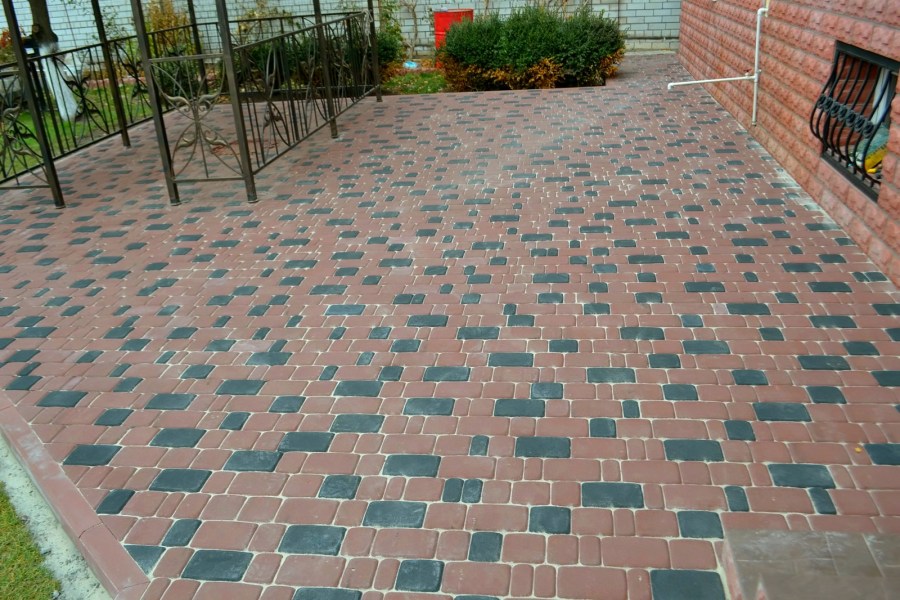
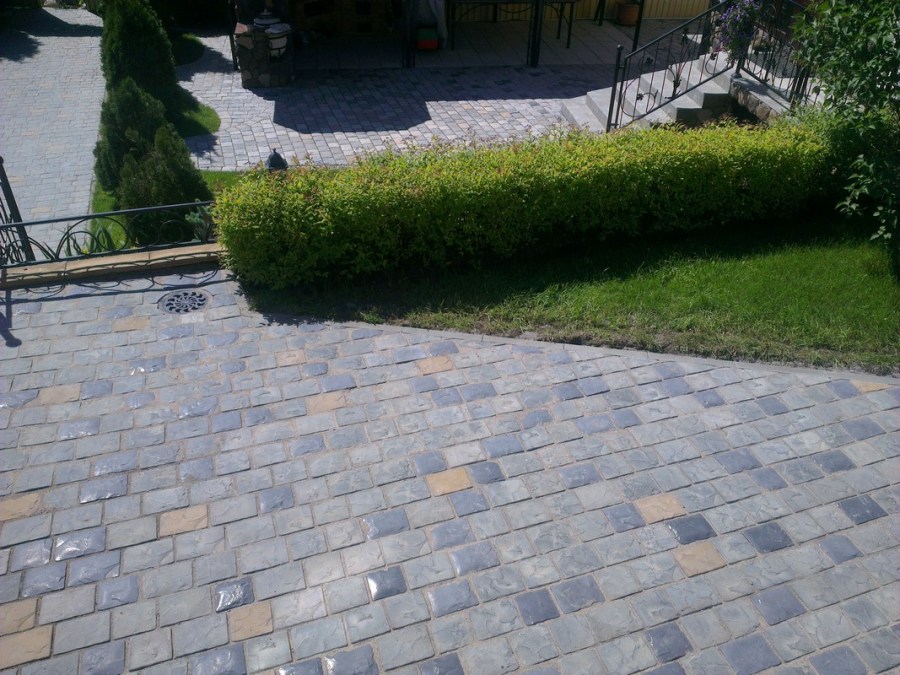
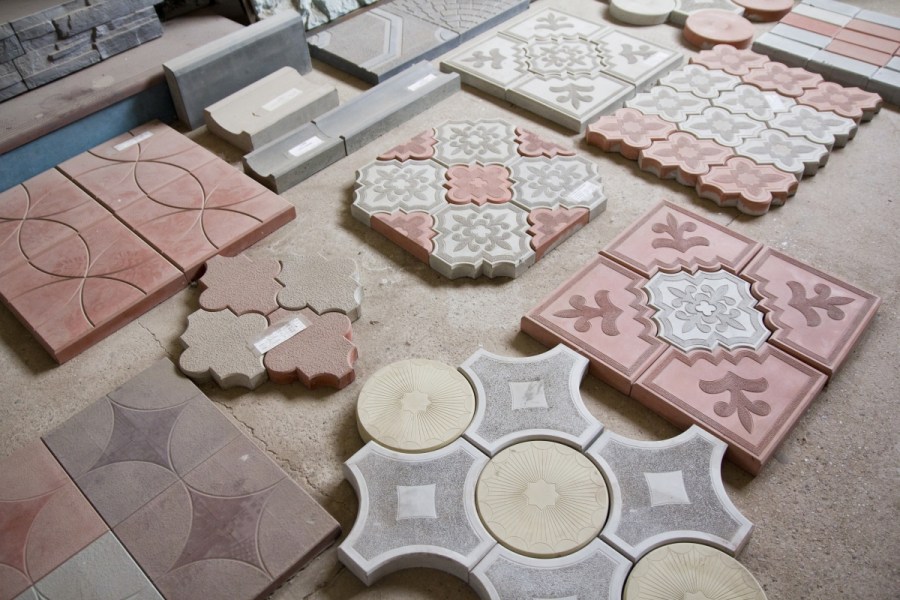
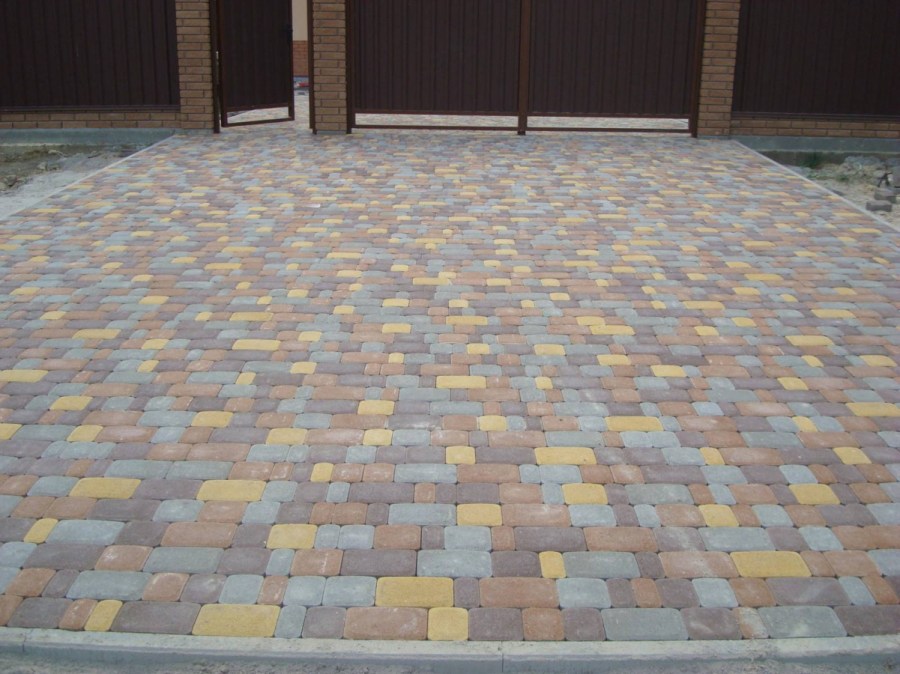
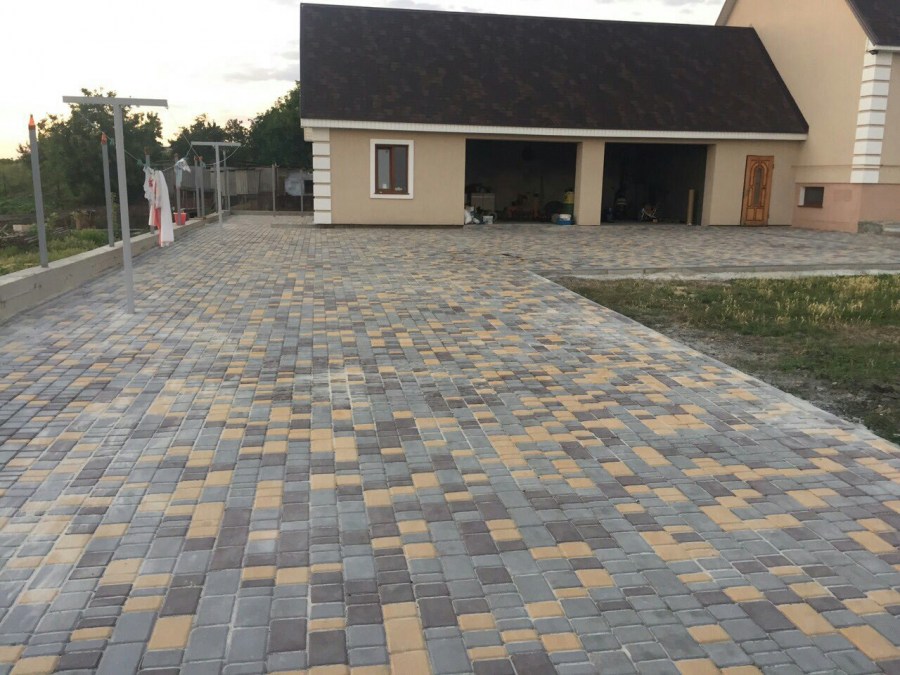
Aesthetic appeal. Any pattern can be laid out of ceramic or concrete products. To purchase a product of the required shape, size and color is not difficult.


But the main thing is that laying tracks from such material with your own hands is a task that can be done even for non-professionals armed with a minimum of skills and a small set of tools.
Preparatory stage
All tile laying work on the site begins with planning. It is necessary to measure all the parameters of the territory on which the work will be carried out. Based on the data obtained, it is necessary to calculate the number of tiles, sand, cement, glue, and other necessary materials.
Tools and accessories should also be prepared. The backbone of the list will look something like this:
- a container for mixing the mortar or concrete mixer;
- grinder with a disk for cutting tiles;
- shovel and bayonet shovel;
- scrap;
- tamper;
- two buckets;
- rubber mallet;
- chisel;
- rake;
- hacksaw.
Thoughts on choosing a tile
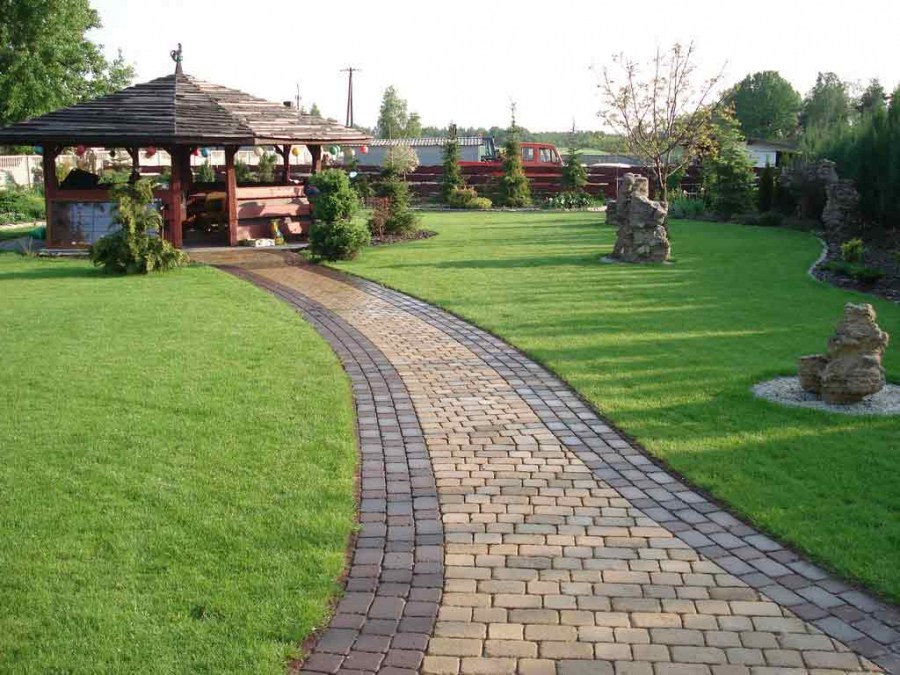
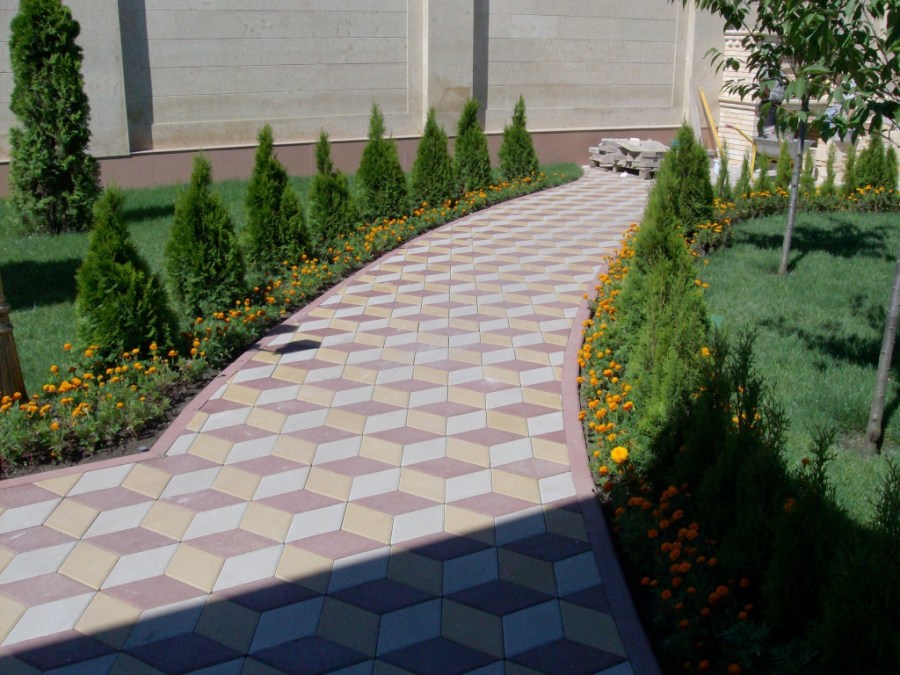
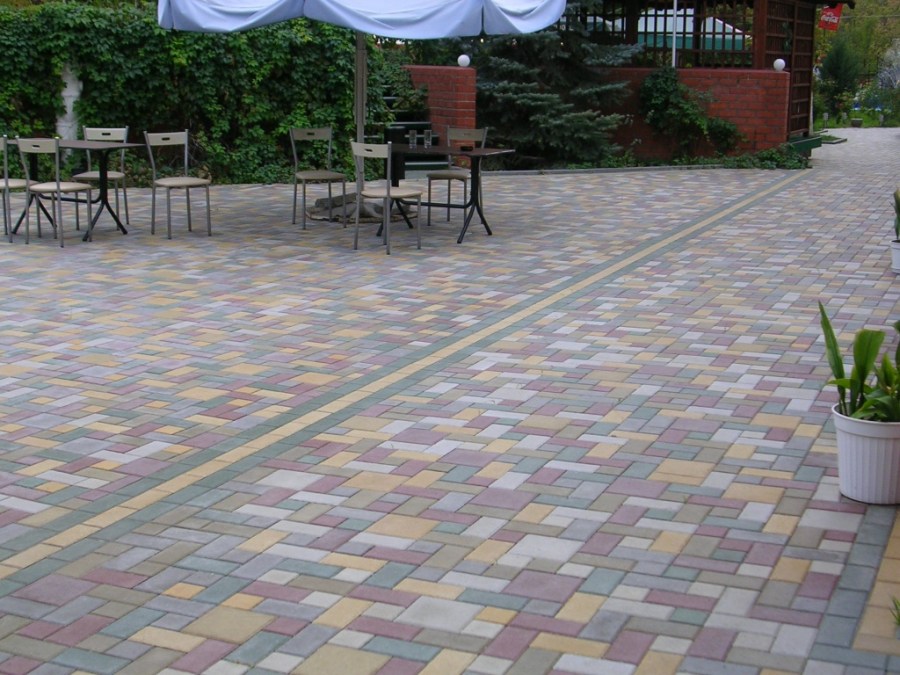
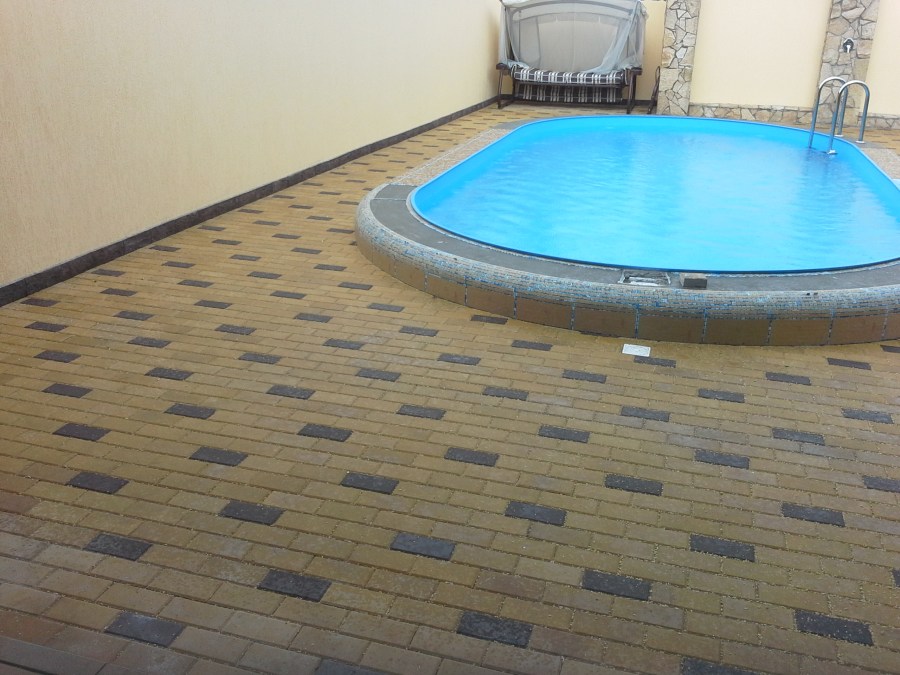
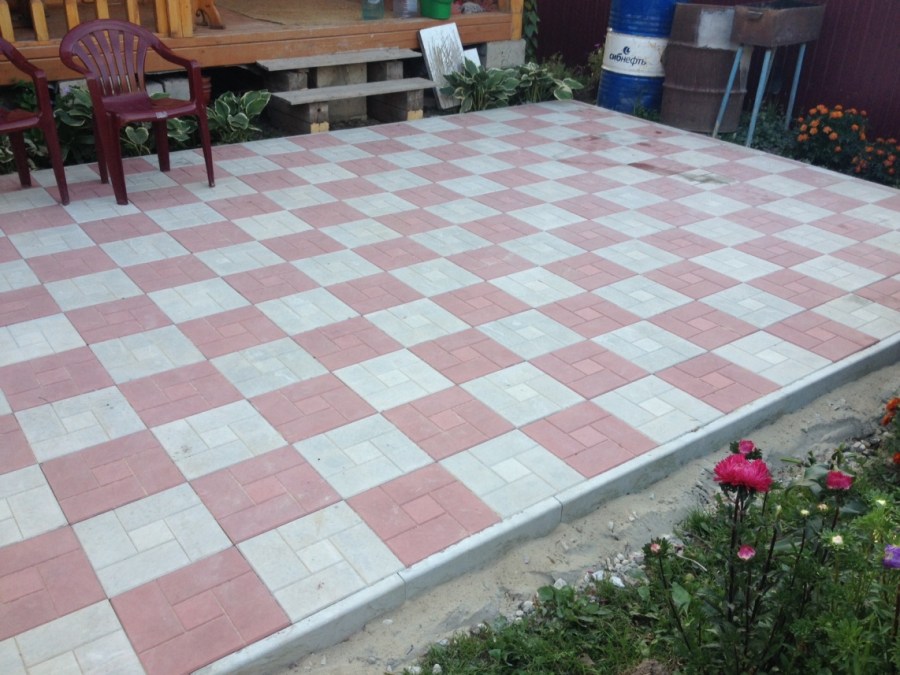
If we are talking about size, color, future pattern or composition - there are no universal recipes. Everyone chooses tiles according to their taste, according to the design plan and taking into account the characteristics of the yard, cottage or garden.

To lay tiles for a private courtyard without errors, you should consider who and how will move on it. If we are talking only about people, vibrocast tiles with a thickness of 25 to 40 mm are enough. If you plan to keep a car there, material created using the same technology, but of a greater thickness, from 40 to 60 mm, is suitable.
When there is, for example, a small private production in the courtyard, and from time to time it is necessary to drive in heavy equipment, part of the area must be laid out with vibropressed tiles up to 80 mm thick. It costs more than vibrocast, but is able to withstand significant loads.

Vibrocast tiles can be made independently. Vibrating table, molds, concrete mixer - this is the main set of equipment for such work. But the point is only when the yard is large.

Site preparation
Detailed step-by-step instructions for laying paving slabs begin with the preparation of the territory.
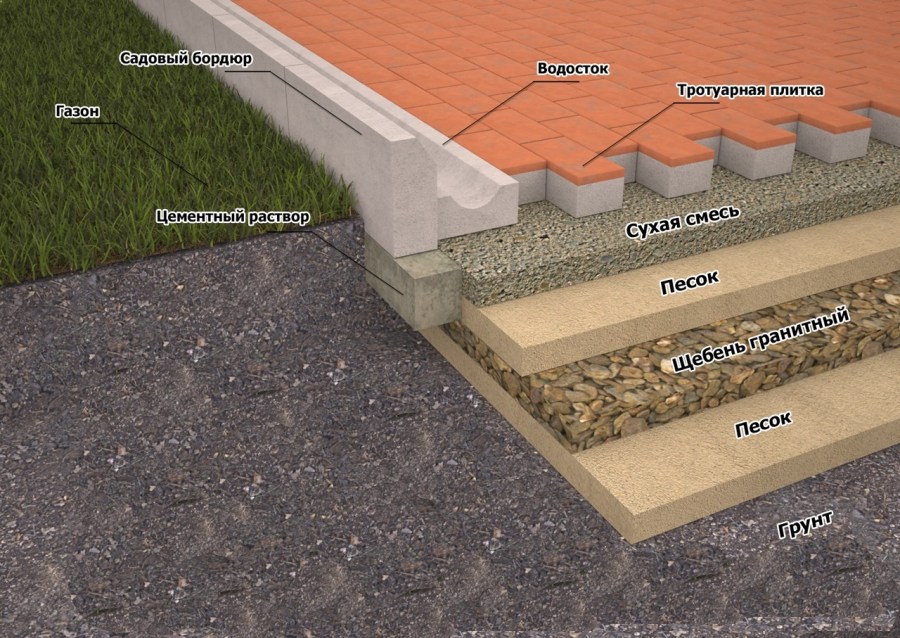
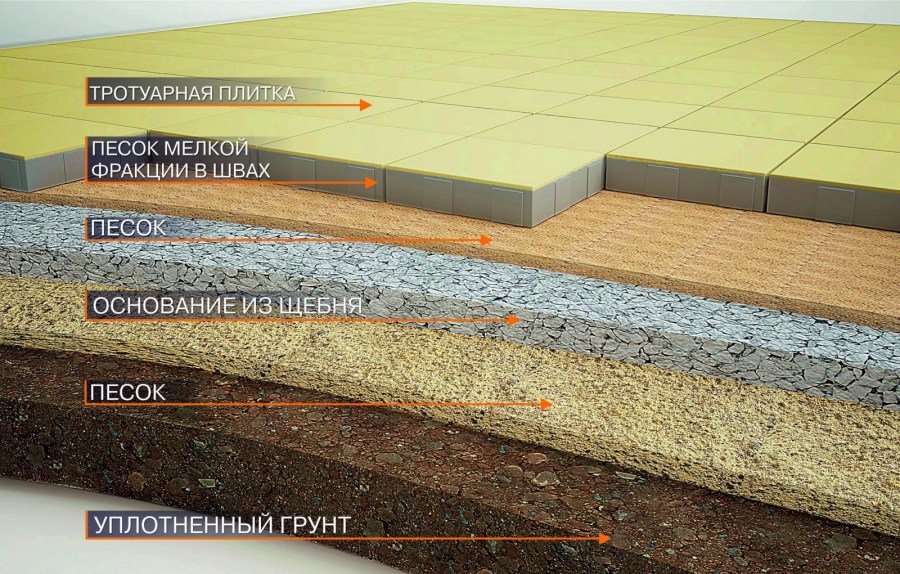
The first thing to do is to clear the soil of debris, turf and other extraneous things.
The second is to dig a recess half the bayonet of a shovel or more, depending on the type of pillow you choose.
Third - lay a layer of crushed stone or expanded clay of a large fraction at the bottom.
Fourth - lay a layer of geotextiles. This material freely passes water and air, but does not allow the grass to destroy the path.

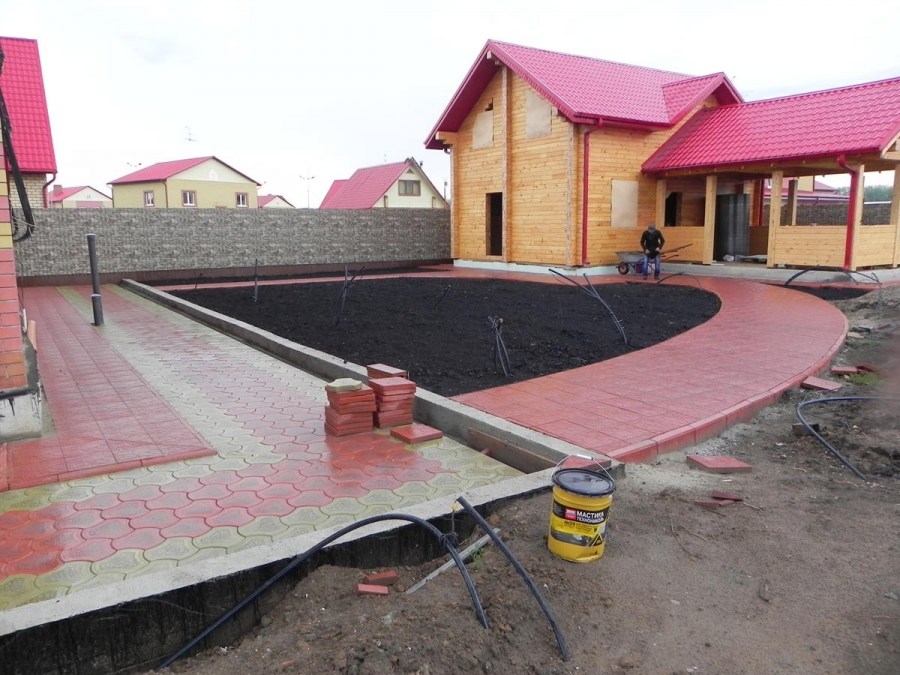
Fifth - a layer of sand, a sand-cement screed or a solid concrete base.The more unsteady the ground and the high groundwater level, the more powerful the foundation should be. And, accordingly, if cars will drive along the track, a concrete base is necessary. With strong soil, paving slabs on sand can be laid without hesitation.

For a concrete base, cement, sand, water and a filler are needed. The solution is prepared according to classical technology, in a ratio of 1: 1: 3. Crushed stone, broken brick or something similar is used as a filler.
On average, ten centimeters of a pillow will be more than enough. The pillow should dry completely. On hot days, concrete should be poured with water or covered with a film so that it does not crack.


Laying tiles
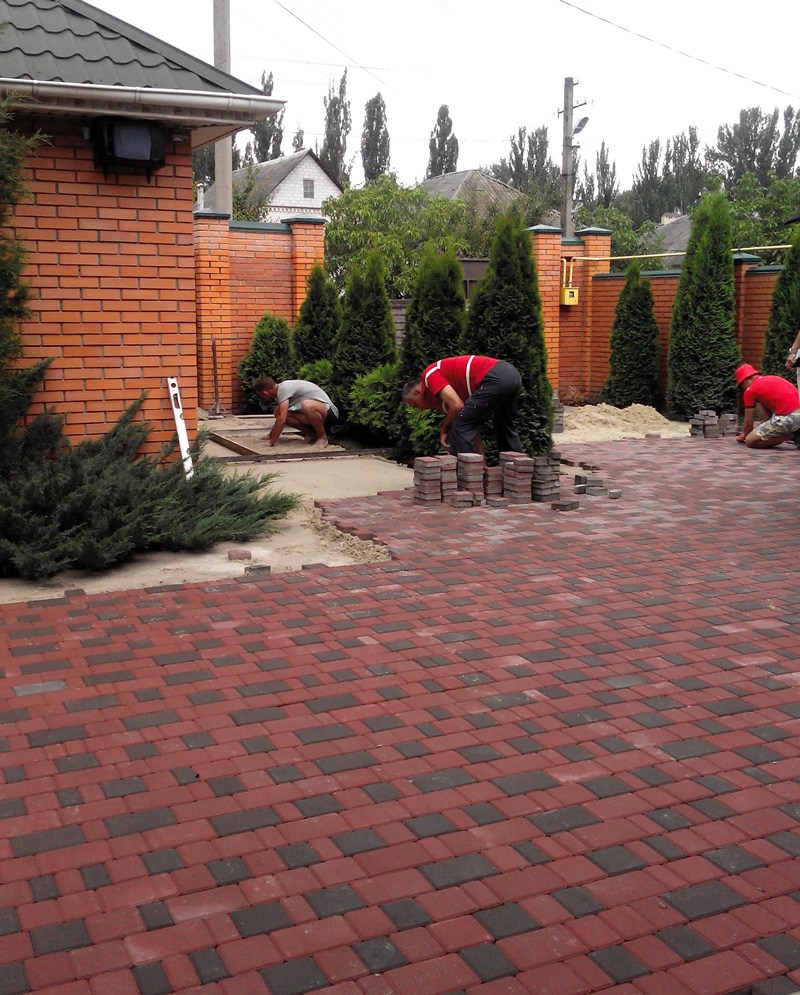
The technology of laying paving slabs is extremely simple, but the work must be approached with a certain pedantry. This is not a process that will forgive the slightest marriage. Sooner or later, sloppy work will affect the appearance or stability of the track.

Even at the stage of preparing the site, you should very accurately determine the width of the tracks in order to correctly select the dimensions of the tile. In this case, it is necessary to take into account the presence of gaps, a border and other elements, if any.

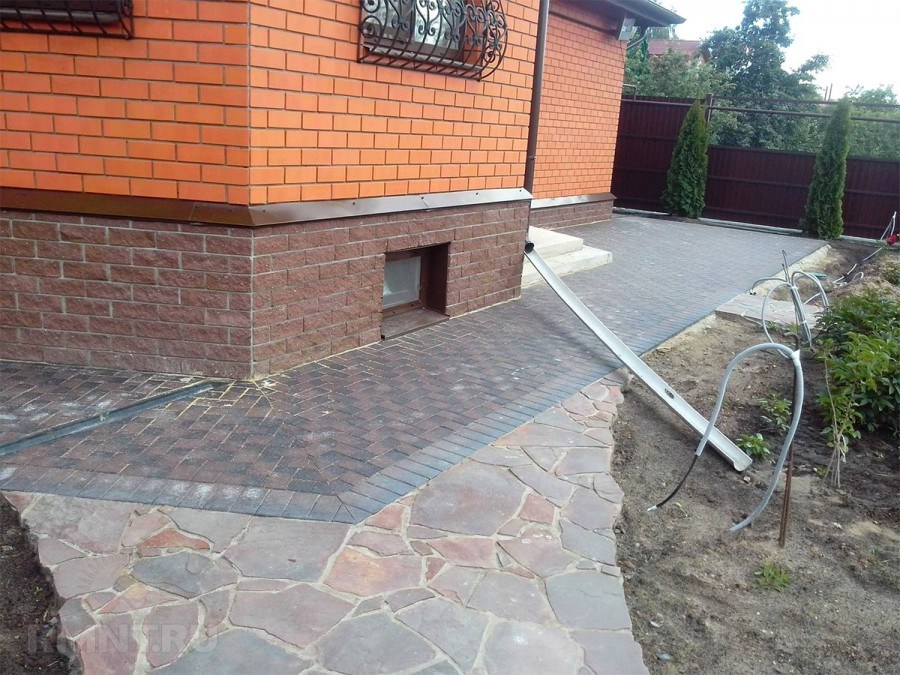
The surface under the tile should be as even as possible.

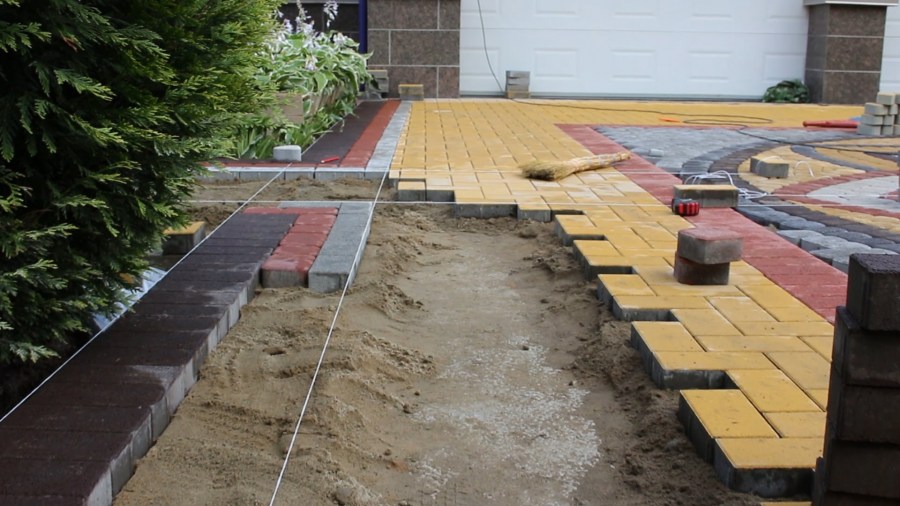
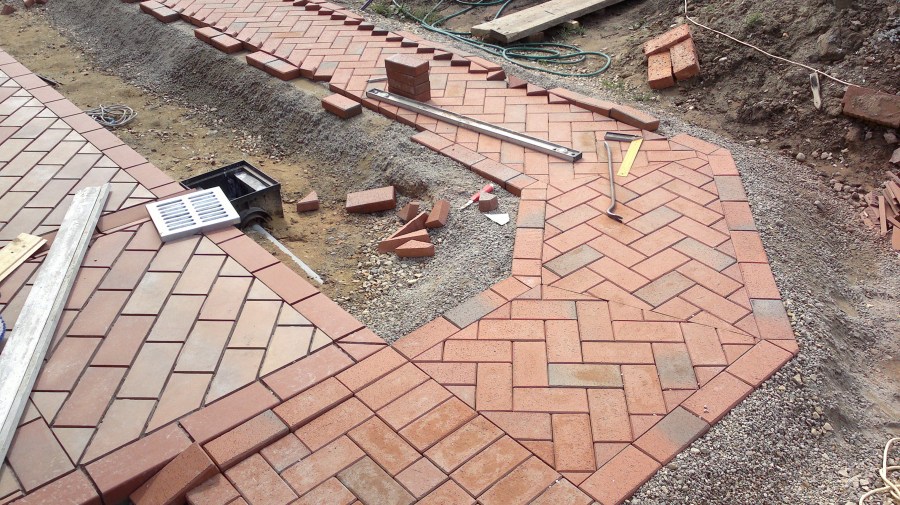
After everything is ready, it's time to start laying out the tiles. To realize the selected pattern or pattern, it is necessary to prepare its elements, trim as necessary and put at the place of work.
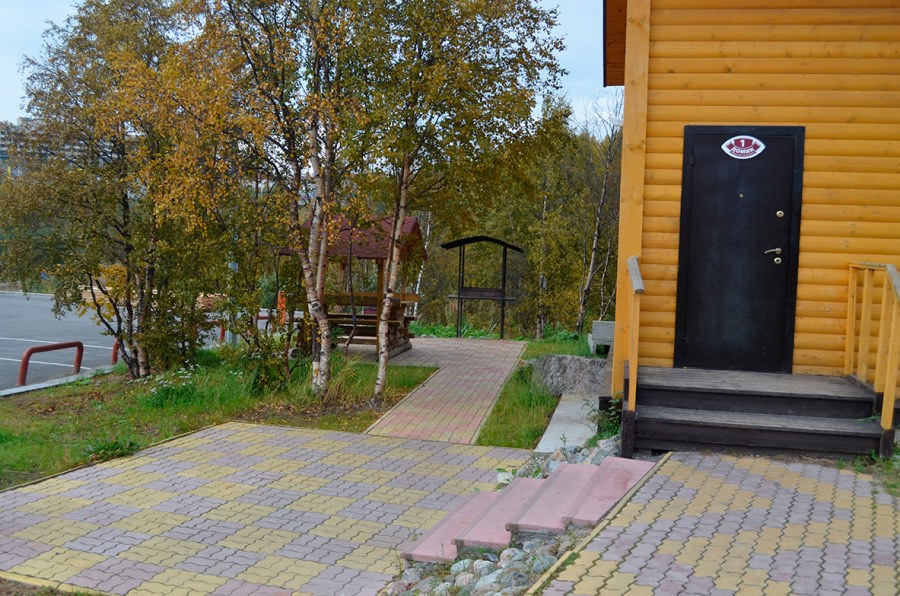
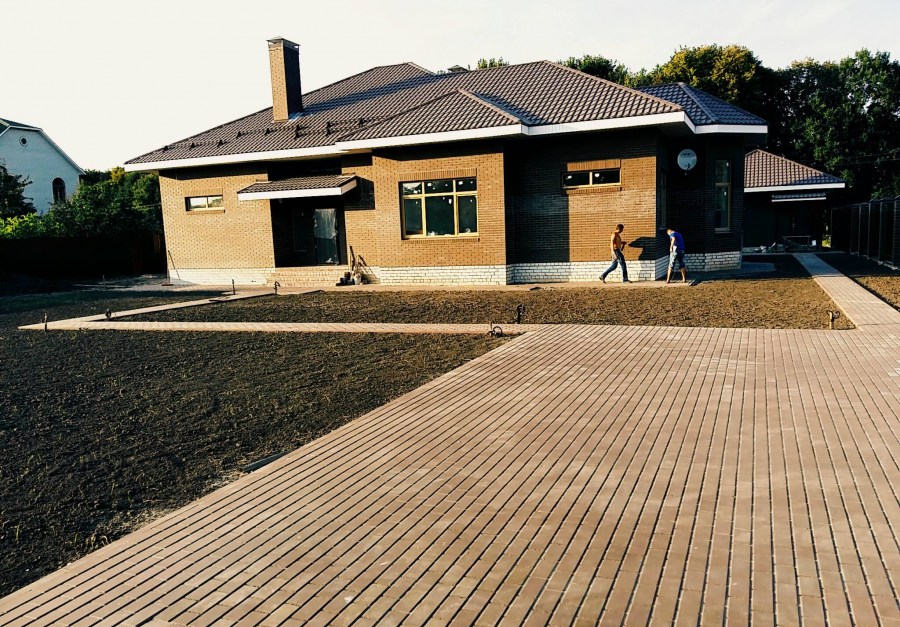
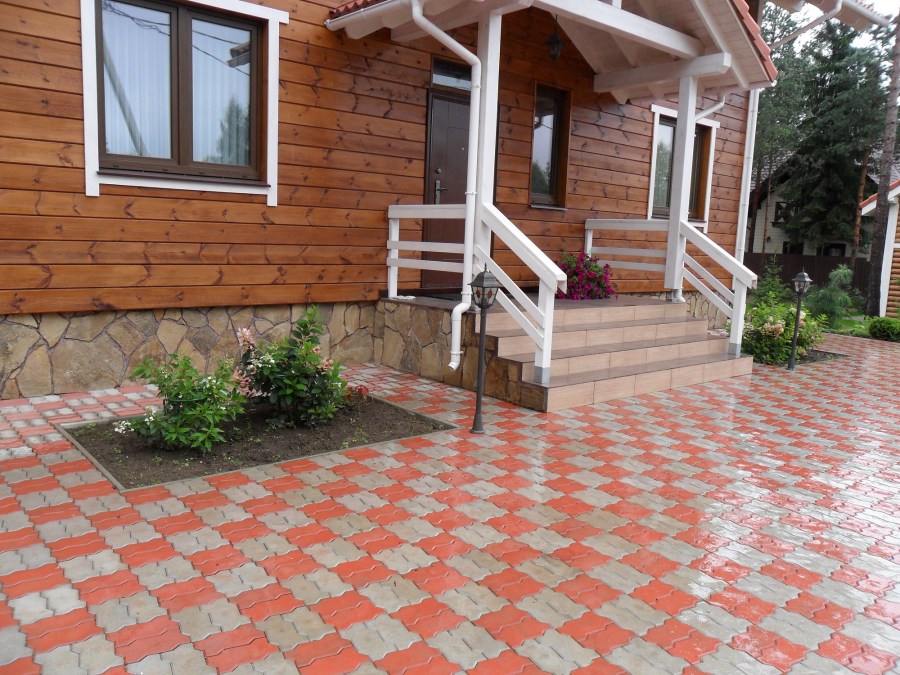
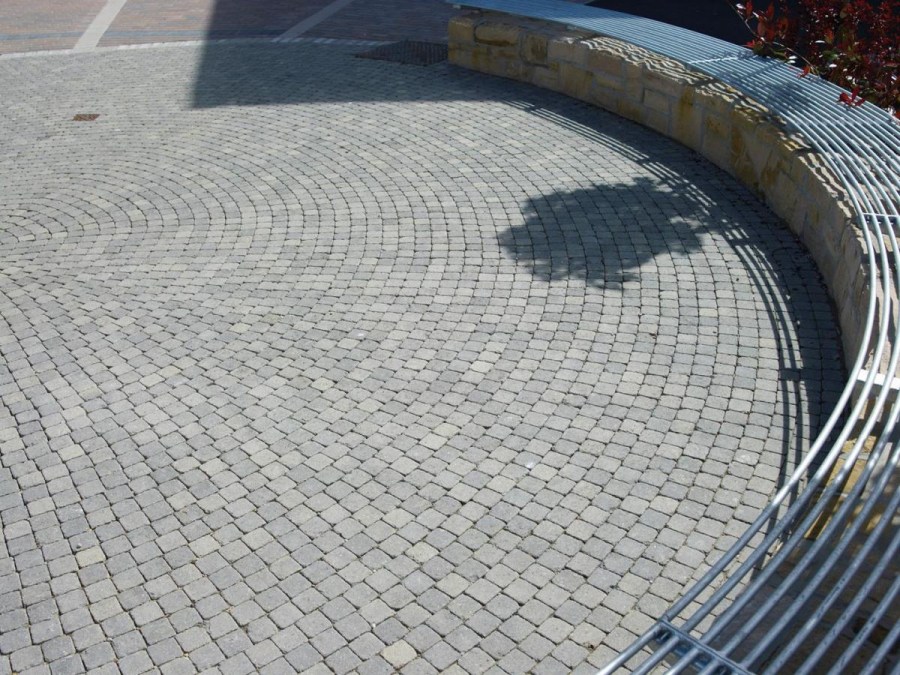
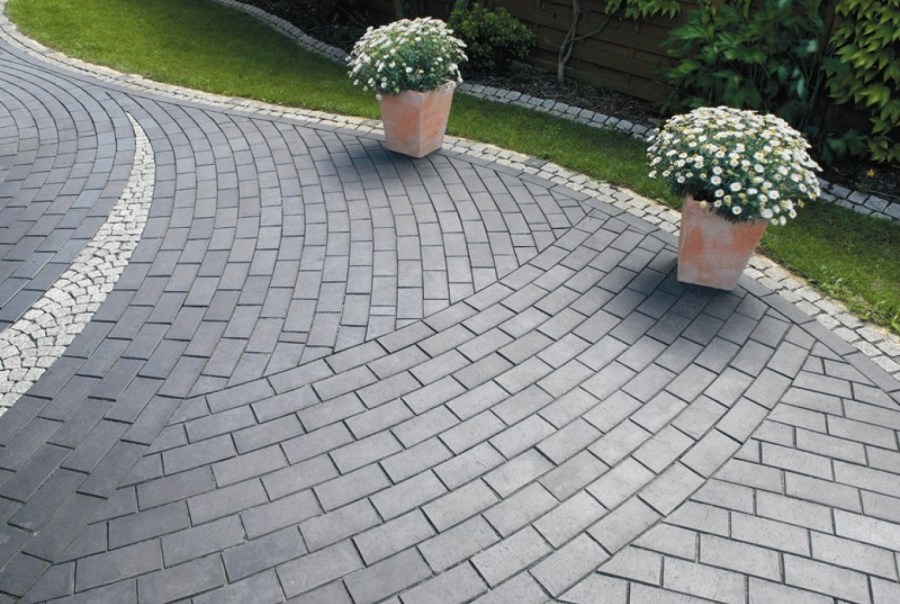
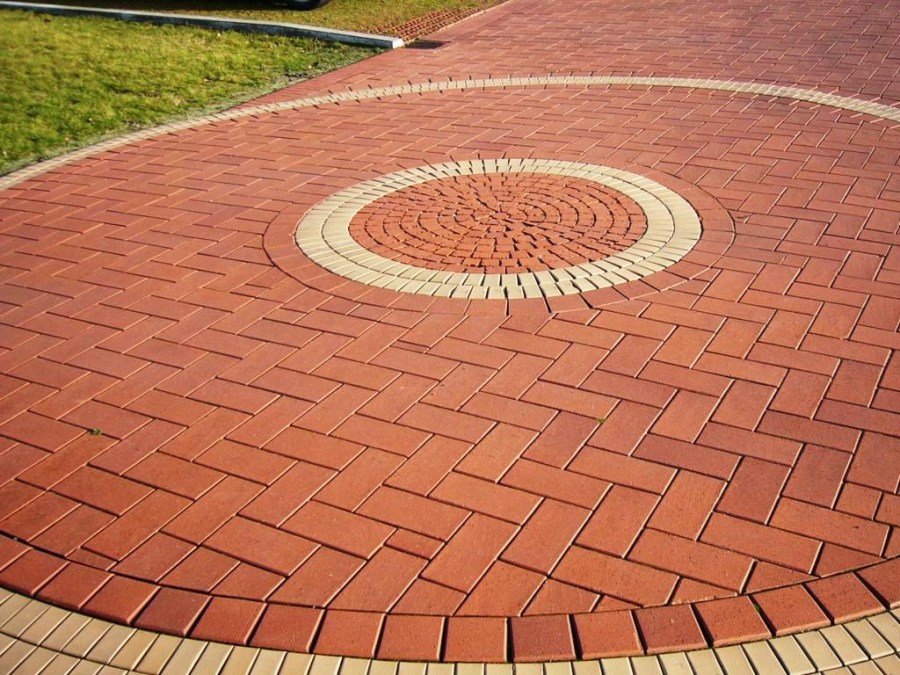
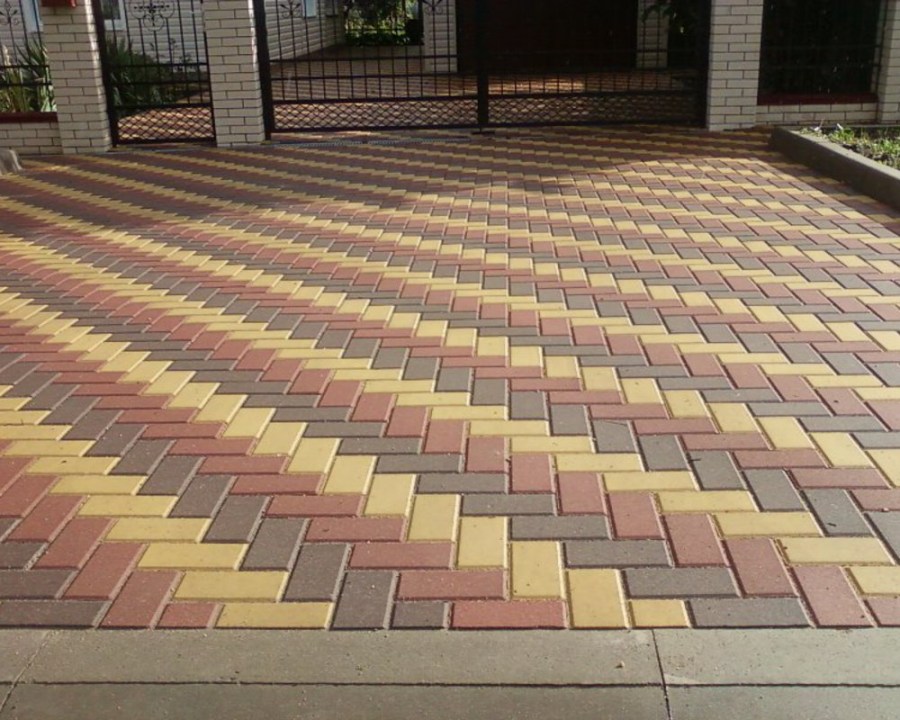
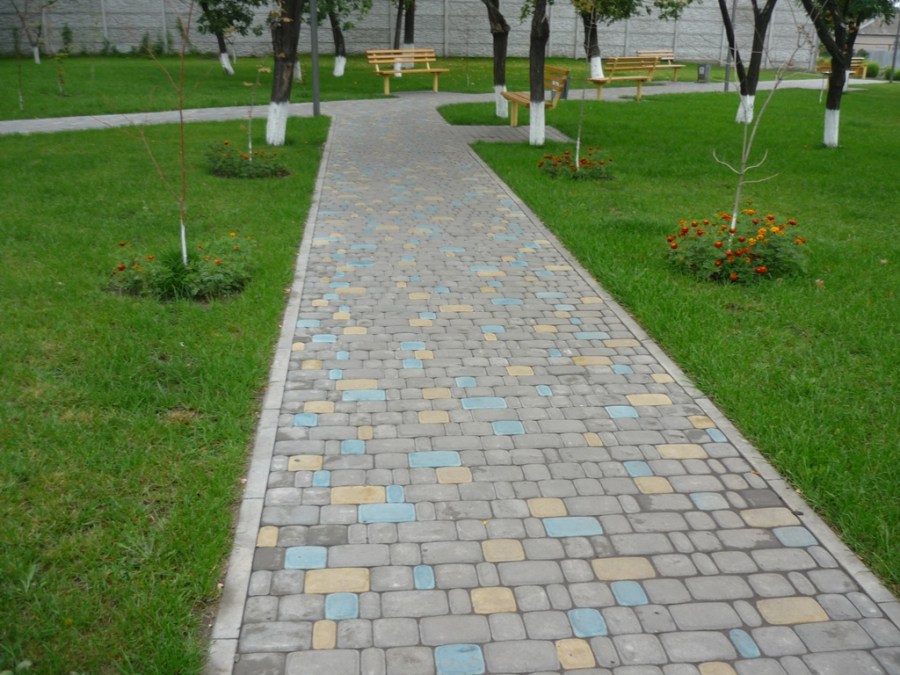
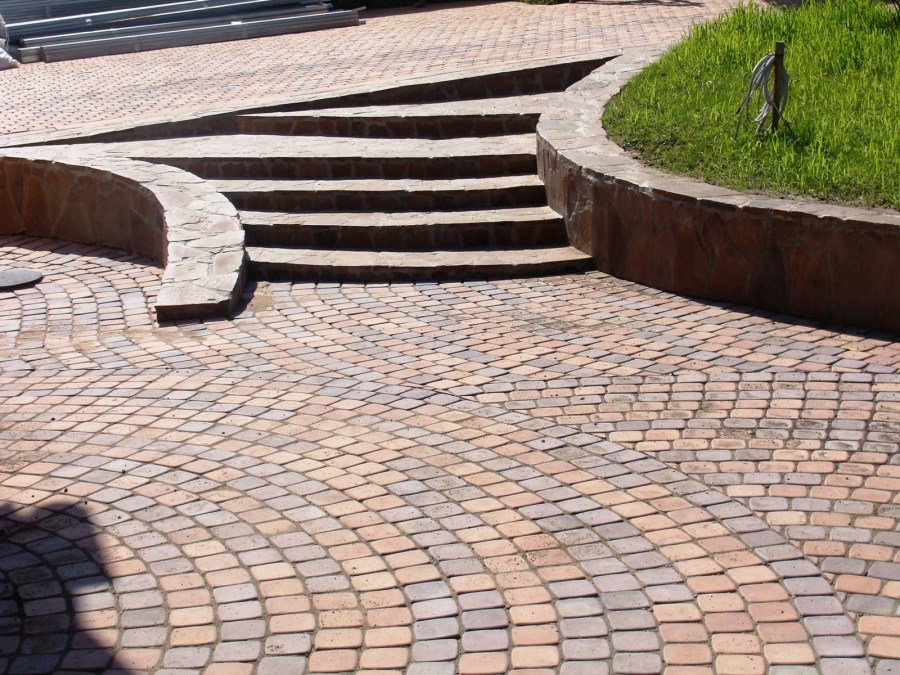
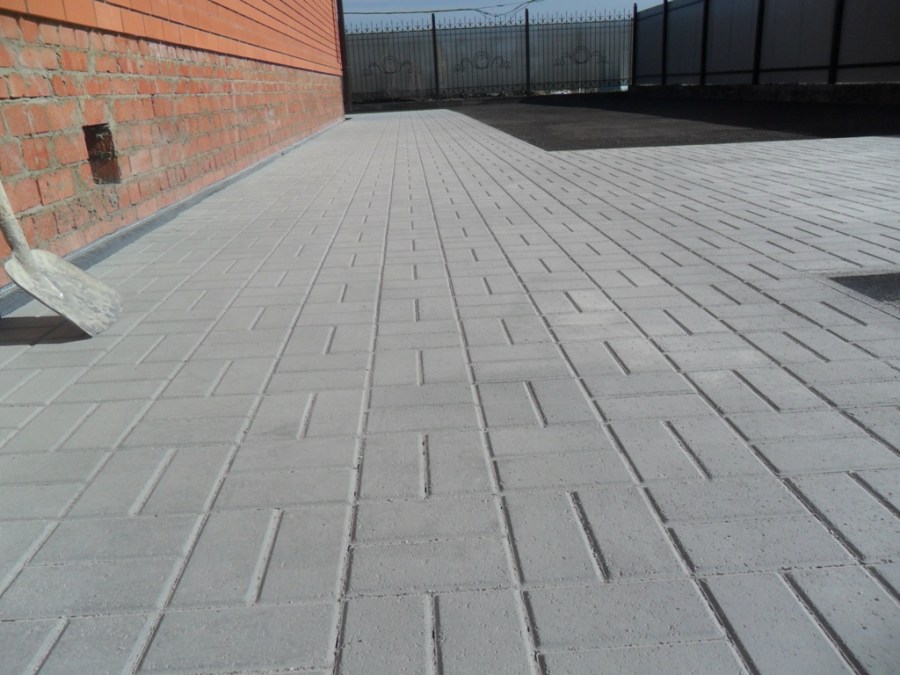
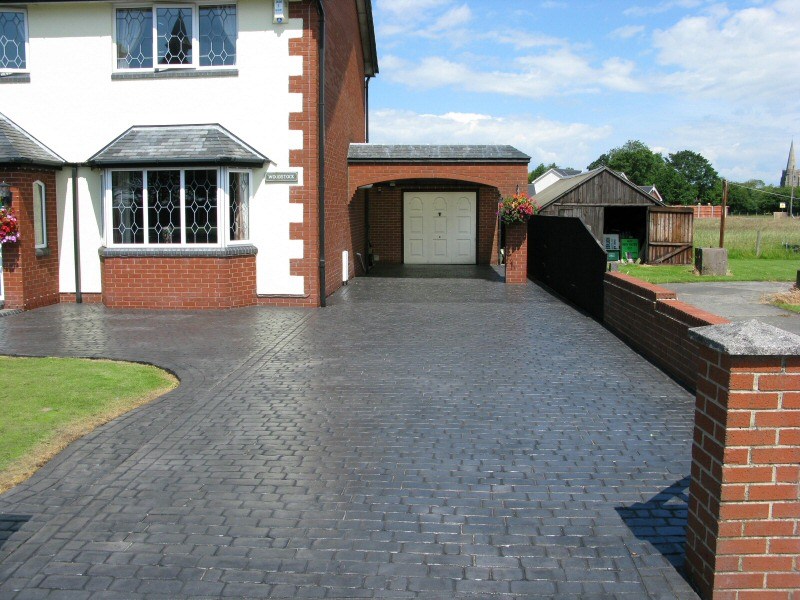
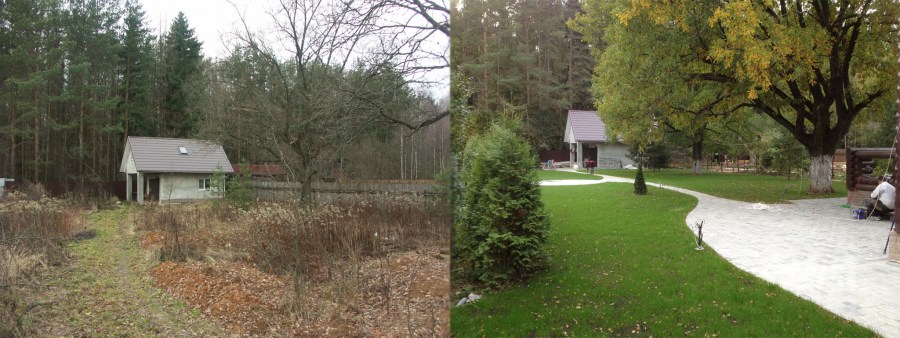
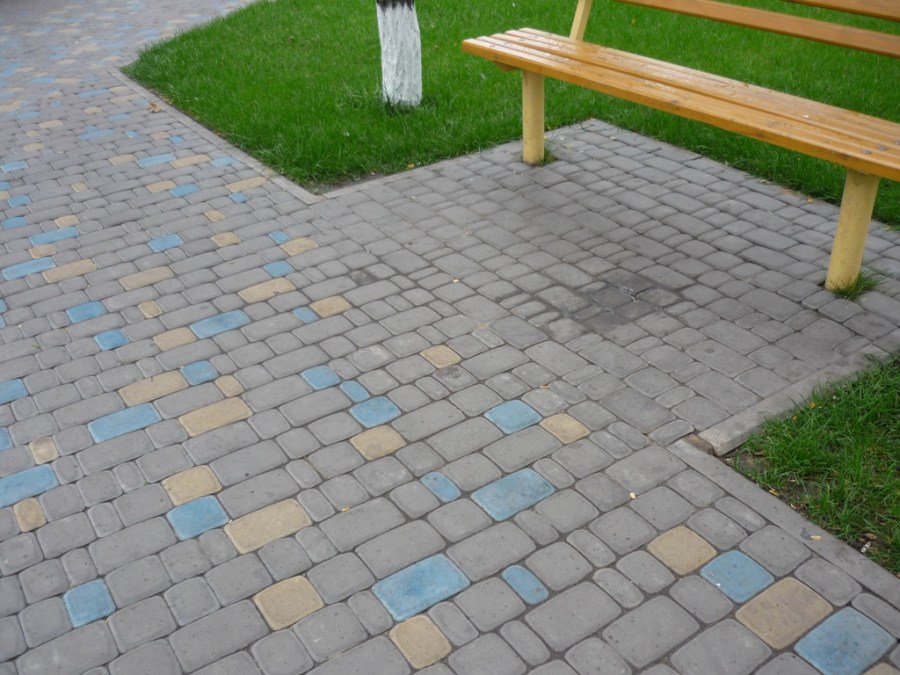
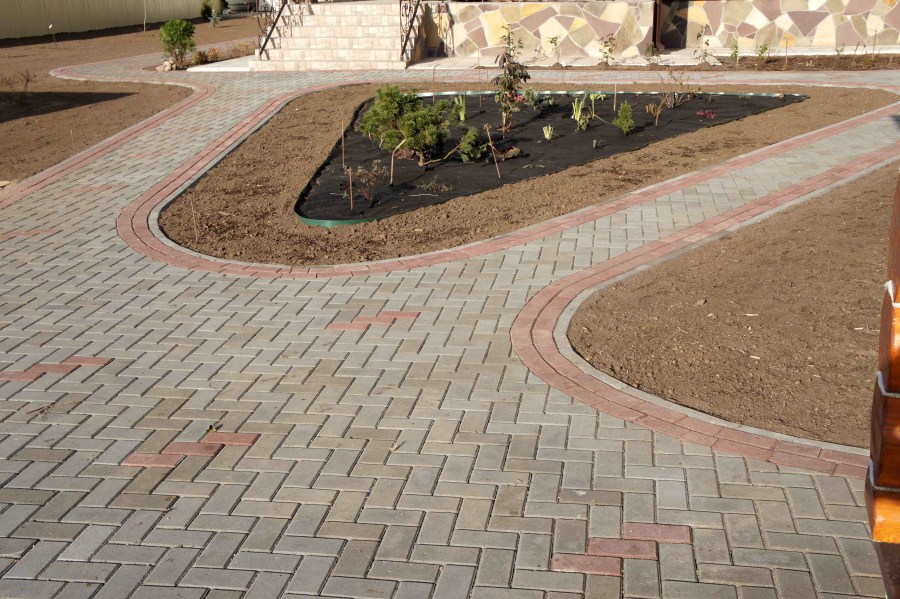
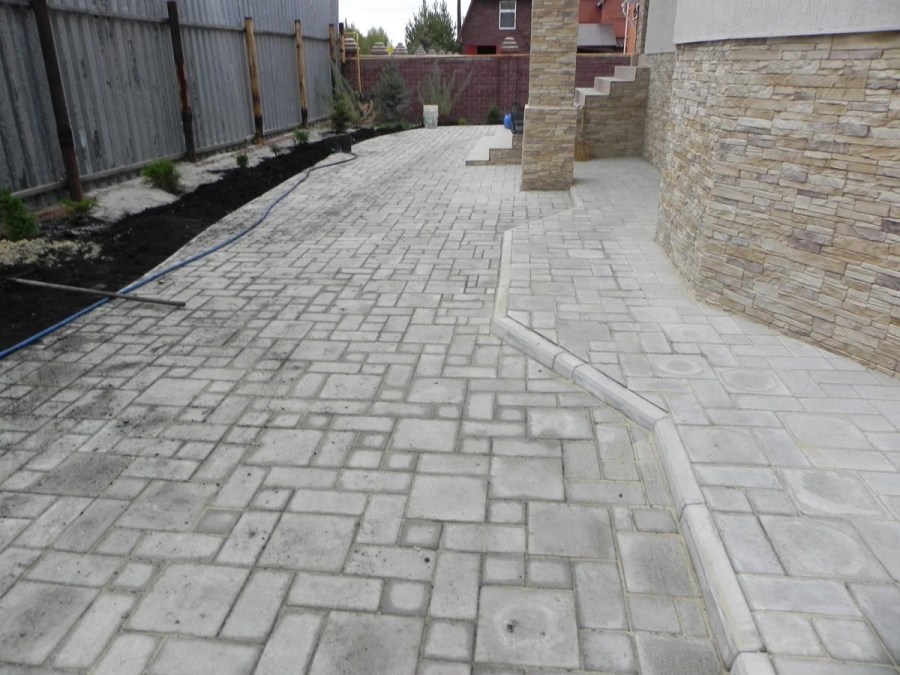
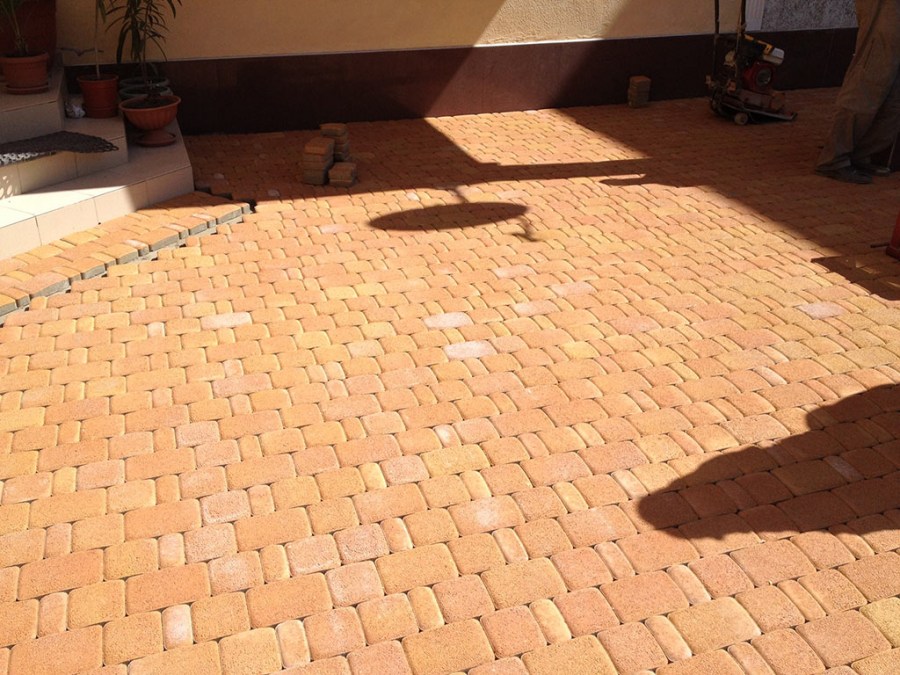
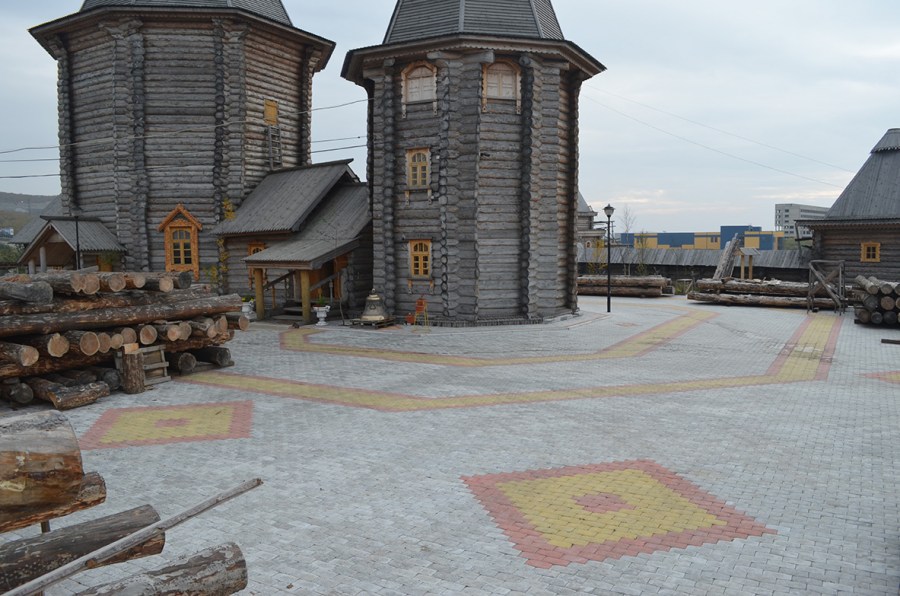
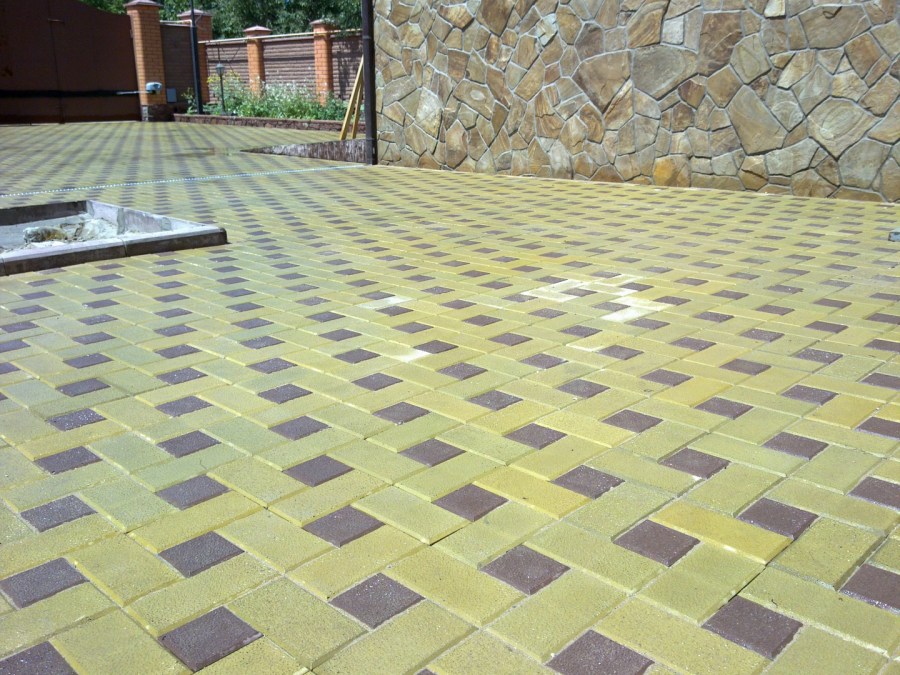
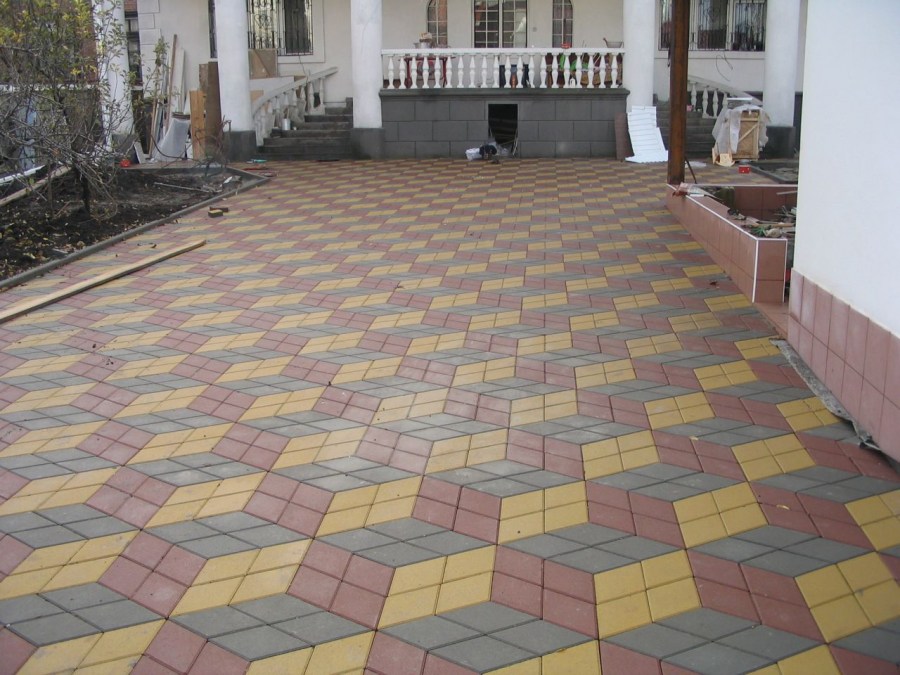
In the photo of laying paving slabs, you can find popular patterns and compositions, from geometric to volumetric and artistic. It is also easy to come up with your own version, but you must take care to buy the source material in the correct proportion.

The installation process - step by step instructions
Border. To keep the curbstone more reliable, they make a special concrete lock, almost a groove. This is a great solution, although time consuming. It will accurately ensure the longevity and stability of the track.

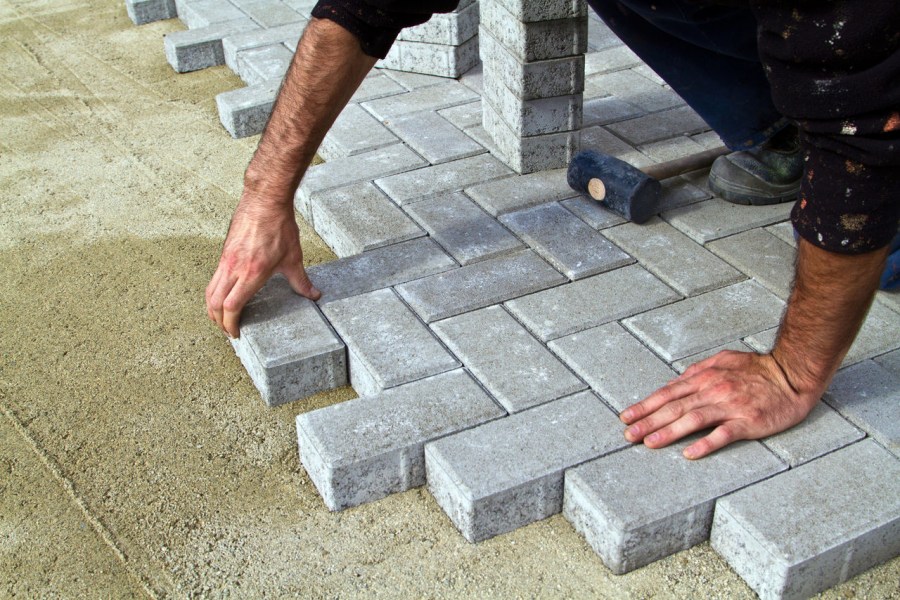
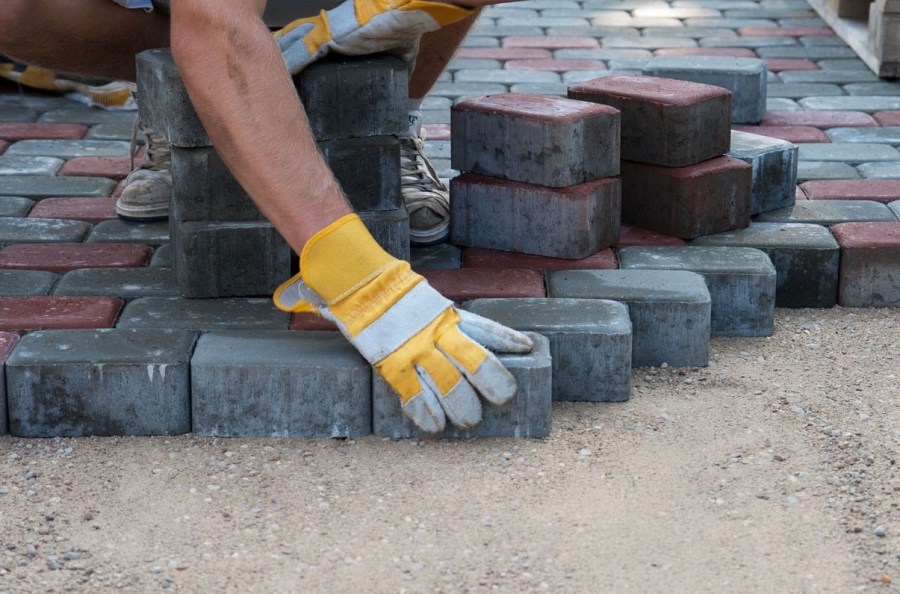
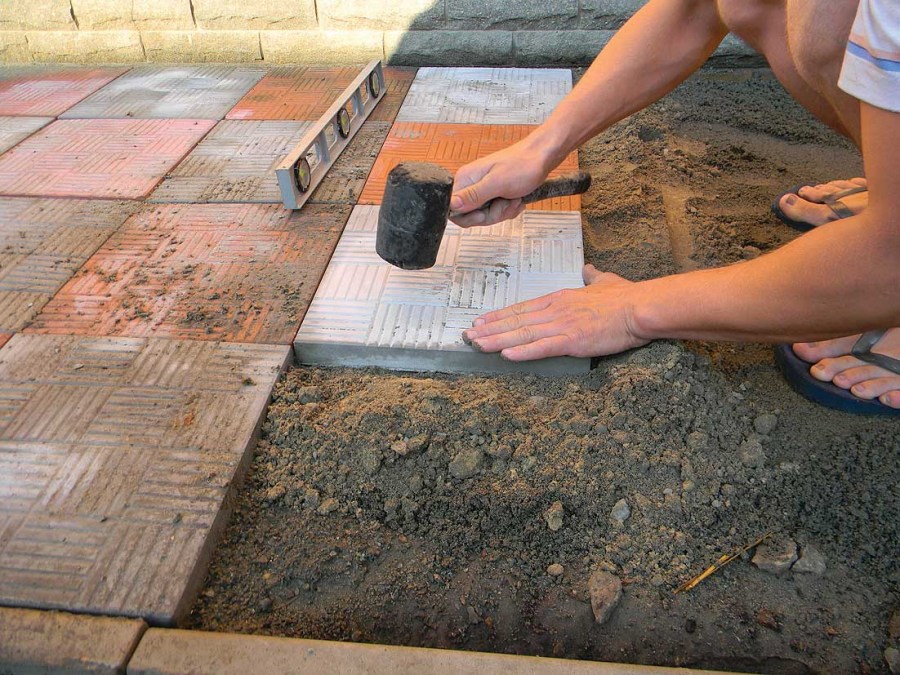
Tile. It is laid out on a sandy foundation after watering. The surface is leveled with a rubber mallet, along a rope stretched in advance and under the construction level.
The installation procedure is from the bottom point in the direction of increase and always on your own. That is, the stacker needs to move forward along an already completed track. Such an approach will help to leave the already prepared foundation level. The starting point for installation is any boundary, front door, for example, or something like that.


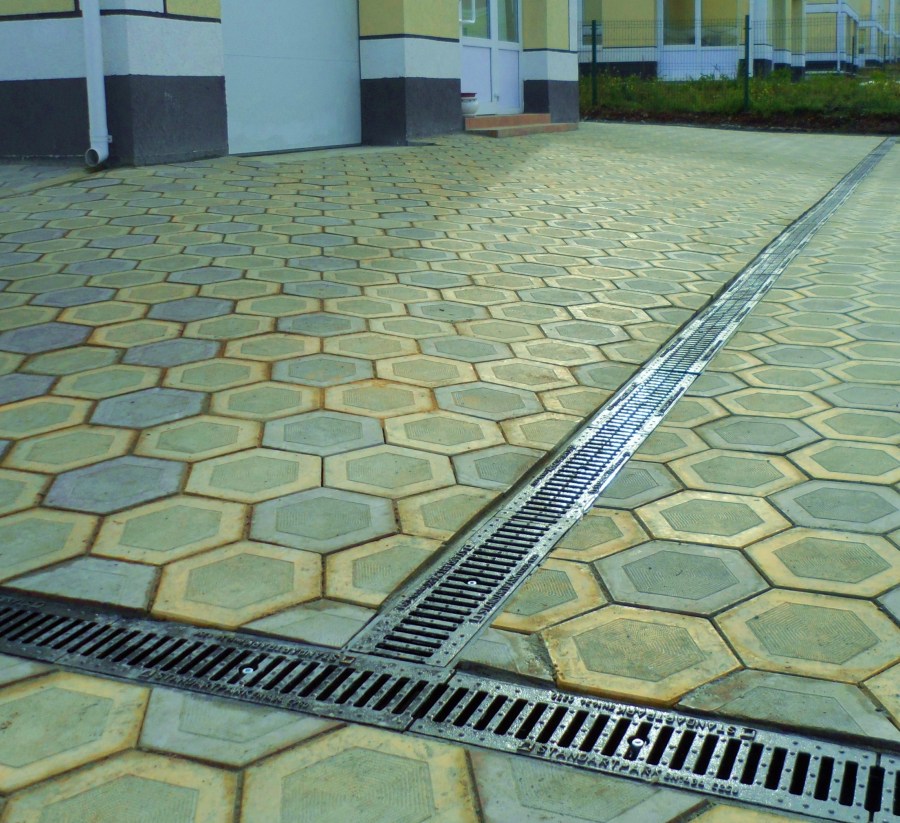
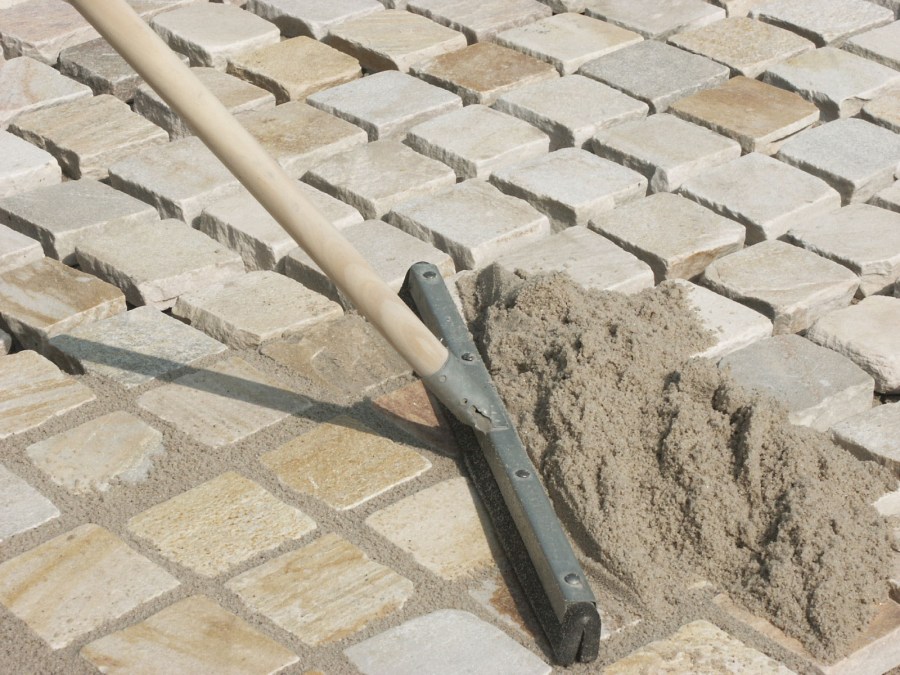
Gap. It is important in order for water to go, and for surface quality. The pattern must be laid out evenly. It is reasonable for this to use special plastic spacers that will not allow you to make the gap between the tiles too different.
There is a tile with remote locks, these are small ribs that do not allow you to make a gap incorrectly.

Grouting. It is produced in two stages: fine sand with fine fraction and sand-cement mixture. A broom acts as a sweeping tool. In the construction supermarket, you can buy a ready-made mixture for grouting, but these are additional costs that are not particularly justified.


Watering. It is necessary to pour until small puddles are formed.

Impregnation. To protect the tile and concrete base from cracking under the influence of temperature differences, impregnation with mixtures called water repellents is used.They fill the pores without passing water, and also do not allow destruction under the influence of sunlight and mechanical stress.

When the tile is laid, it is necessary to arrange care for it. It consists in constantly sweeping and removing snow in the winter. It is not recommended to scrape snow with a metal shovel, especially to break down ice with a crowbar. A plastic gun is enough for such work.

Photo of the process of laying paving slabs


DIY waterfall: detailed step-by-step instructions for building (100 photos)
Entrance doors to a private house (120 photos): metal, wooden, plastic
Pergolas made of wood: 140 photos and a detailed description of the garden building
Join the discussion: