Installing gutters is a step-by-step instruction for beginners. Custom mounting options + 100 real photos
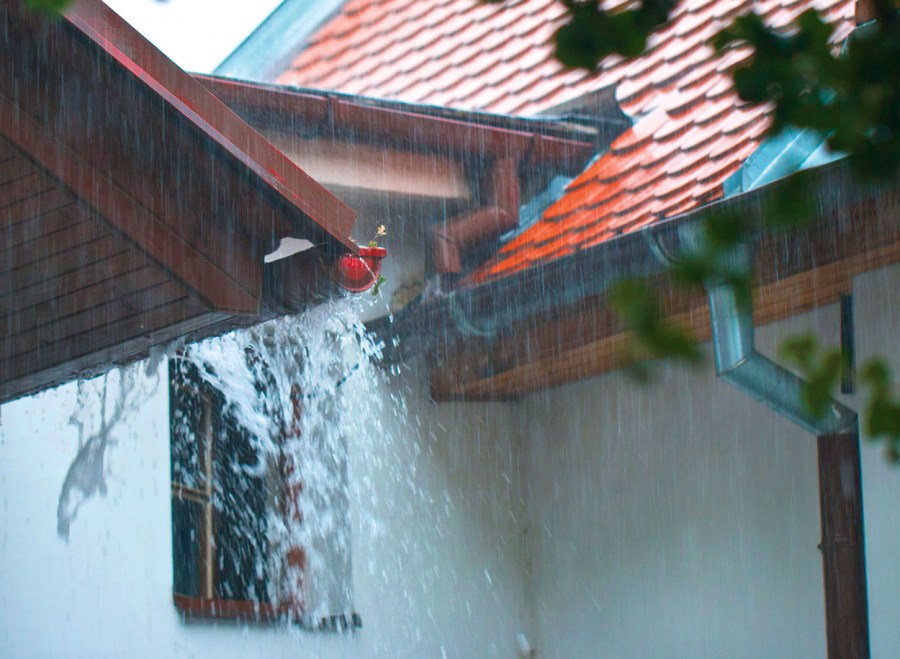
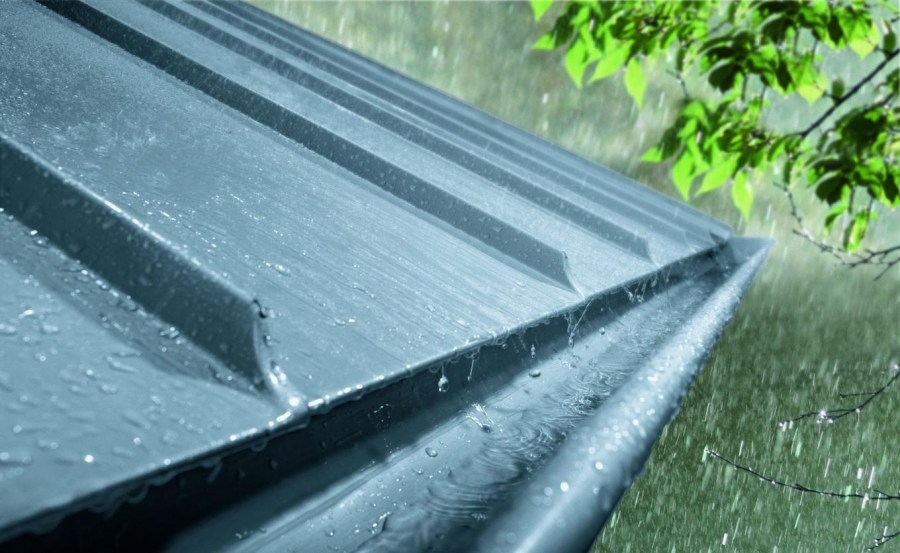
One of the main functional elements of the external home improvement is the drainage system. It serves to drain water from the roof during heavy rainfall and snowmelt. Some home owners prefer to install the gutters themselves. With this approach to repair, you must be very careful, as errors can lead to corrosion of the wall material.
Precipitation is most harmful to the foundation. To prevent the destruction of the foundation of the house, it is necessary to strictly observe the rules for installing gutters.

Consider the main recommendations for the installation of the structure.
Gutter Installation Technology
Specialists distinguish the following stages of the installation of plastic drains:
- settlements;
- purchase of building materials;
- system installation.


Gutter systems differ in their throughput. It should be remembered that there is no single standard for pipe sizes, so it is recommended that all structural parts be purchased from one manufacturer. This will avoid non-docking of individual parts.
How to choose a drain
Choosing the right system is one of the main steps in installing gutters on the roof. The following criteria should be considered:
- amount of annual precipitation;
- temperature difference at different times of the year;
- roof slope area.

After choosing the type of system, you can calculate how many building materials you need to work. Photos of gutters in the manufacturer's catalog will determine the appearance of the gutter structure.


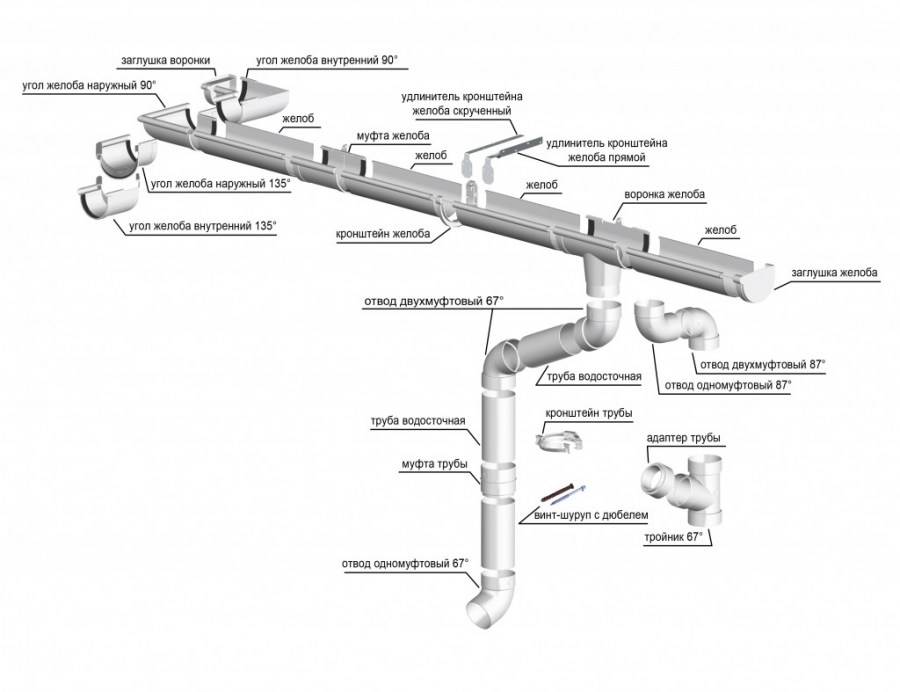
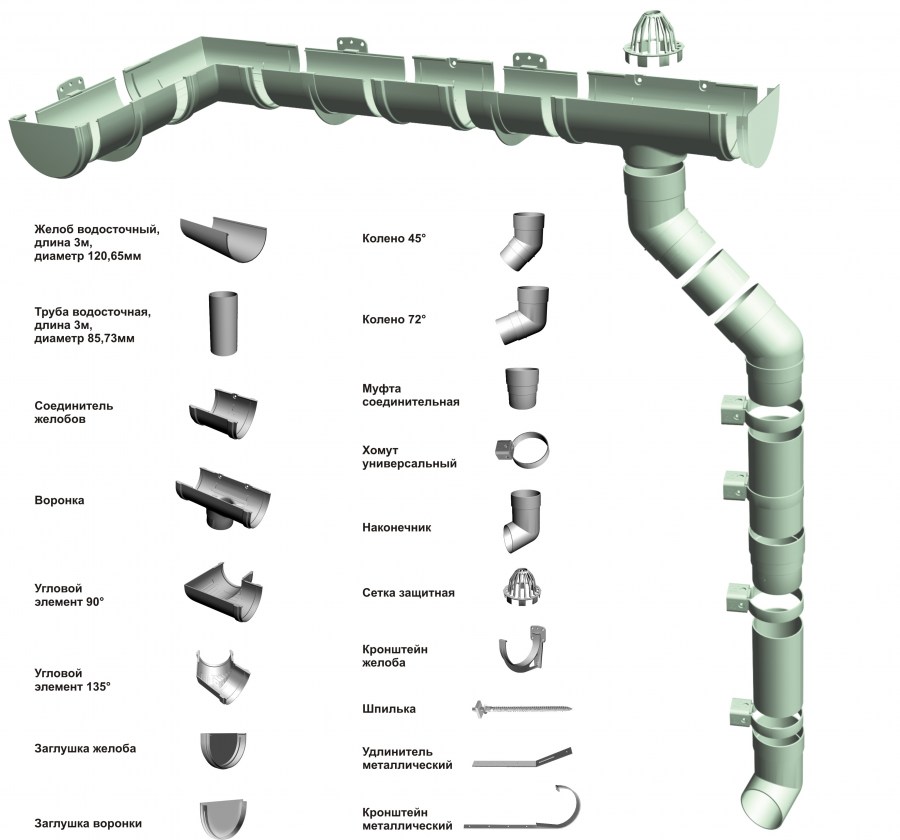

Types of gutters
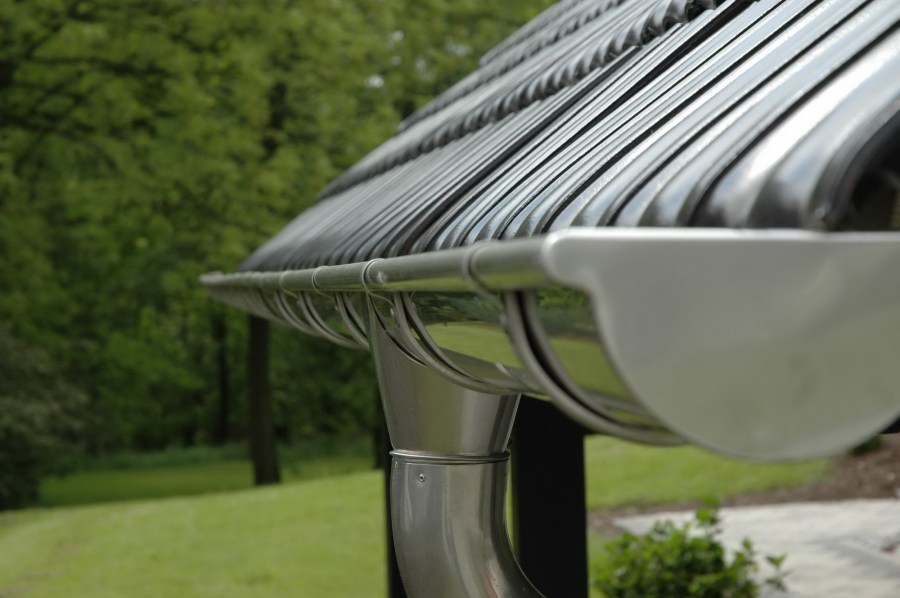
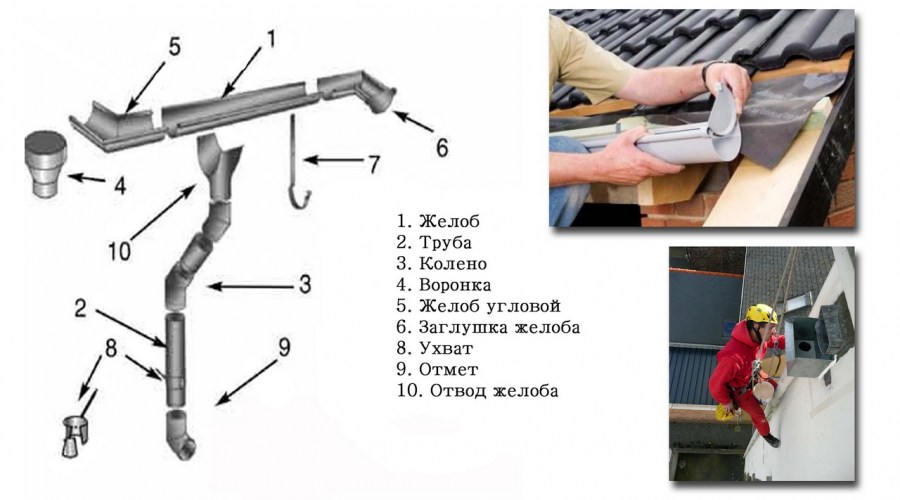
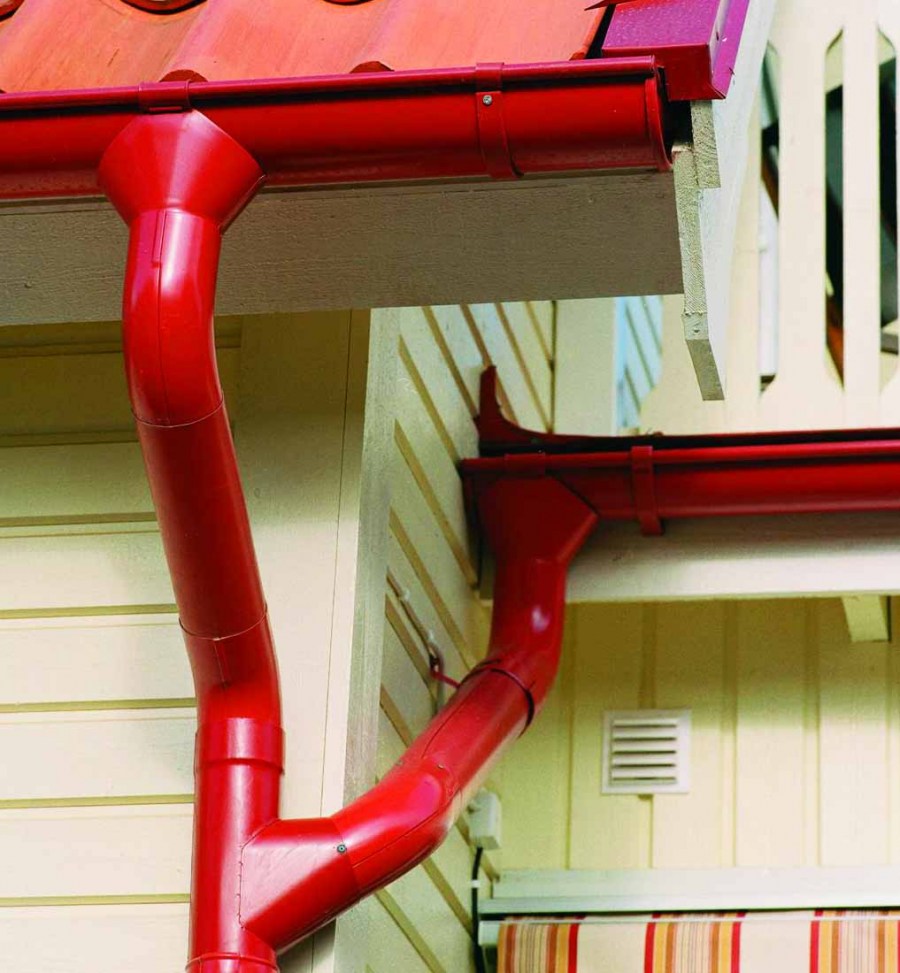
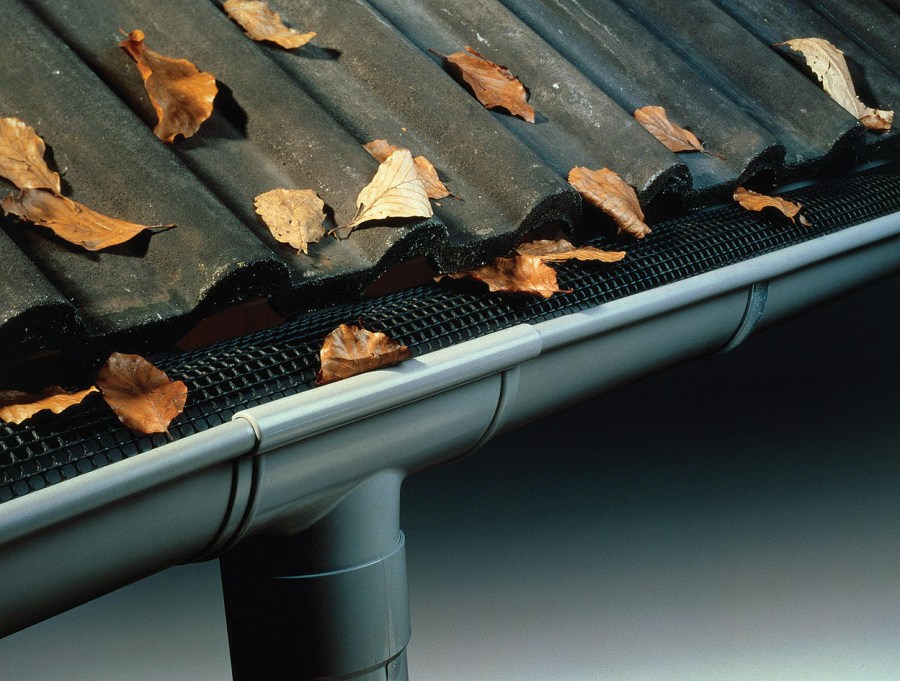
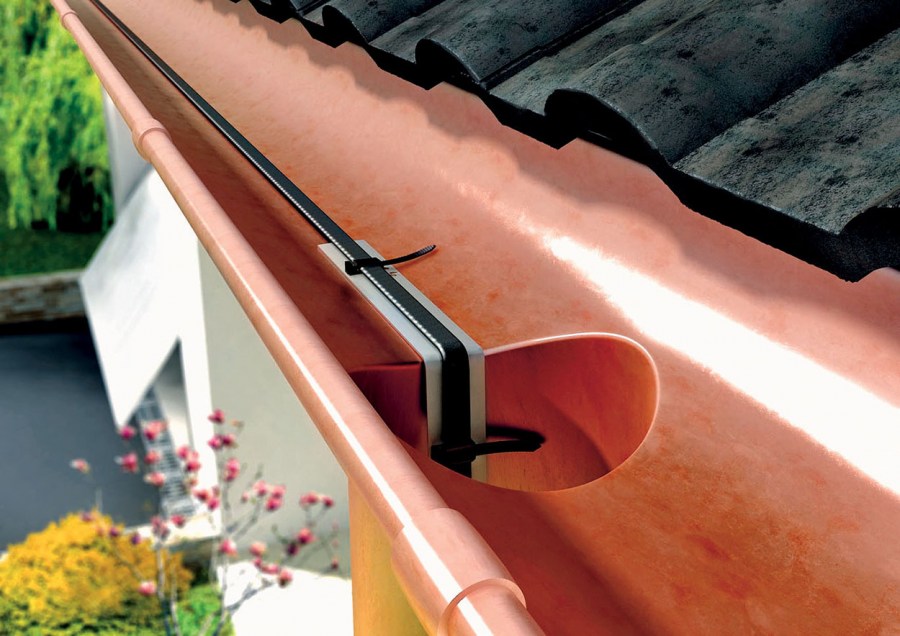
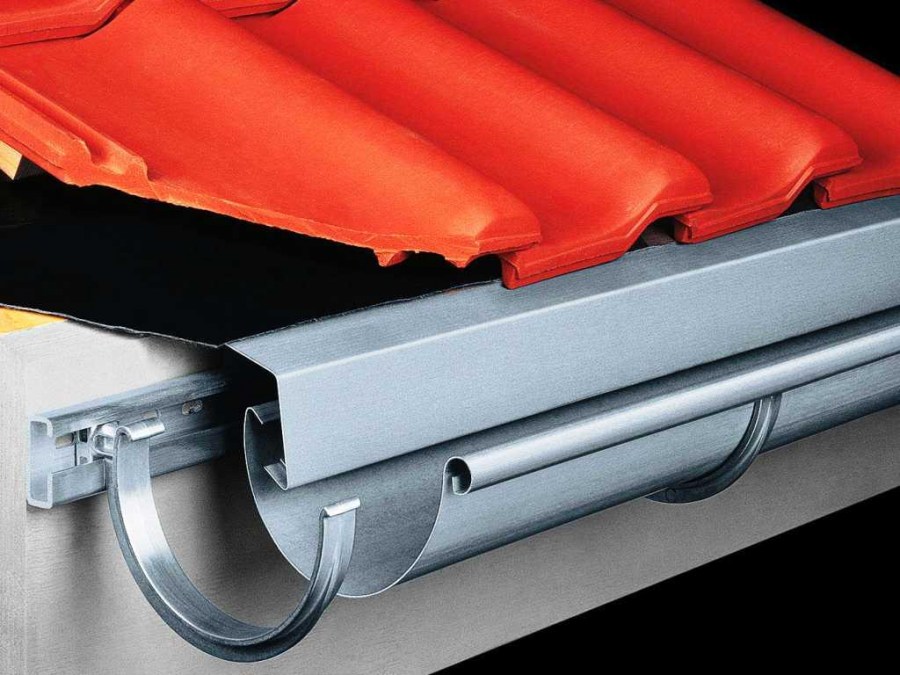
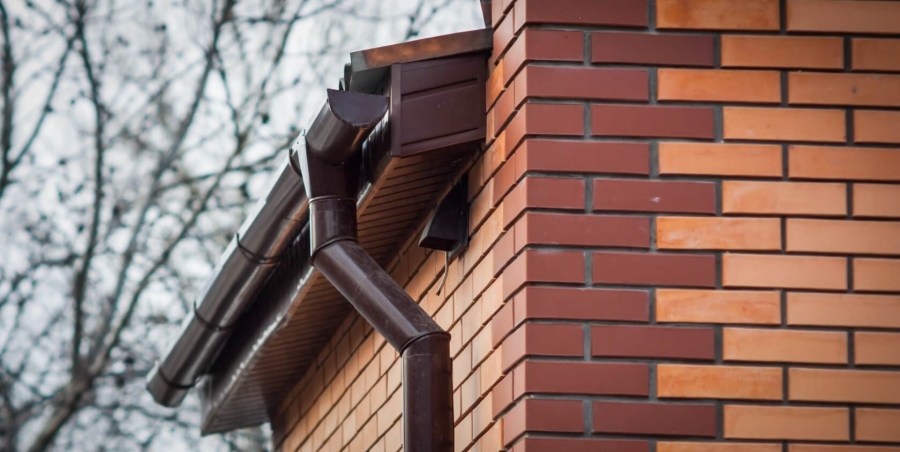
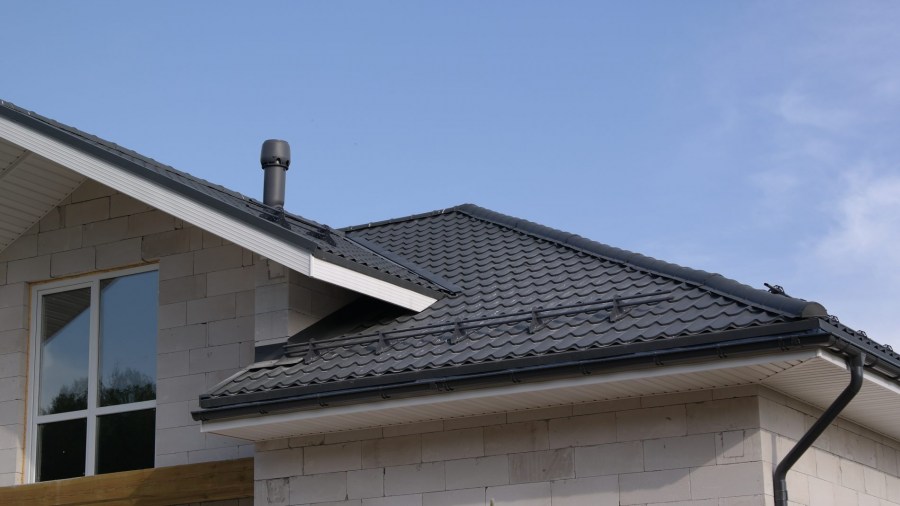
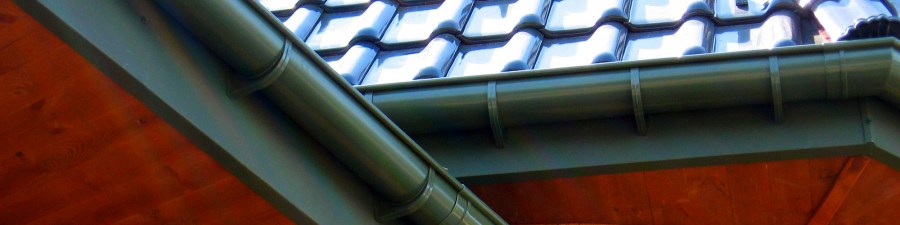
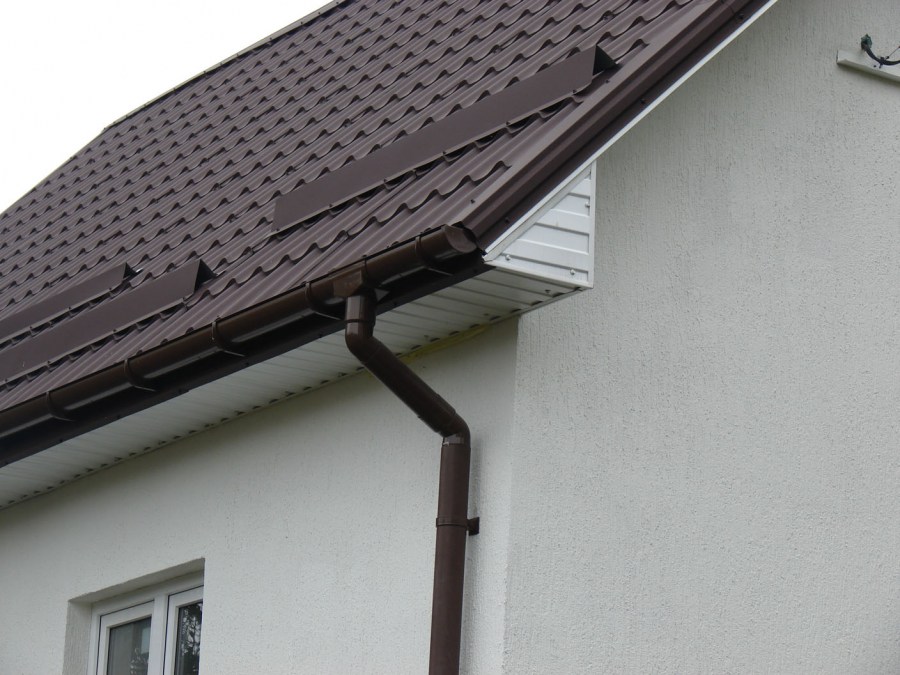
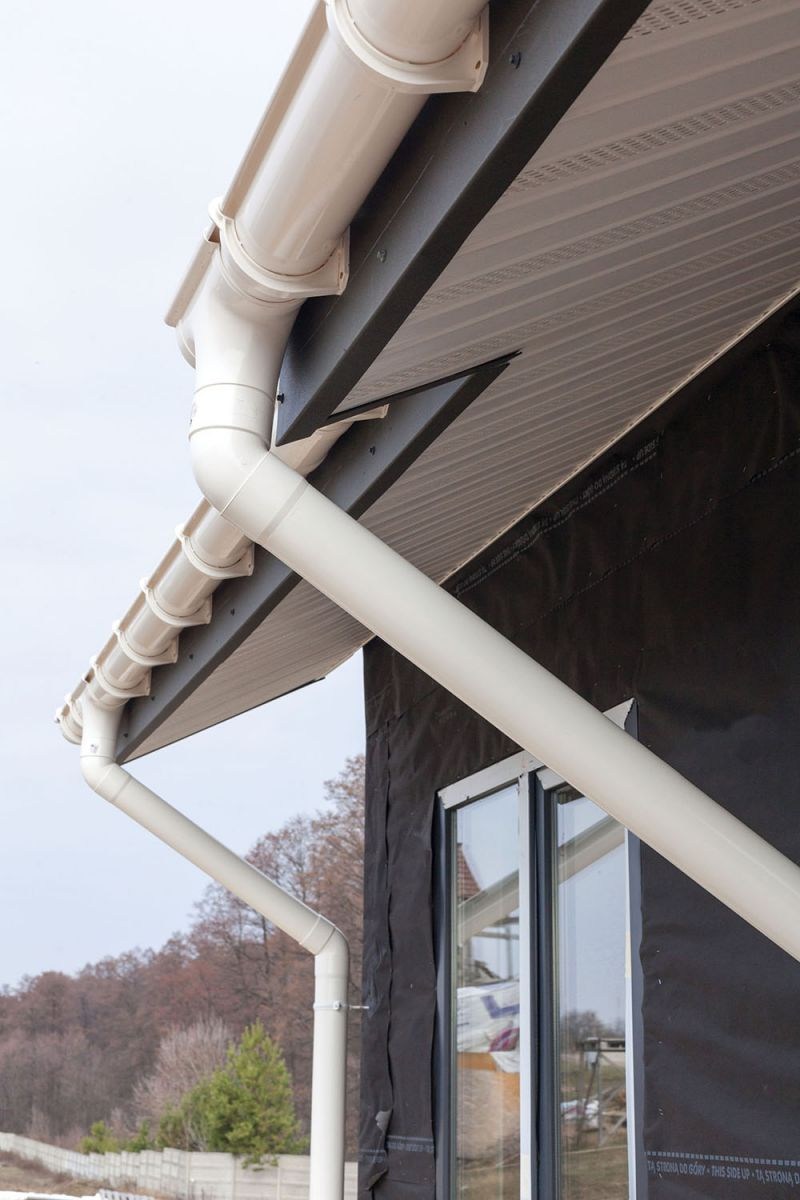
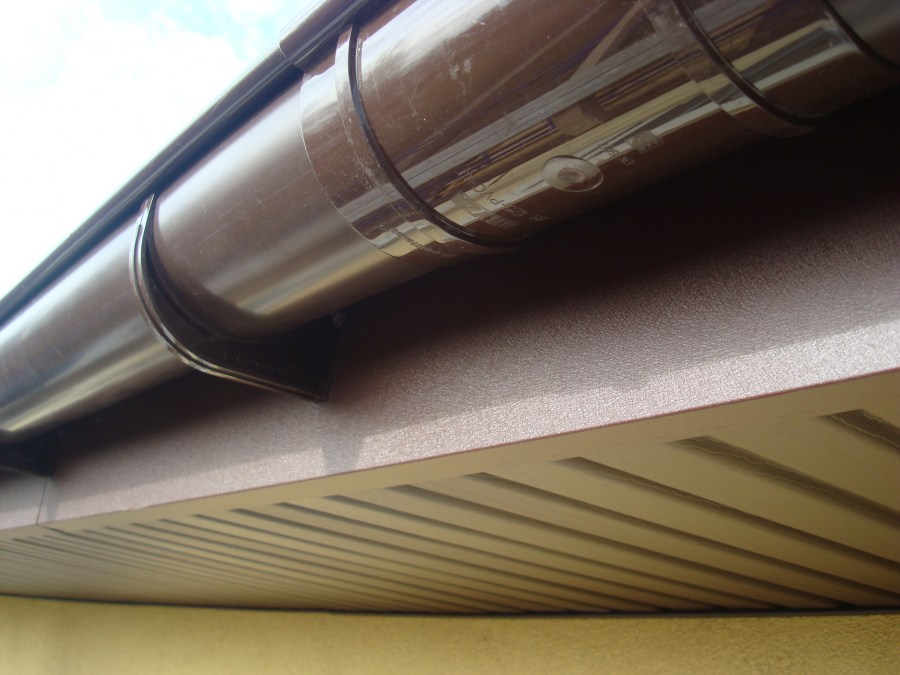
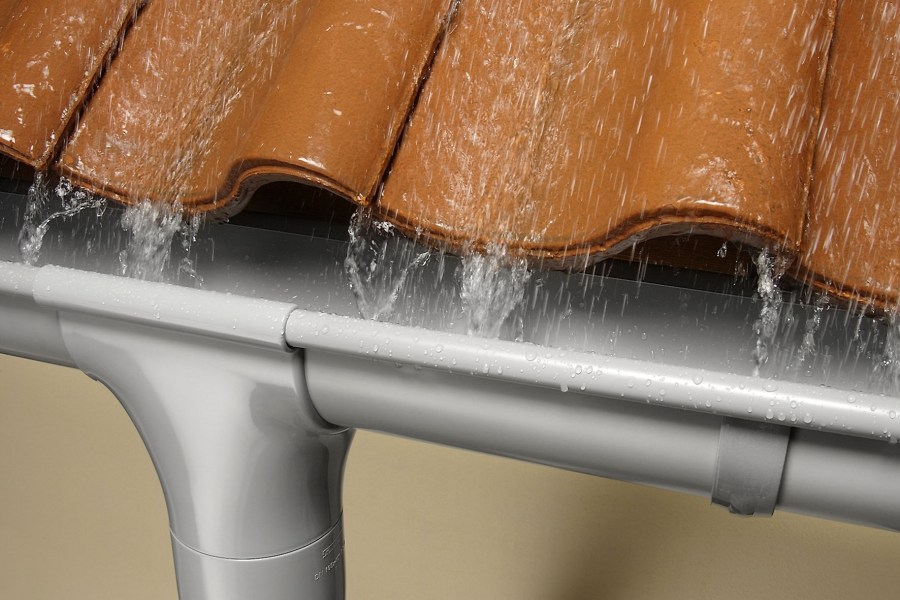
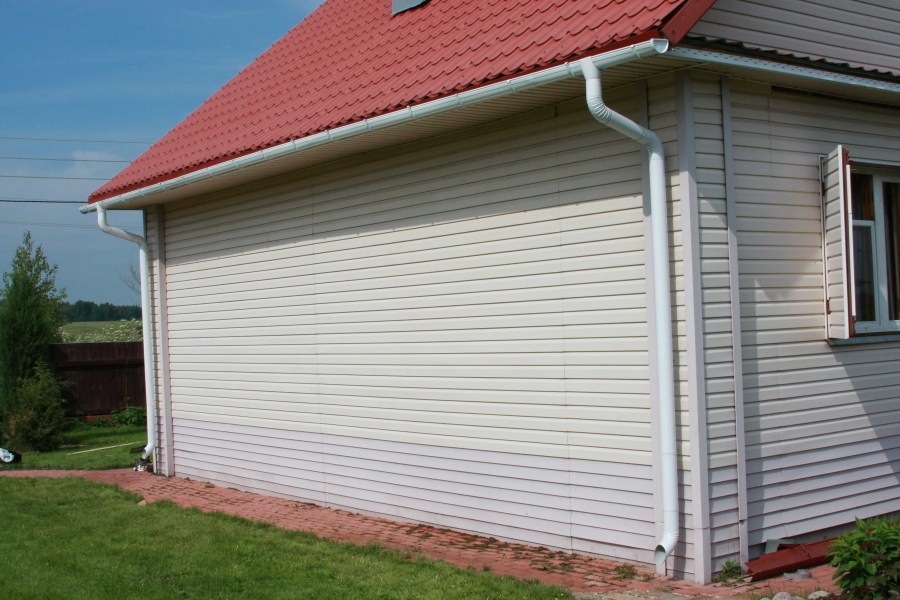
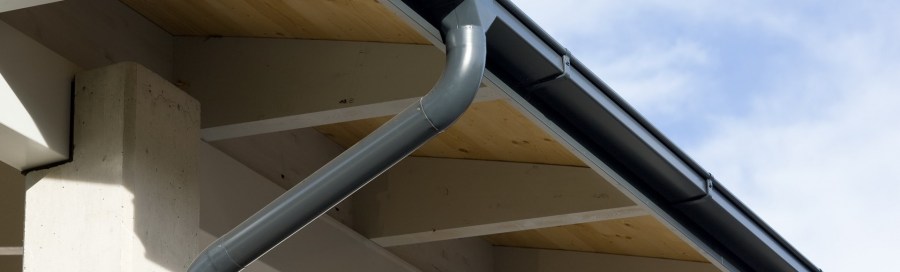
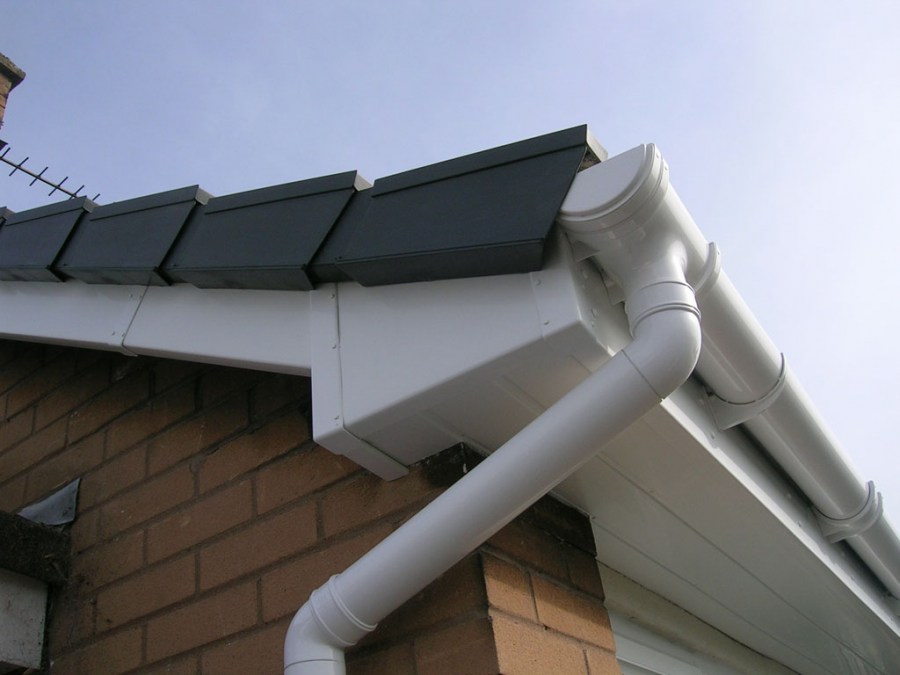
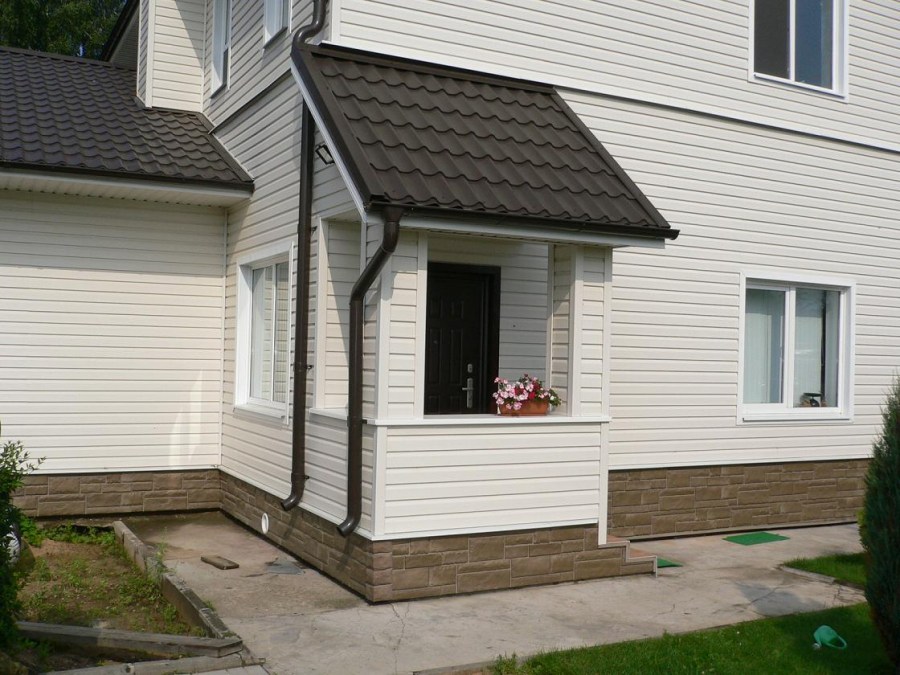
The gutters themselves are used to collect rainfall that accumulates on the roof of the house. Their section usually has a semicircular or rectangular shape. The length of the pipes is from 3 to 4 meters.
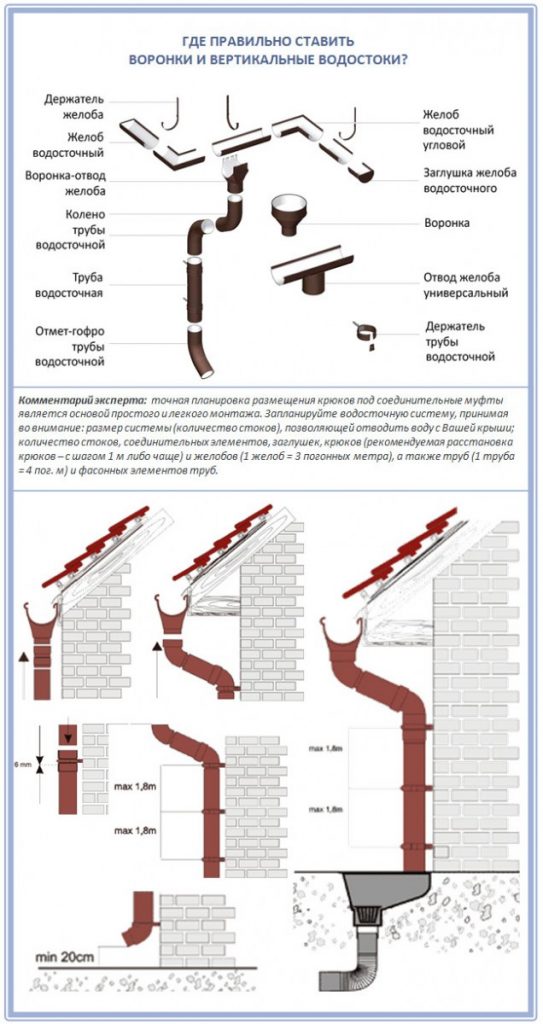
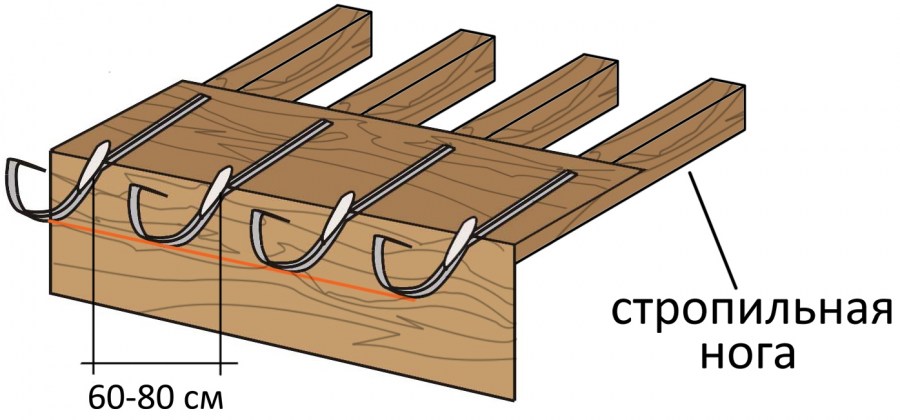
When installing the gutters, special fasteners are used, usually hooks or brackets. They are mounted at a distance of 60-90 cm from each other. The whole structure is installed at an angle so as not to impede the flow of water.

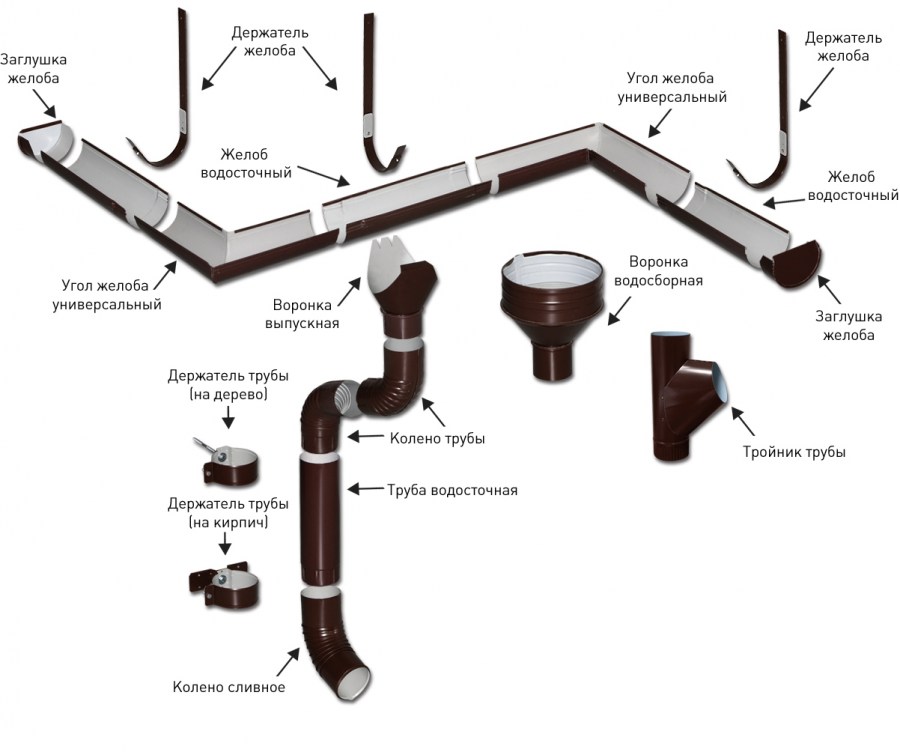
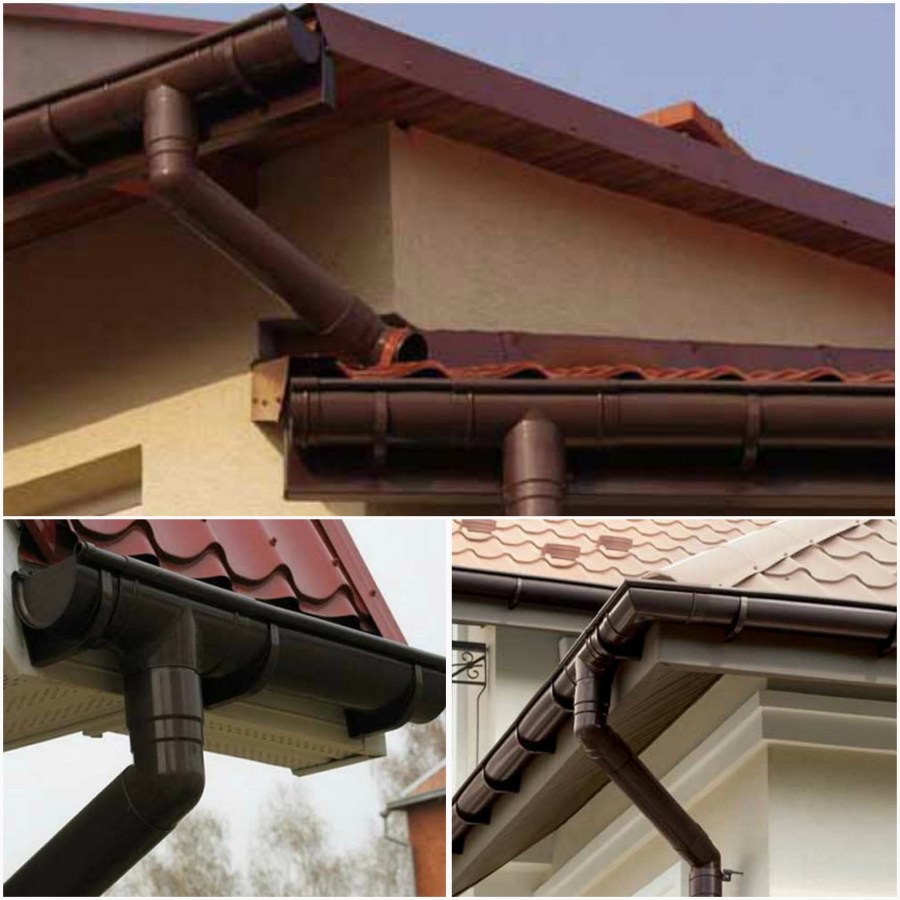
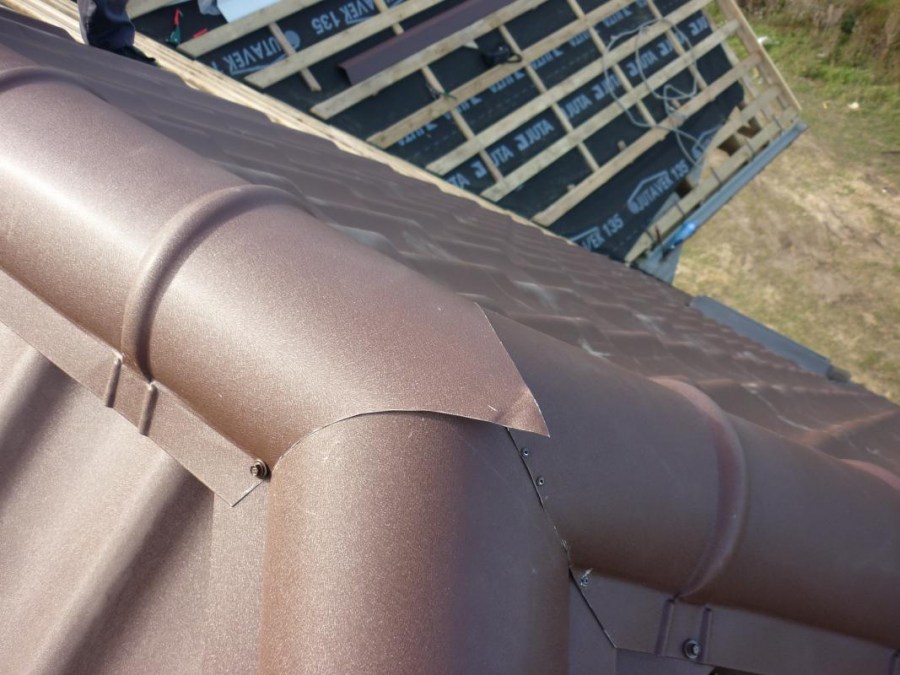
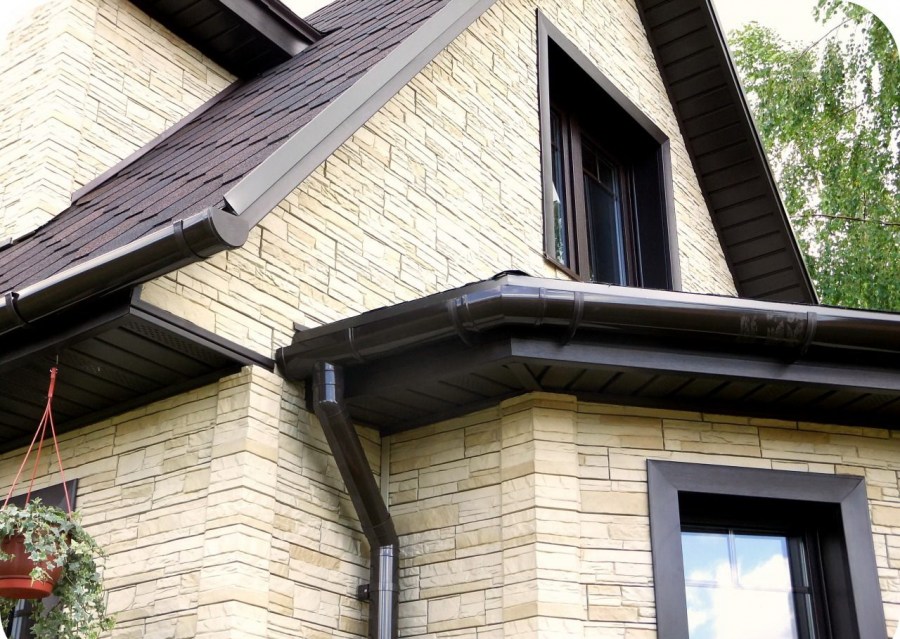
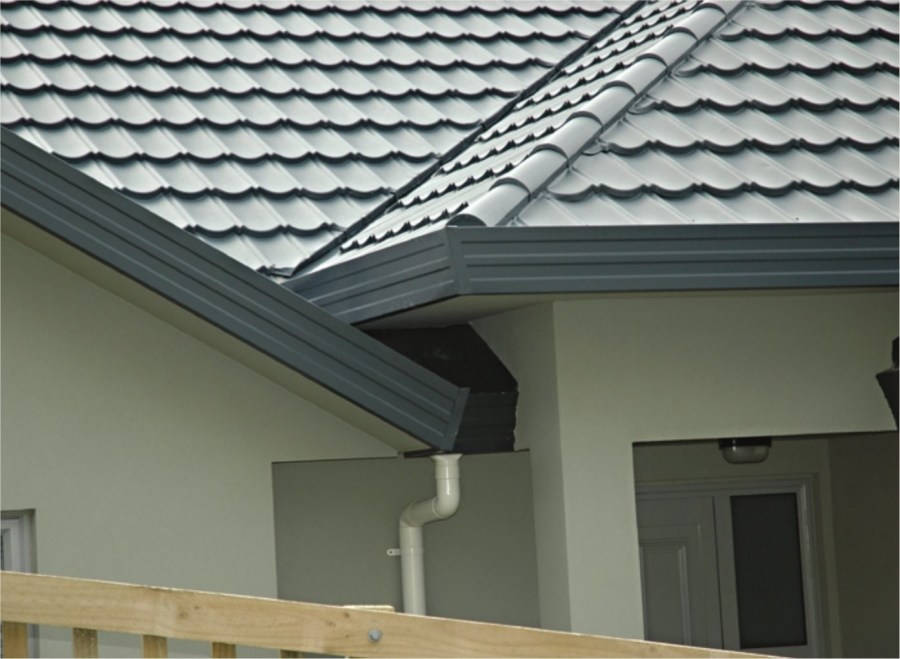
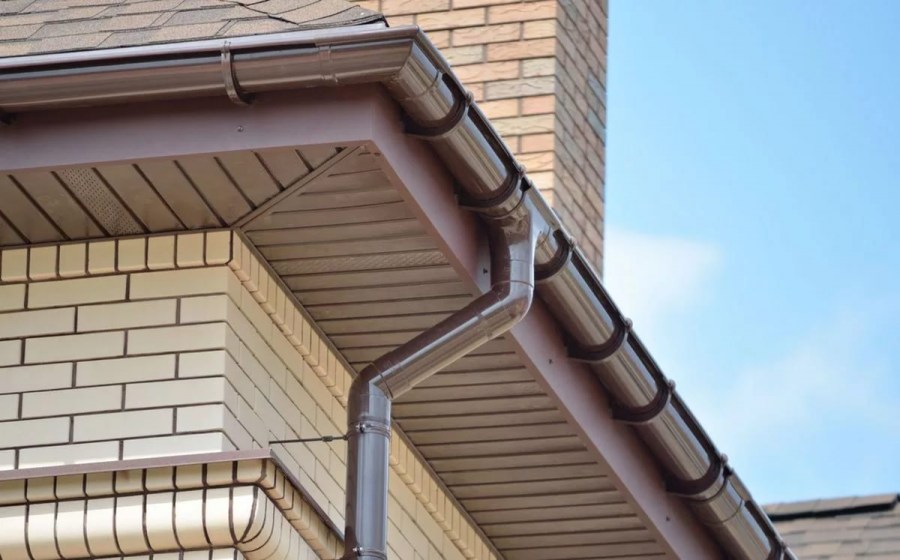
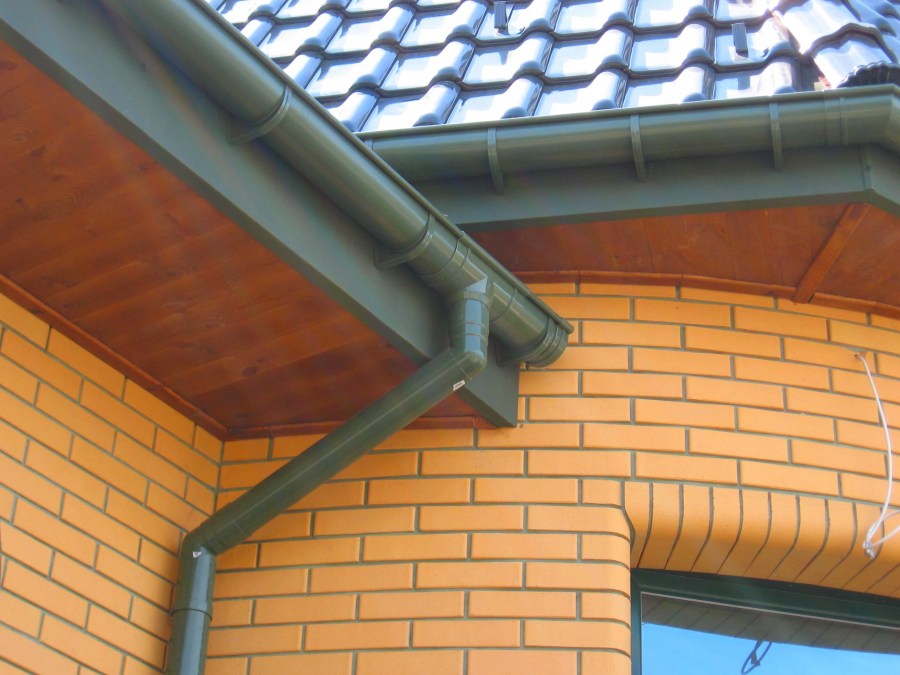
Corner gutters
This type serves to ensure free flow of water when changing direction. Such gutters are mounted on the corners of the roof.
Sometimes plastic is used as the material for the corner gutter. It is more flexible compared to other materials, and allows you to create more complex shapes.
Connecting constructions
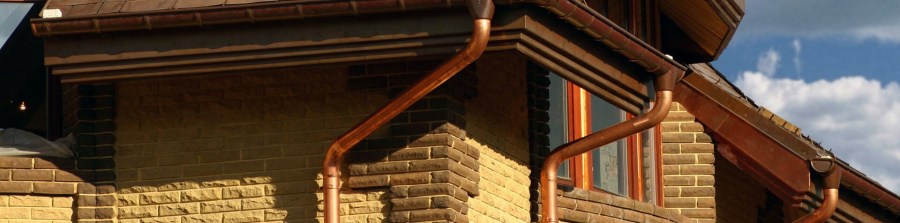
Sometimes the gutters are attached to the roof using special adapter connectors. This allows you to prevent deformation of the structure when exposed to a difference in ambient temperature.
Gutter mount
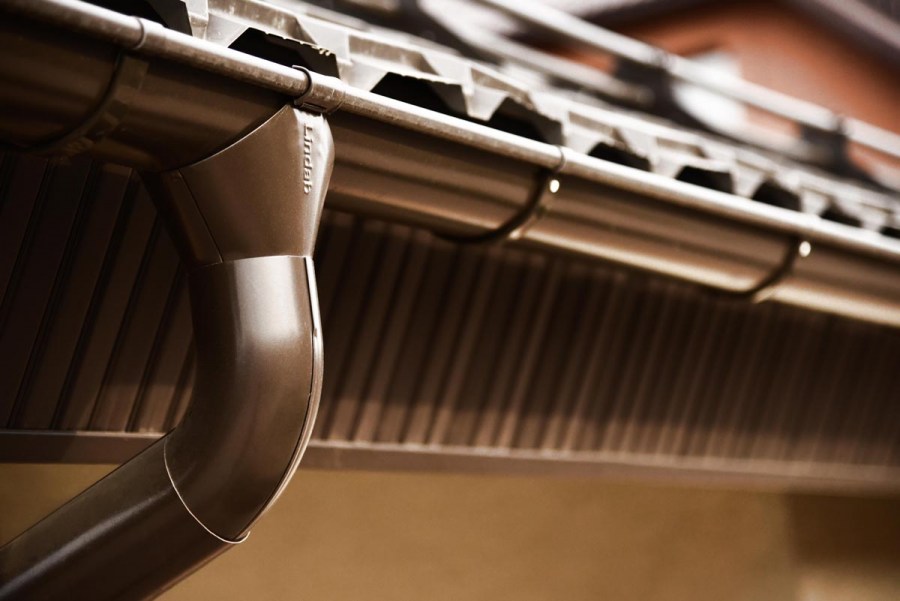
Specialized hooks are used to connect the gutter to the roof. Long hooks are used during the construction phase of the building when the roof has not yet been completed. And short ones serve for fixing the gutter to the roof material.

A distance of 60 cm is necessarily maintained between the parts, which allows you to securely fix the product.

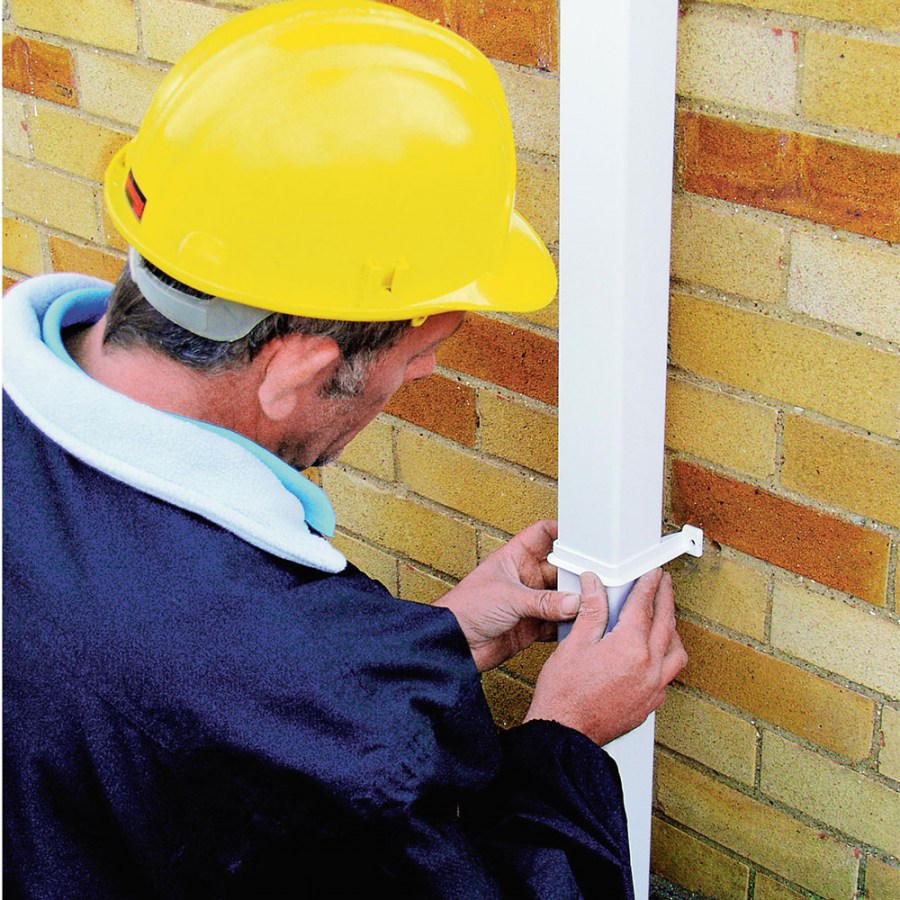
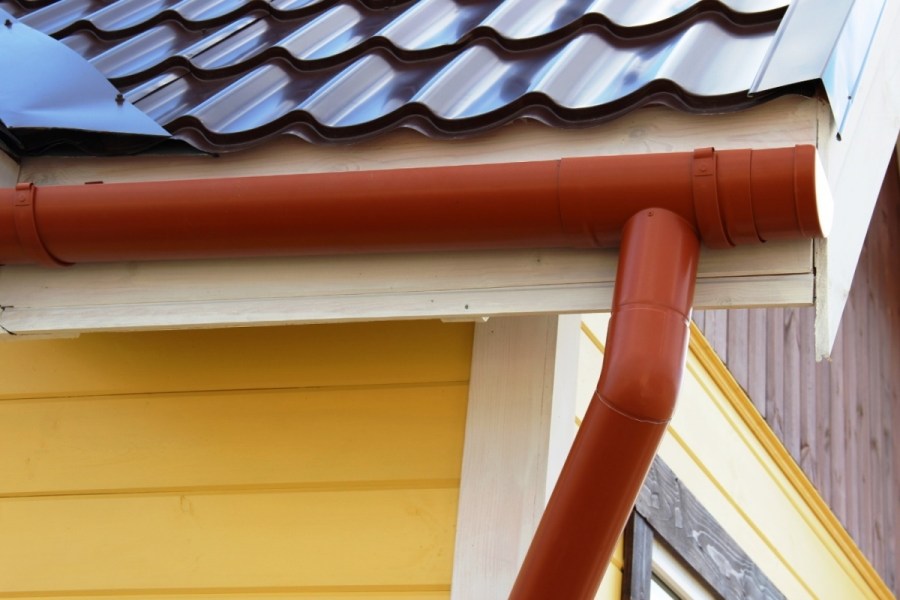
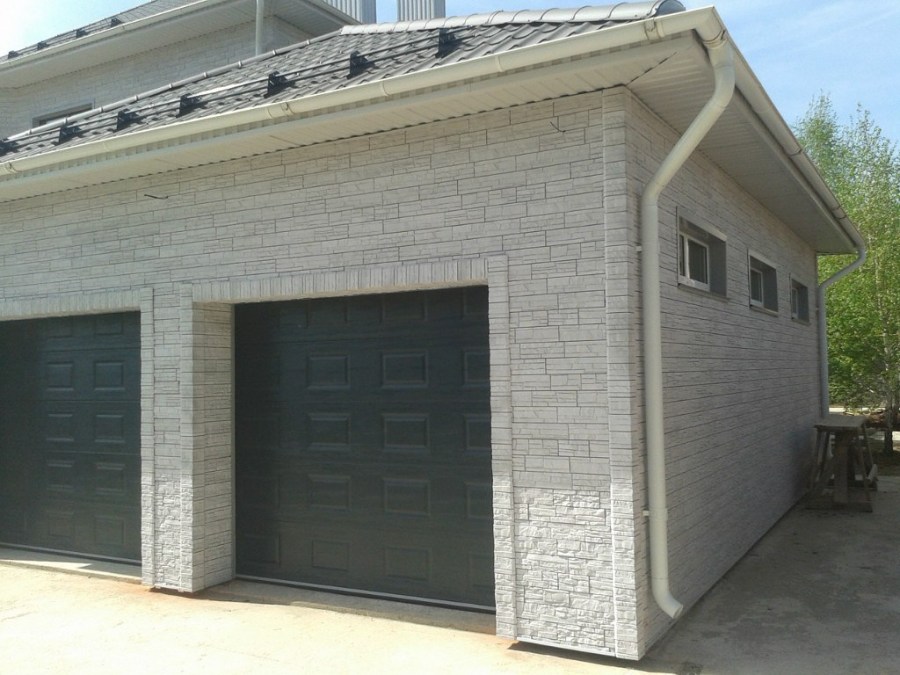
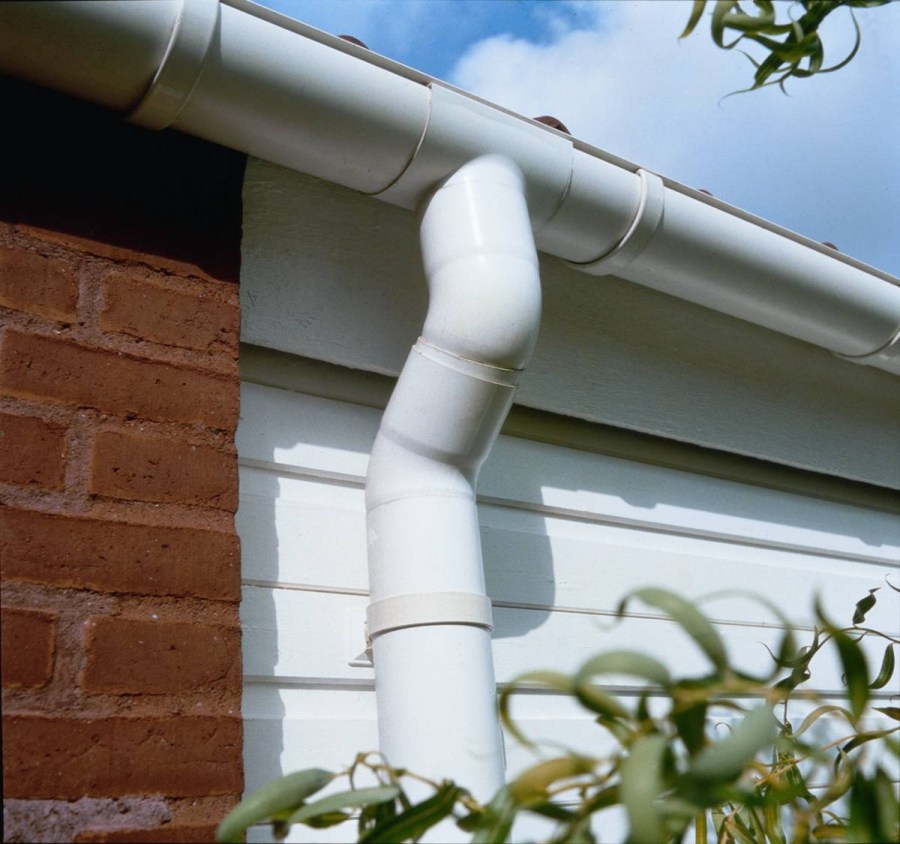
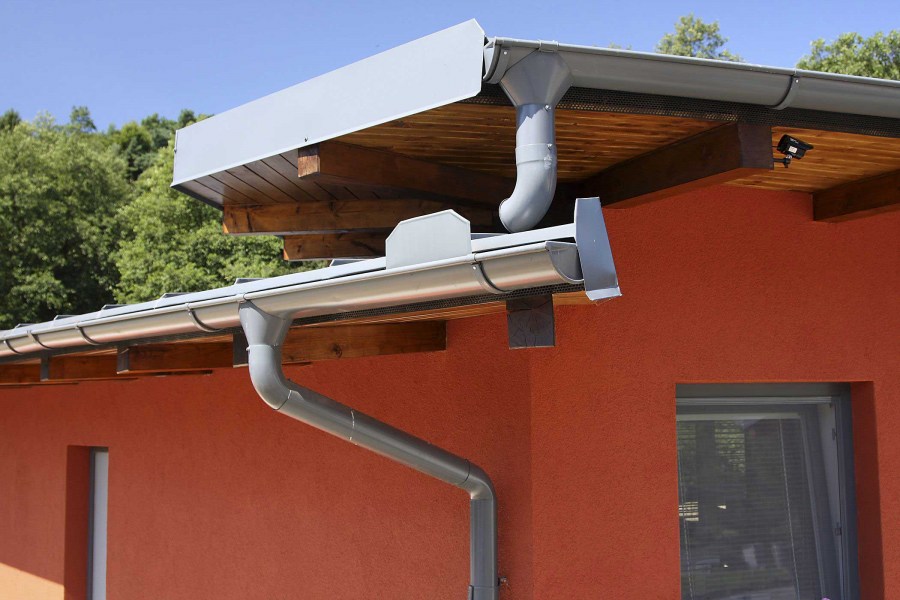
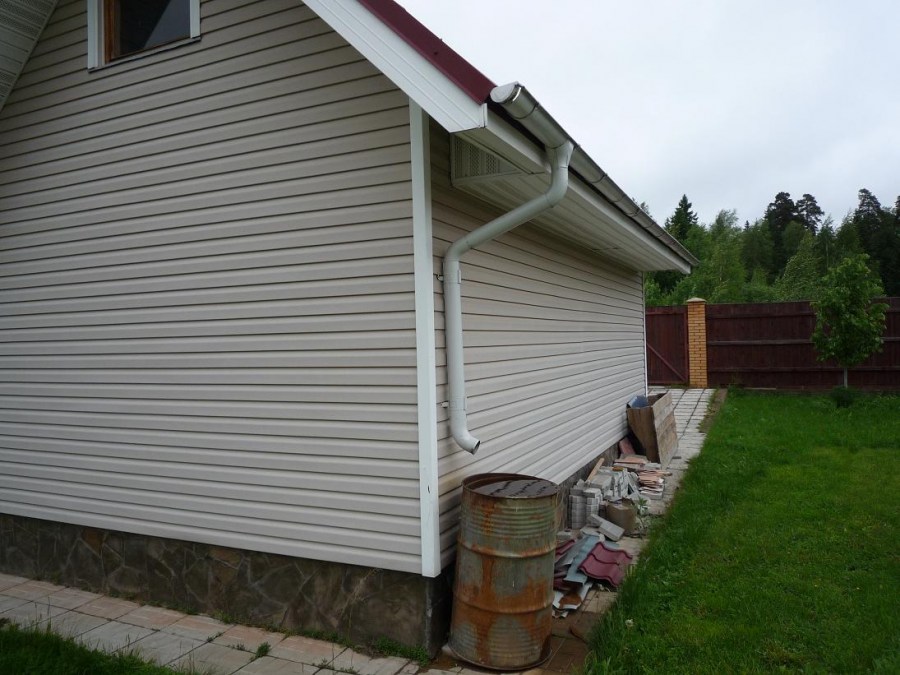
Pipe installation
A drainpipe also serves to drain water from the roof. It can have a round or rectangular section. There are two types of pipe mounts to the structure:
- “On stone” if the wall is made of stone, concrete or brick;
- "On a tree" if the pipe is mounted on a wooden plane.

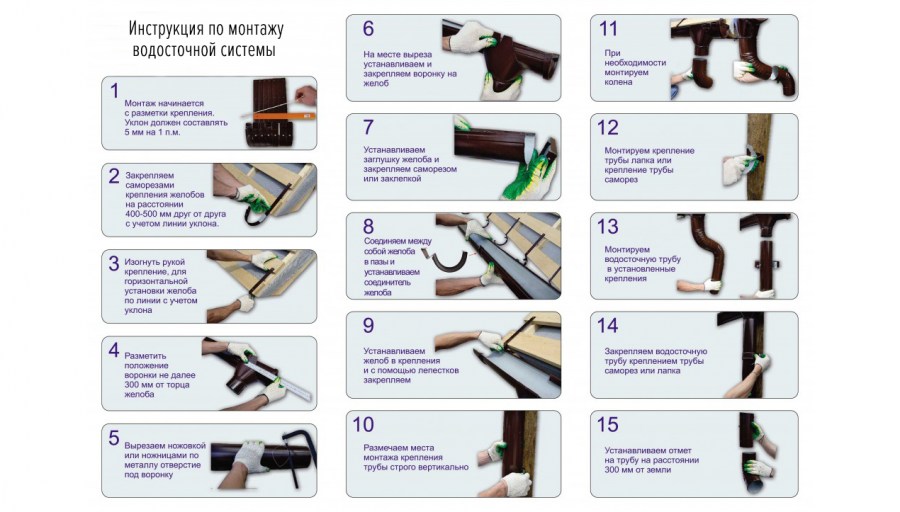
Installation steps
Before you undertake the independent installation of the gutter system, you need to carefully read all the points in the instructions for installing the gutters and gutters.Errors in the installation process can lead to serious consequences.


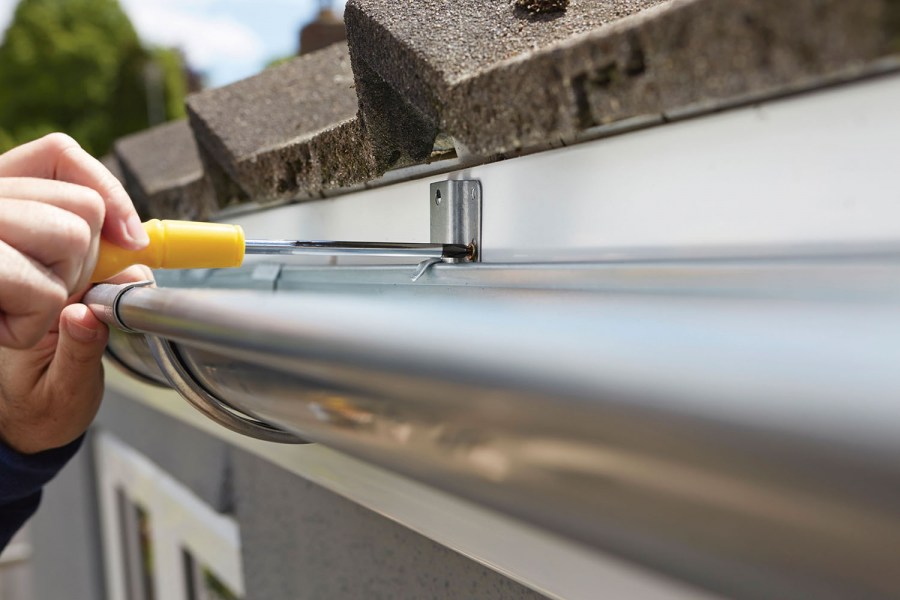
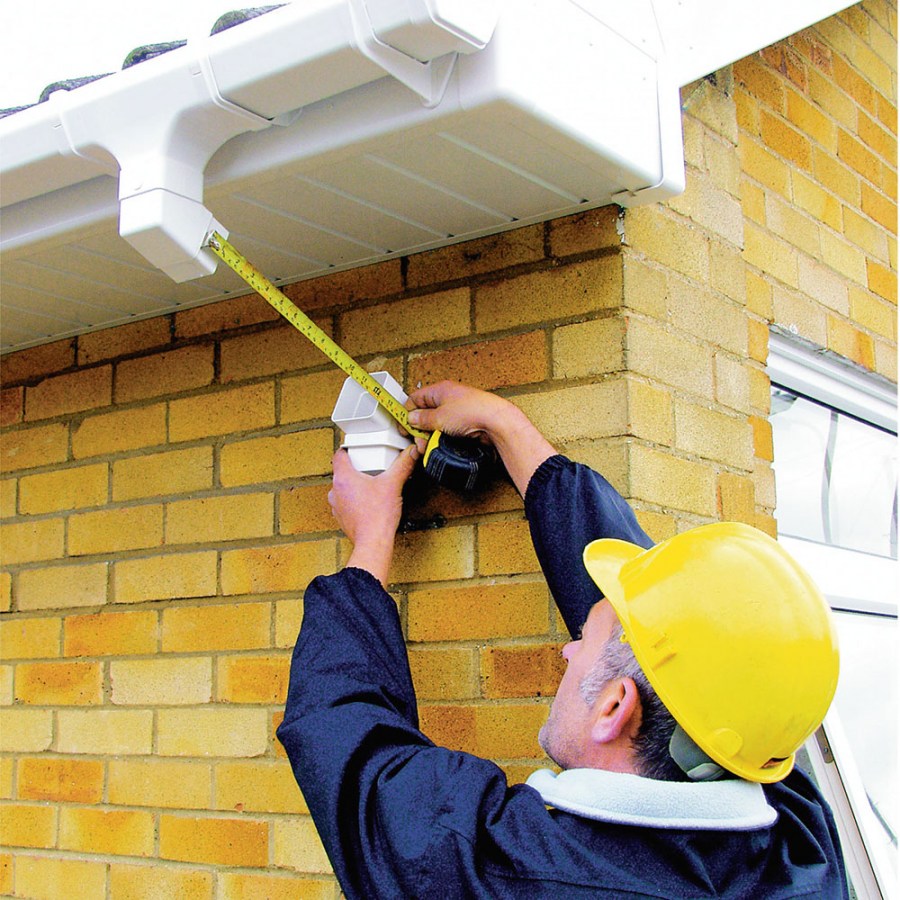
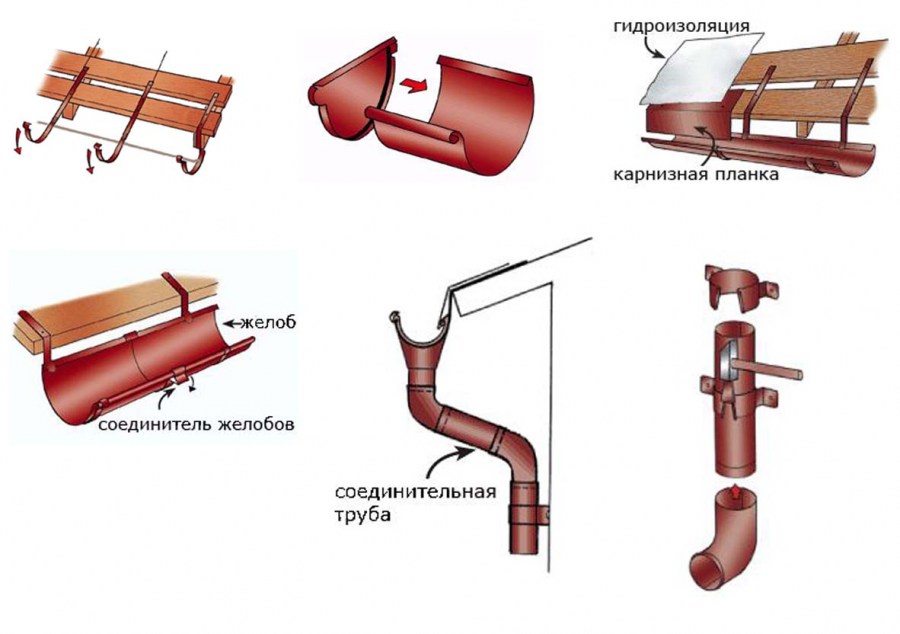
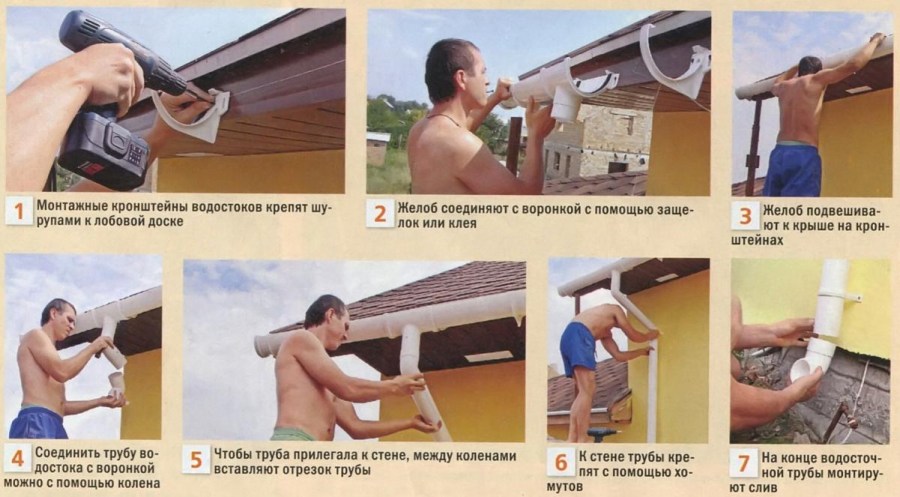
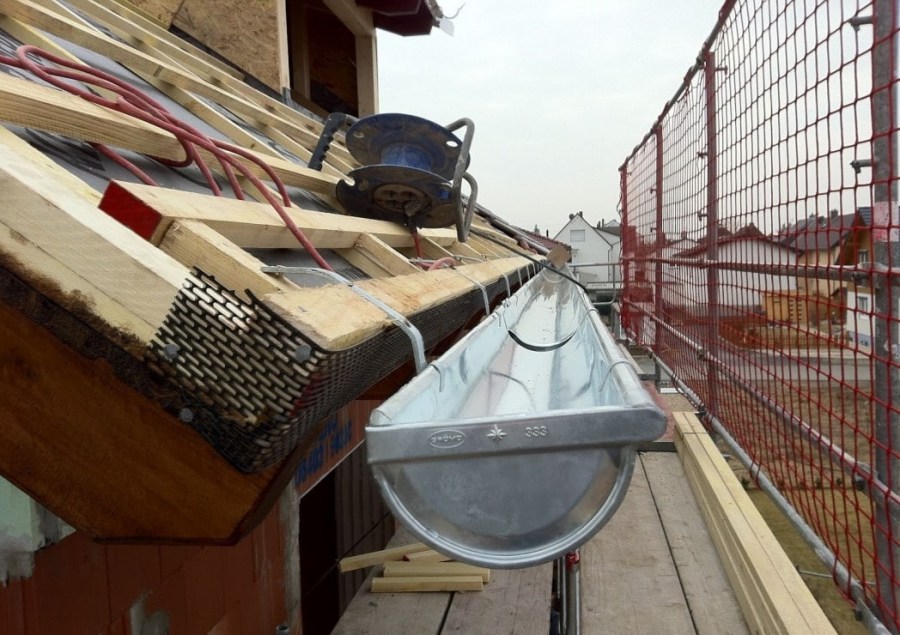
Stage 1. At this stage, the main fasteners are connected to the roof. There is a huge variety of fasteners that help attach the gutter to a roof or wall.

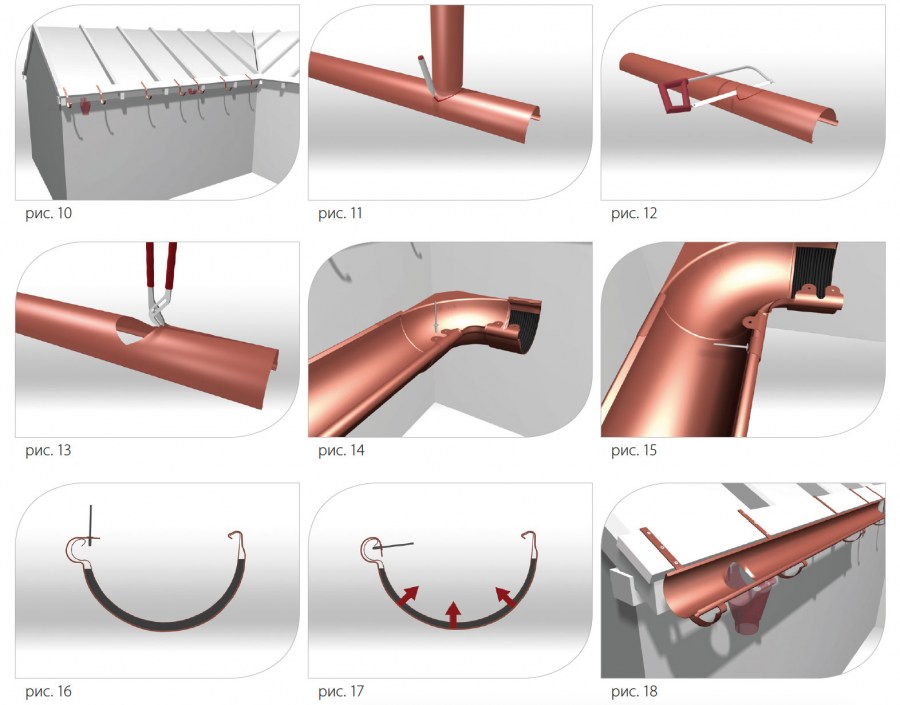


The basic rule when installing the system is to create a slight tilt. It is about 5 cm for every 10 m of the product. Such a slope provides unobstructed runoff of water.
The most common fasteners are brackets. The distance between them is about half a meter.

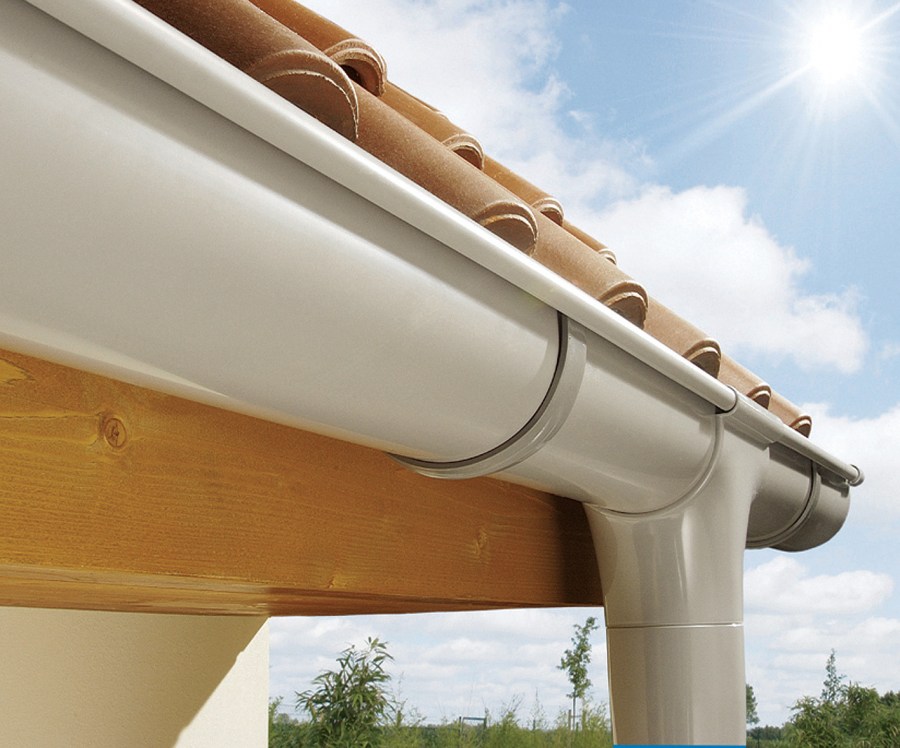
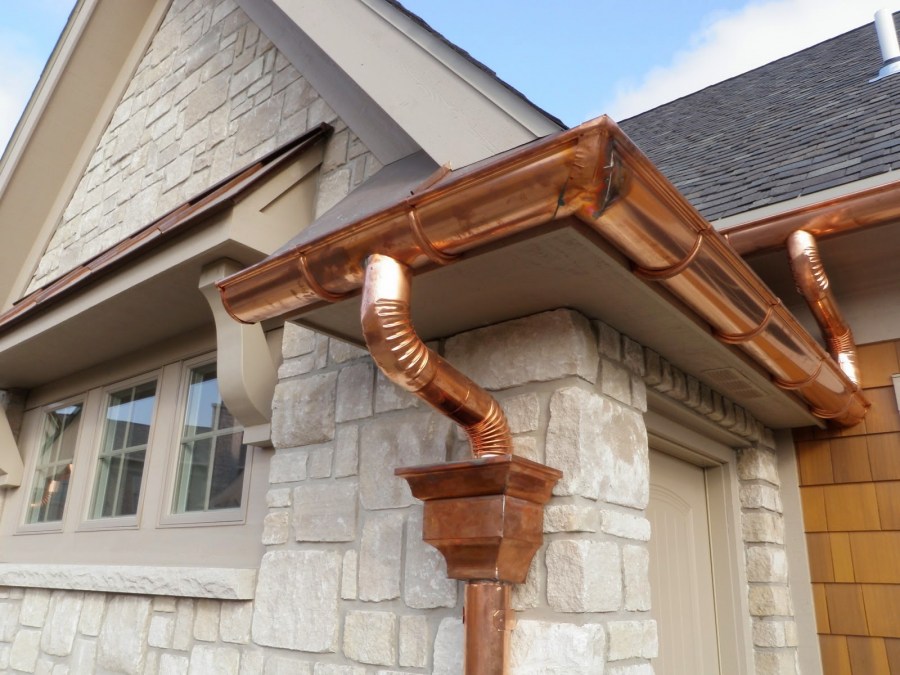
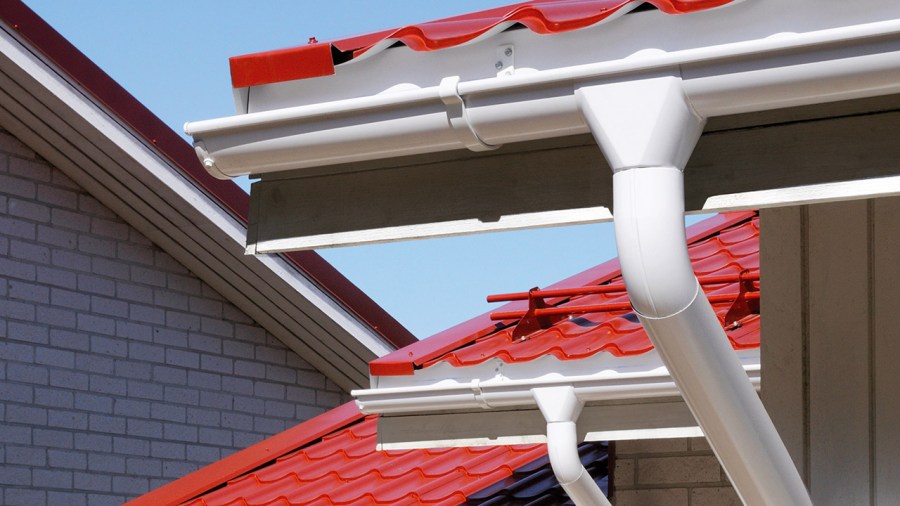
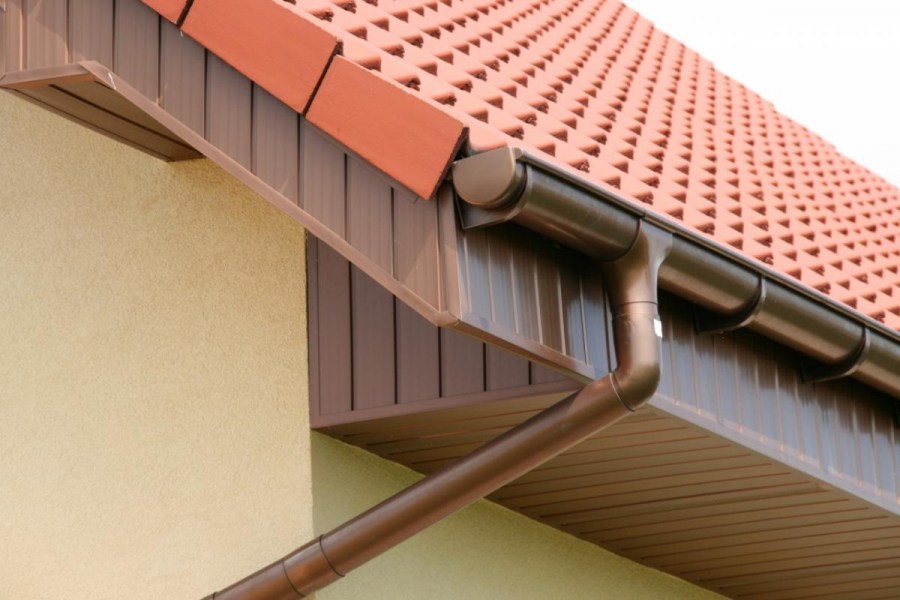
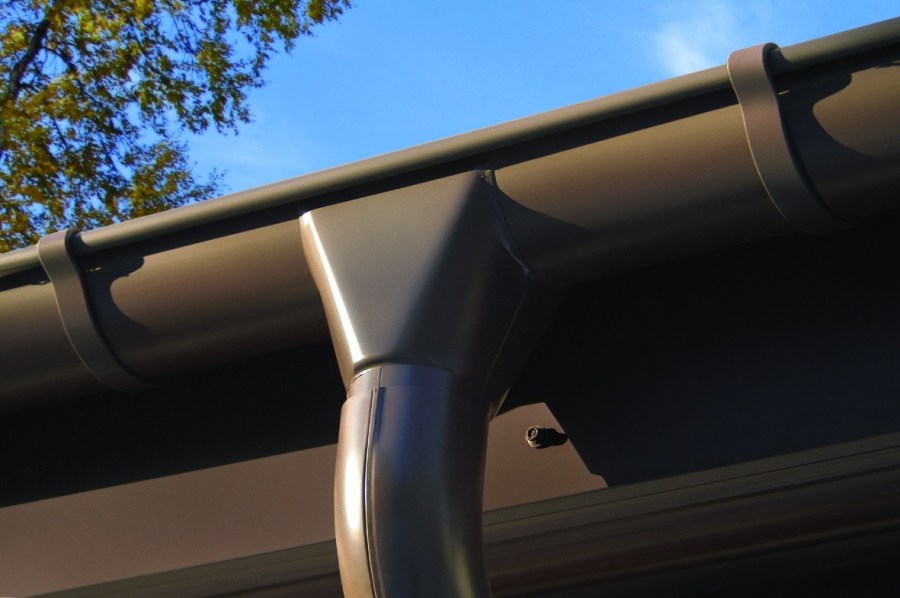
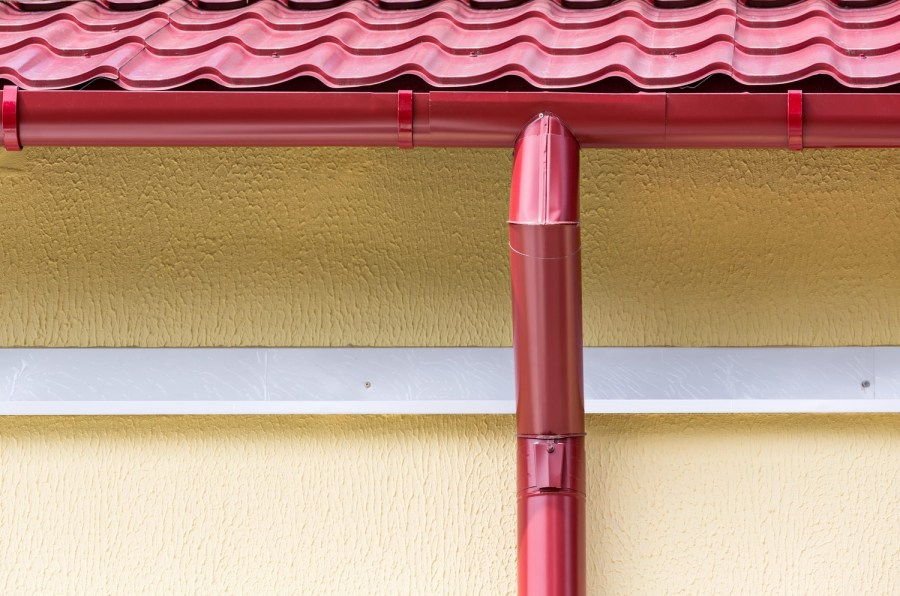
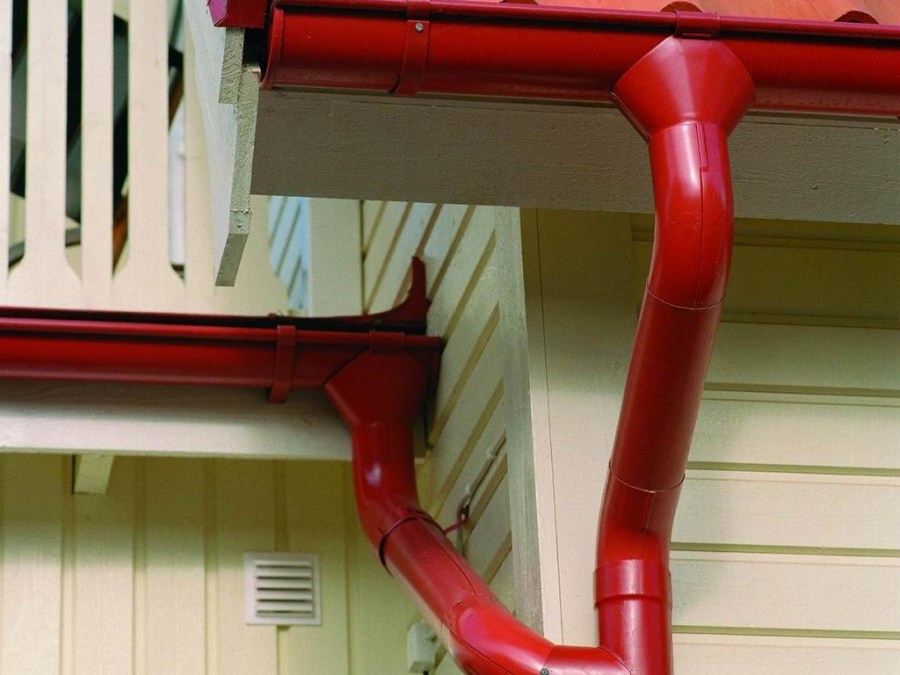
Stage 2. Further funnels are connected to drainpipes. They are an intermediate link between the gutter and the pipe. Special fixing devices are used for metal funnels, and construction glue for plastic funnels.
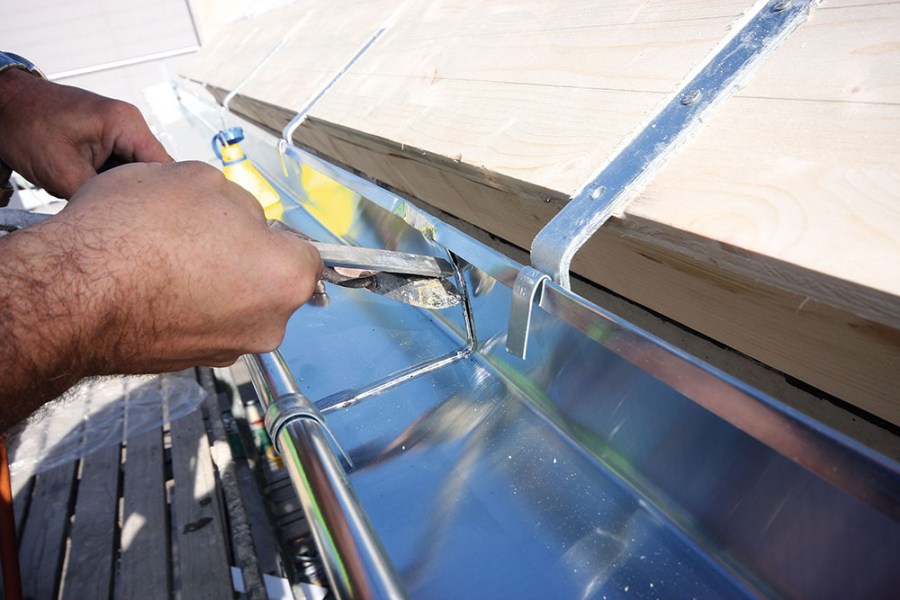
Step 3. In the next step, the gutter is attached to the roof. It is laid on the brackets, then fixed using the parts intended for this.

Stage 4. In order to ensure the tightness of the installation, special plugs are used. On the edges of this part are rubber seals. With proper docking of parts, the possibility of water leakage is excluded.

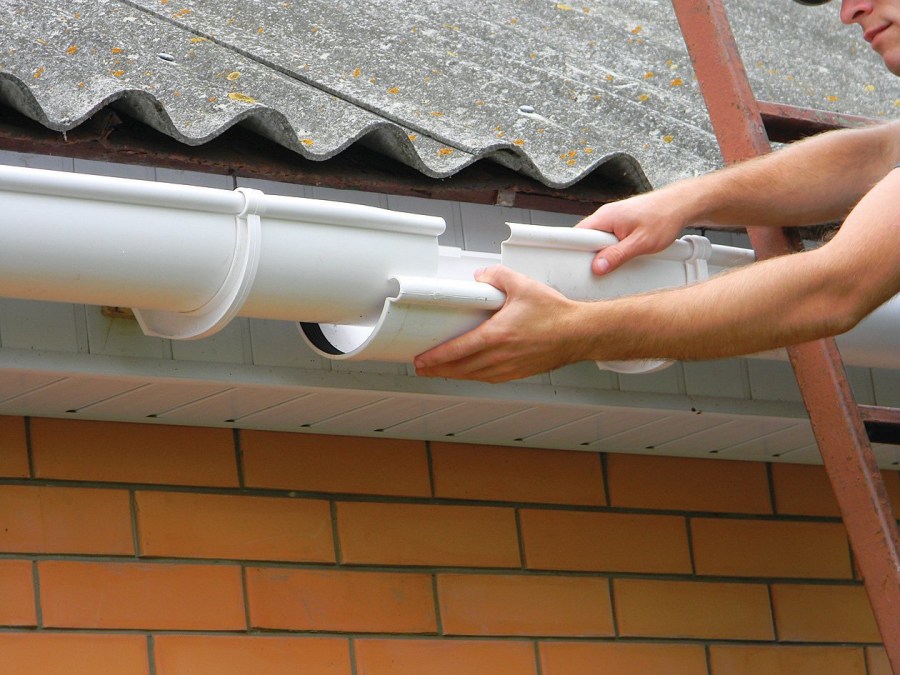
Stage 5. At this stage, individual sections of the gutter are connected to each other using special technology.
Step 6. Next, you need to connect the knee of the drain to the funnel. The outlet at the same time looks at the wall, then the pipe will fit snugly to the building. Here you can do the installation of the second knee.
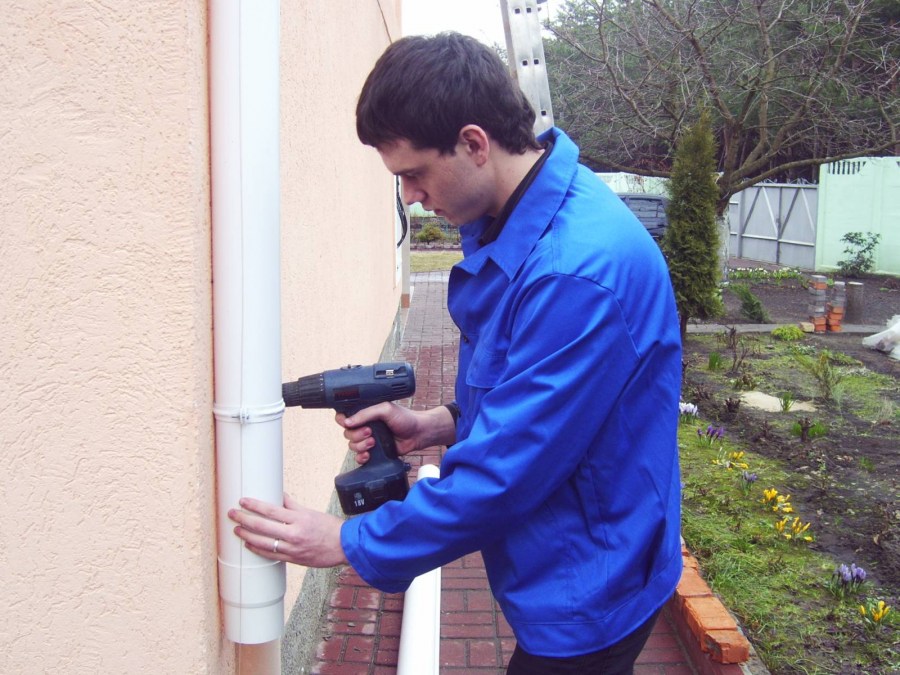
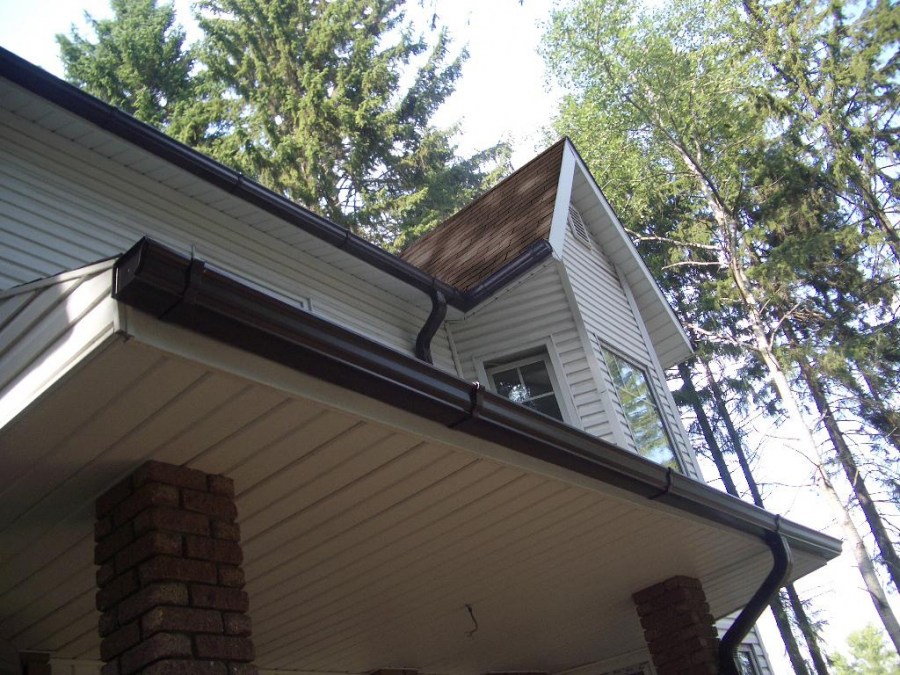
Step 7. After the elbow is connected to the system, the drainpipes are fastened. The clamp allows you to create a strong connection between the elbow and the hollow cylinder. If there is a need to lengthen the drain, then you can insert a pipe of a smaller diameter, and thus increase the length of the structure.
Step 8. The type of clamp is selected depending on the material from which the wall of the house is made. In shape, they resemble a ring with two bolts. They fix the pipe in place.
Step 9. The final step is to install the knee, which is located near the ground at a height of about 30 cm.


Installation of a gutter on the finished roof
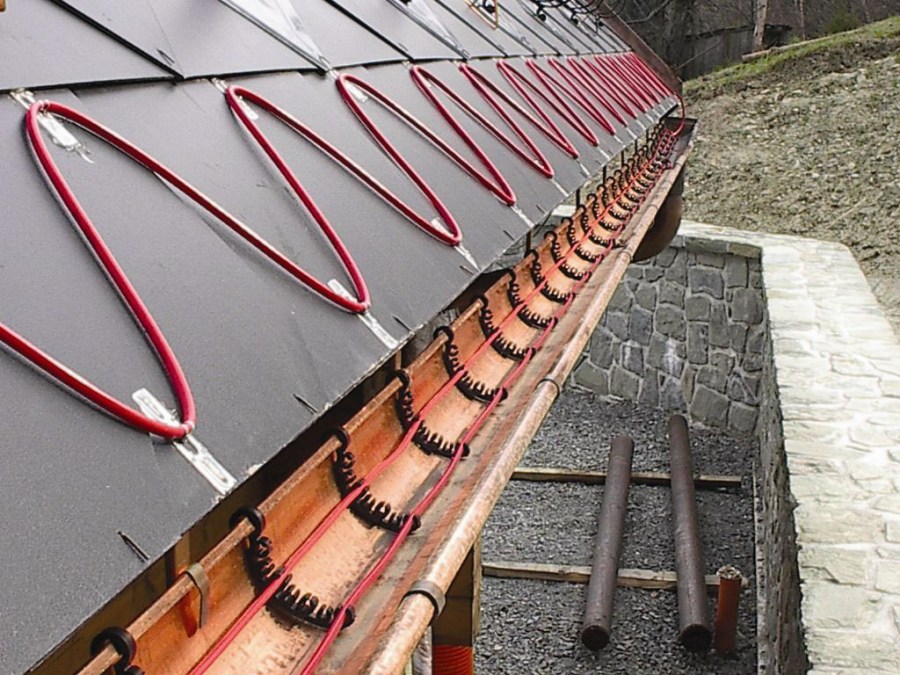
Experts recommend dealing with drainage issues until the roof is covered. But even otherwise, it is possible to make a drainage system. So how do you install a drain if the roof is already covered? To do this, you need to know a few points.

First, you need to find out if the lower row of metal is removed. If the answer is yes, no problems should arise.
Secondly, manufacturers offer the use of rafters. They are equipped with long hooks on which the parts of the product are mounted. An alternative to the rafters is the windshield, which also serves as the basis for the brackets.
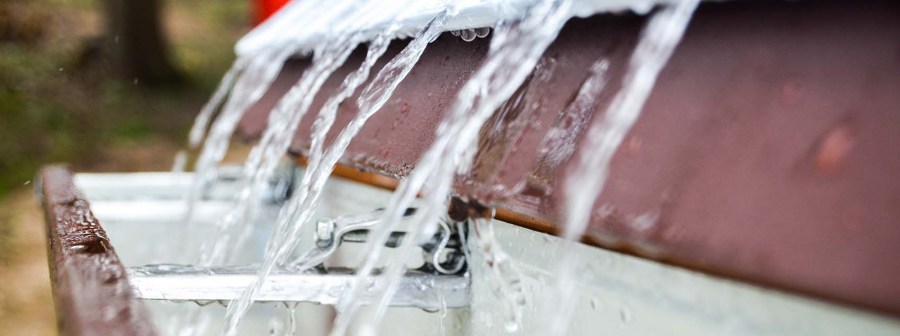
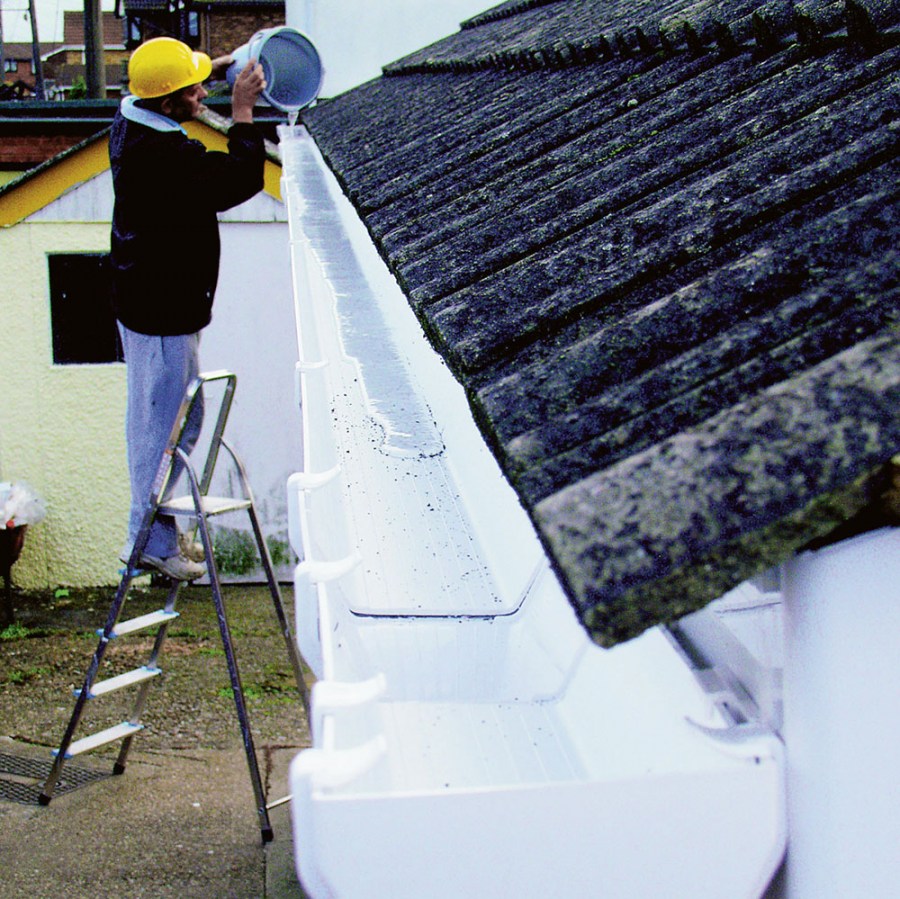
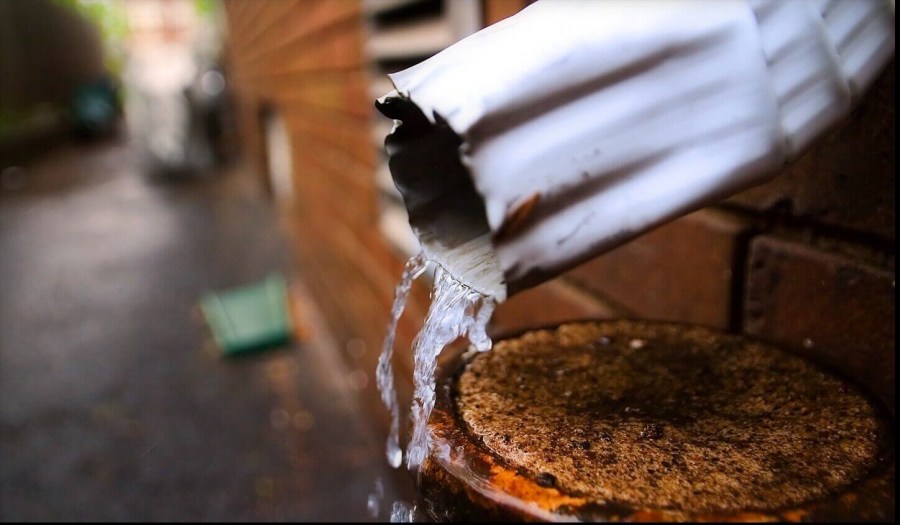
After carrying out all the work, it is necessary to verify the strength of the structure. To do this, a test run of water is performed, which washes away building dust and helps to test the system.If problems are not found, then this means that the drainage system will be able to cope with any amount of rainfall and will last for many years.

Photo of the installation of gutters


Lattices on windows - 100 photos of ready-made solutions. The best options for a private home
Outdoor shower: 135 photos of construction options and stylish design
Sauna from a bar - 120 photos of the best ideas: projects, drawings, instructions, materials
Columns in the interior - 90 photos of design examples. Overview of styles and materials
Join the discussion: