Do-it-yourself veranda - designing, building and designing (115 photo ideas)
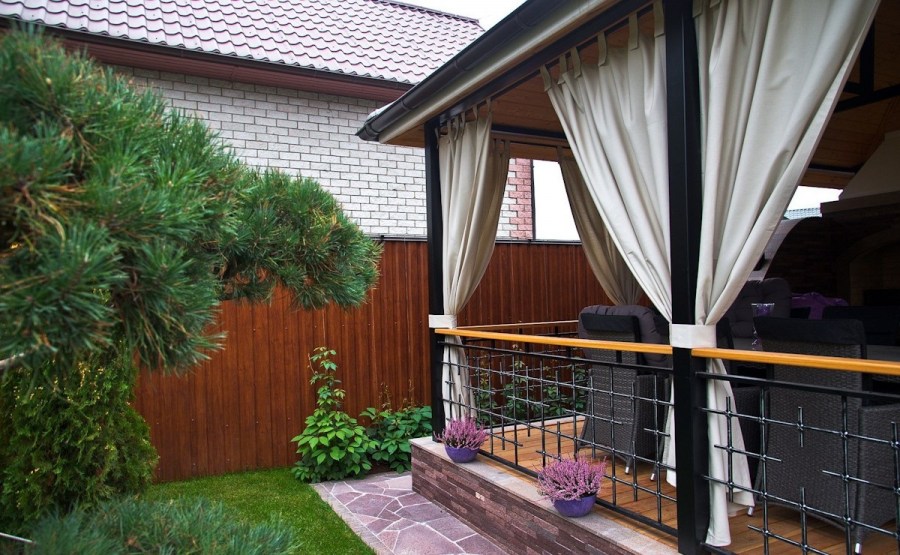
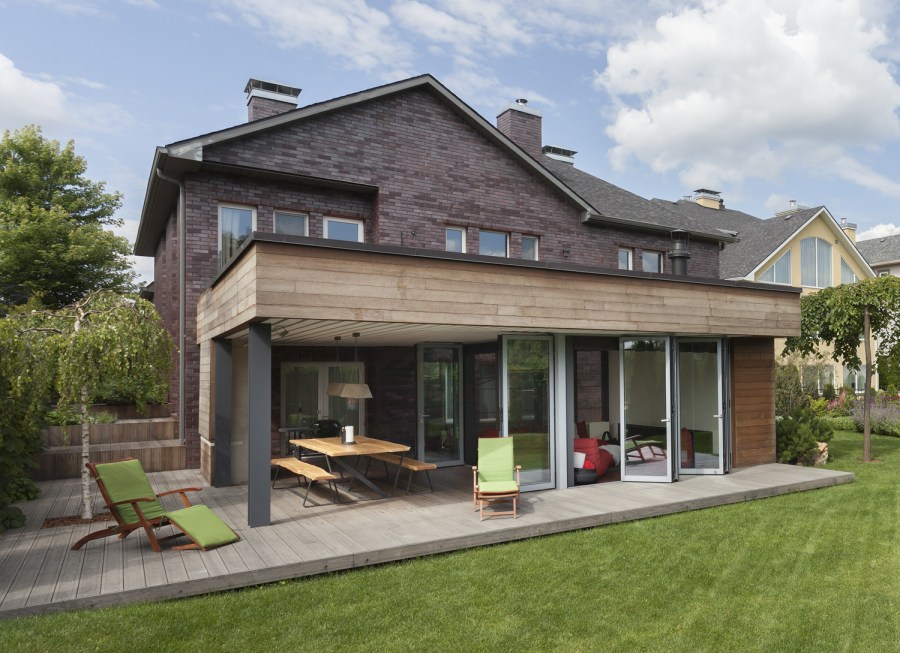
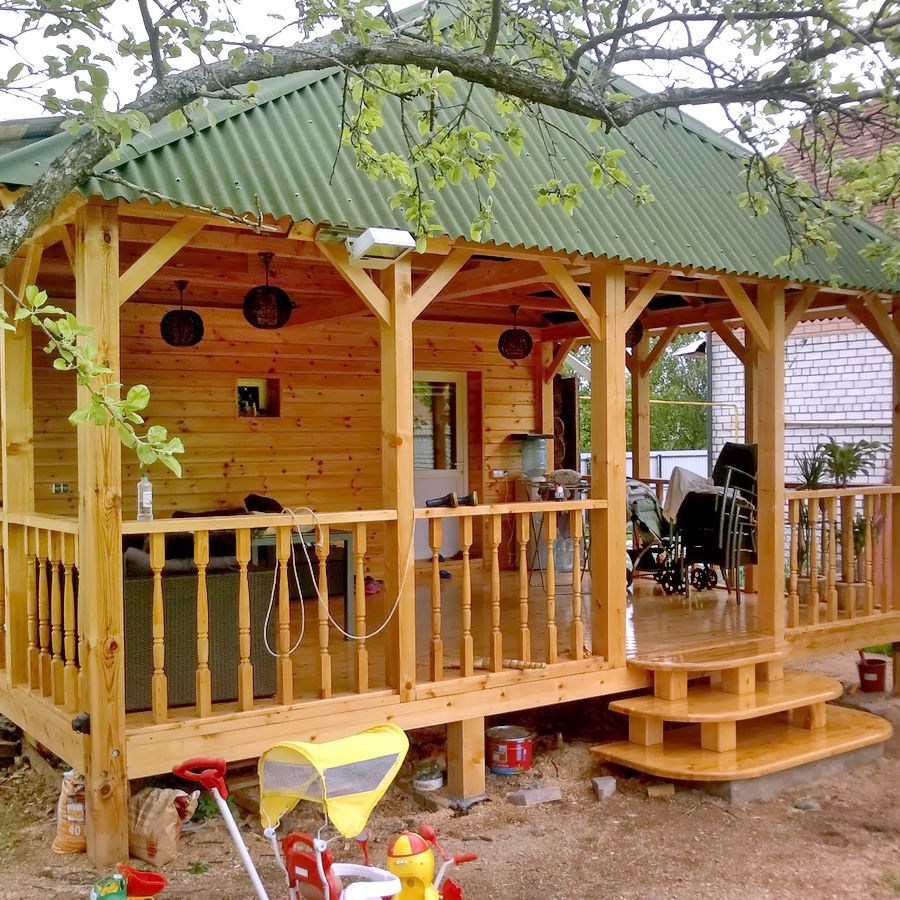
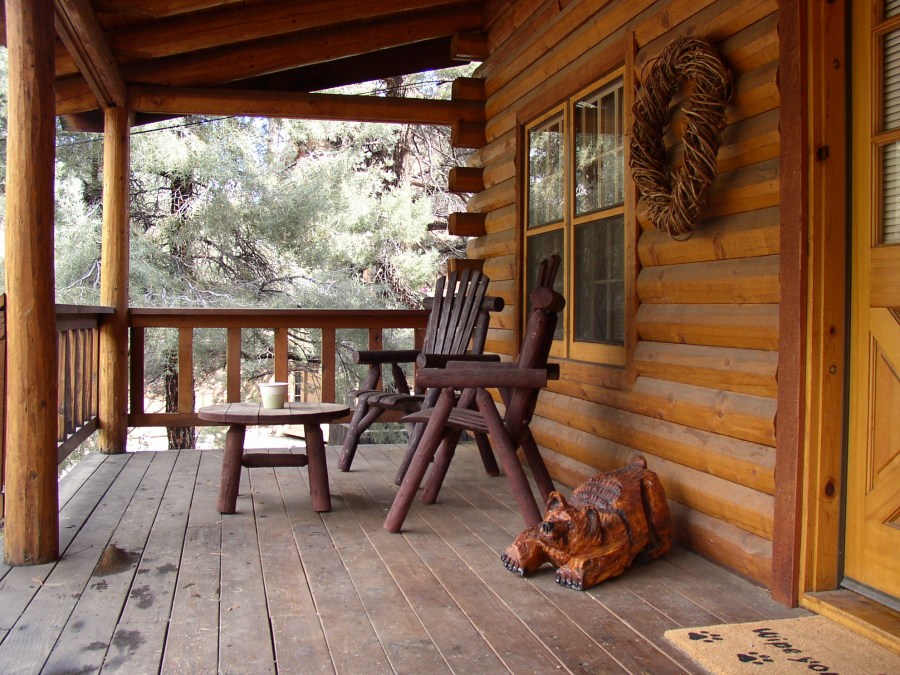
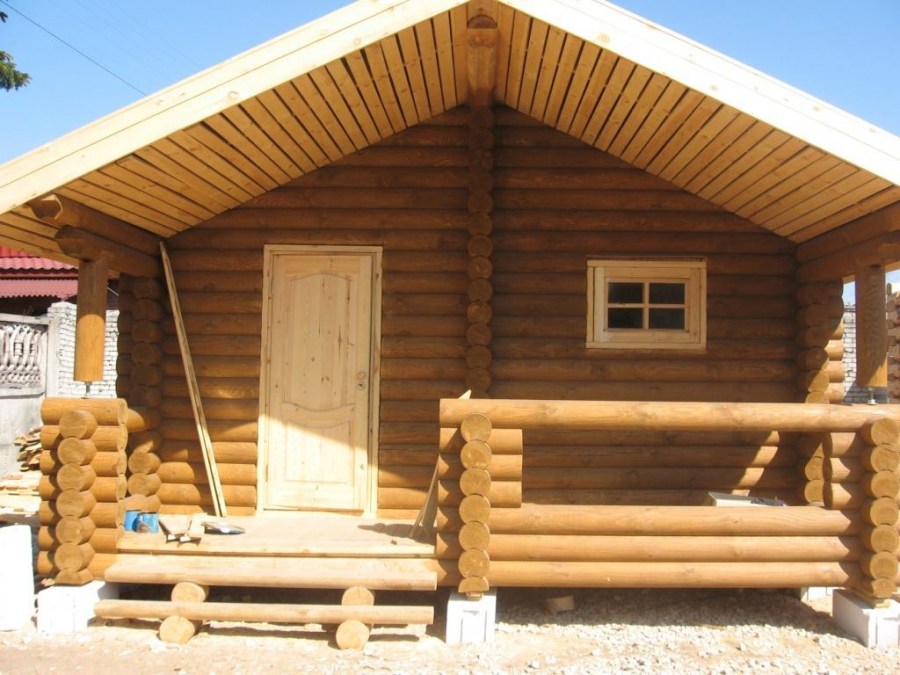
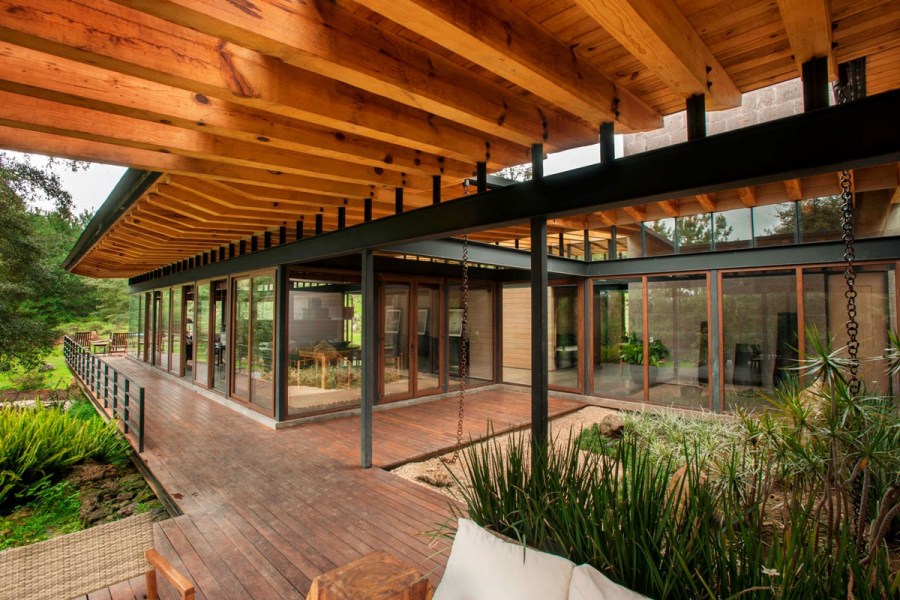
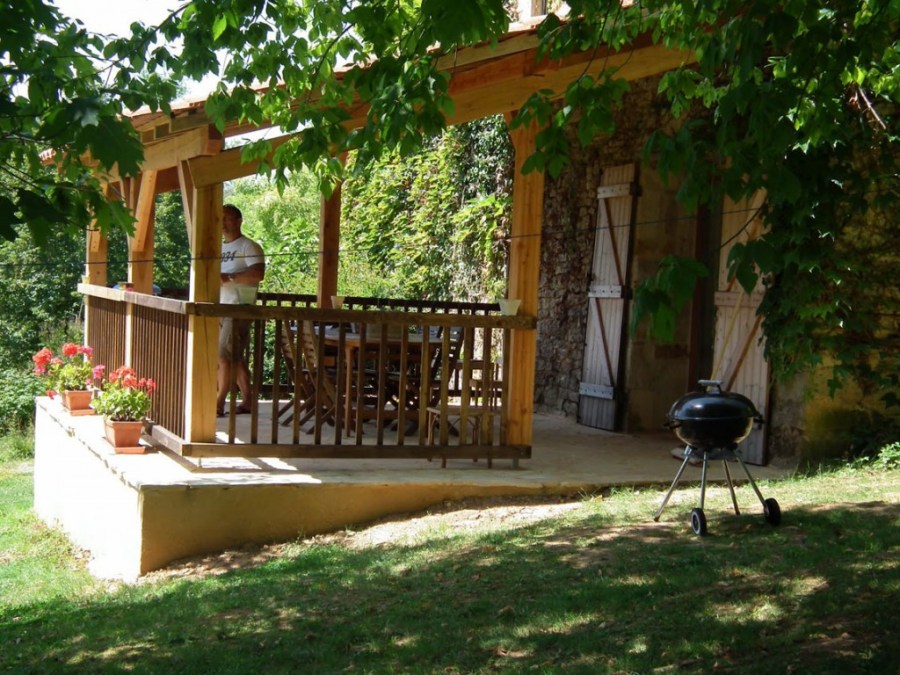
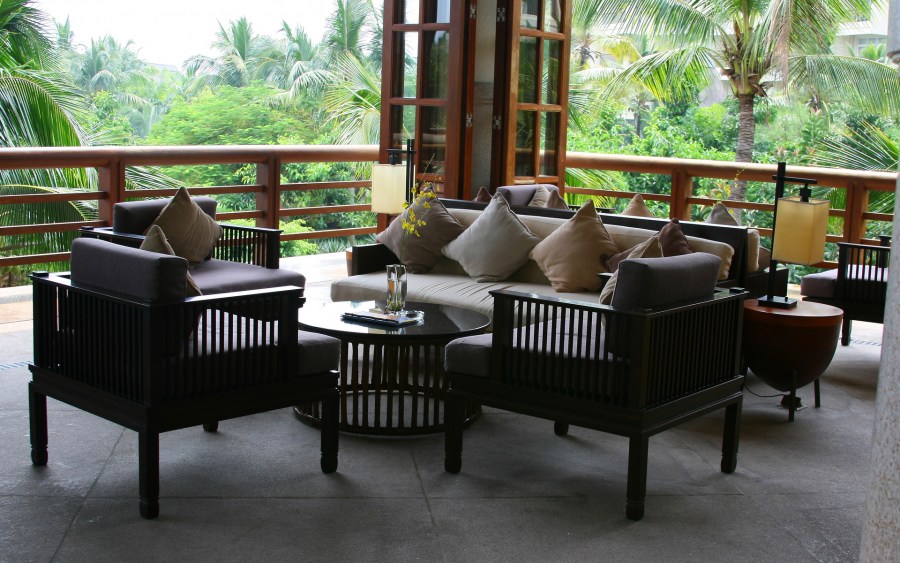
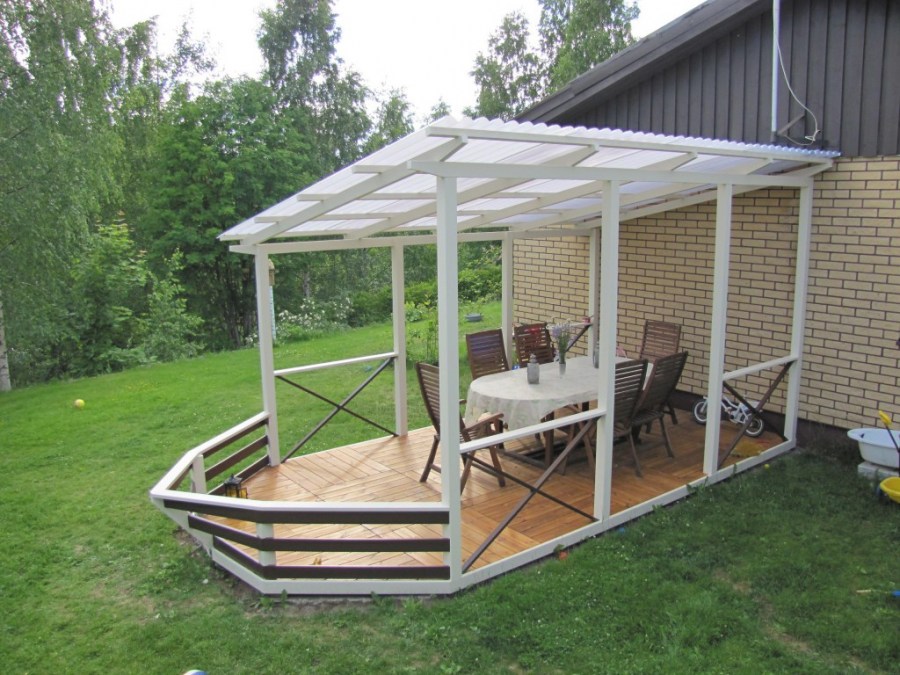
An excellent addition to a private house will be a veranda, which will also significantly increase the space. The extension must have walls and a roof, access to the direct entrance to the house, which allows you to move directly without going outside. Therefore, it is a convenient place for relaxing, reading, gatherings with friends at that time of the year for which it is provided.
Since the veranda is a continuation of the house, you should get special permission for it. Otherwise, the initiative will go sideways for the owner: the increased space that is not recorded documented is not recognized as the property of the land owner.
The construction project should be started in the winter, because its review lasts several months and includes amendments by architects and execution of approval. As soon as the days suitable for construction begin, you can get to work.

Veranda Project
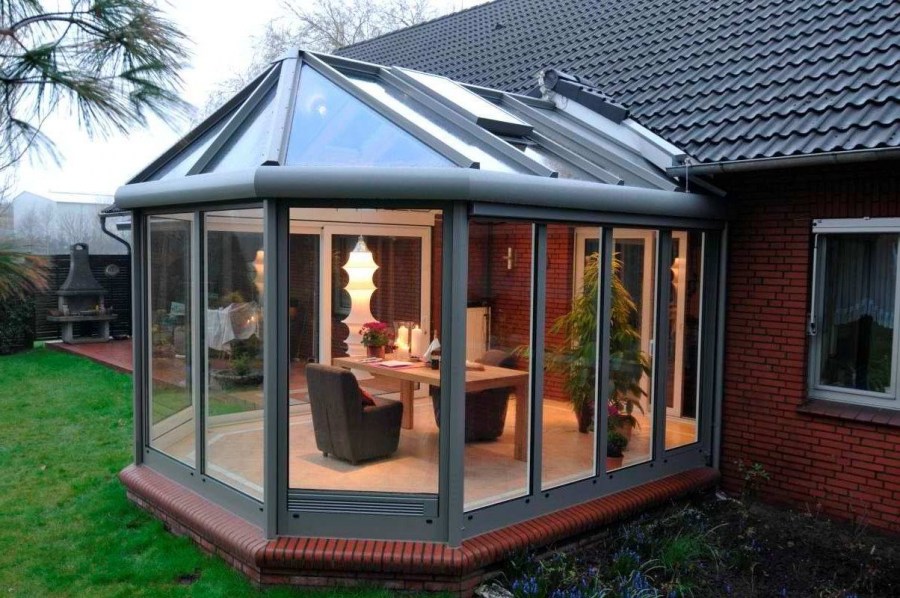
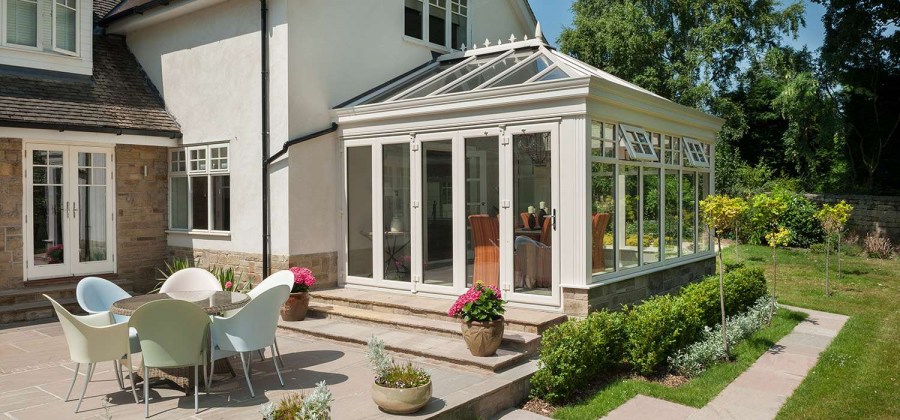
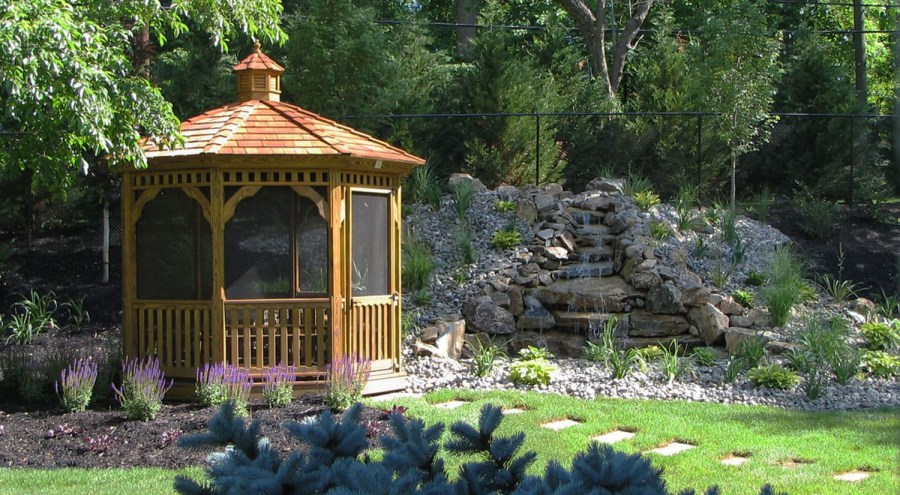
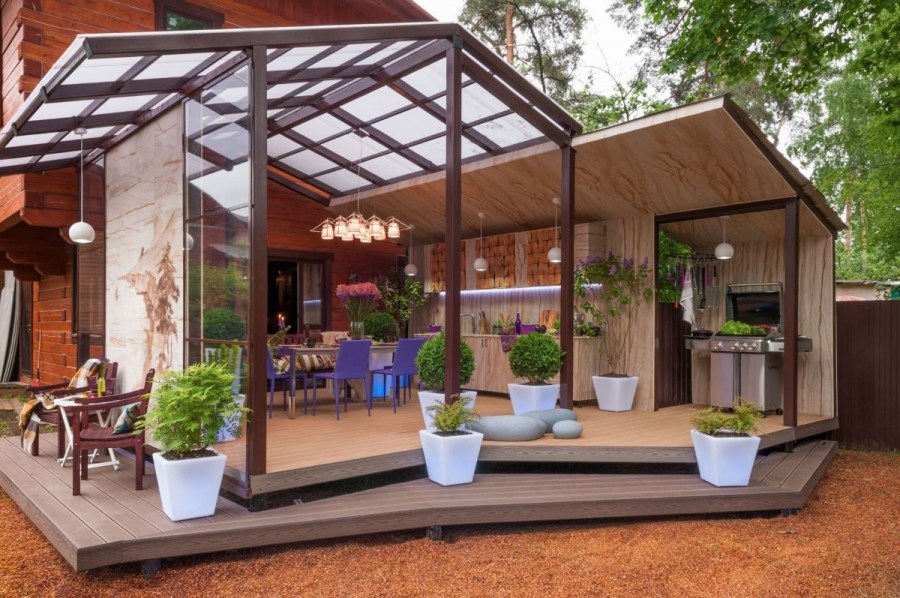
The veranda is needed in order to make the house more comfortable and spacious. There are two types of them: open and closed. The latter should maintain the necessary temperature in the room so that it was warm in winter (if it is designed for the winter period), and not stuffy in summer.


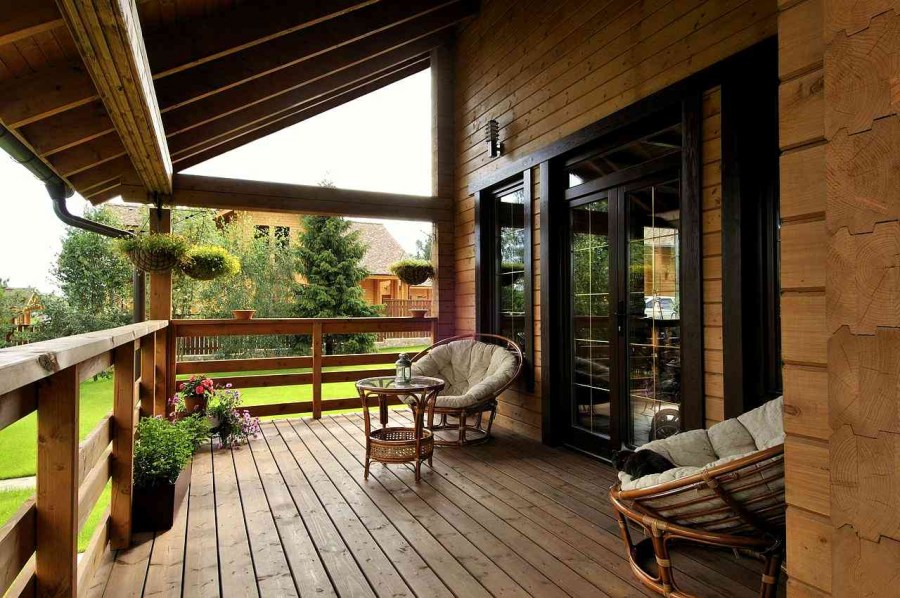
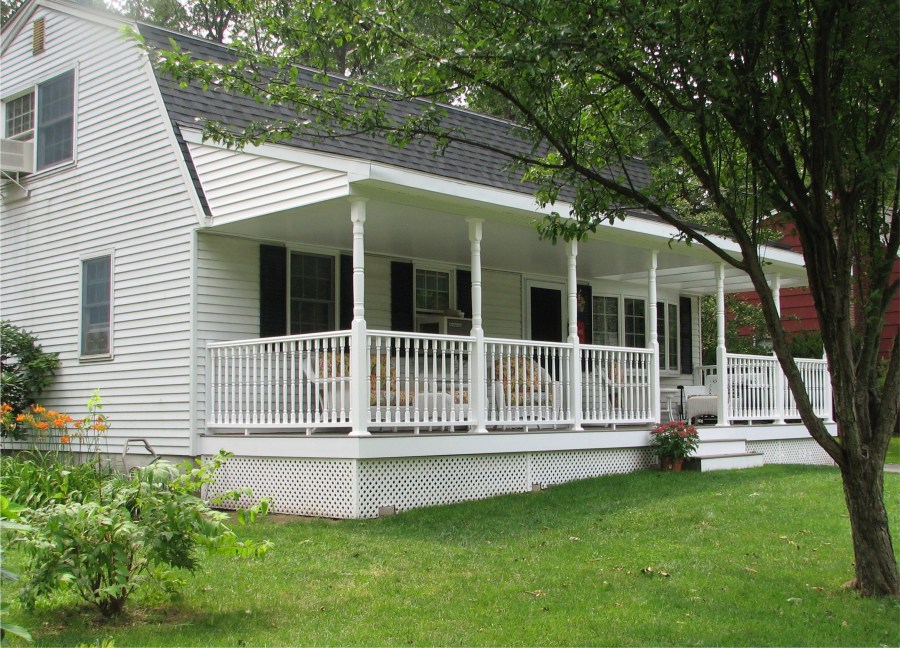
The extension should be placed so that it looks natural, as a unit with the house, and not a separate part. The entrance is not recommended to be located opposite the main one: drafts will appear. Let it be the eastern or western sides - they are better warmed up in the sun, without receiving direct sunlight.
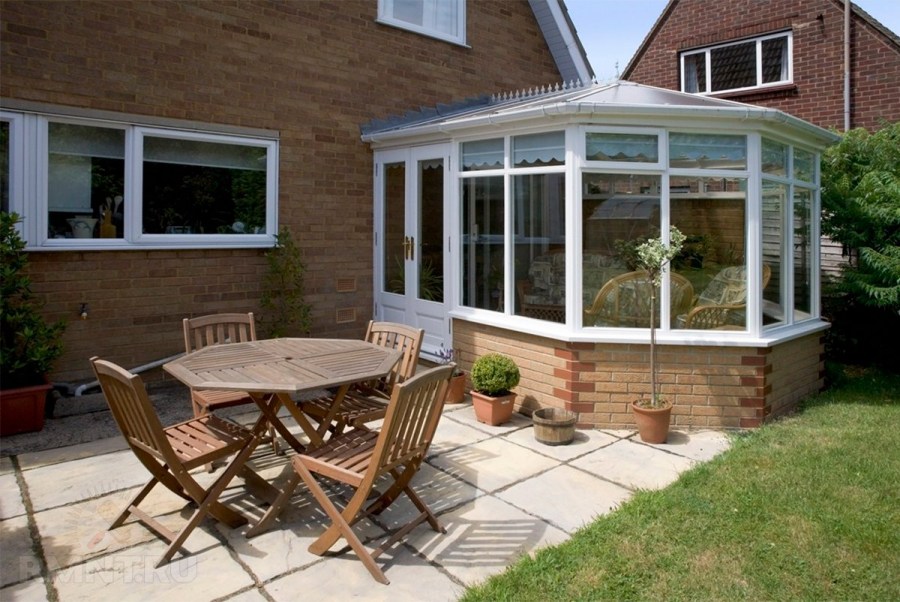
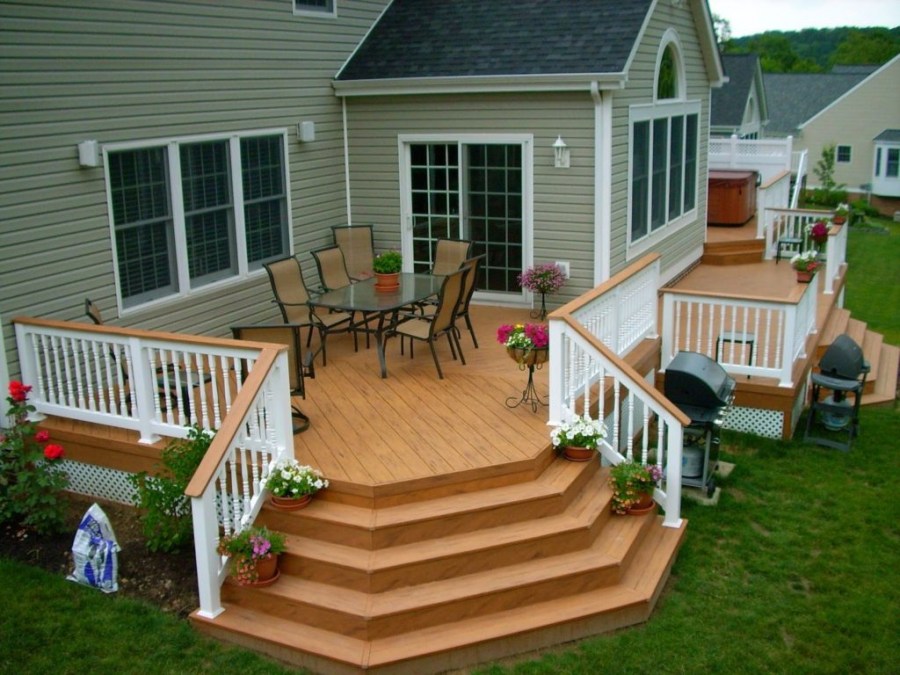
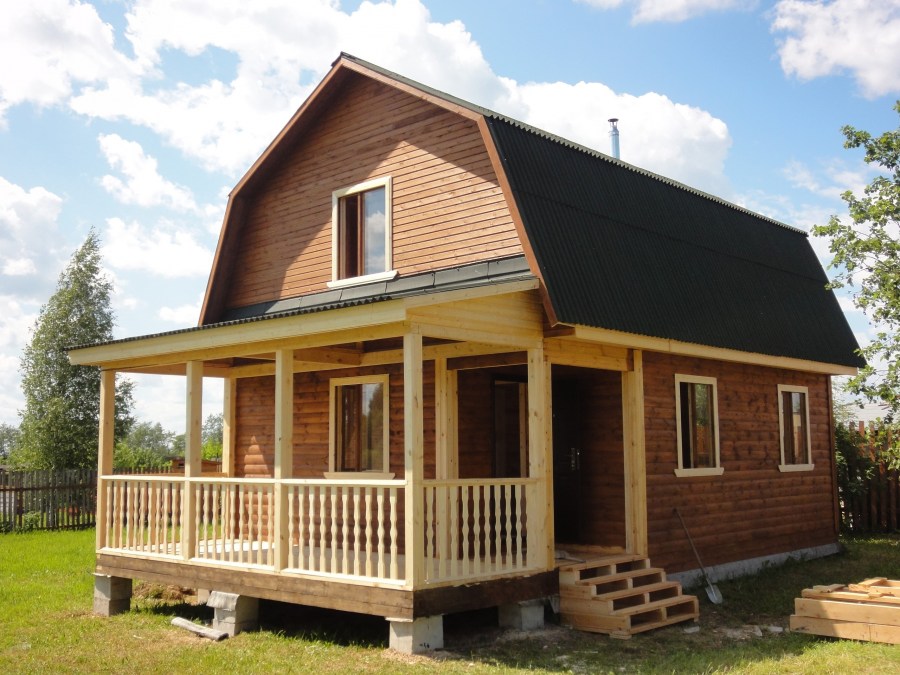
The size of the veranda itself should be proportional to the house. It is easiest to place it along the entire wall, especially if the dwelling is small.
Entrusting the development of the project is best to experienced professionals - it will come out much better, it will save your time and save you from possible alteration.
Necessary tools
To build a veranda in a country house you will need:
- Screwdriver
- Concrete mixer
- Beam Grinder
- Cord
- Building level
- Marking pencil
- Hammer
- Stairs
- Roulette
- Ruler
- Electric planer and jigsaw
- Shovel
- Bucket with water

Foundation
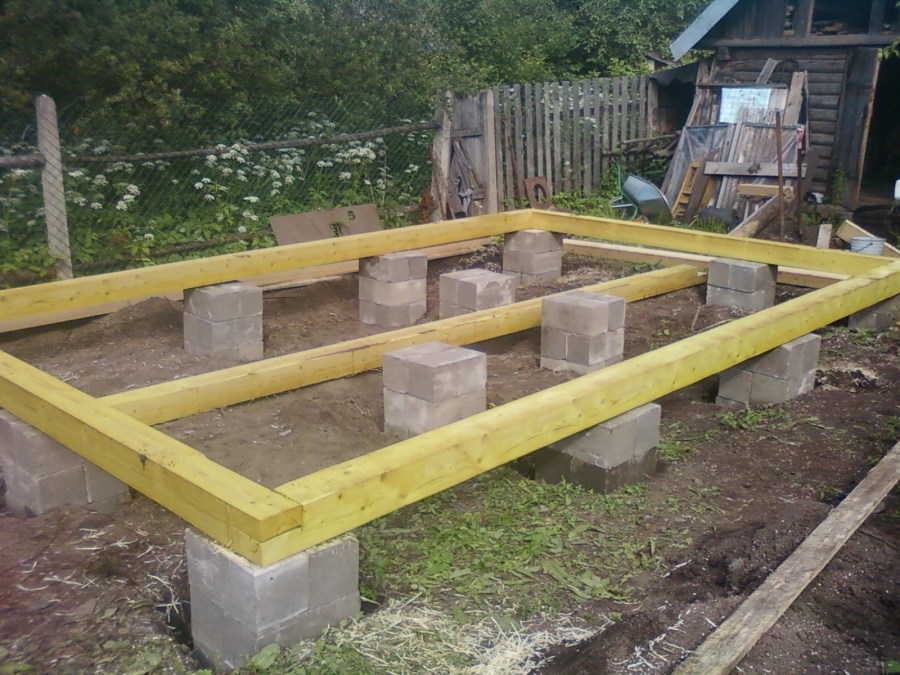
A wood base requires quality material treated with a bitumen mixture. The diameter of the logs is from 25 cm. Add sand and, for greater reliability of the structure, concrete to the dug pit under the foundation. Logs are laid on top to the required height. For clarity, pay attention to the photo of the veranda with your own hands.
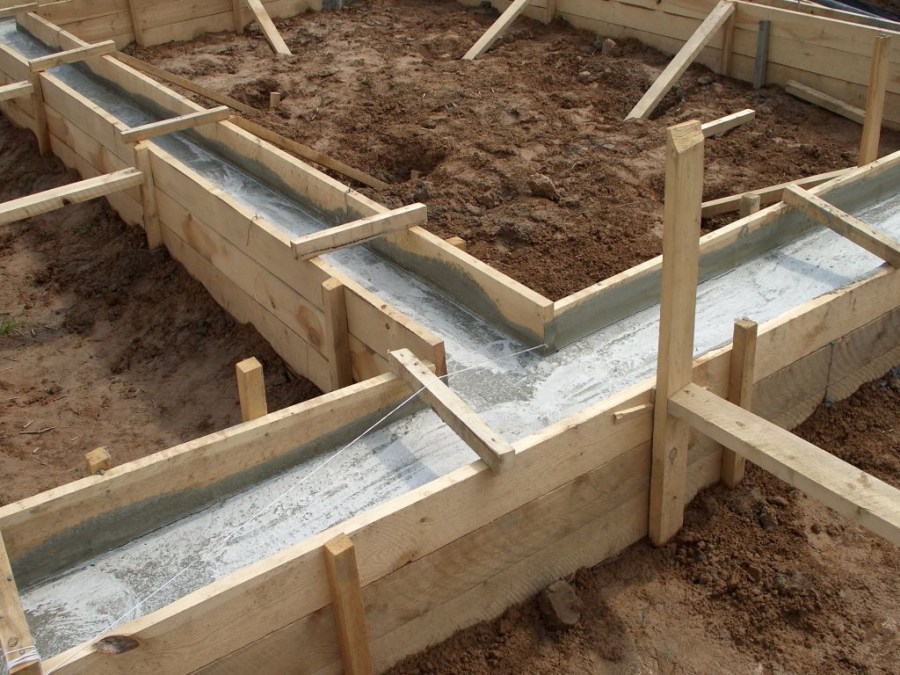
The strip foundation is suitable for heavy construction. For example, if the walls of the veranda are made of bricks. Concrete blocks are placed in a trench (20-30 m.), Whose bottom is covered with sand. In advance, you need to take care of the location of communications in the foundation, if provided.
The screw foundation consists of metal piles installed below the freezing point, to the ends of which blades of various sizes are welded. Suitable for unstable soil.
Material for the frame
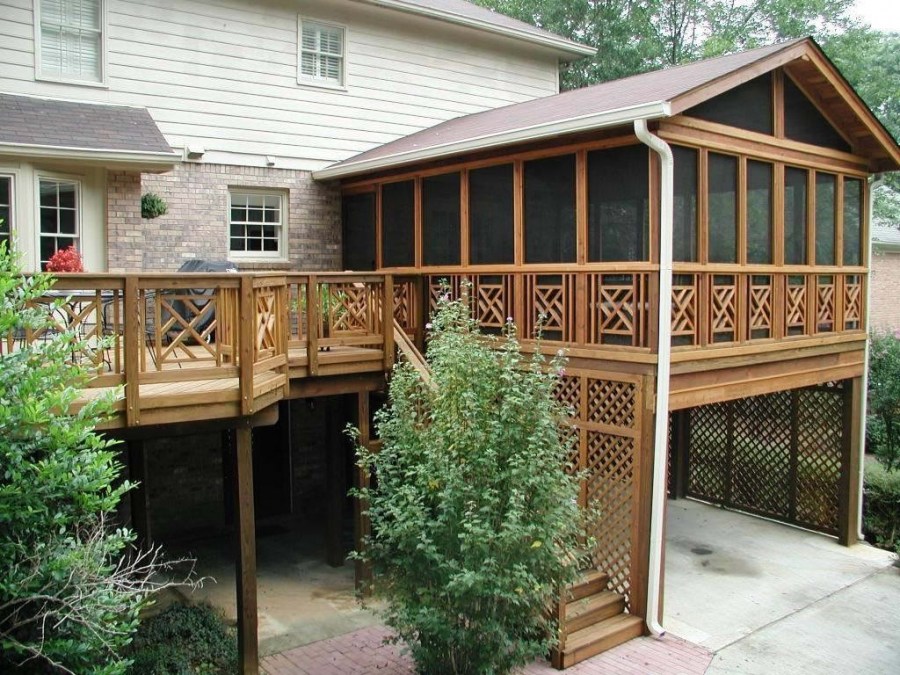
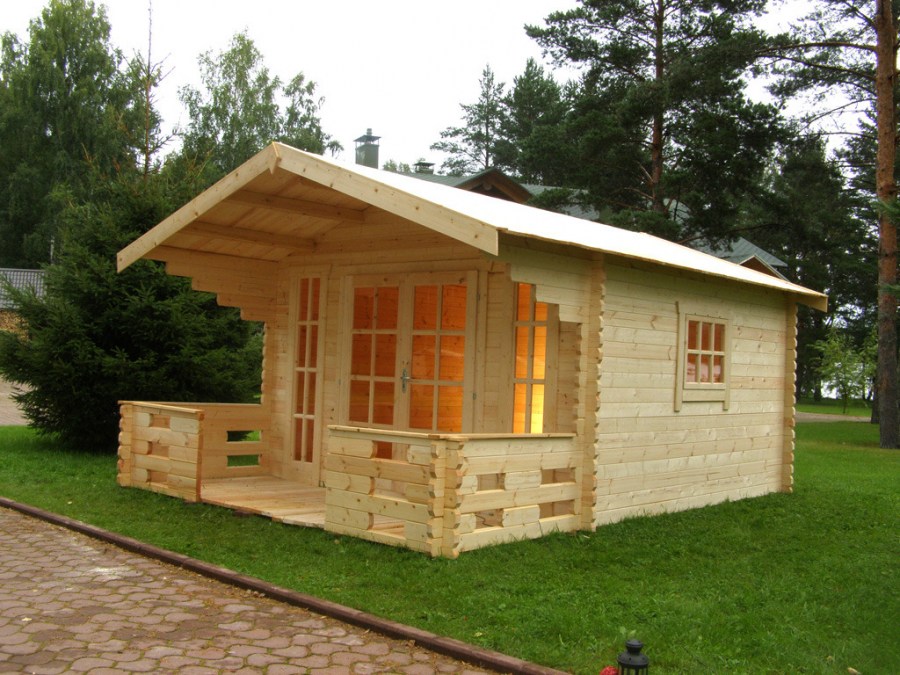
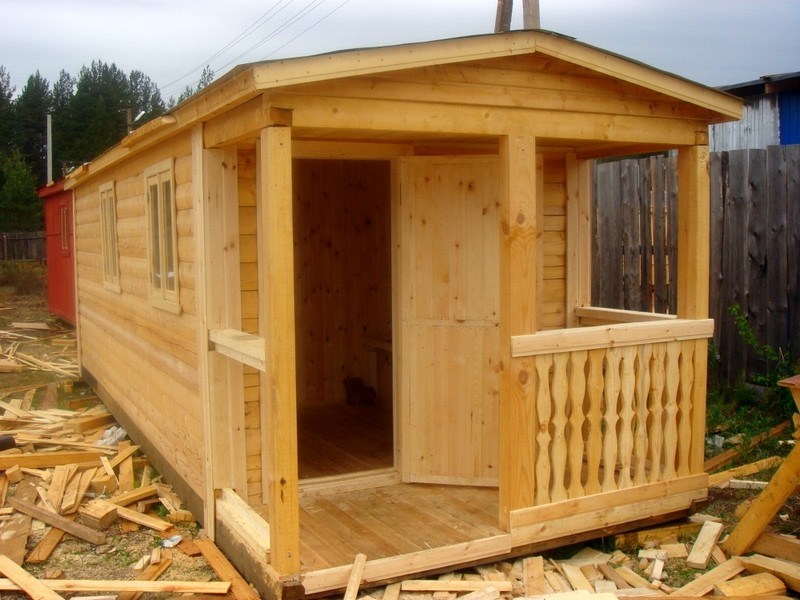
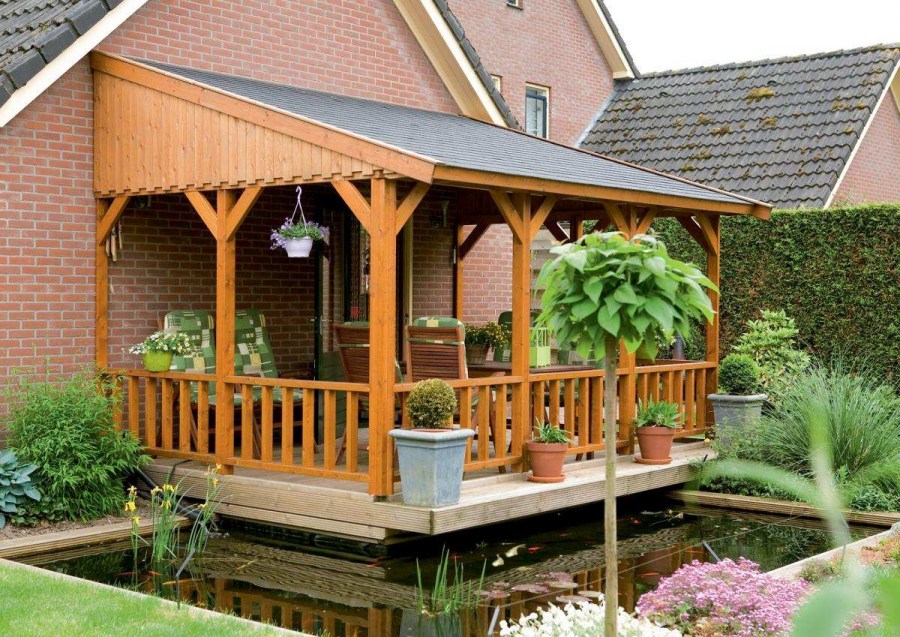
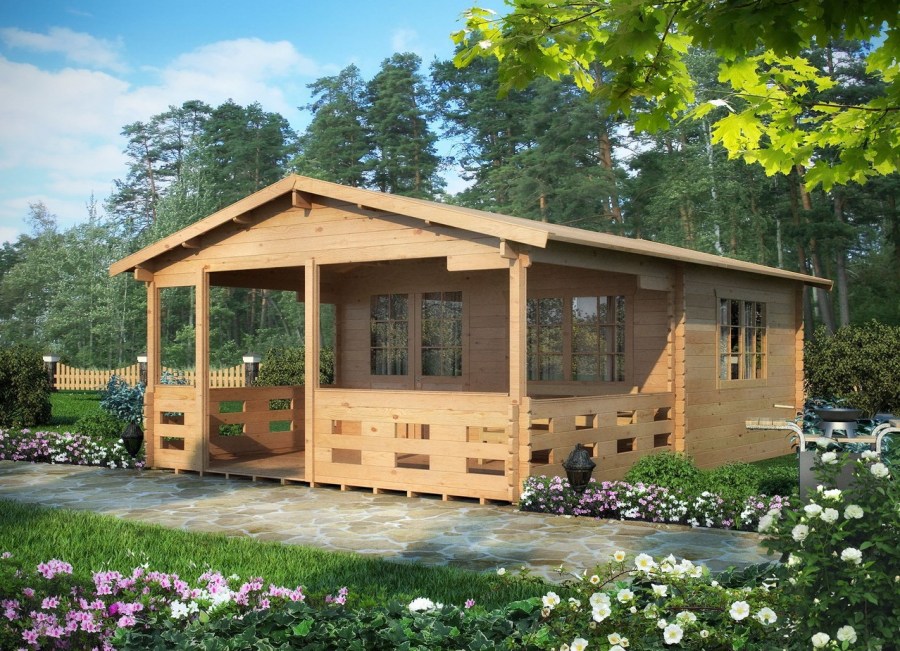
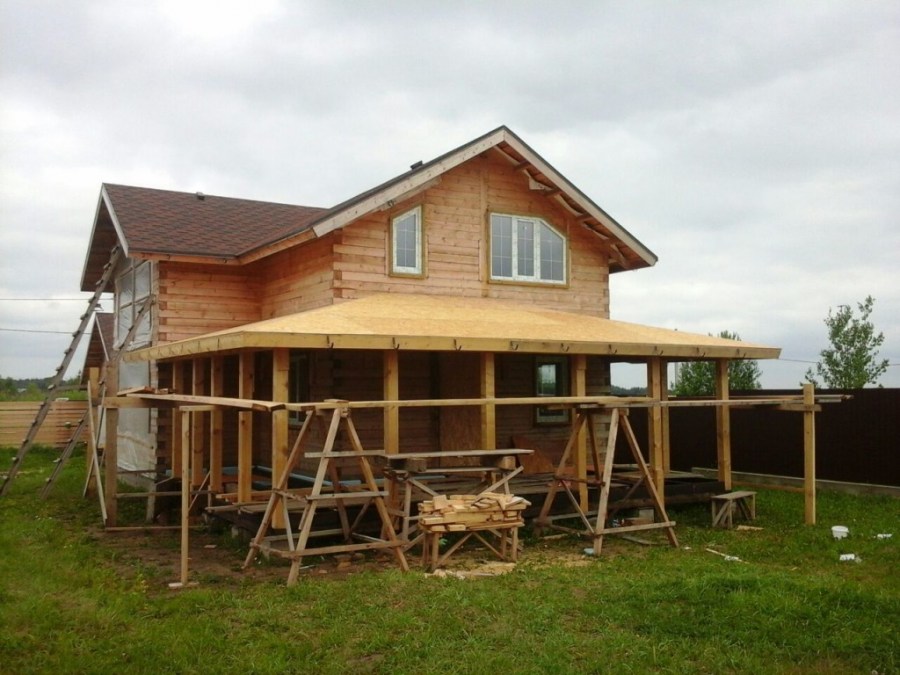
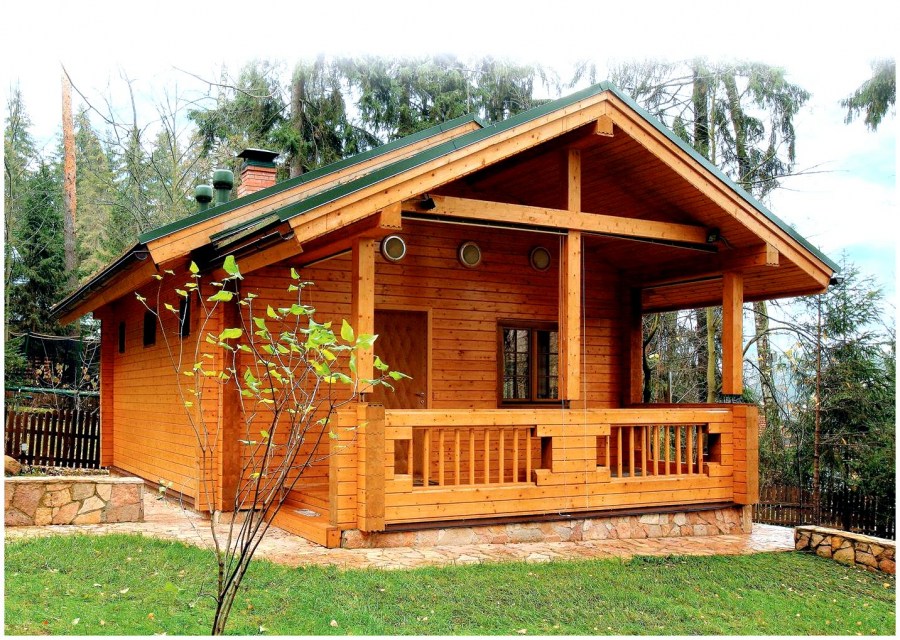
Wood is the most popular material in this business. It is easy to process, has an aesthetic appearance, it does not need to build a complex foundation.
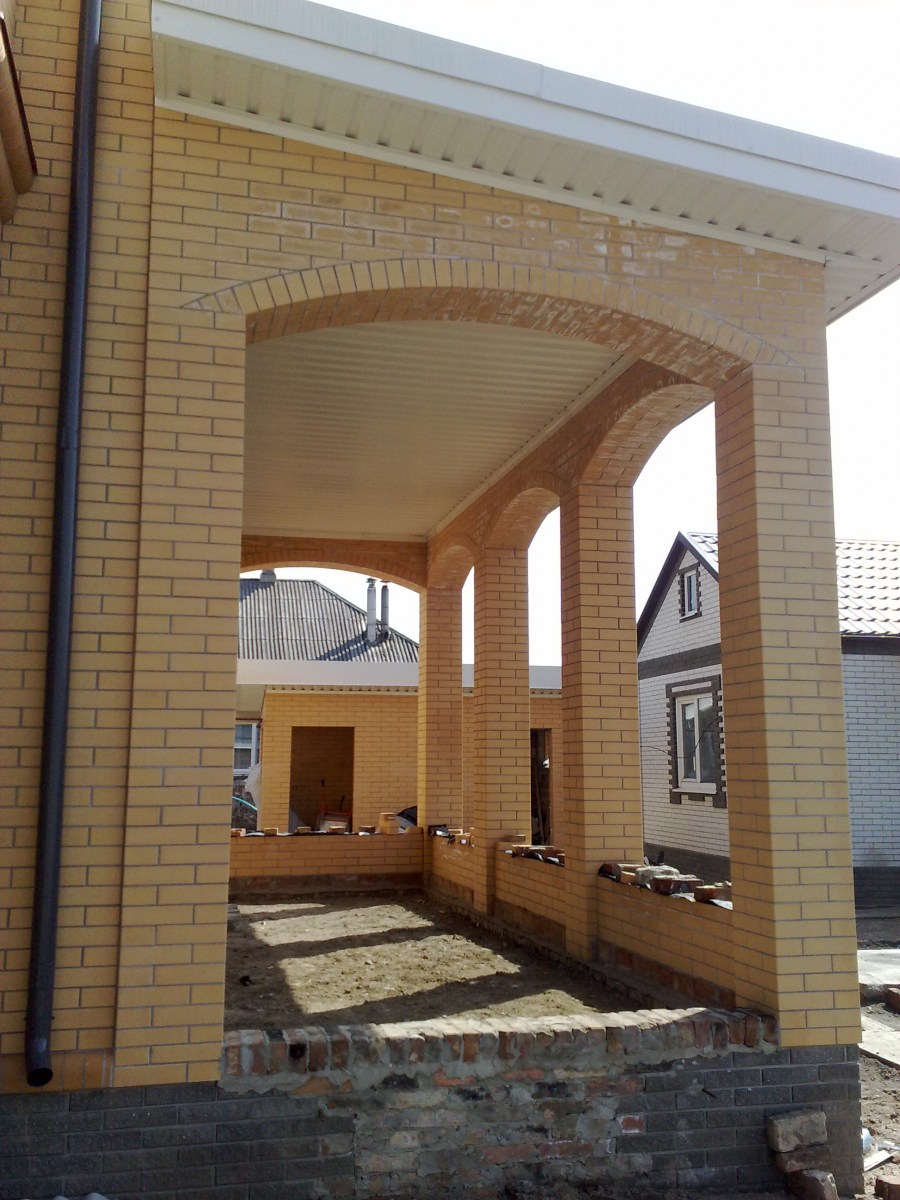
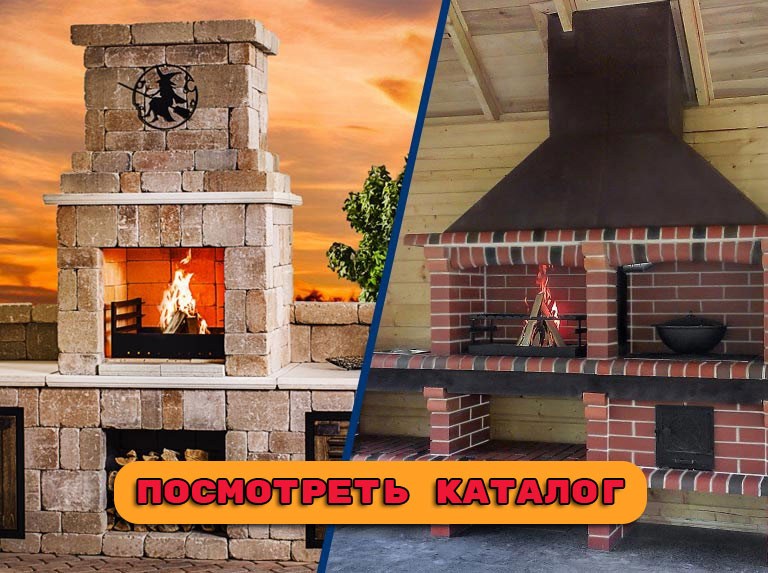
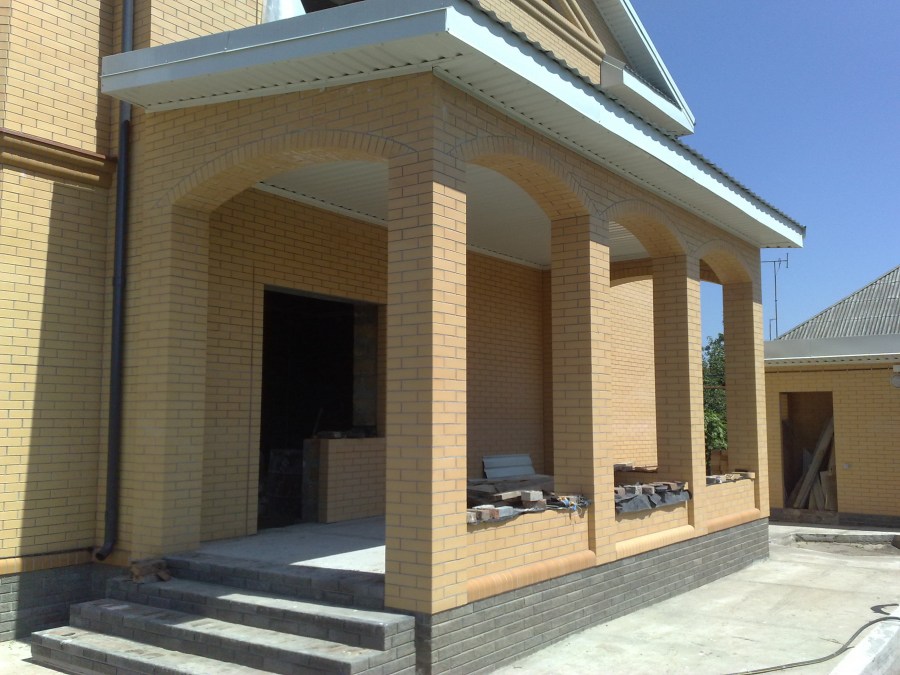
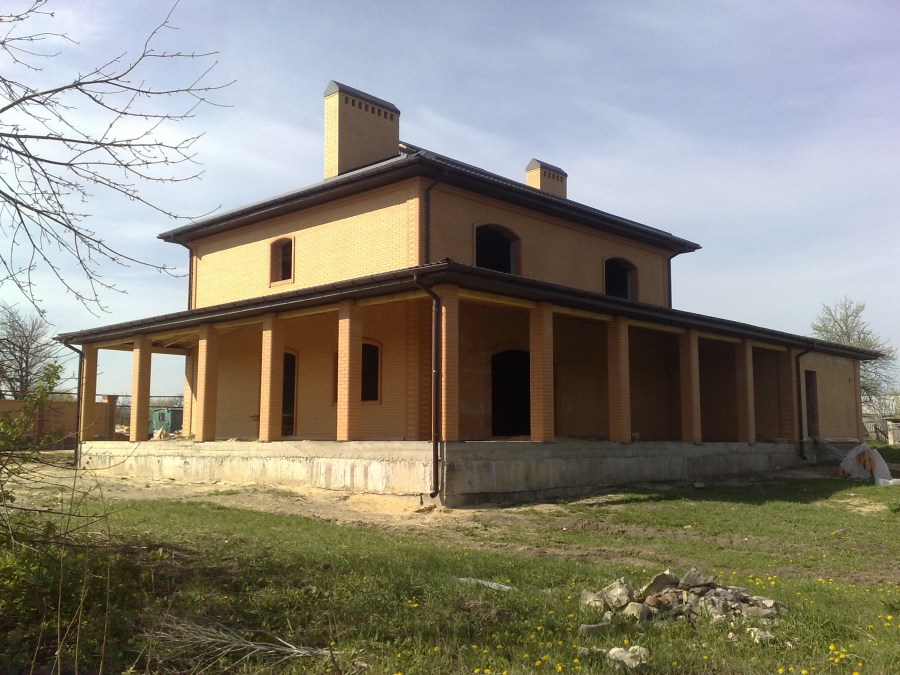
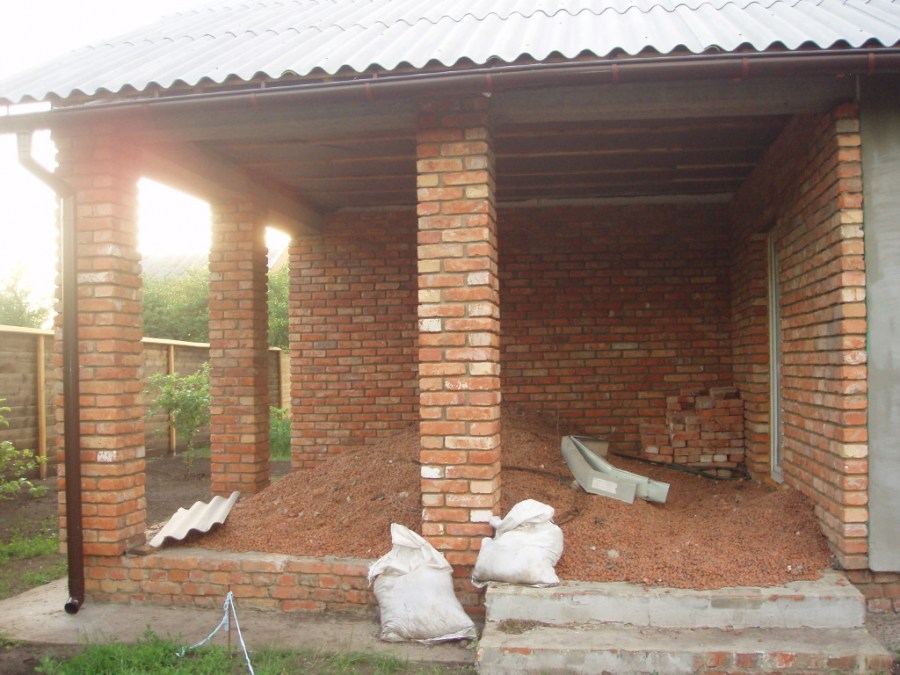
In the veranda of brick there will always be an optimum temperature at any time of the year and the construction will last for many years.
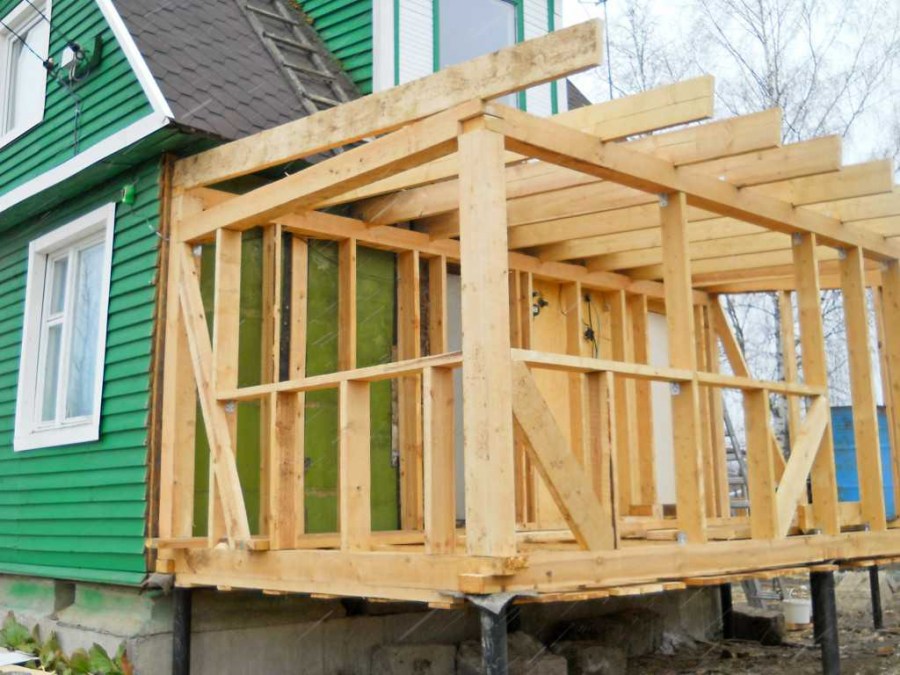
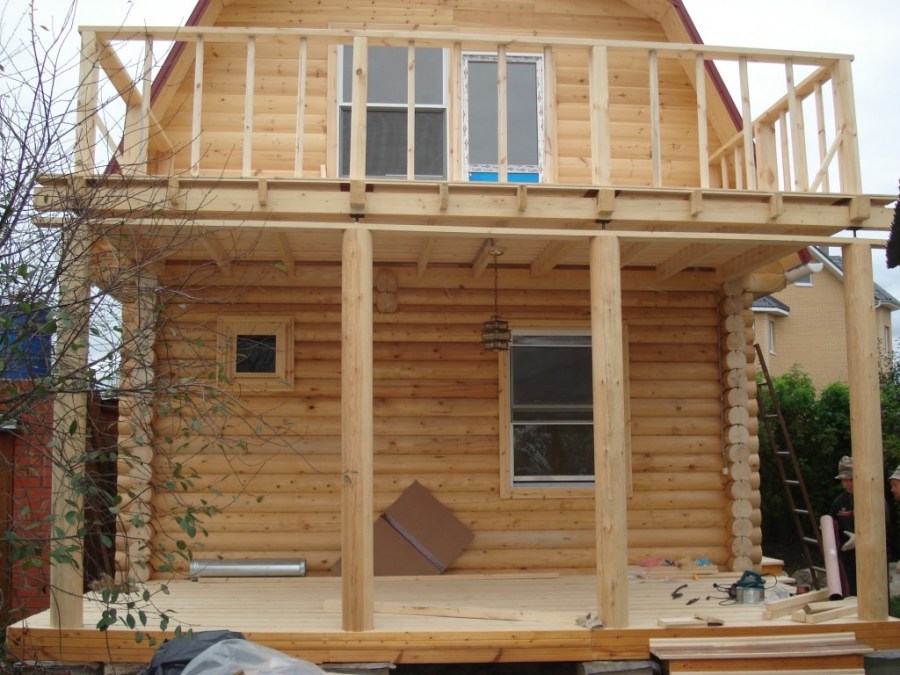
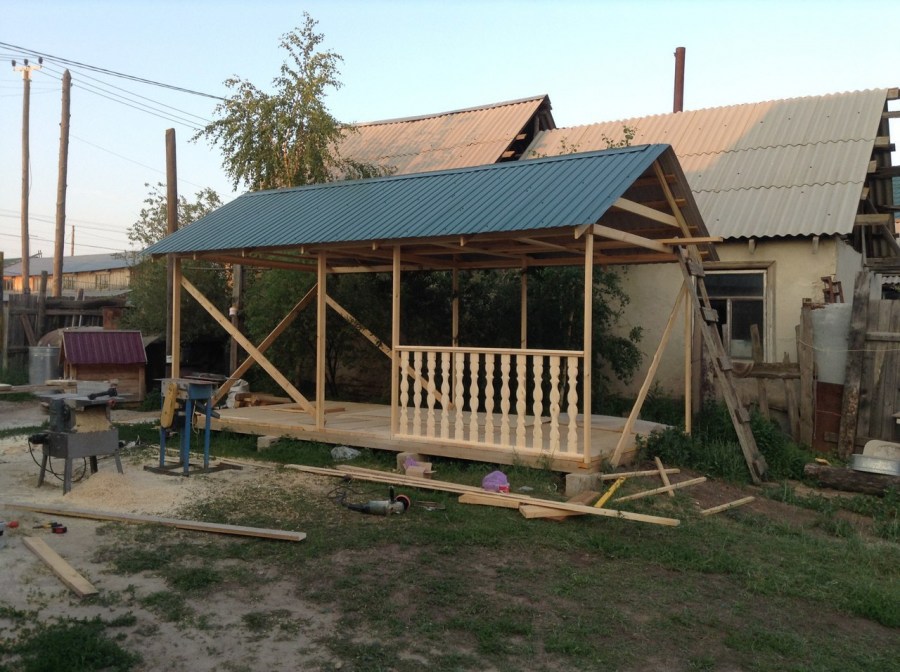
Step-by-step instructions on how to make a wood frame
- Cut out grooves for a joint of the lower trim with vertical supports from a timber 100x200 mm in size. Leave the same distance between them.
- Reliably connect the prepared elements with self-tapping screws.
- With the timber of the upper harness, do the same as with the lower.
- The result was a rectangular base. Cross beams on the future roof are fastened with supports with anchor bolts. Braces and racks for stability are placed to the vertical bars.
- Rafters are mounted using a beam (100x200 mm). Between them withstand a distance of 50 cm, and connect the details of the structure.
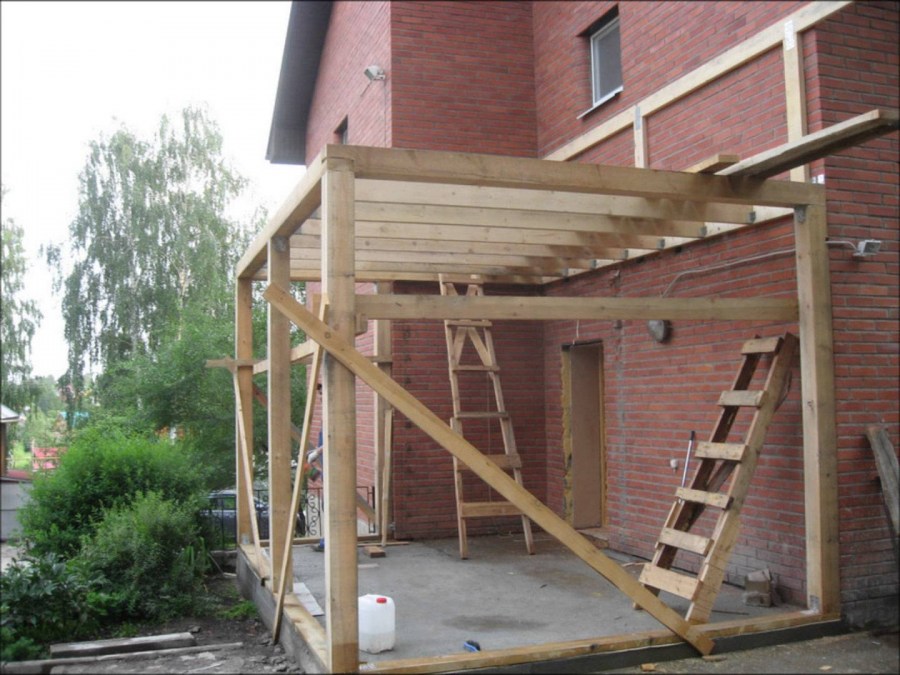
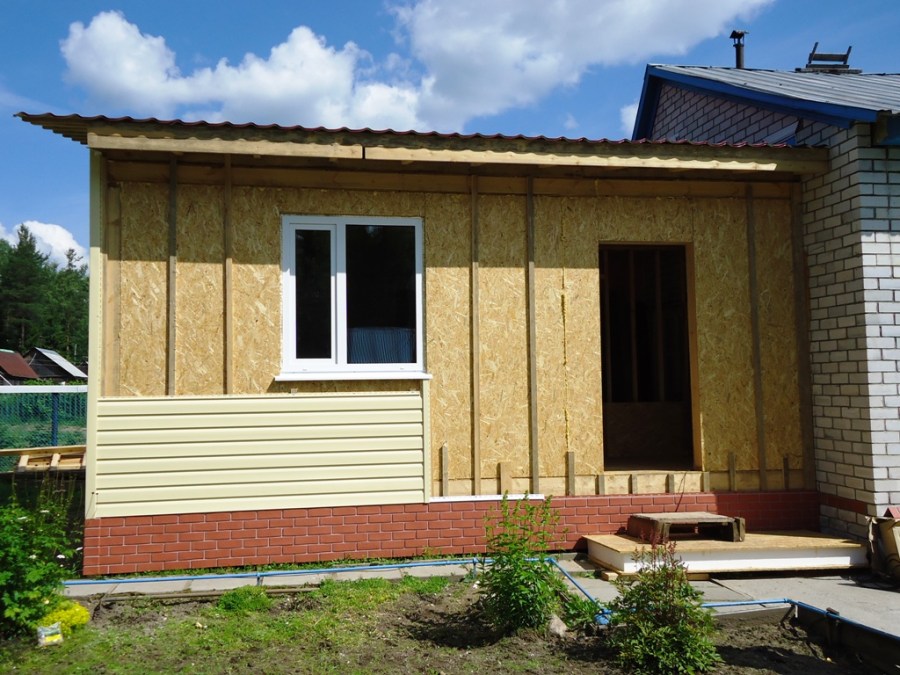
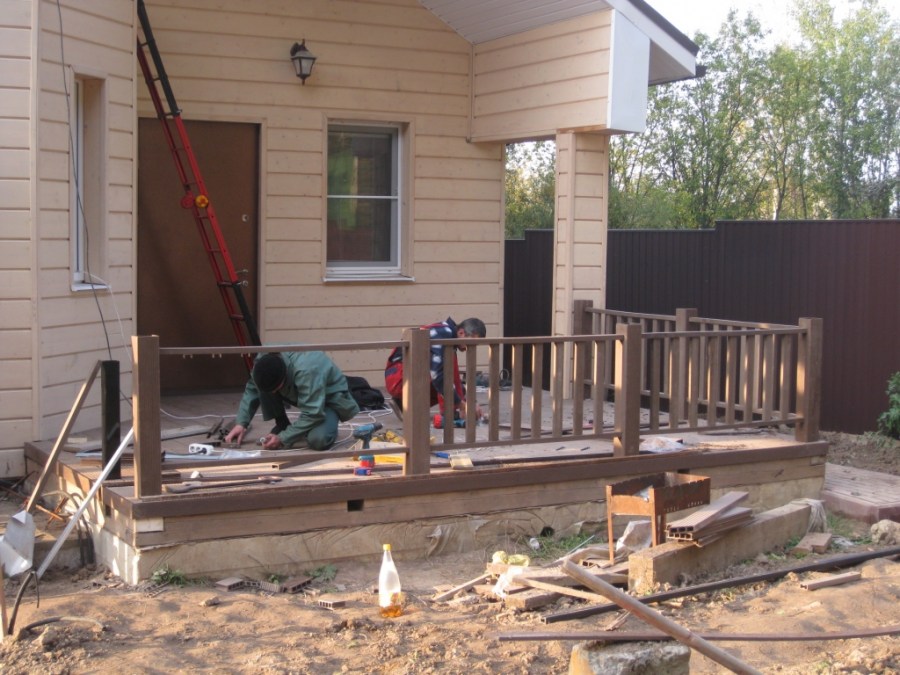
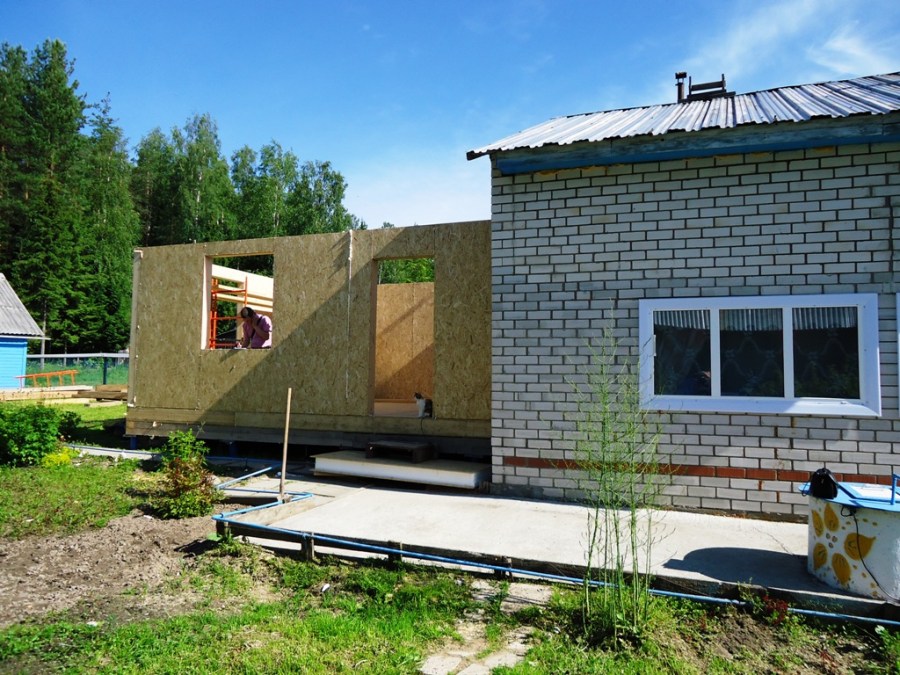
The result was a frame porch. Then it should be sheathed on both sides, and lay a layer of insulation between the sheathing. Mark the door and window openings in advance.

Brick construction, construction steps
Install auxiliary wooden wedges in the corners of the building and pull a cord between them. This is necessary in order to evenly lay the brick.
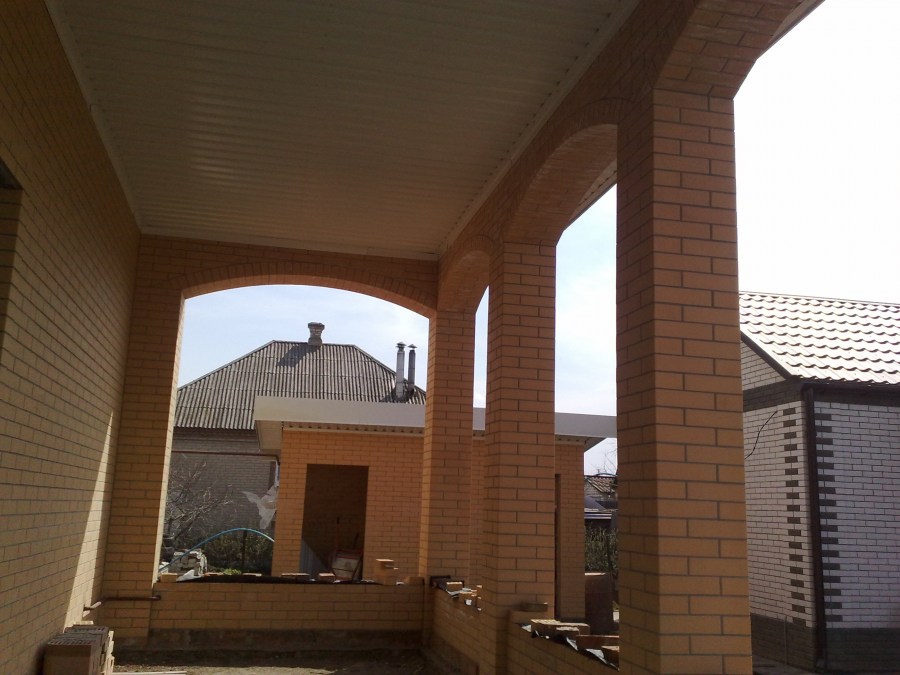
Start laying from the corners. After the first row is completed, the second and further follows. To connect the stone with each other, use a normal cement mortar.

In places where openings for doors and windows are planned, installation is not performed. If the roof has a slope, then the wall closer to the house will be one row higher than the opposite.
Armopoyas is arranged as follows: they fix a wooden formwork on the upper part of the walls (about 70 cm in height), anchor bolts are set from the corners and pour it with concrete.

After concrete hardening, wooden beams with a cross section of 10x10 cm are attached to the anchor bolts.
Floor and roof of the veranda
The rough floor is part of the frame and is being built based on its material. For a wooden veranda - a tree, for a brick - a concrete screed.
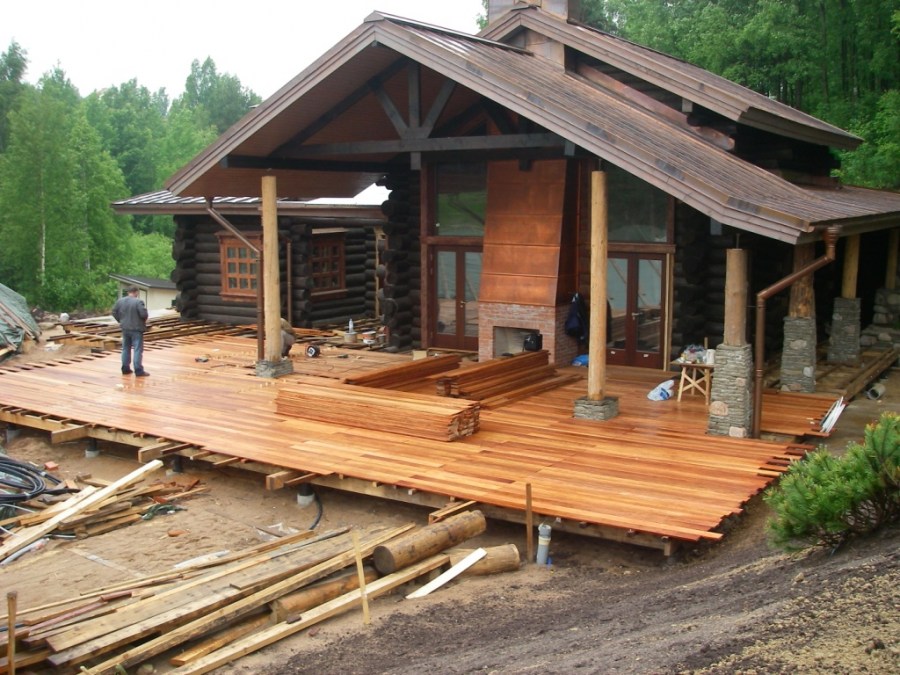
Wooden rough floor. A layer of sand is poured on top of the foundation, on which supports under the logs will be placed. You can make supports from the same beam, brick or concrete blocks. Further, with the help of metal corners and self-tapping screws, the logs are directly fixed on the walls of the log house. The distance between the lags is not more than 50 cm, so that the floor does not fail.

Draft concrete floor. At first, two layers fall asleep: sand to a height of 10 cm and expanded clay. Next comes a reinforcing mesh of rods of approximately 7 mm. The mesh cells are 25x25 cm. Concrete is poured to a height of 30-50 mm. Additionally, the floor is insulated with mineral wool, polystyrene foam or polystyrene.
And finally, the final floor, which is best made from materials that do not allow cold. These include linoleum and carpet. Before laying them, the floor is covered with metal sheets or a wooden board for leveling.
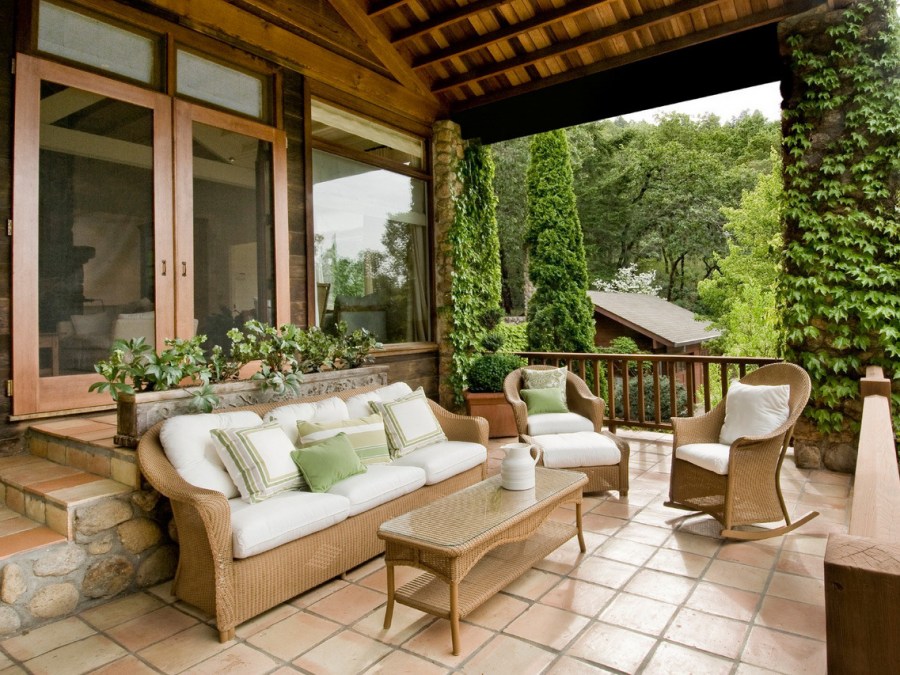
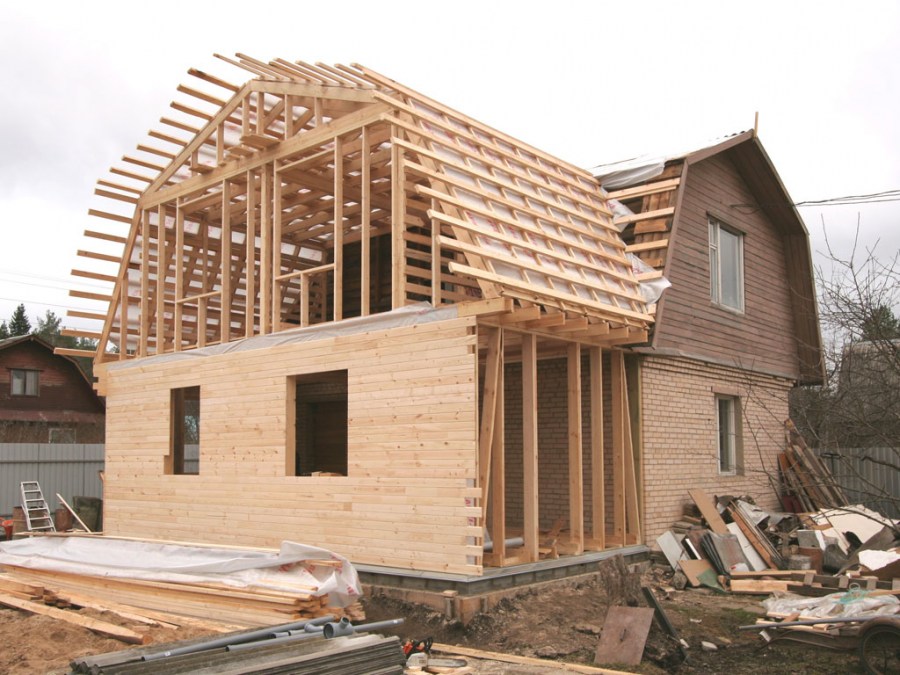
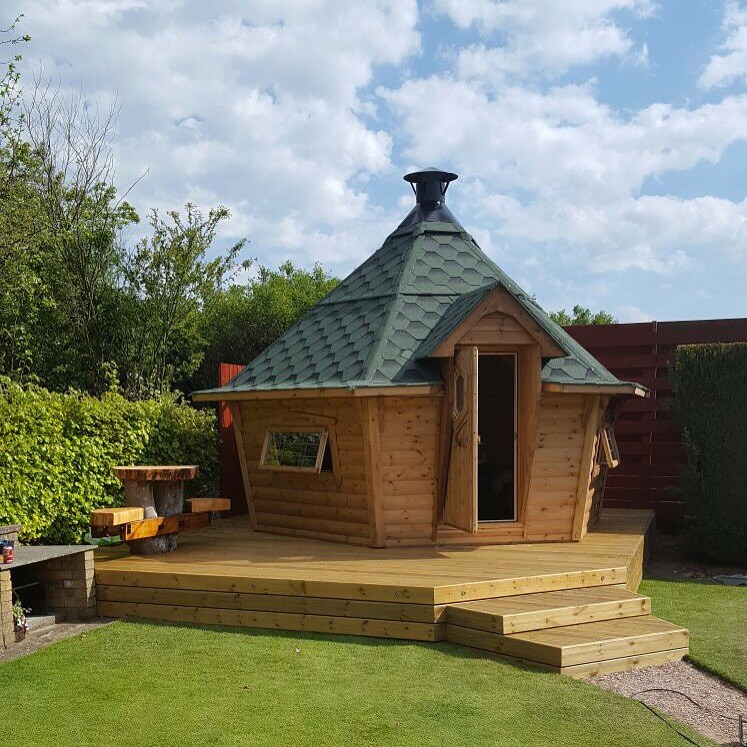
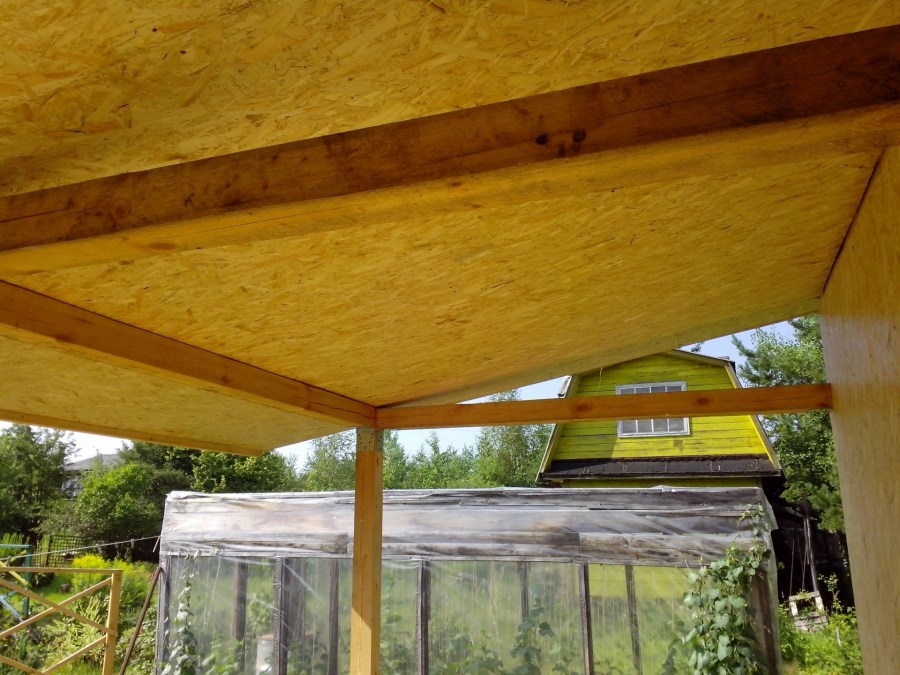
Traditionally, the roof is slightly tilted, and to create a beautiful veranda, its roof should be combined with the rest of the house.
The material for the flooring is laid on top of the crate, it can be solid or discharged, depending on the type of roof (the step between the elements of the flooring is determined by the length of the rafter legs, the long roof and its lightness). On the reverse side, the roof is insulated with mineral wool.
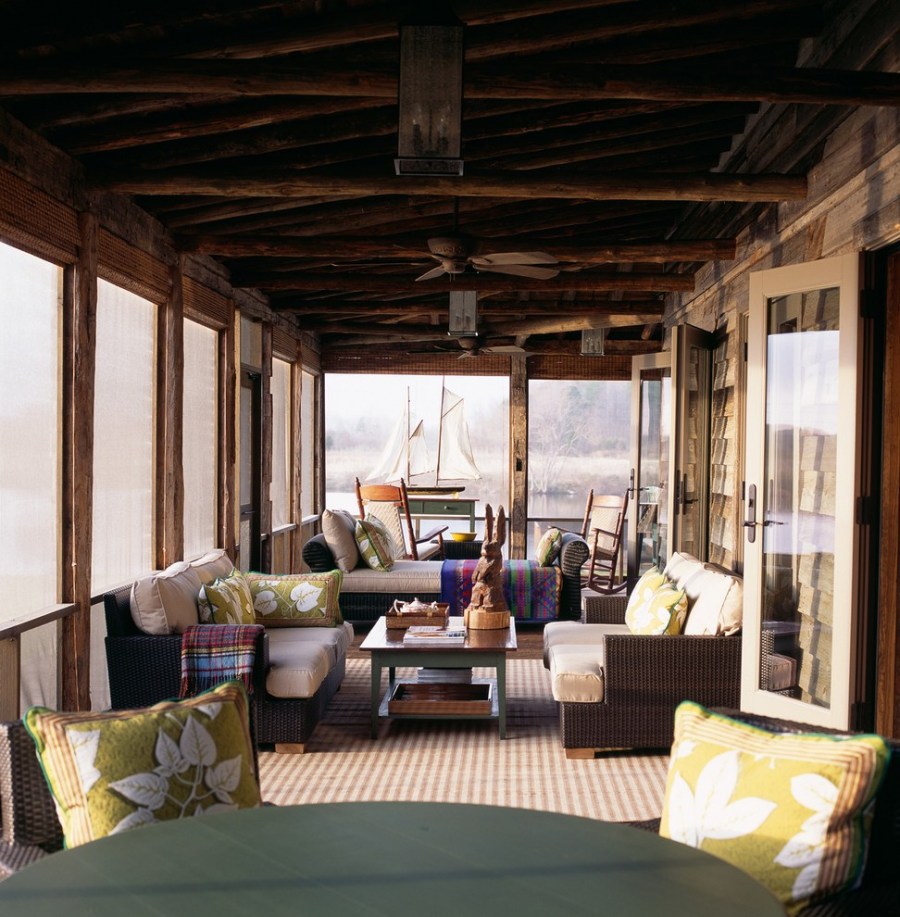
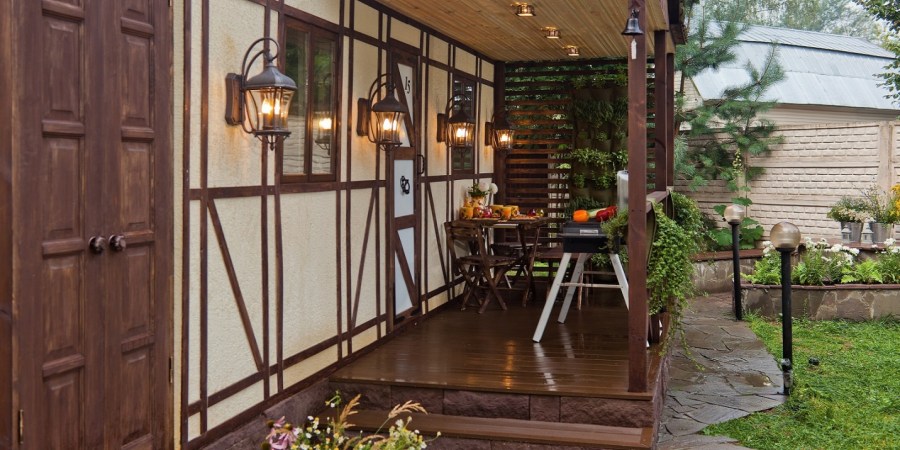
Interior decoration
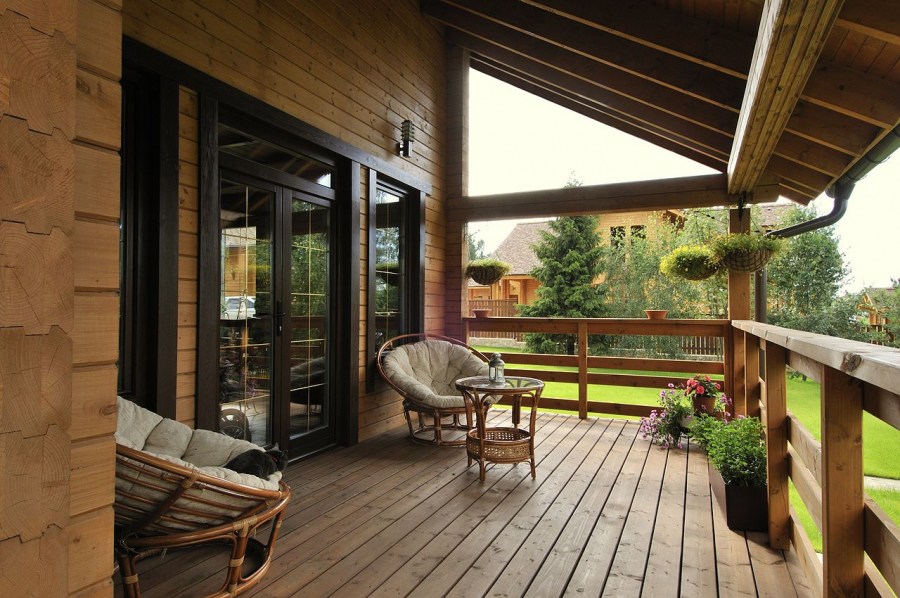
Inside the veranda you can sheathe a lining. This is a fairly popular material and is great for a vacation spot. It is treated with colored polyurethane varnish or left as is.


You can also use plastic MDF panels or siding.

Exterior finish
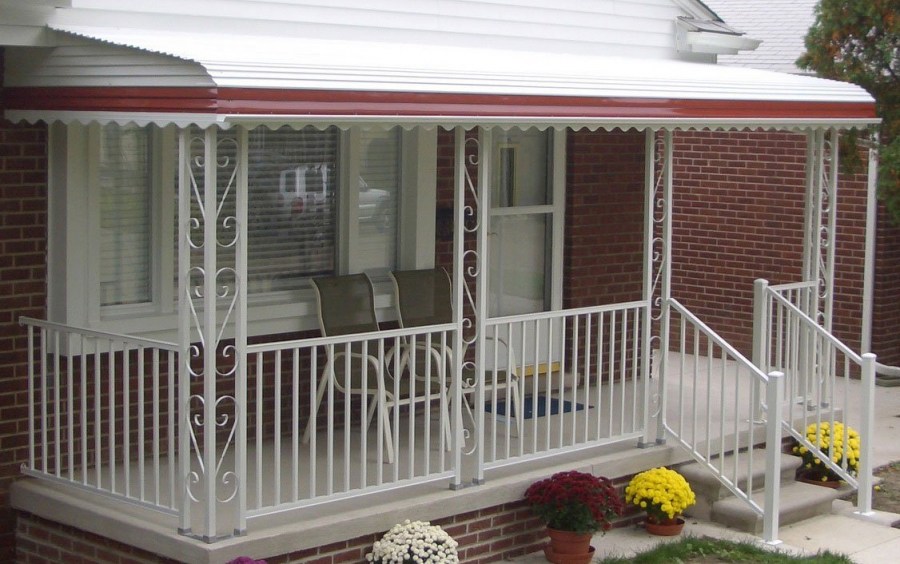
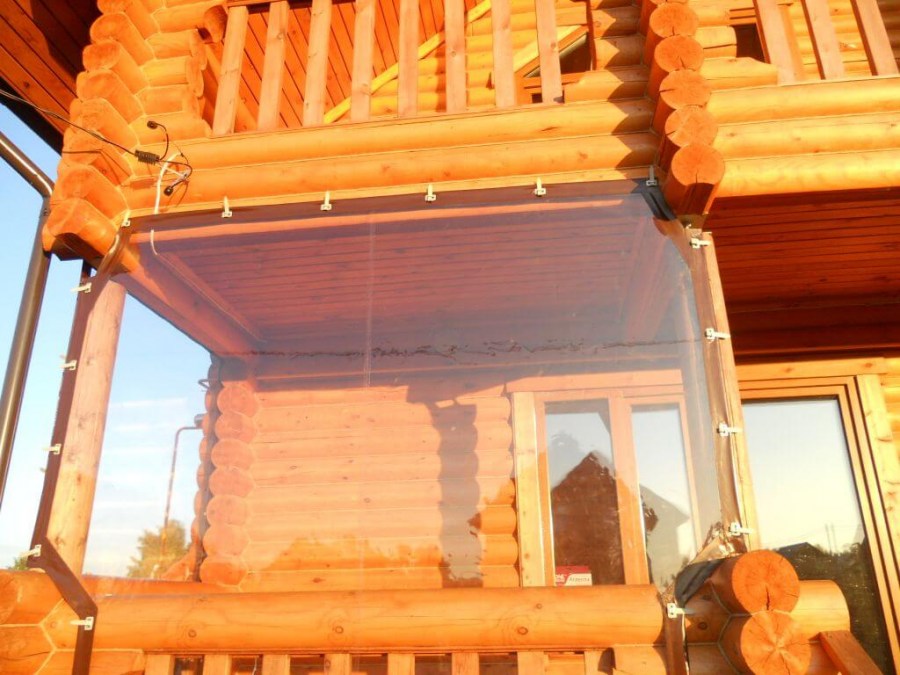
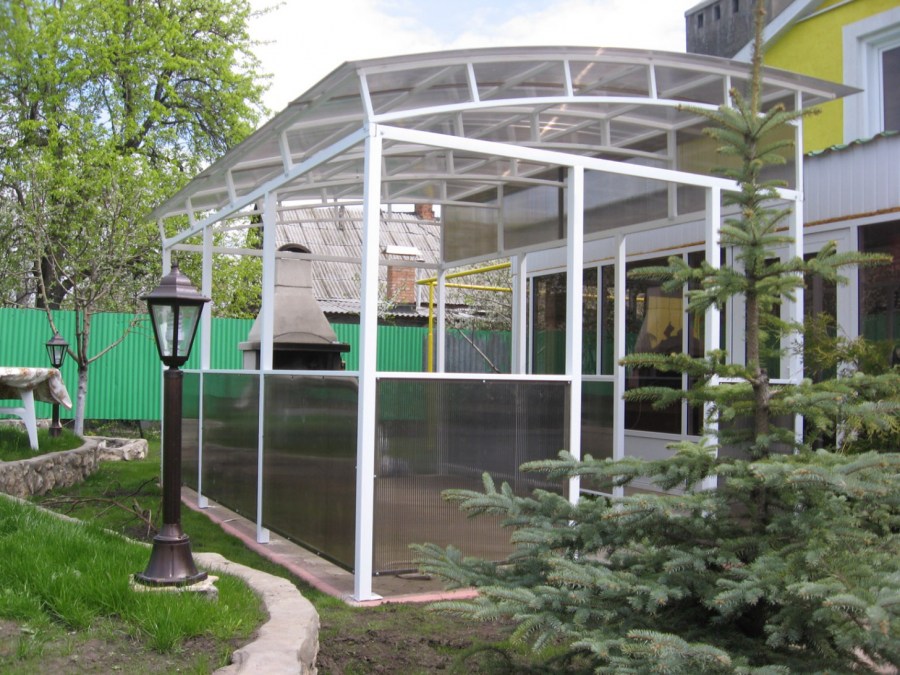
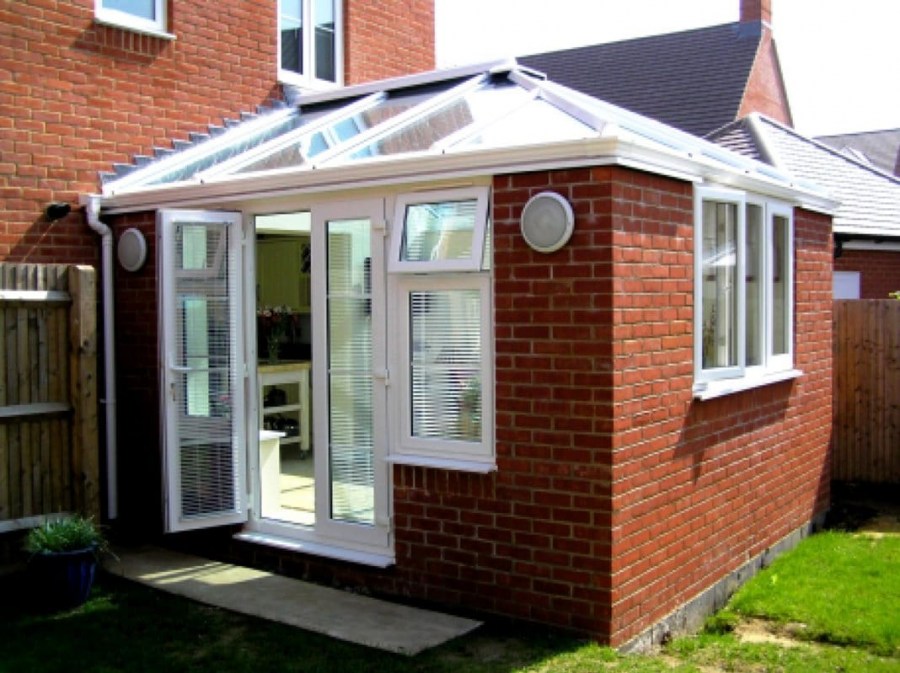
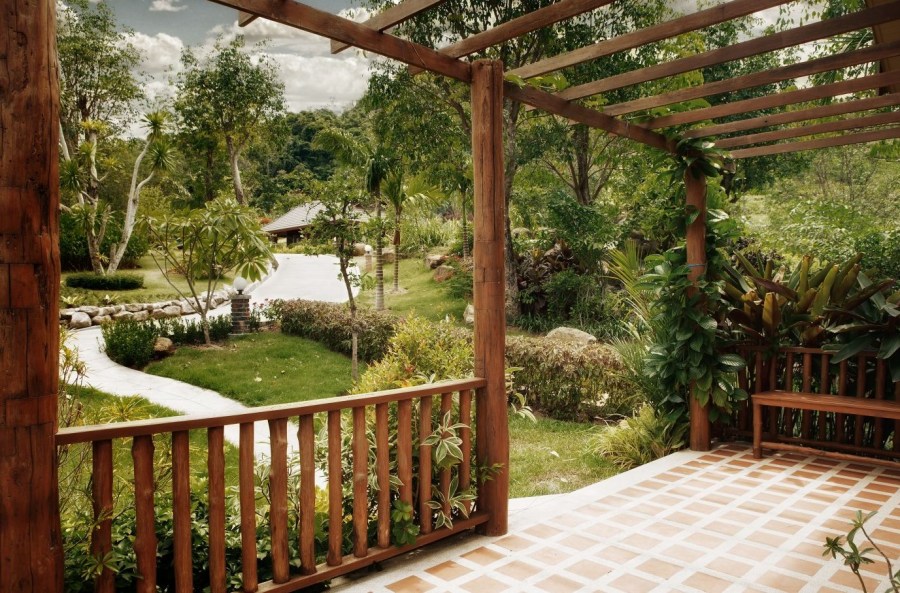
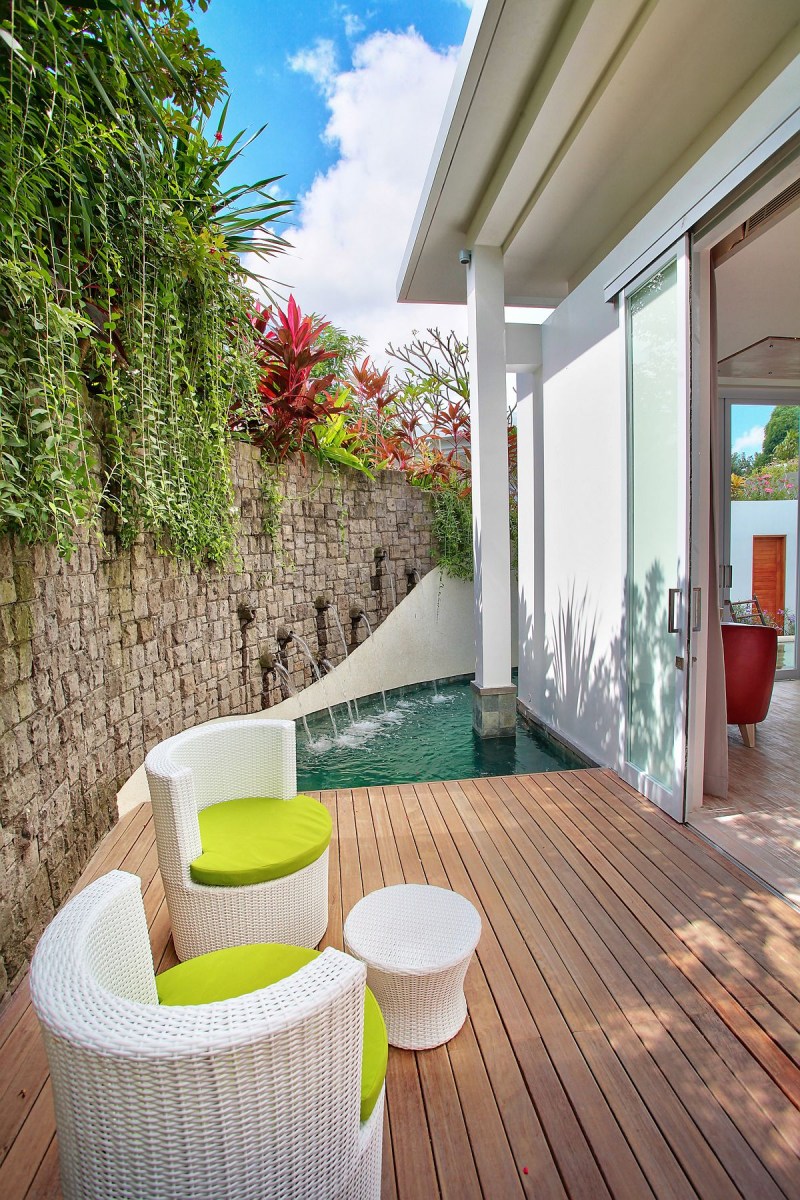
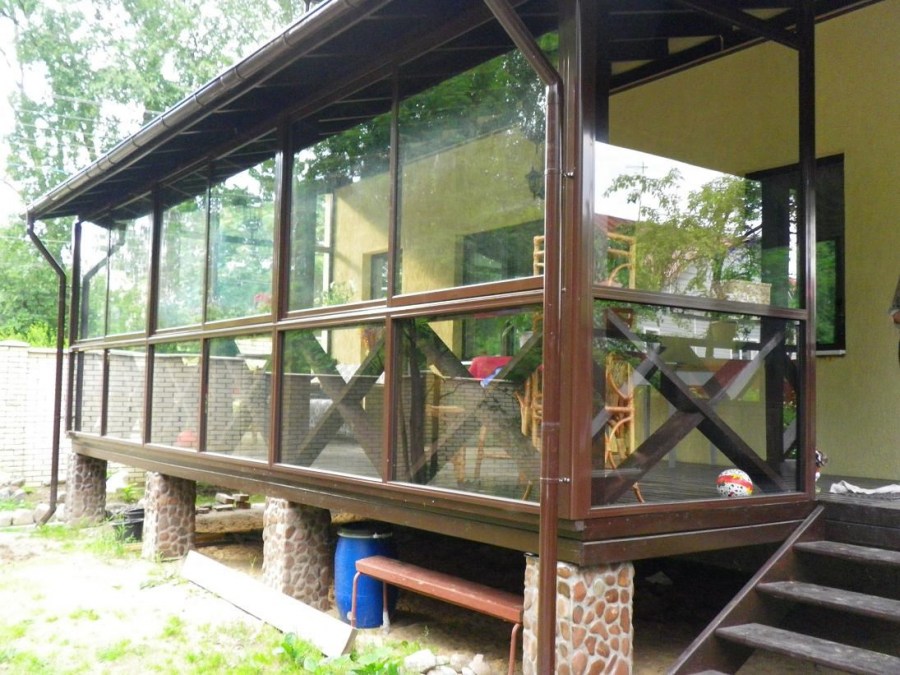
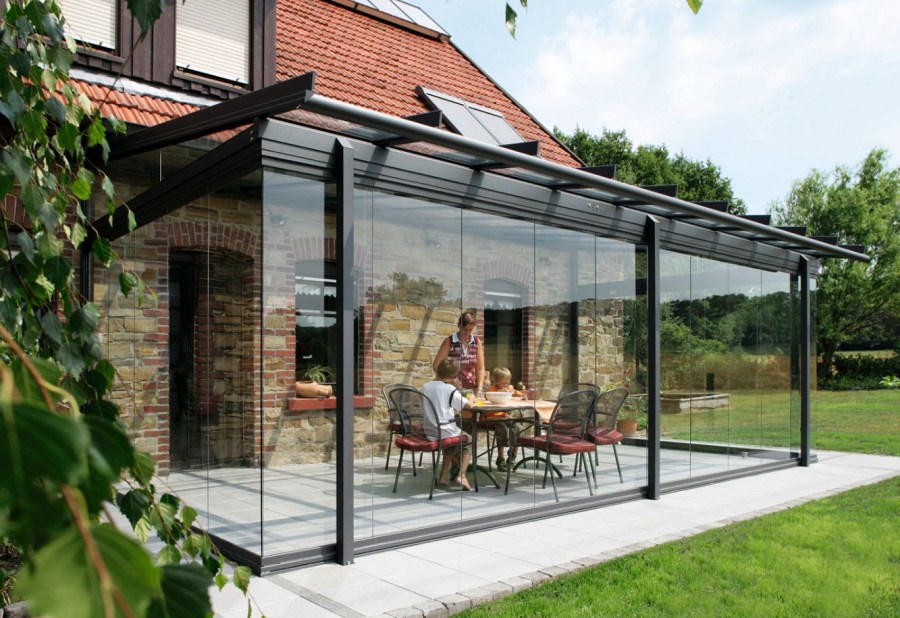
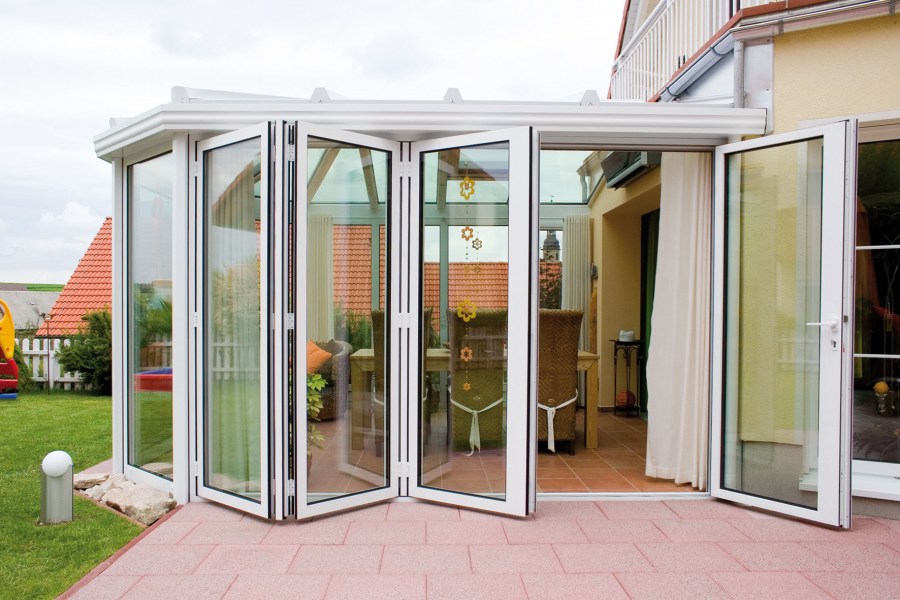
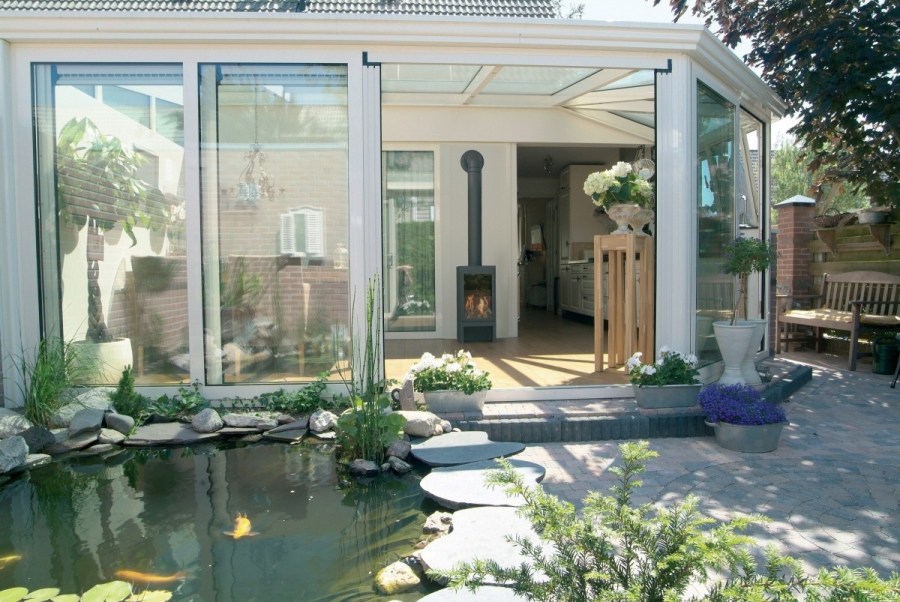
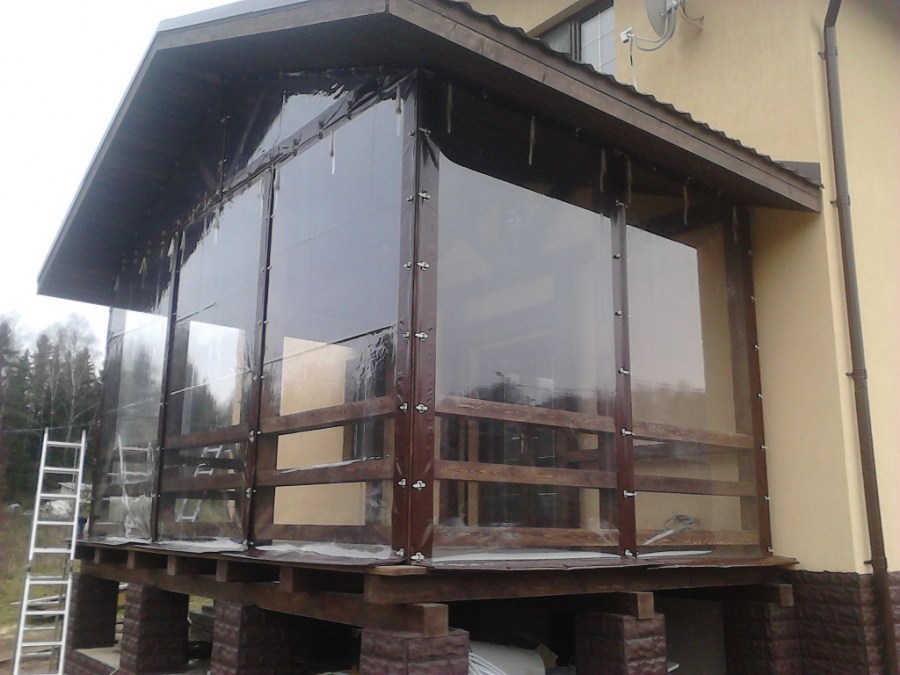
More requirements are imposed on such materials, because they must fulfill not only an aesthetic function, but also a moisture barrier, they are inherent resistant to temperature extremes. Lining and siding also corresponds to these parameters. Polycarbonate verandas are suitable for summer pastimes.

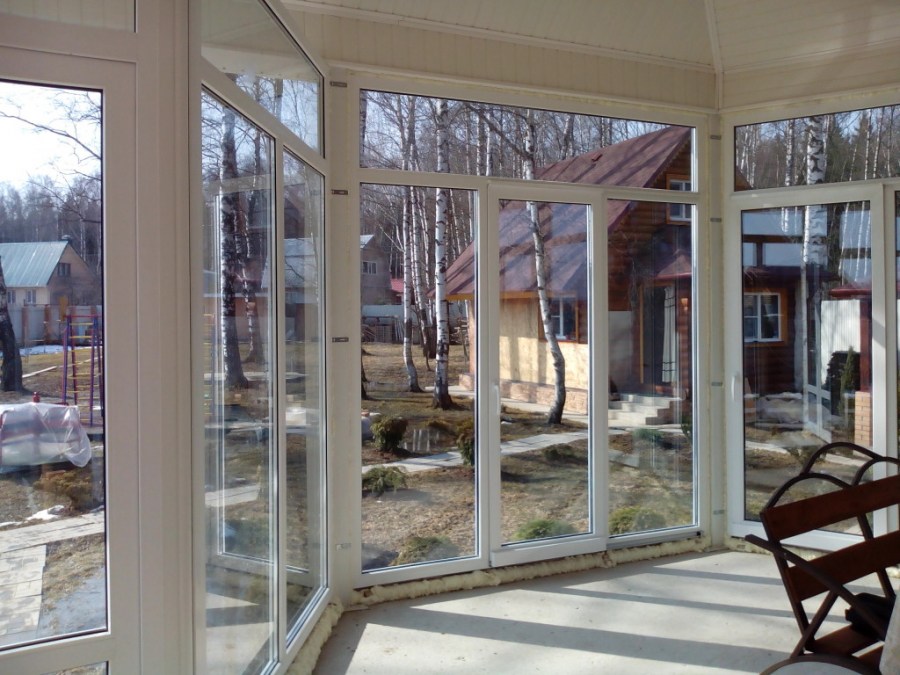
The cost of this material is small, and installation will not present difficulties. Thanks to the transparent casing, it is possible to observe the surrounding nature. If you glaze the veranda, the review will be even better.
At the end of all, it remains to install windows with double-glazed windows and doors.

If you follow the instructions and make a little effort, you can build a veranda with your own hands, and it’s worth choosing a frame and cladding depending on the purpose of the building - year-round or only for the summer season.
DIY veranda photo


Bypass in the heating system - options for proper installation. Overview of Key Features
Crocus flowers - photo of all types of flower. Planting in the garden, care and reproduction
Wooden fence: step-by-step installation instructions (100 photos)
Join the discussion: