Vine fence - weaving patterns and decoration recommendations for beginners (75 photos)
The first thing a man did, having built the first dwelling, erected a high fence around him. He did this in order to hide himself and hide his loved ones from prying eyes. Millennia have passed, the principles of building houses have radically changed, and the custom of fencing a house with a fence lives and lives. Today, a hedge is not only a way to protect the house, but also its integral decorative element.
There are many different technologies for building a fence. One of them is weaving from a rod.
Features wicker fence
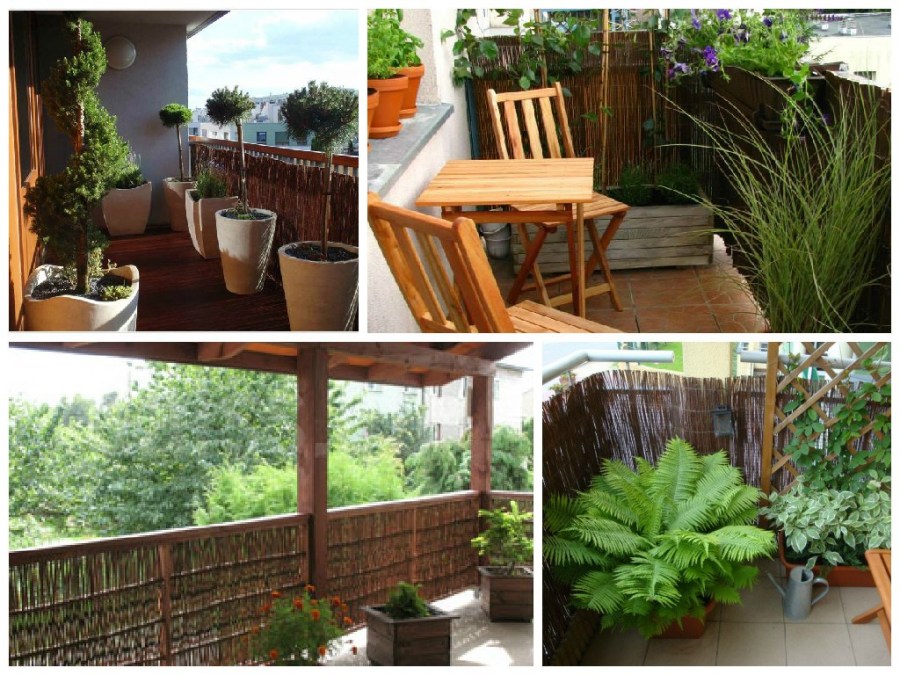
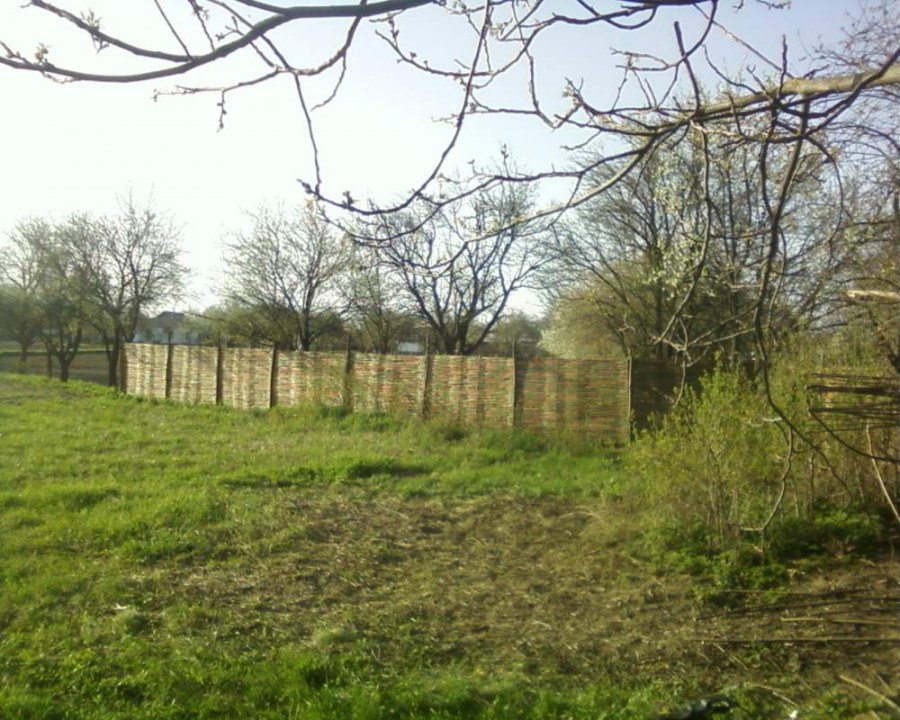
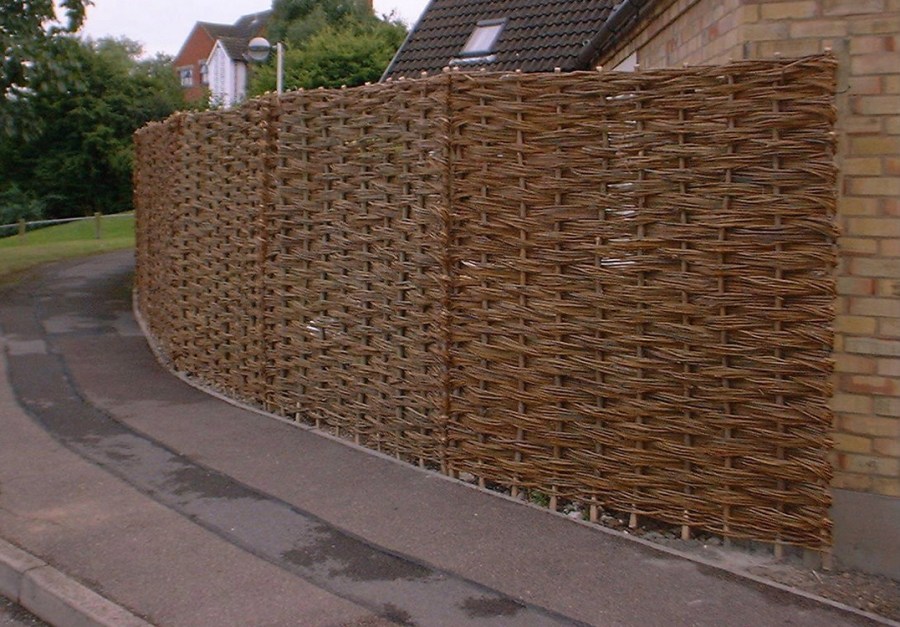
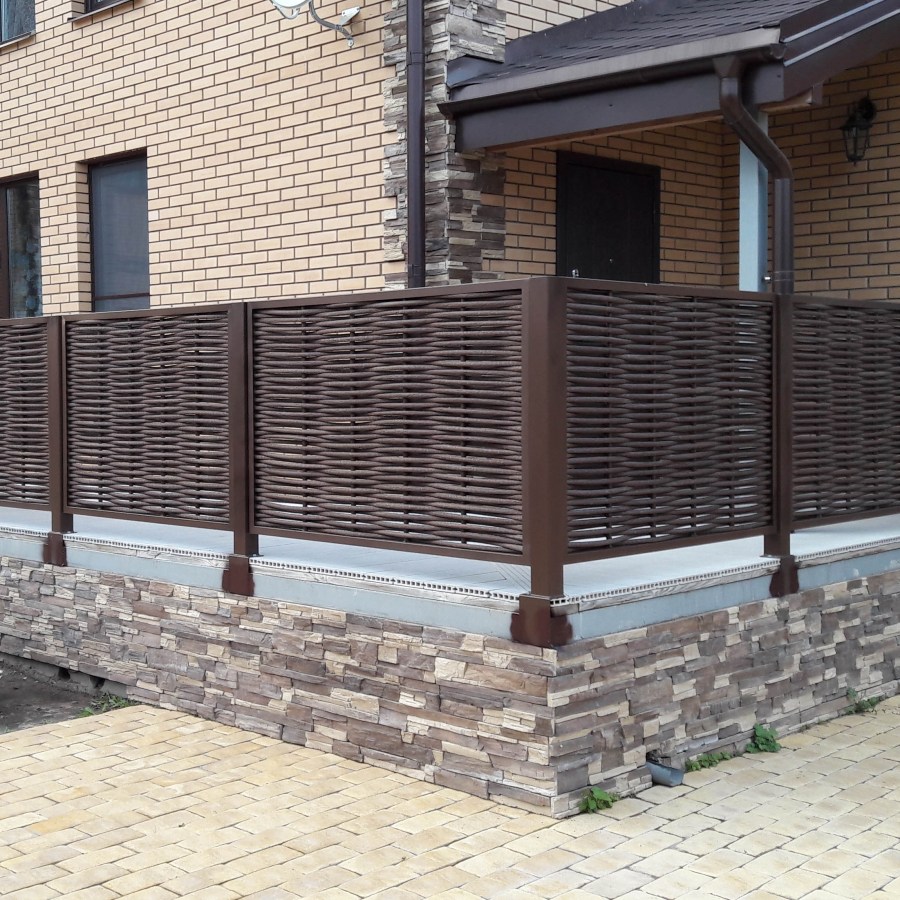
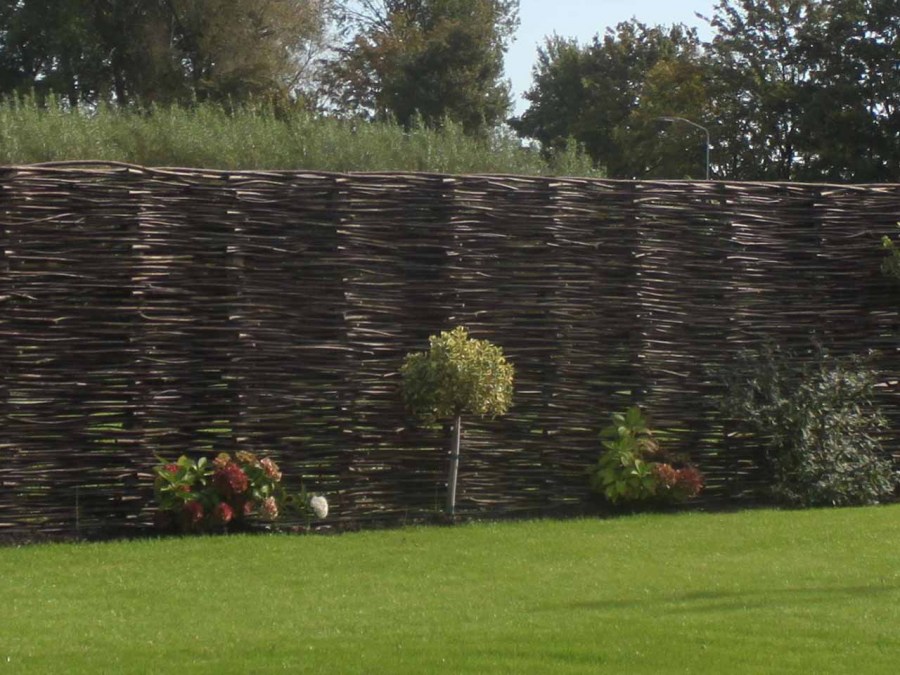
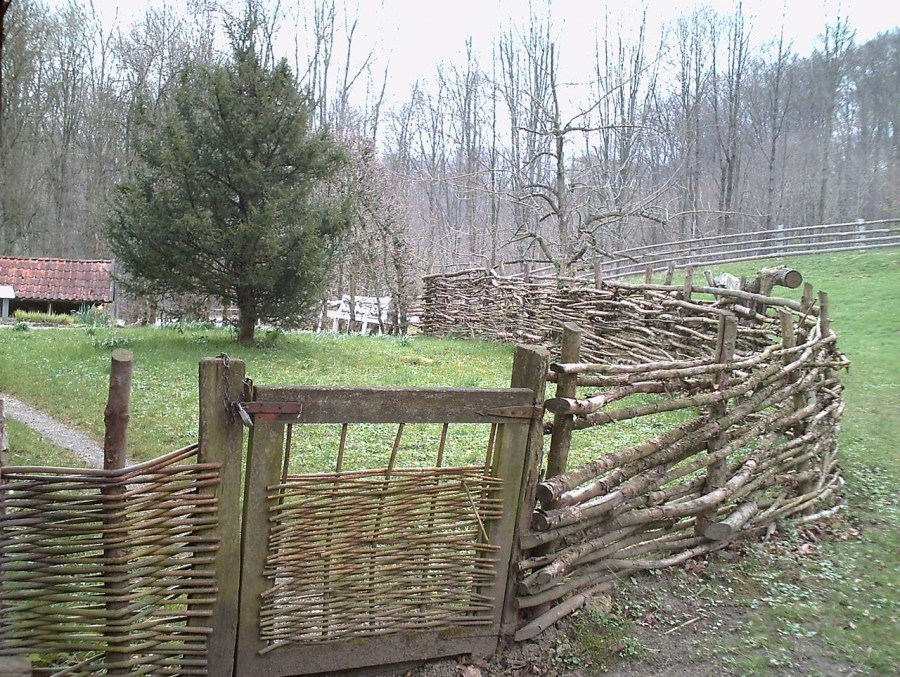
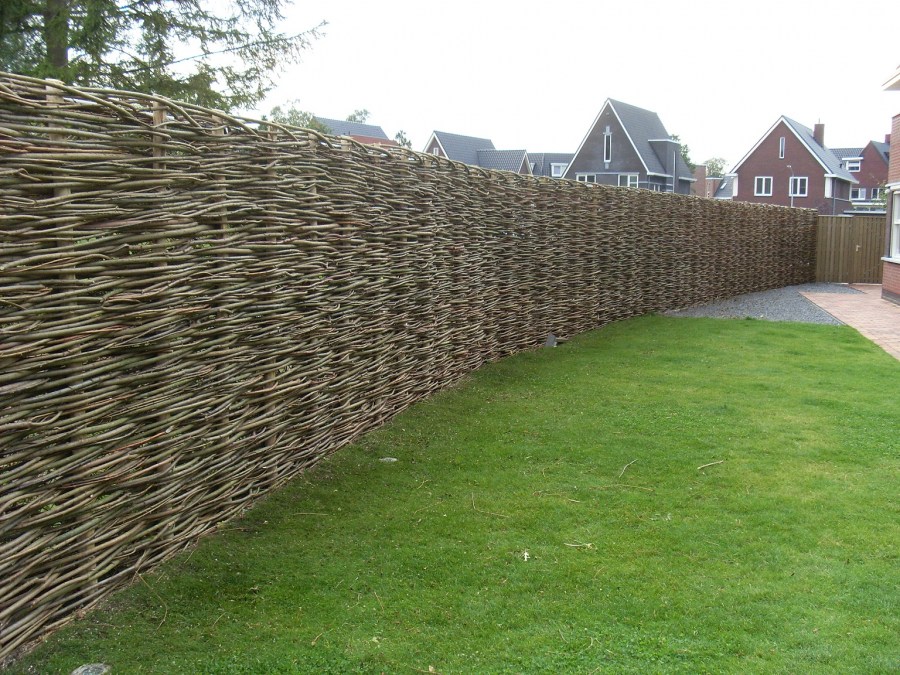
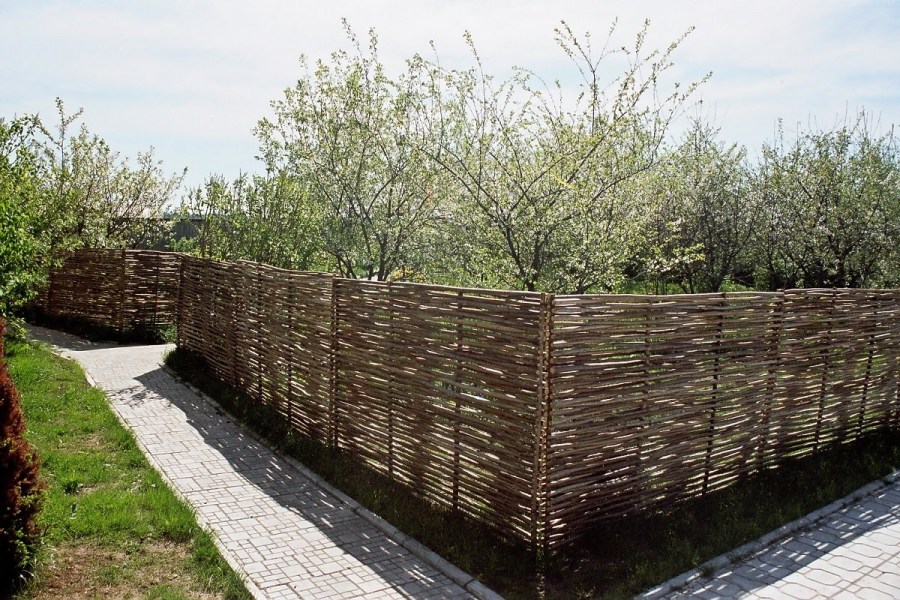
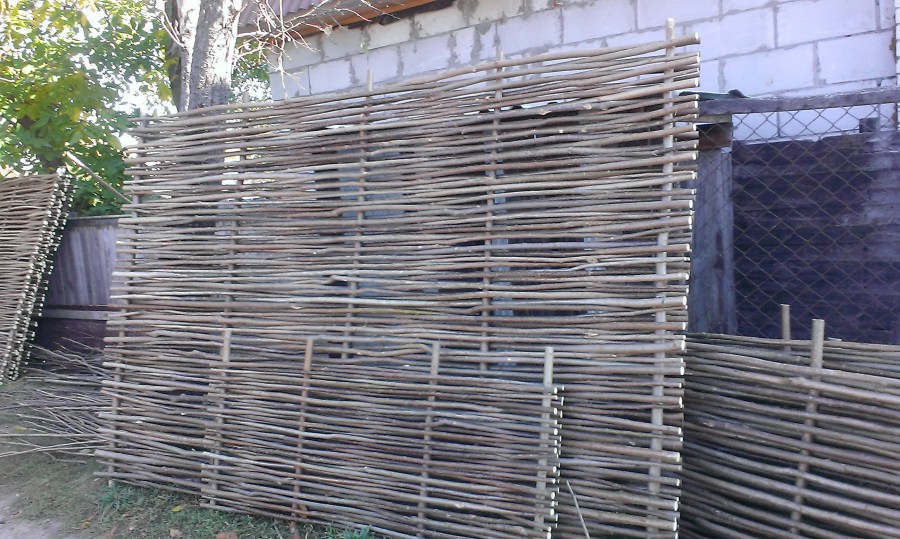
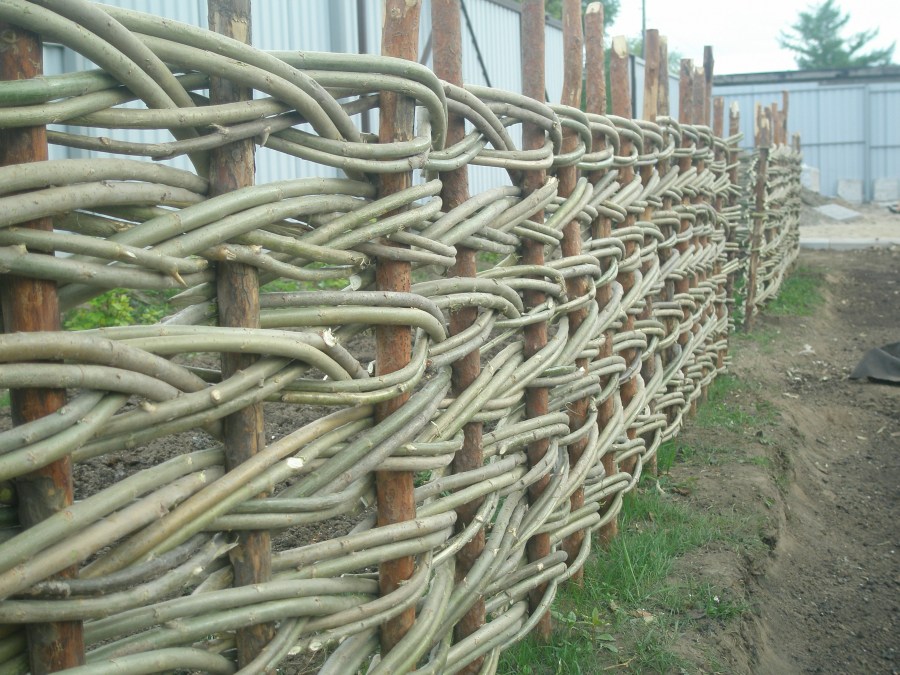
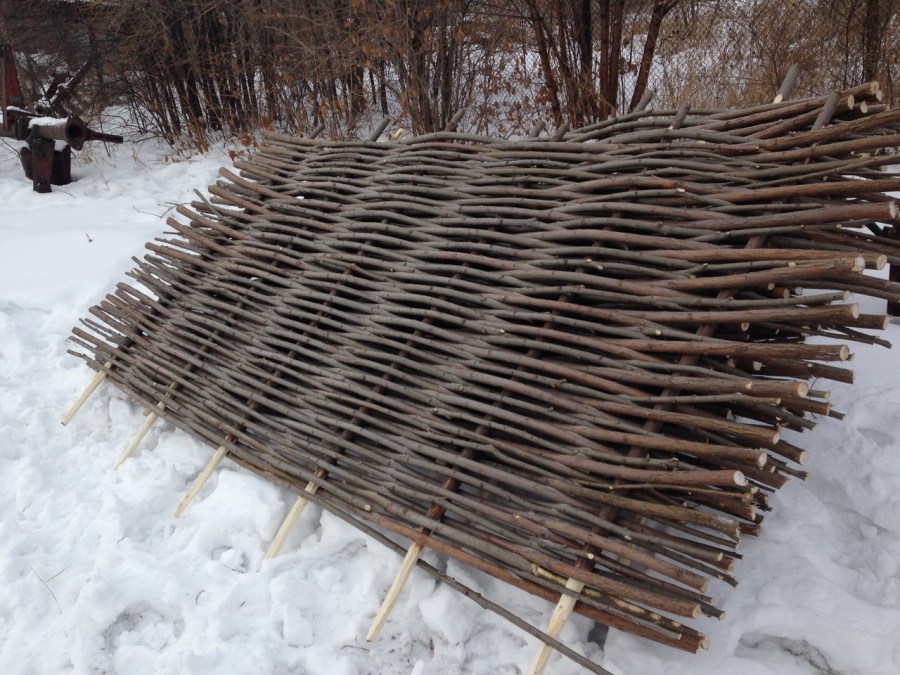
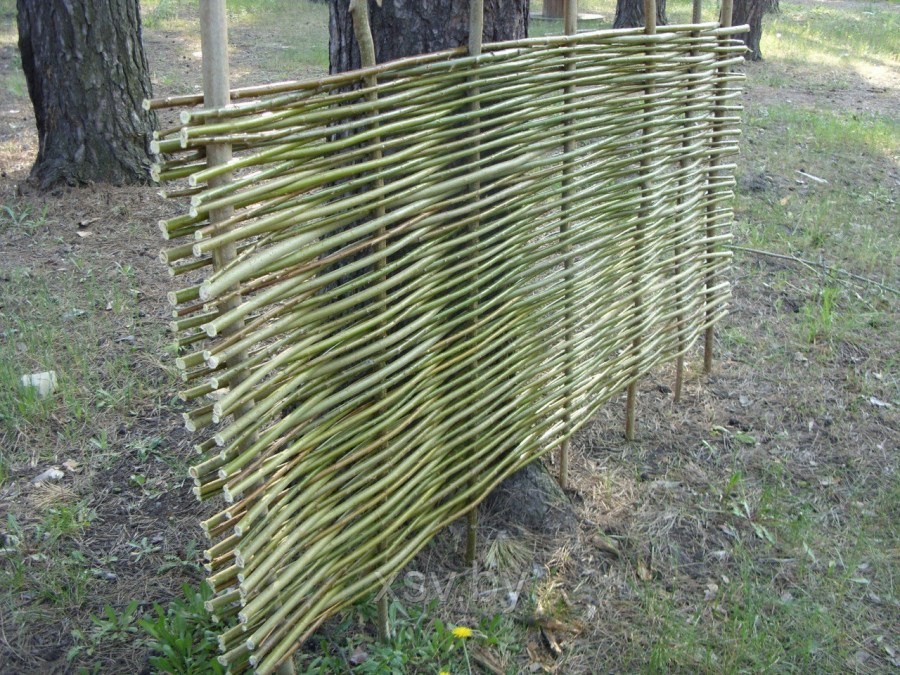
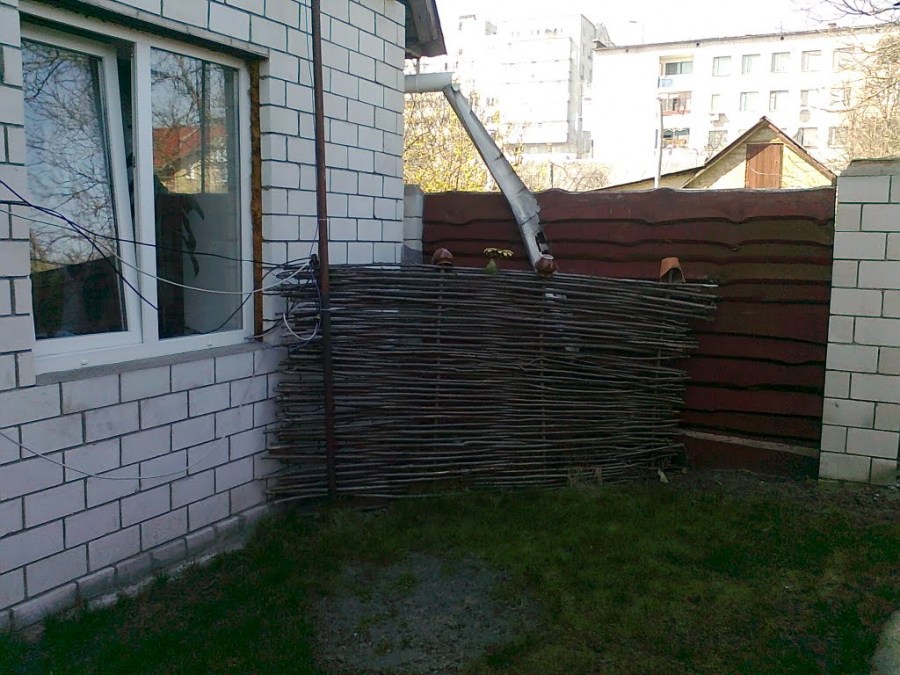
The wicker fence is used both to enclose the entire site, and to highlight areas within it. The material used is the vine, willow branches, hazel, reeds. Choose long and flexible branches and weave them, placing them parallel to each other. As a support and a transverse base, thin columns are used, dug into the ground perpendicular to it.

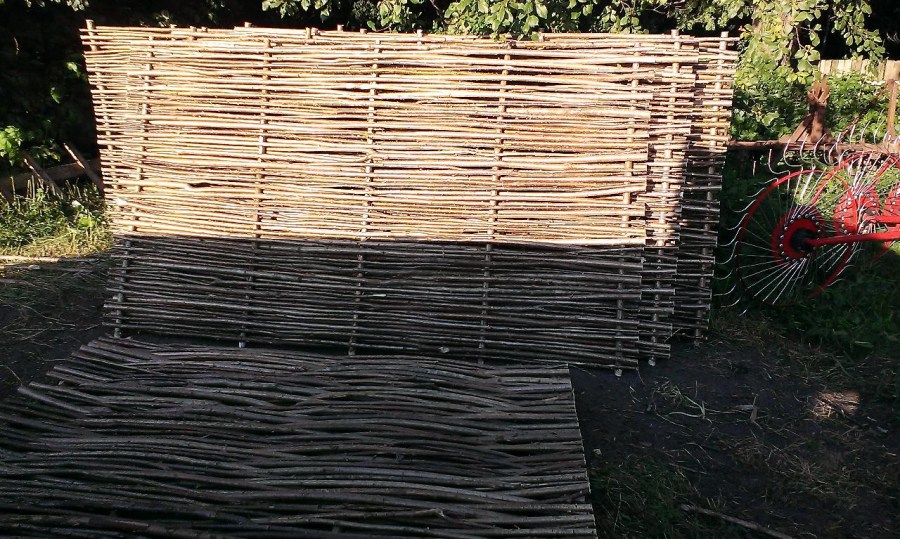
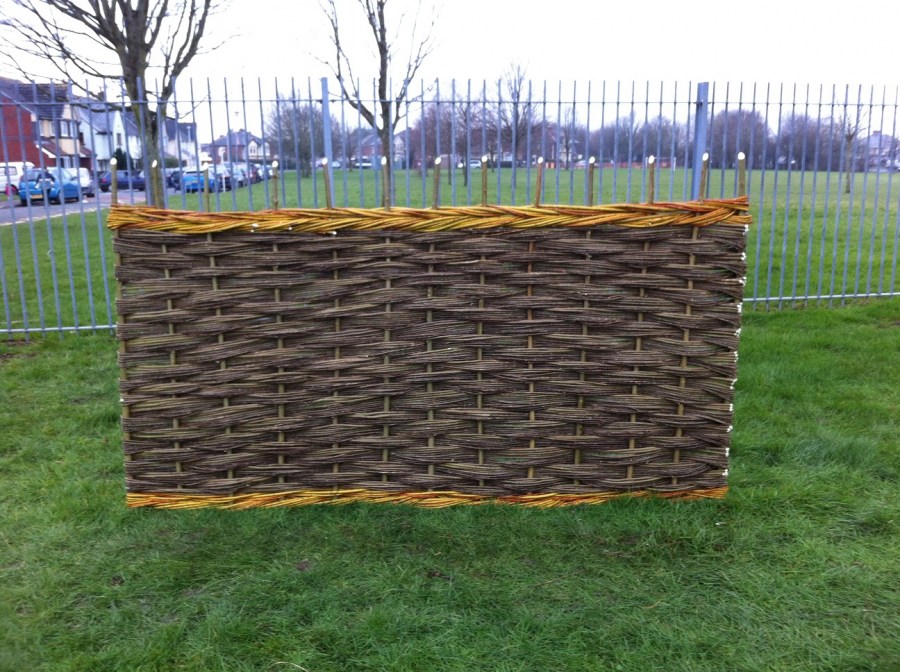
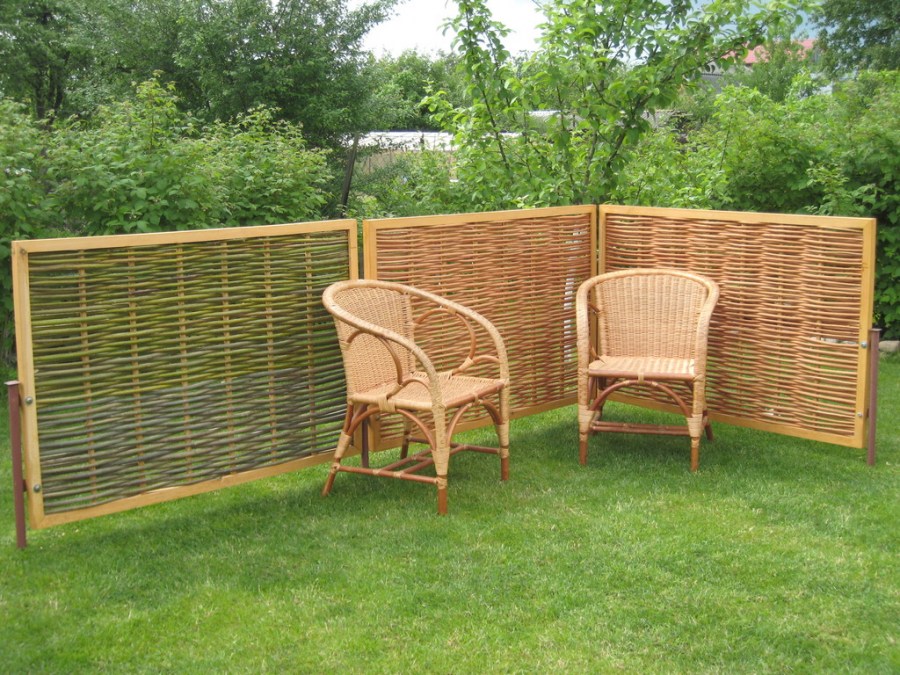
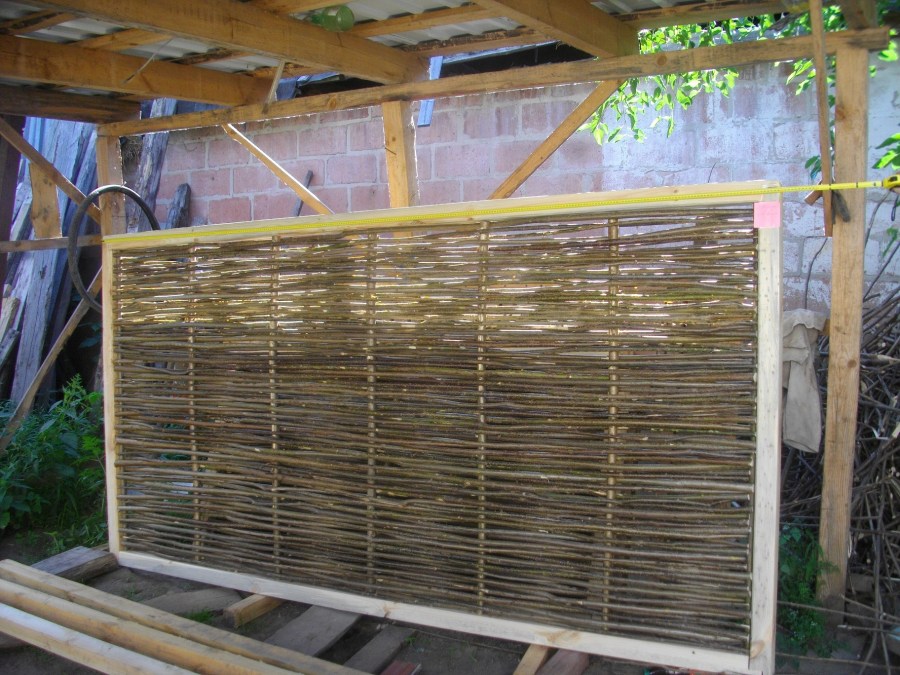
The wicker fence has obvious advantages: environmental friendliness, ease of execution (weaving is available to anyone, just practice a little and weave a small square, which can later be used as an internal partition or mat), decorative properties, material availability and low cost.
It is worth listing the disadvantages of a wicker fence from a rod: unreliability, the inability to serve as a full-fledged fence, a short life, the difficulty of replacing damaged areas, and the lack of fire safety. However, wicker hedges are quite common in landscape design.
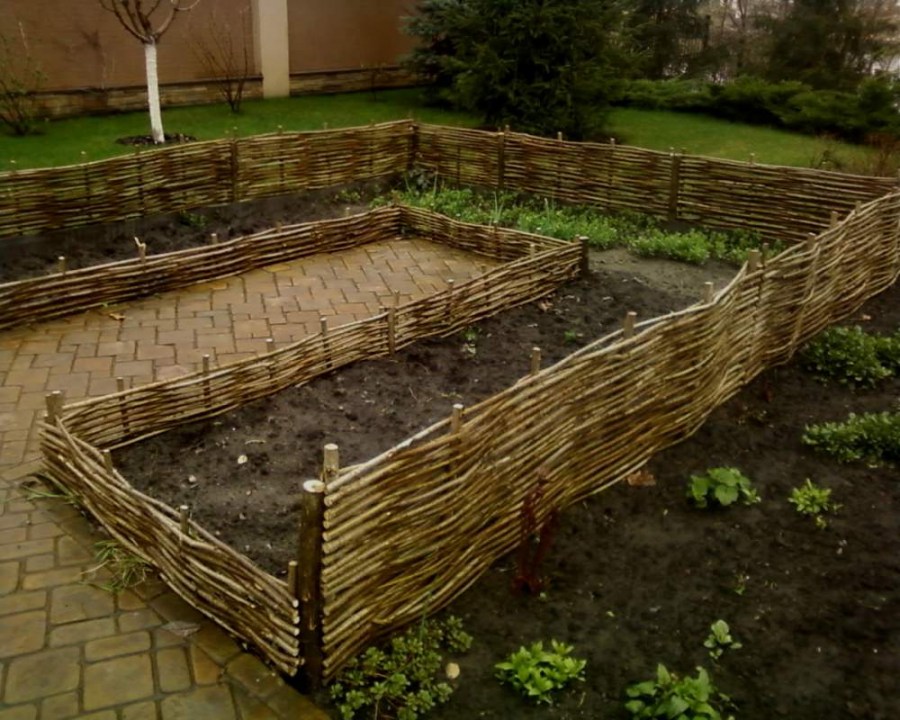
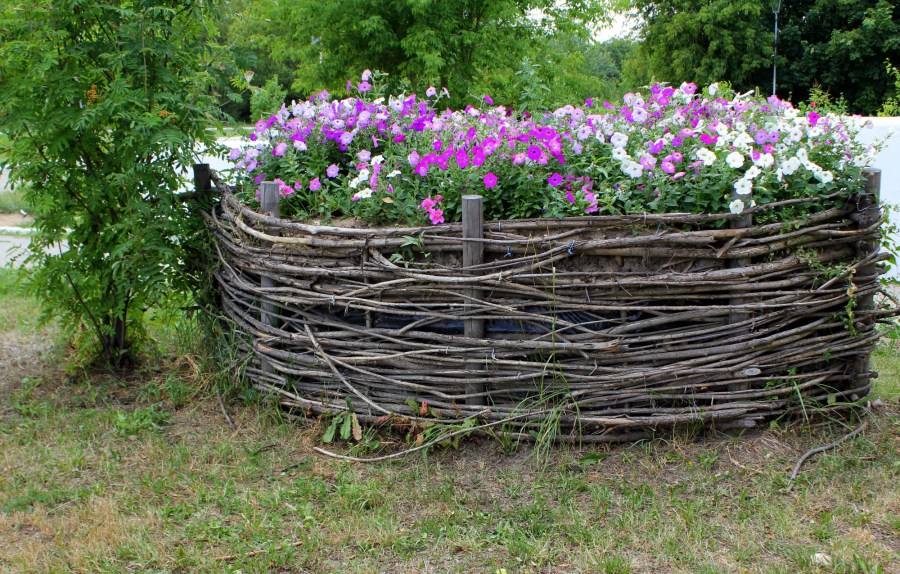
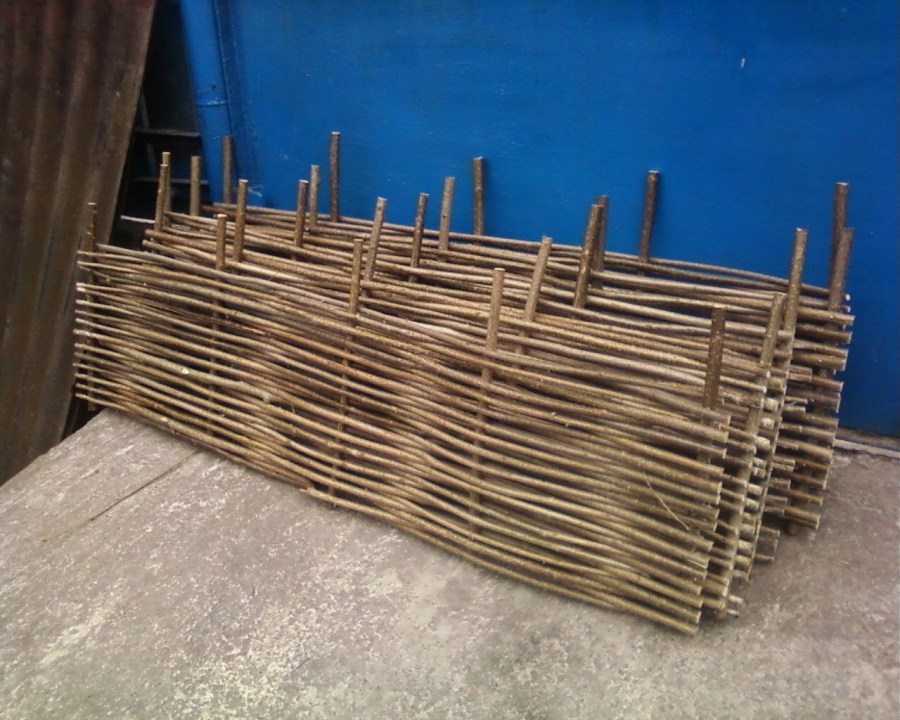
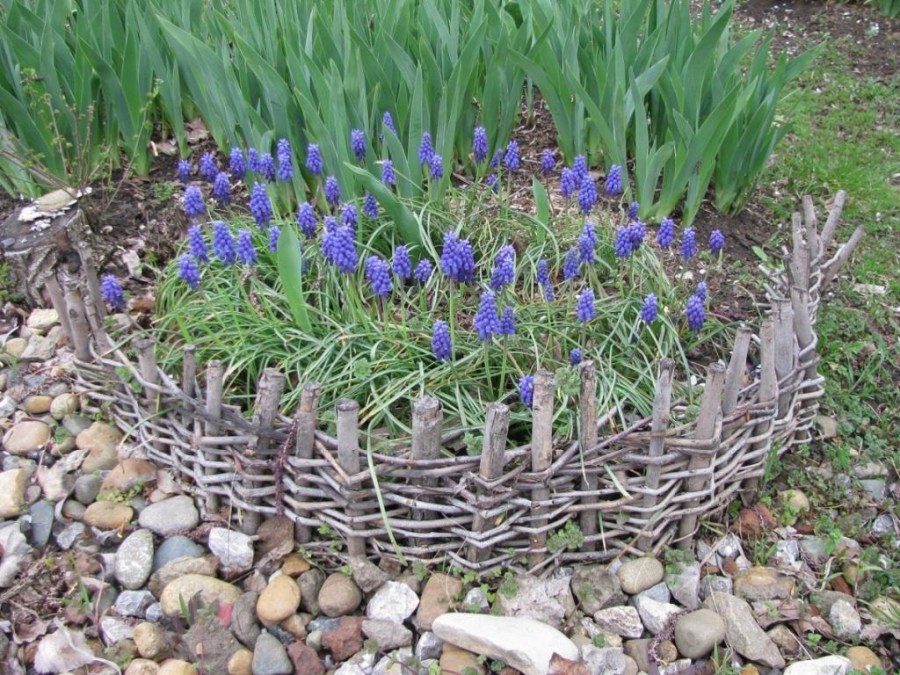
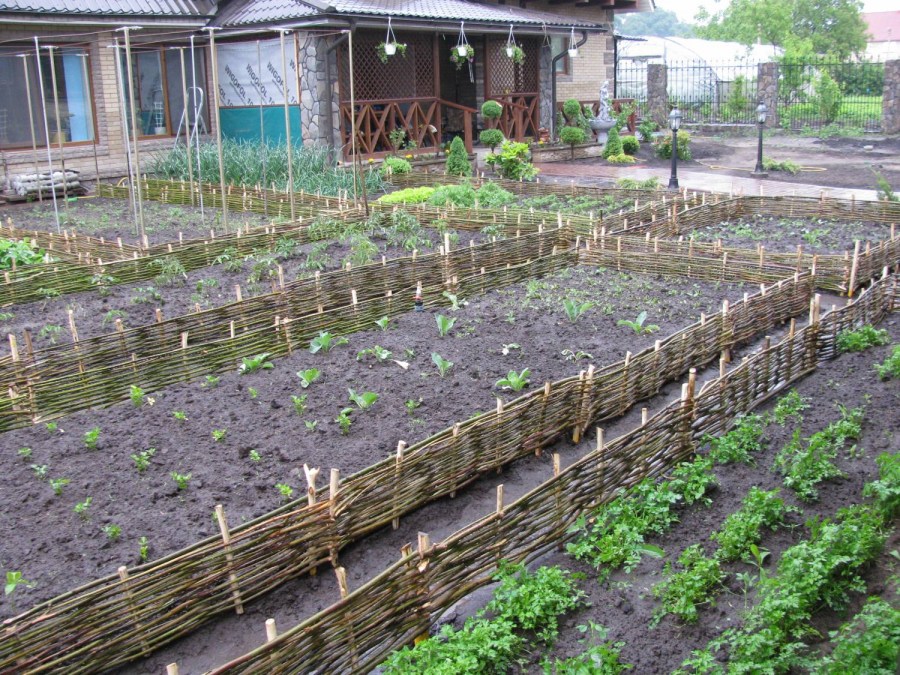
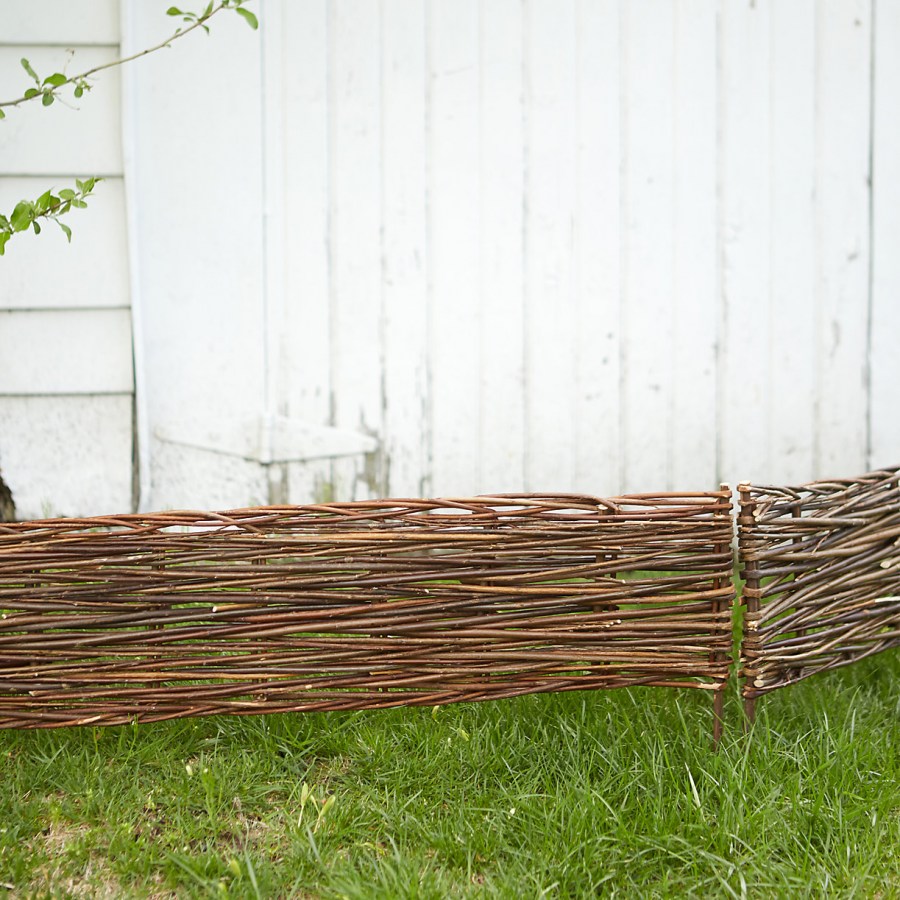
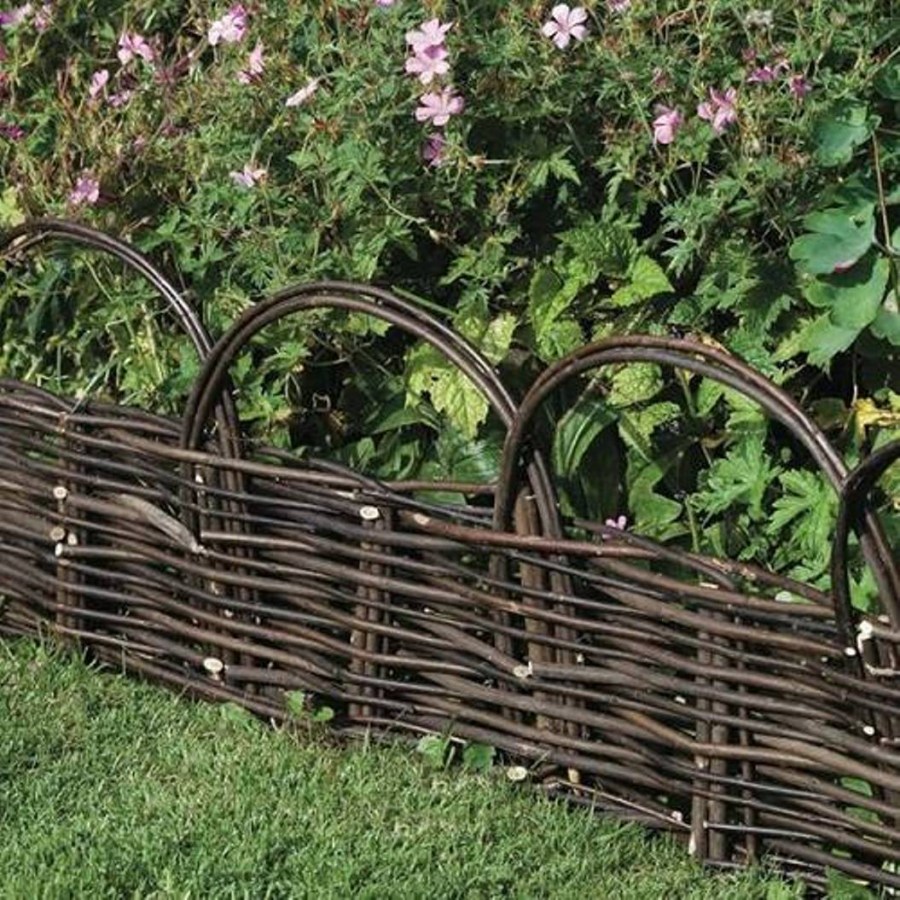
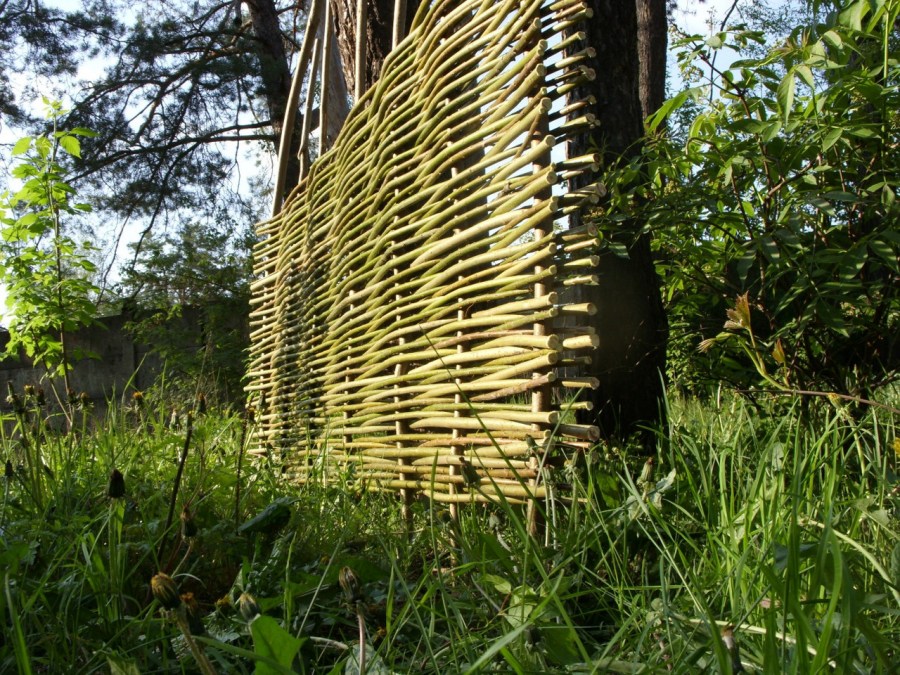
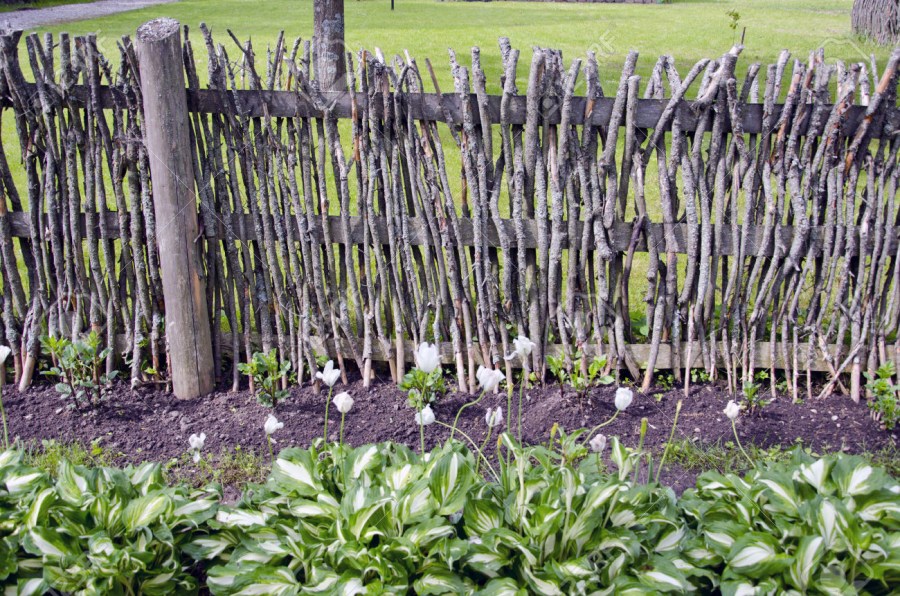
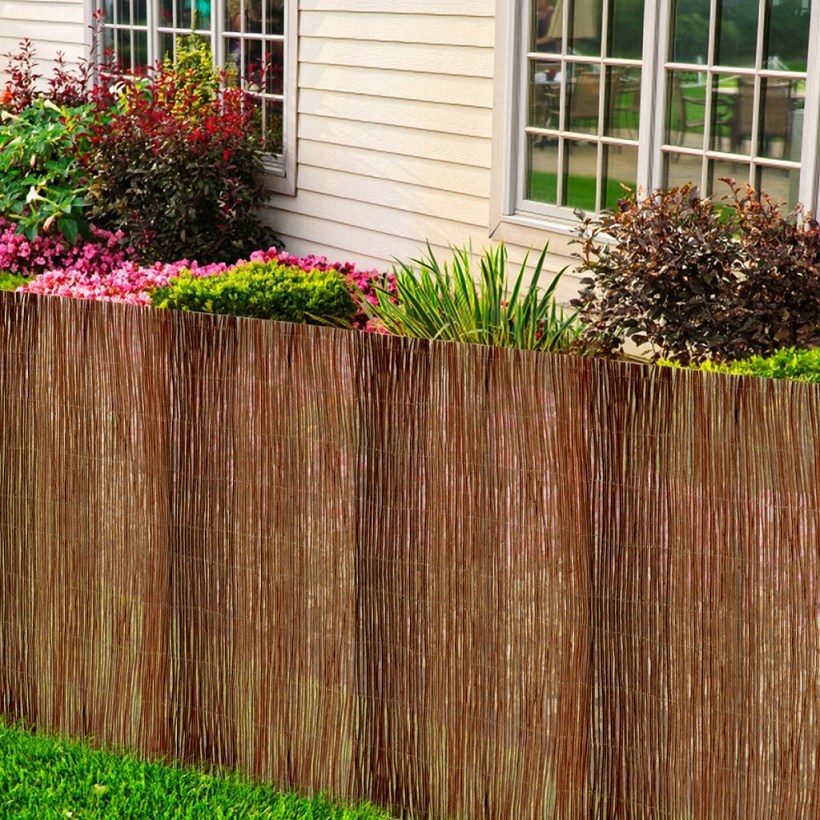
There are several varieties of wicker hedges. They vary in height from 20-50 cm for fencing flower beds, up to 100-200 cm for erection around the house with a plot.
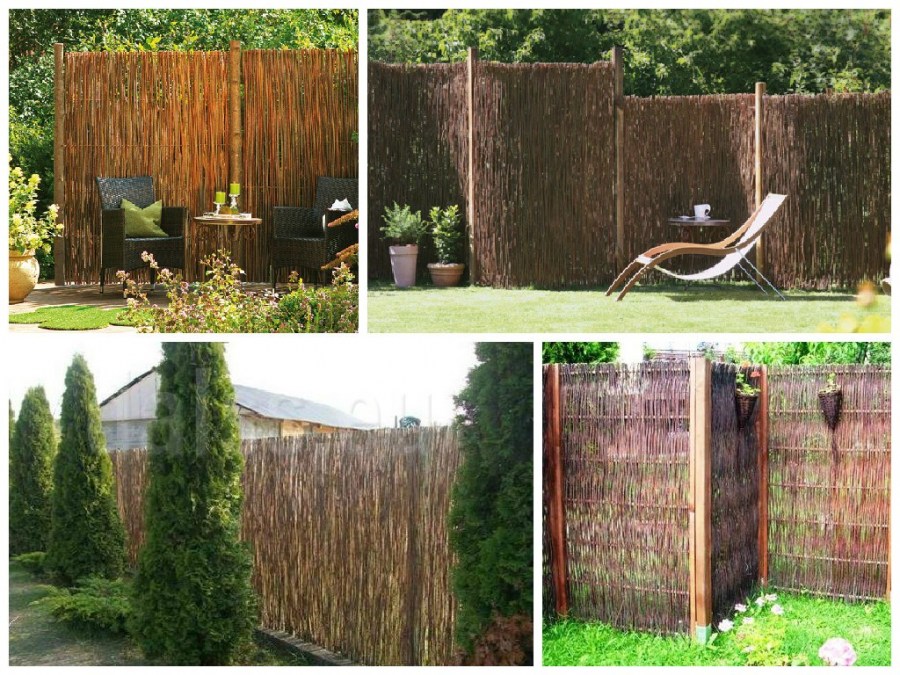
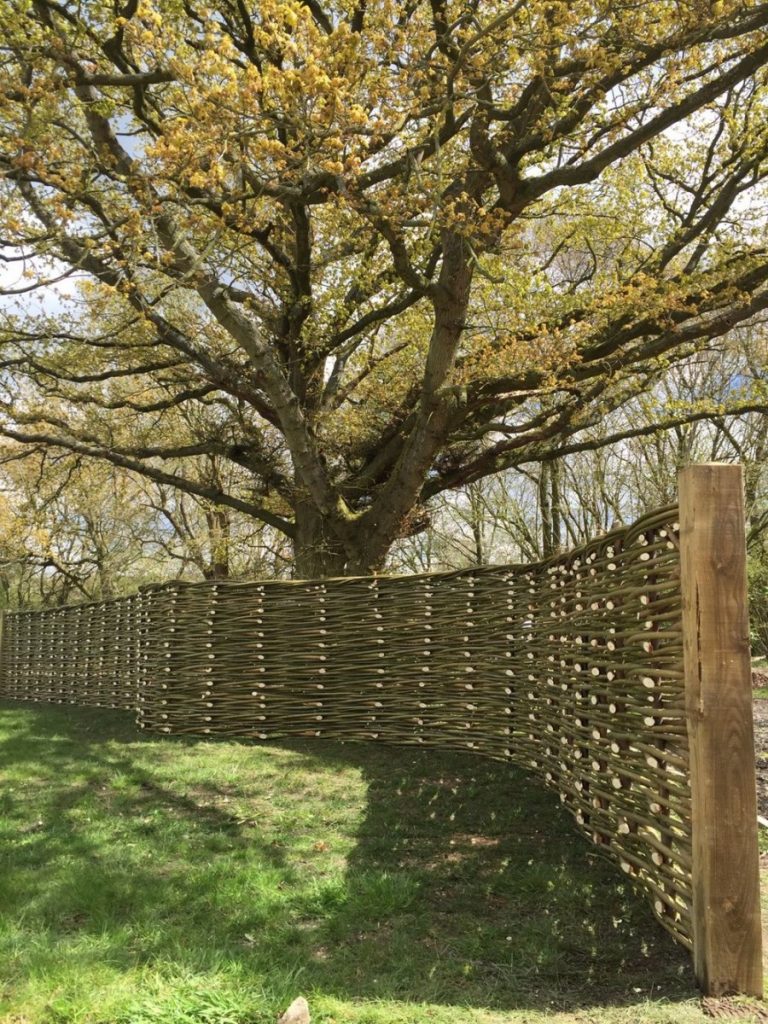
In the direction of the rods, hedges are horizontal and vertical. In the latter case, rods stuck into the ground can even take root, then a green fence will appear.
Wicker Fence Material
Weaving a fence will be much easier from a flexible rod. It can be willow, vine, reeds, the main thing is the elasticity of the material. Anyone will do. It is better to harvest it in the off-season, but if necessary, you can do it in the summer. It is better to go after him to places of high humidity.

The rod should be smooth, without unnecessary branches. It should not have visible signs of disease. To later save time on planting the vines in size, when cutting it from a tree, you can use the measurement.


For vertical supports, thicker and inflexible branches with a diameter of at least 4 cm are needed. Pine branches are suitable for this. The length of the supports should be 50 cm greater than the height of the future fence. It is on these 50 cm supports that will be dug into the ground.

If you decide to make a fence from reeds, you need to collect it from swamps or lakes. It has the top in the form of a panicle, not a brown cone. Inside the stalk of reeds should not be hollow. It is the pulp with which it is filled that gives it the necessary elasticity.
Cut the vine with a sharp knife obliquely. The cut rod must be stored correctly so that it dries. You can decompose it in one layer in a well-ventilated area or at least under a canopy. You can not lay out the reed, but tie it in bunches and hang it for drying.

Immediately prior to weaving, the dried material is steamed to return its flexibility. Steaming is an express method. But you can do something else. A couple of weeks before the erection of the fence, put the handles in water 30-40 cm.
One cannot but mention such a material as a polymeric vine. It is sold in stores and construction or garden markets.This is a flexible tube with a rough surface that imitates a natural rod. It is very convenient to use, since it was initially given all the properties necessary for weaving: flexibility, optimal length.

The fence made of polymer vines is more even. He is not afraid of moisture and fire. Although, the artificiality of the material is noticeable, and a special flavor is lost, which is able to give hedges only natural material.
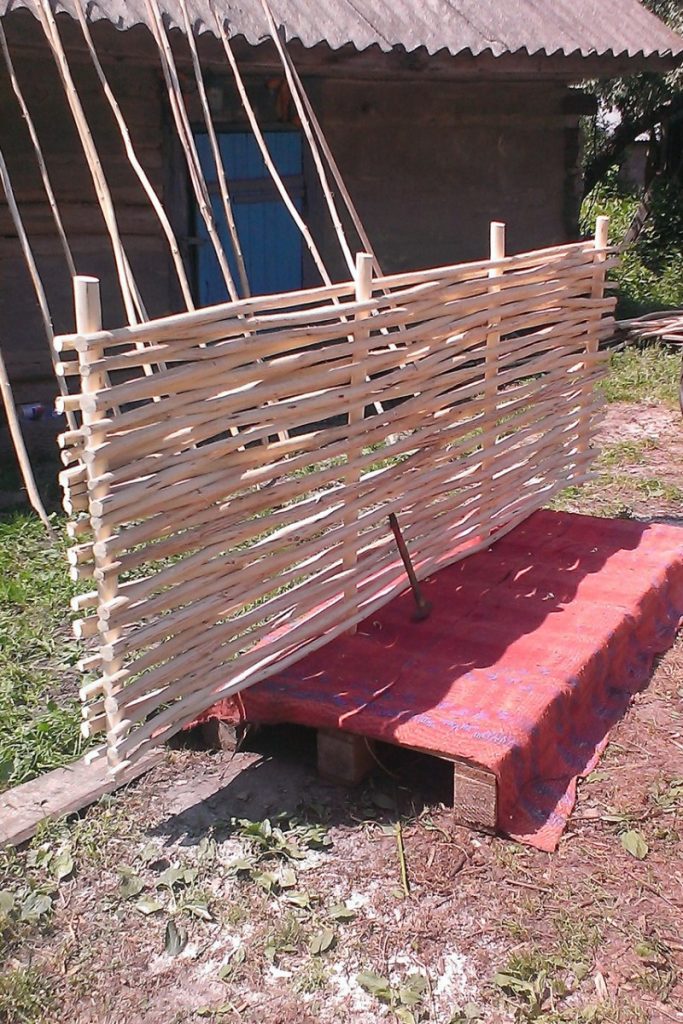
Weaving technology
To make a fence from the vine with your own hands, in addition to the vines and supports for the work, you will need a wire, a hammer, a shovel, sand, several metal columns, a pruner, an ax.
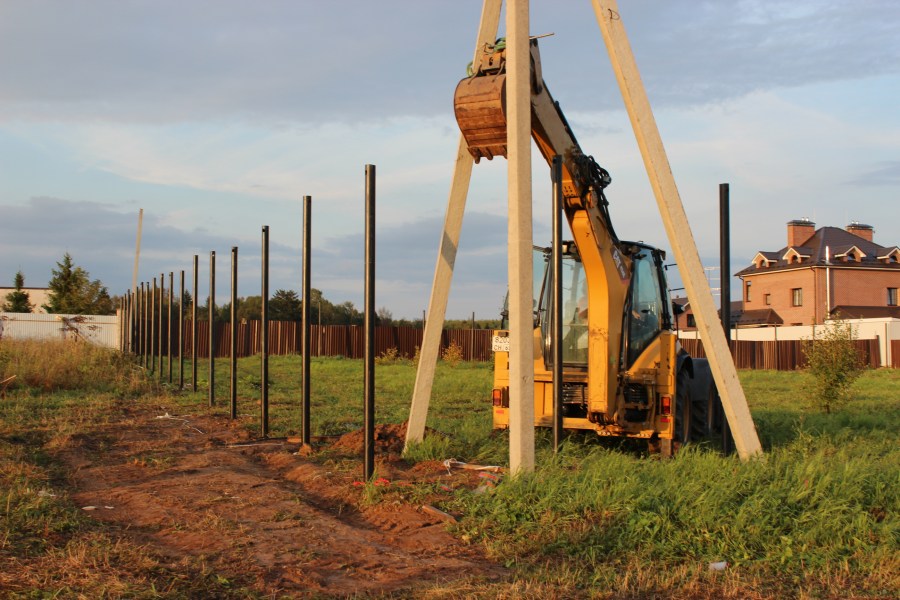
First of all, you need to make markings for the future fence, determining its boundaries. In the corners, dig in metal columns and pull the string on them 10-15 cm from the ground. You will get a smooth polygon. Dig a trench along the becheva with a depth of 30-50 cm and a width of 20 cm. Pour sand into the trench. This is a drainage that will not allow the supporting branches to quickly rot.
In the trench covered with a trench, dig support branches in increments of 50 cm. The depth of digging is 30-40 cm. The lower end must be sharpened with an ax before digging. Then they can not be dug, but hammered. Having wetted the ends in an antiseptic composition, they can significantly slow down their rot.

Tamp the sand well so that the supports are held tight. Among the wooden supports, several metal ones can be installed to increase the rigidity of the structure.
To clean the bark from the rods. To lighten them, they can be treated with hydrogen peroxide, to give a darker shade - stain, to make them look like mahogany - potassium permanganate, for a gray-brown shade - iron sulfate.
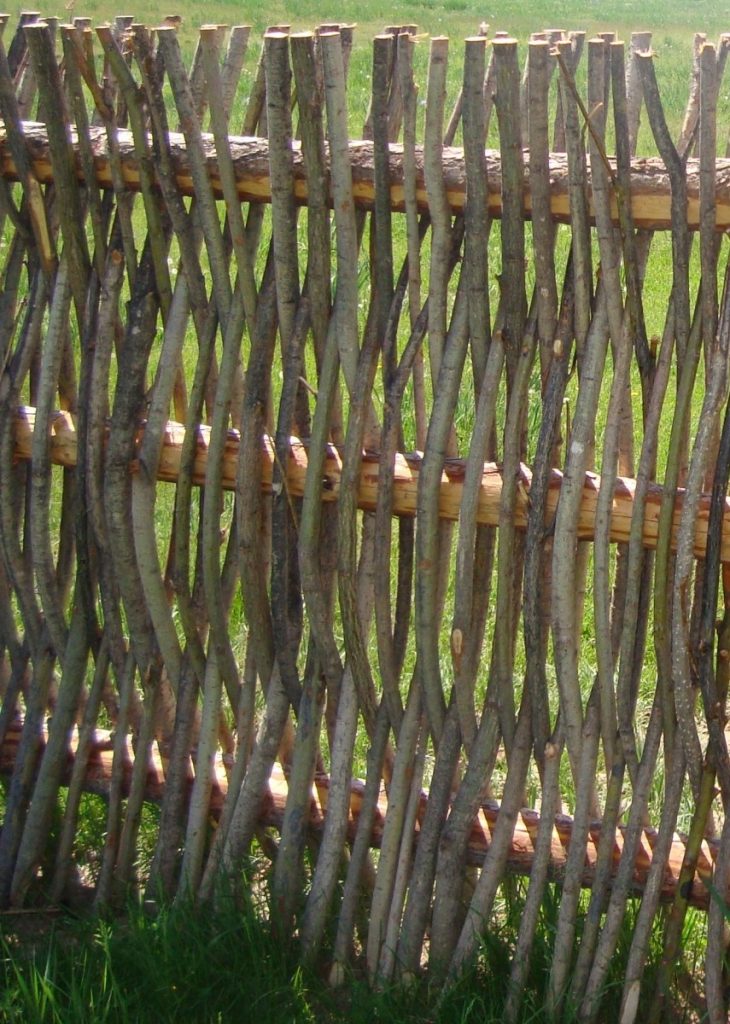
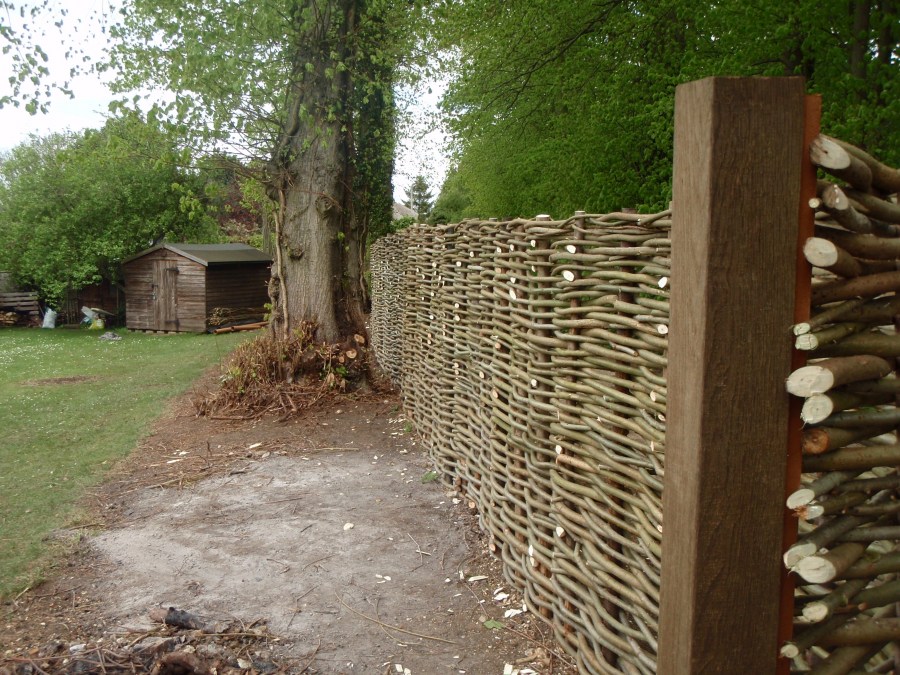
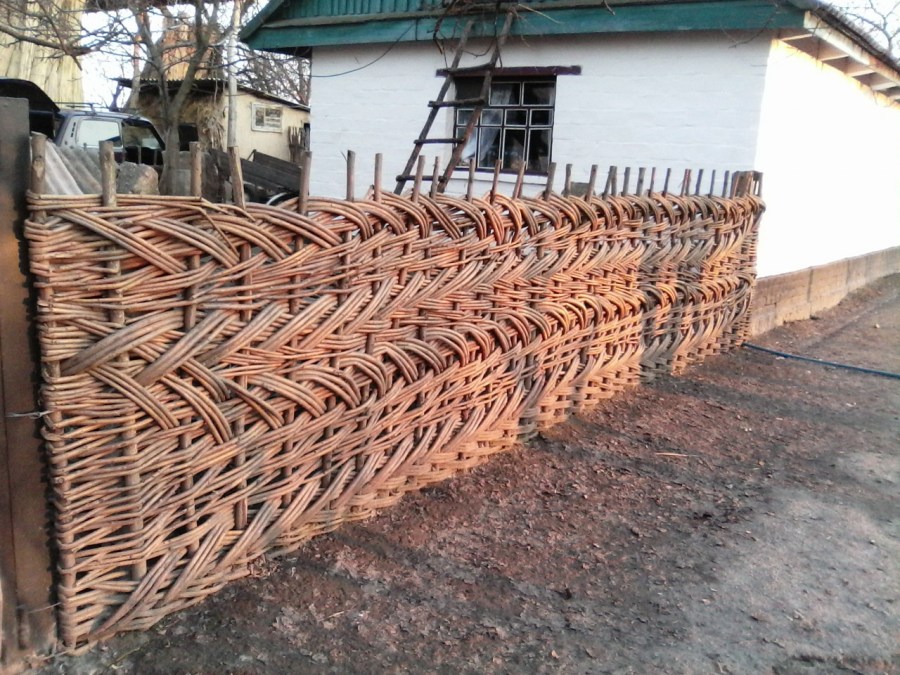
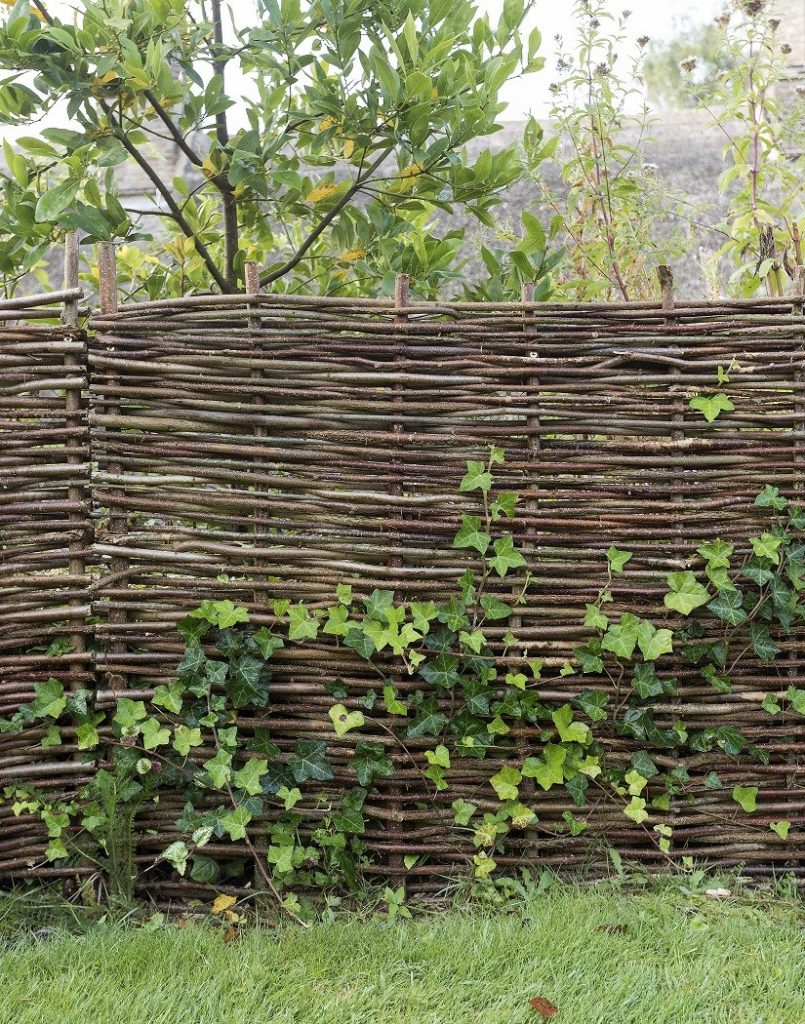
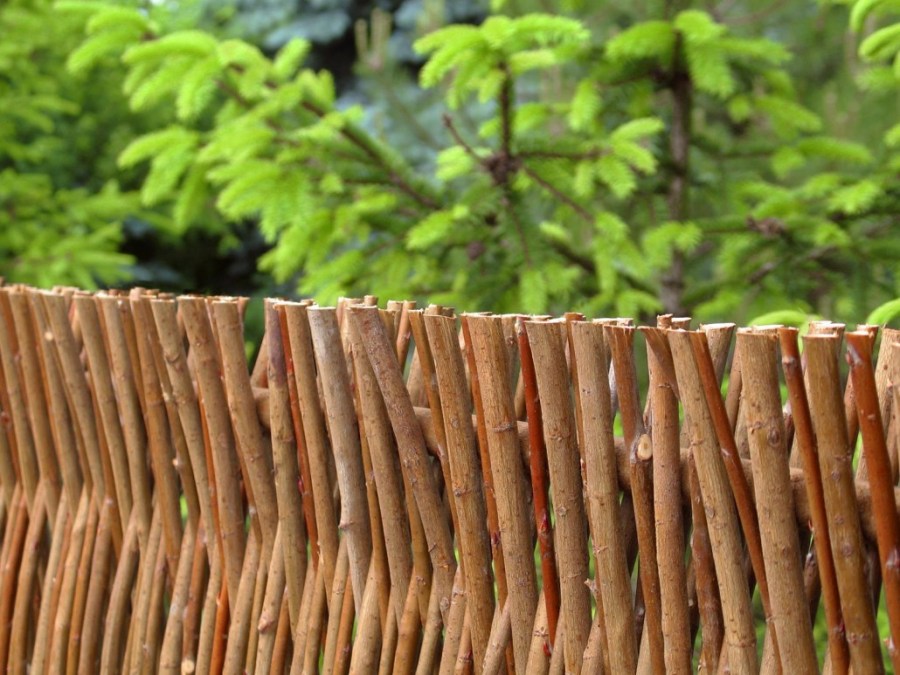
You can fix the vine between the supports in different ways: tightly or with a clearance, one at a time or in pairs, triples in a checkerboard pattern. If you gird all the supports at a distance of 50 cm from the ground with a transverse vine, and then repeat the girdle 50 cm higher, the remaining rods can be placed not horizontally, but vertically. Now it remains to trim the pruner rods in the upper part evenly. To do this, pull the string again. Along the top edge of the fence, put a trim.
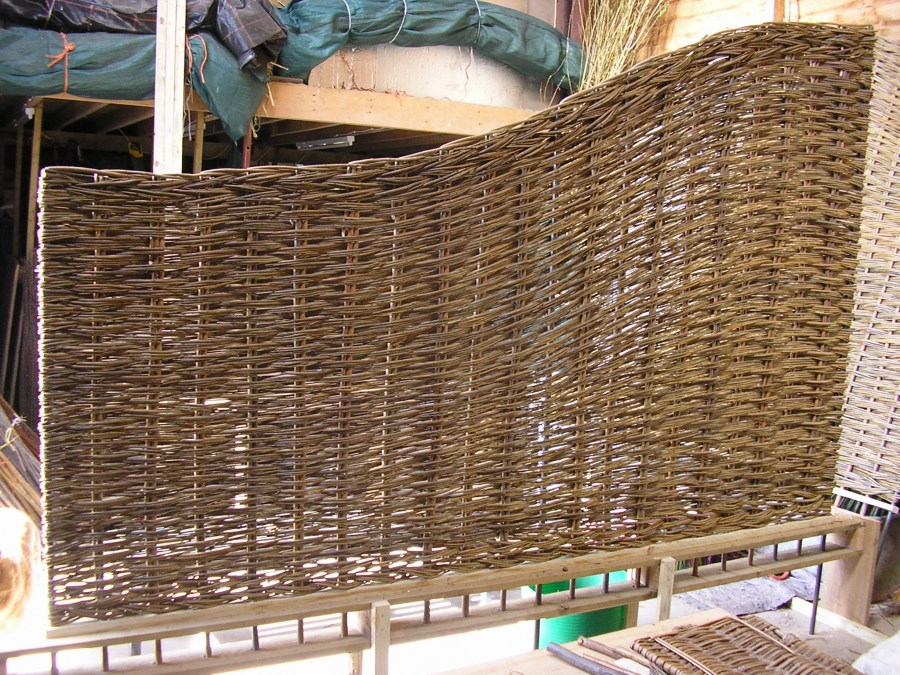
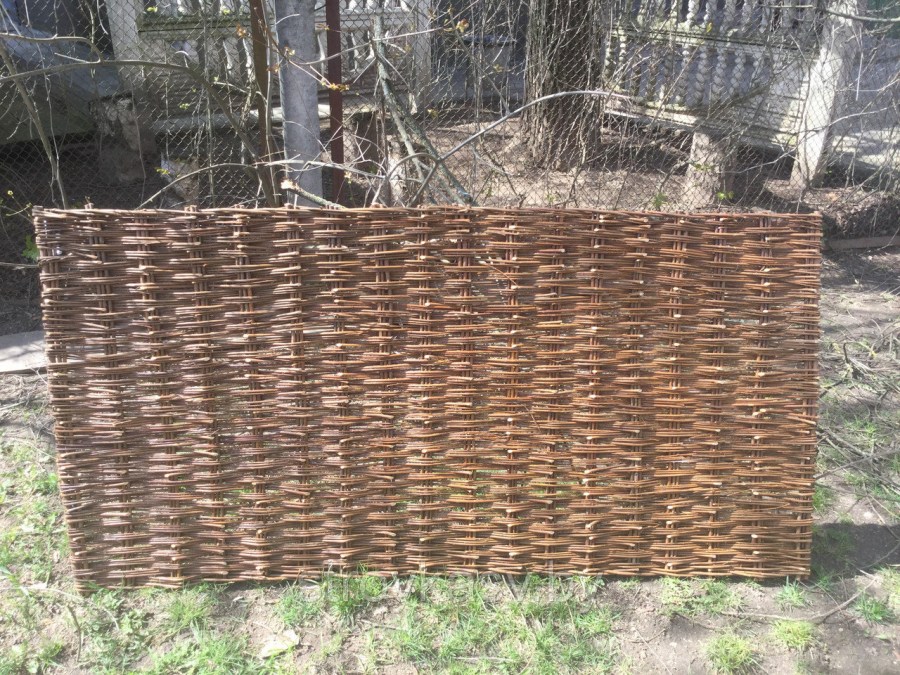
If the weaving is traditional - horizontal, you need to start it from the bottom. The edges of each lozin should be carefully masked by connecting with each other with a wire. With tight weaving, each new row is tapped with a hammer so that the gaps disappear.
The edges of the rods of the top row are firmly fixed with wire, masking it. You can fix the rod with screws to the supports. The finished fence can be covered with the same stain or spray paint. Antiseptic treatment will not hurt.
How to decorate a fence
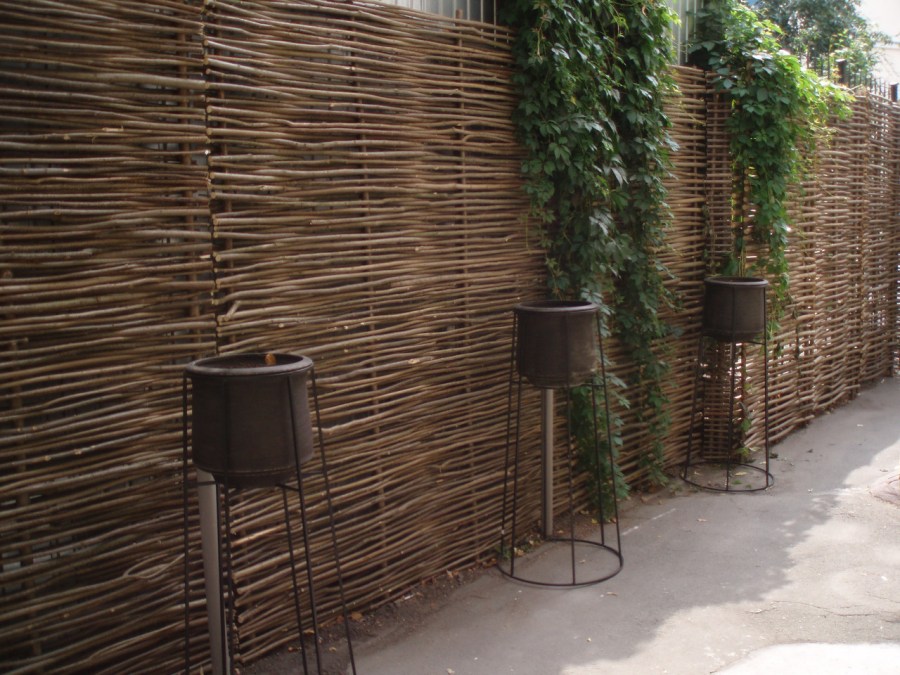
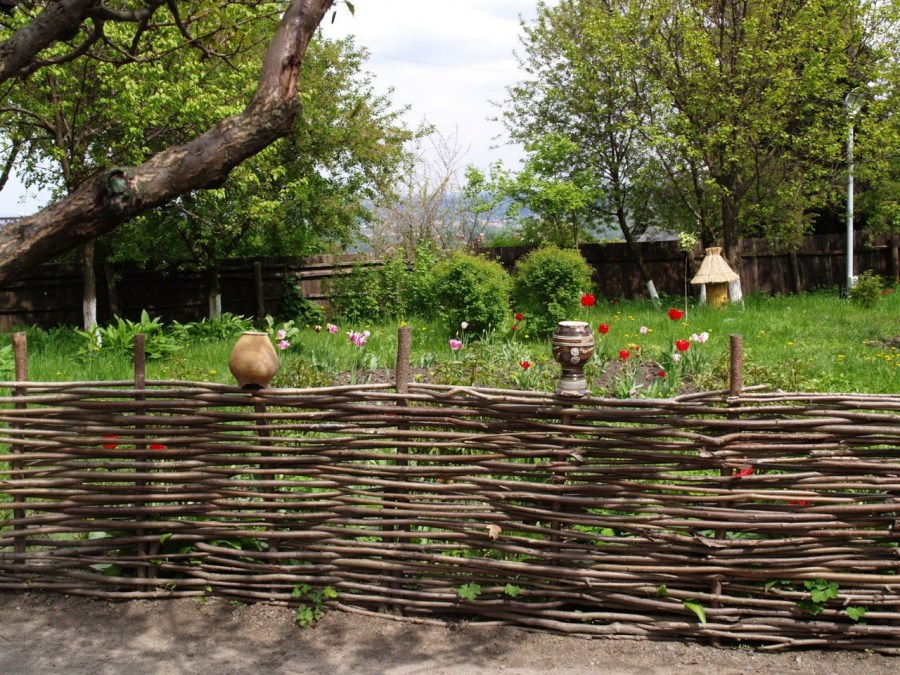
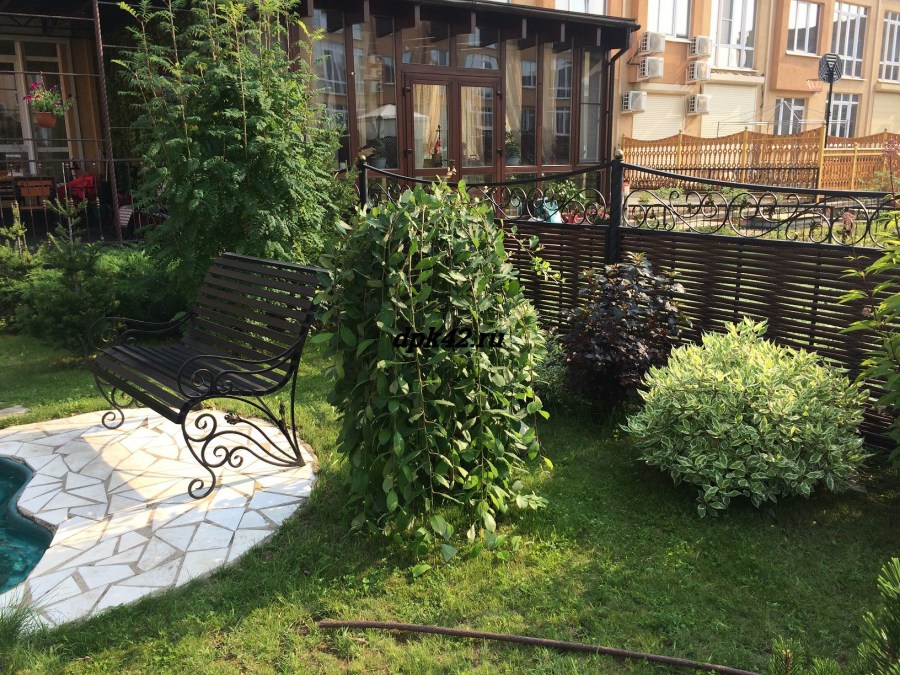
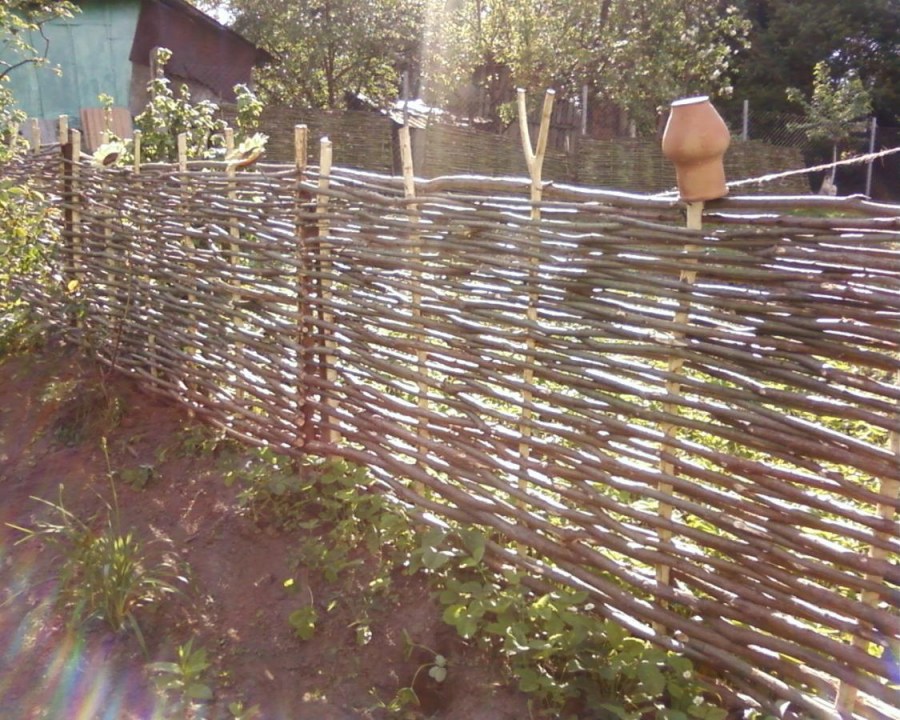
The photo of the fence from the vine shows that they are trying to decorate it, to make it more alive. To do this, you can make some supports a little higher and hang clay krynks on them.
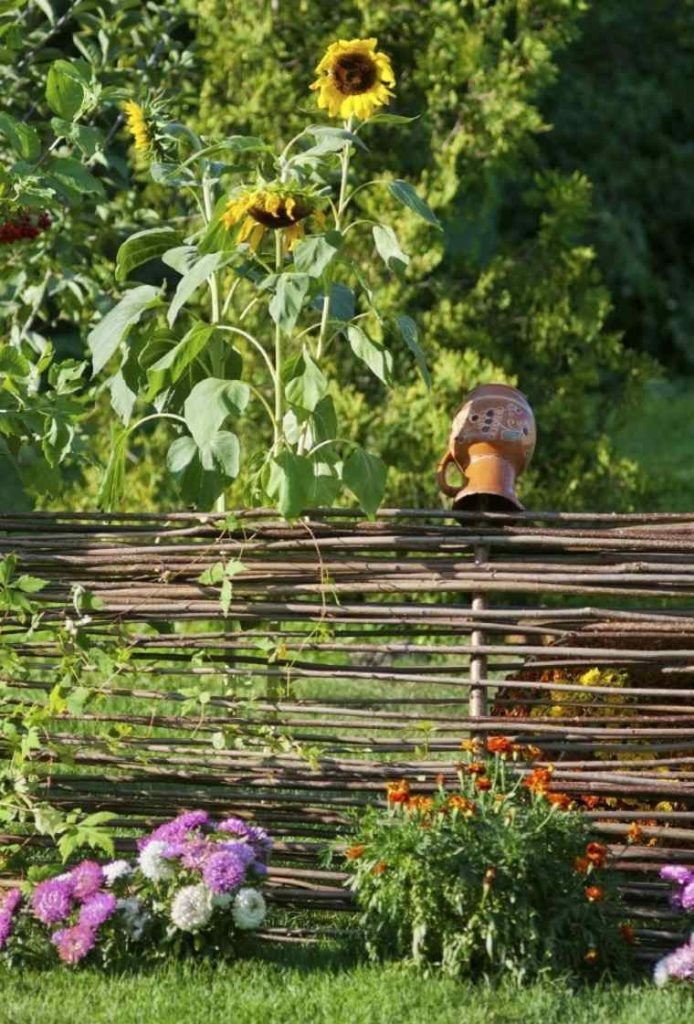
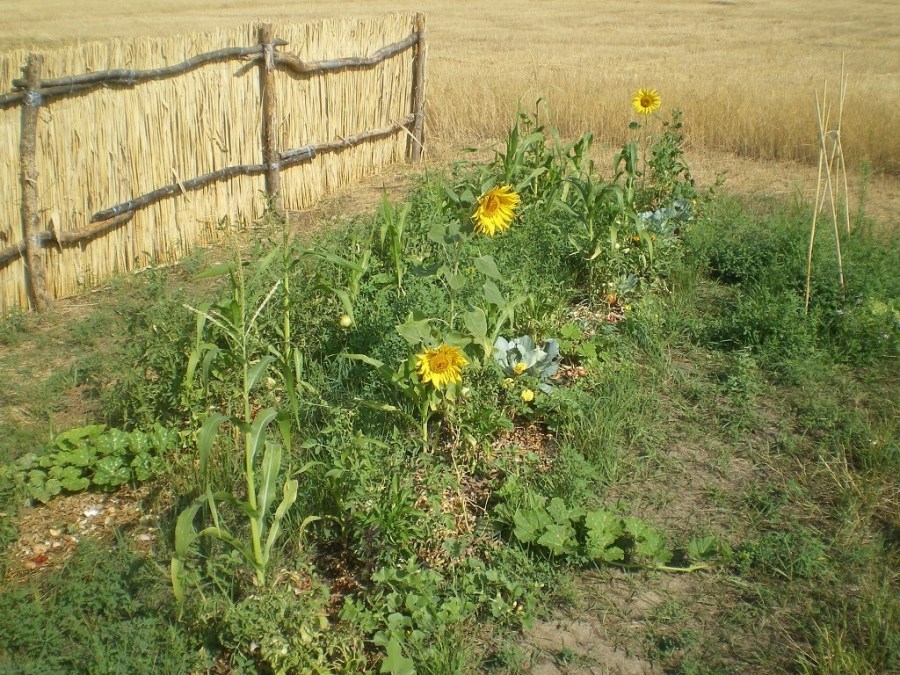
You can add a special flavor if you plant decorative or ordinary sunflowers along the hedge, dig a bench, put a cart wheel, a cart or a pumpkin trough next to it. Hang a cache-pot with ampelous plants on the fence.

Now you know how to make a fence from a rod, and cope with this task yourself.

Photo of a vine fence


Hydrangea - 120 photo flowers. The main types, planting, care, breeding in the open ground
Pear: planting, care, vaccination and pruning with your own hands (100 photos + instructions)
Hoses for giving: 100 photos of popular types and the choice of the best material
How to build a home inexpensively and quickly? See instructions here + 100 photos
Join the discussion: