Grounding in a private house: quick installation, diagrams, 80 photos, video. Step-by-step instruction for beginners
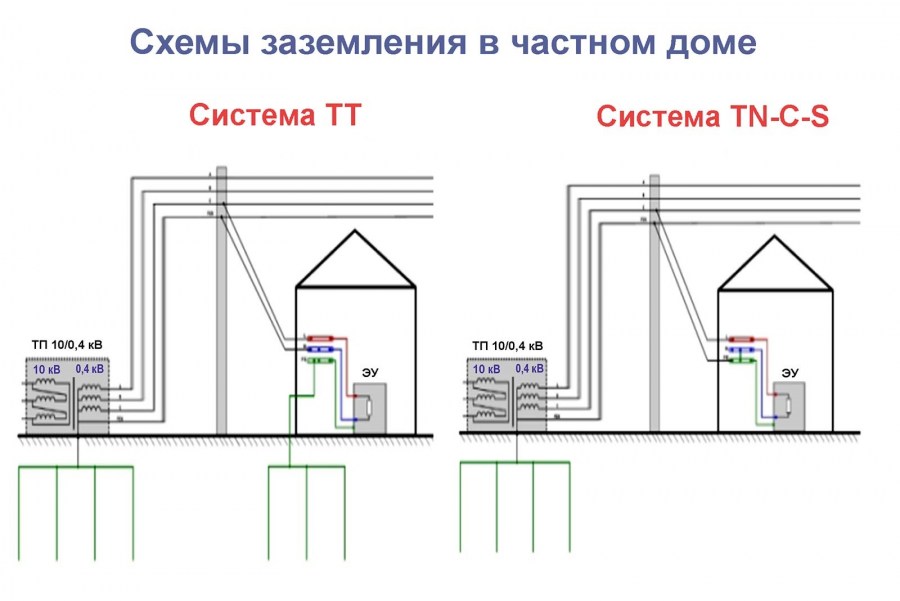
There are more and more household electrical appliances, their total power is growing. The risks of electric shock are growing. There was a need for protection. The operating rules say: grounding is the intentional connection of part of the equipment or an electrical circuit to the ground. In everyday life, three protection systems are used:
- Traditional
- Modular pin
- Electrolytic
Traditional defense
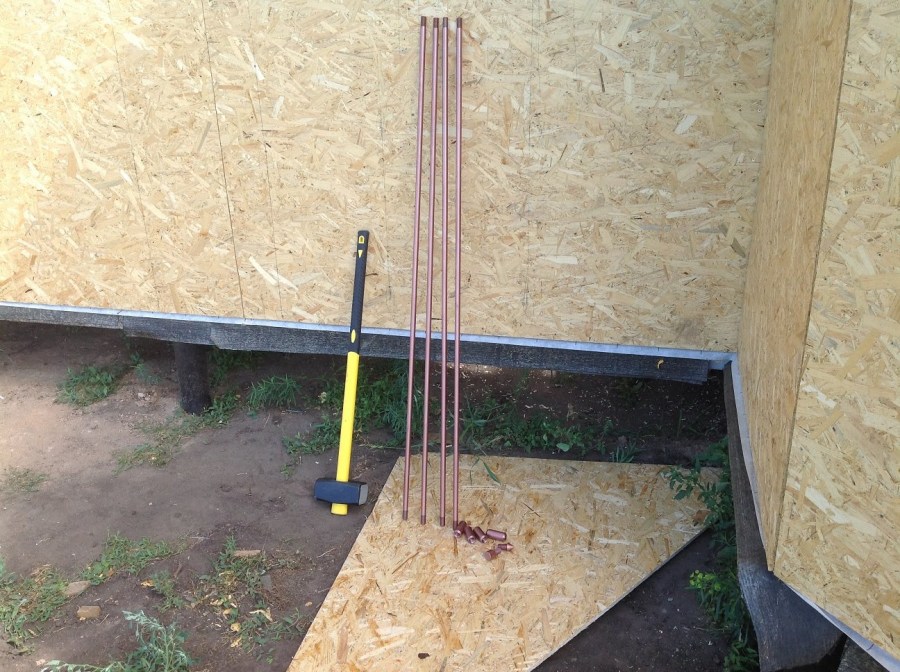
A tool for a traditional protection device - a sledgehammer, a grinder, a bayonet shovel, a set of wrenches, a device for measuring insulation resistance.
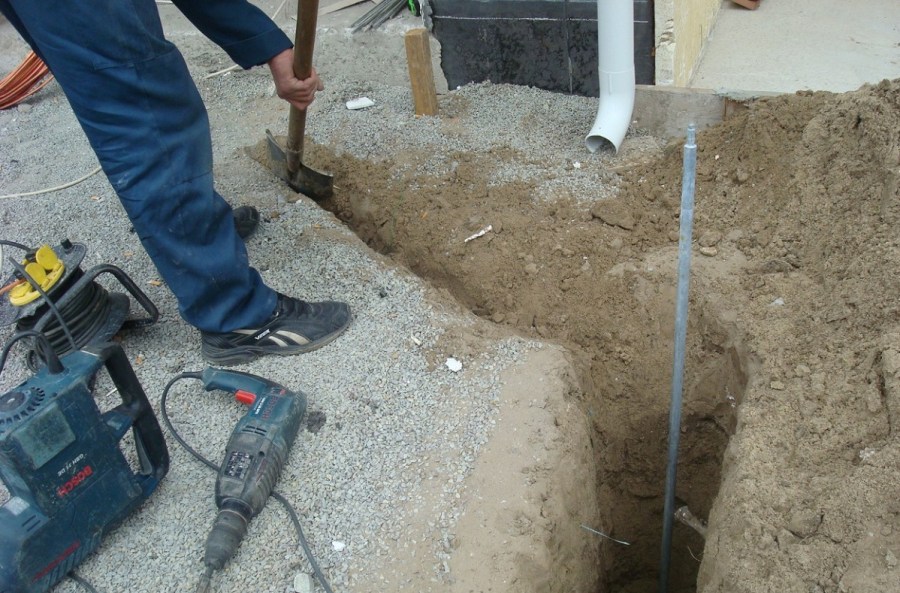
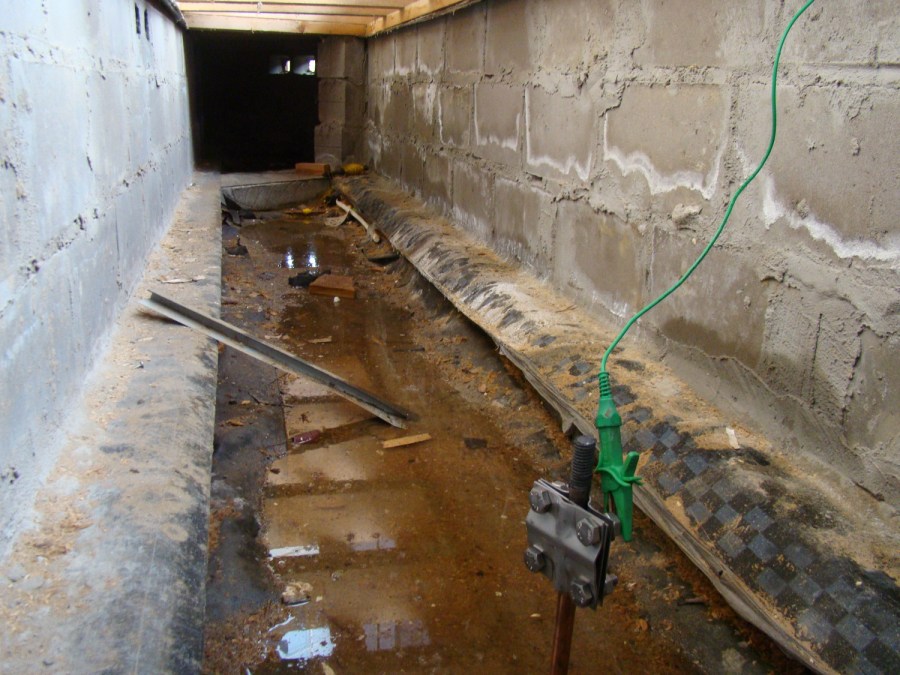
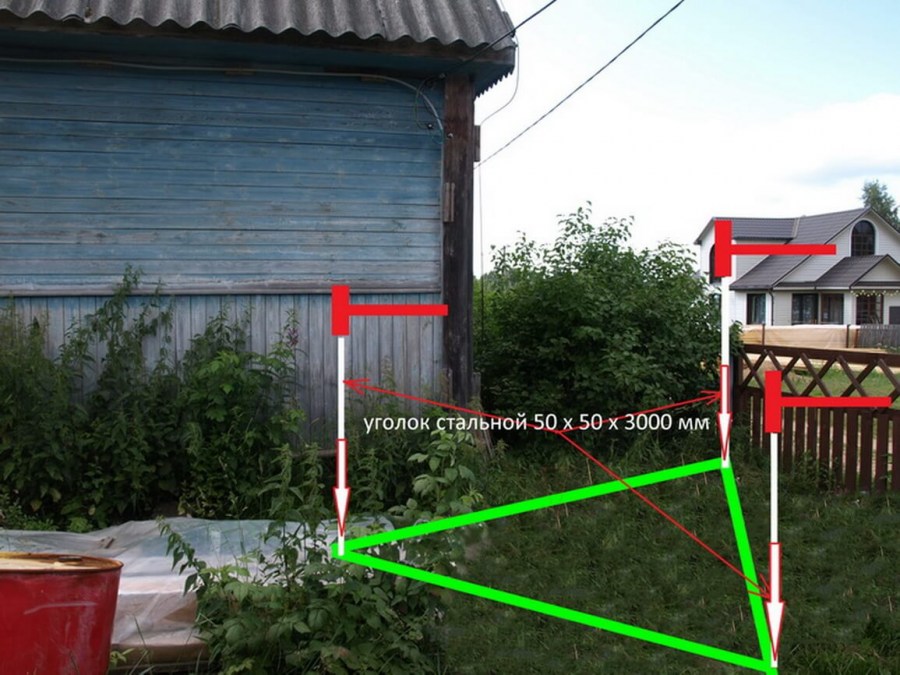
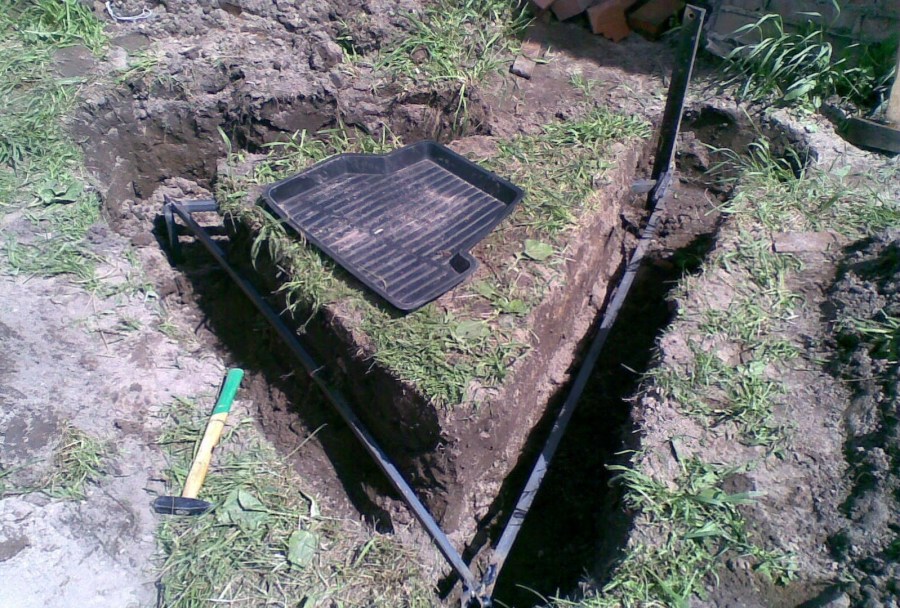
Installation of contour grounding
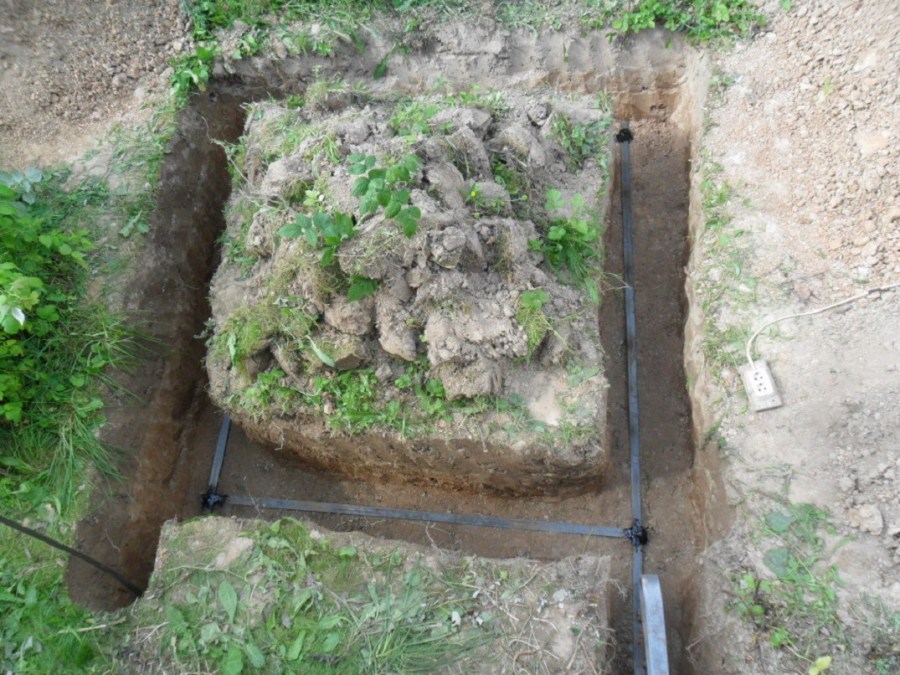
Basically, the ground loop is defined by a triangle, but there are also quadrangular, oval and linear. Digging a trench in the shape of an equilateral triangle with a width of 70 centimeters, a depth of 50 centimeters with sides 120 centimeters long.

Materials:
- corners with shelves of 50 millimeters.
- a bar with a diameter of 16 millimeters.
- pipes with a diameter of 2 inches or more.
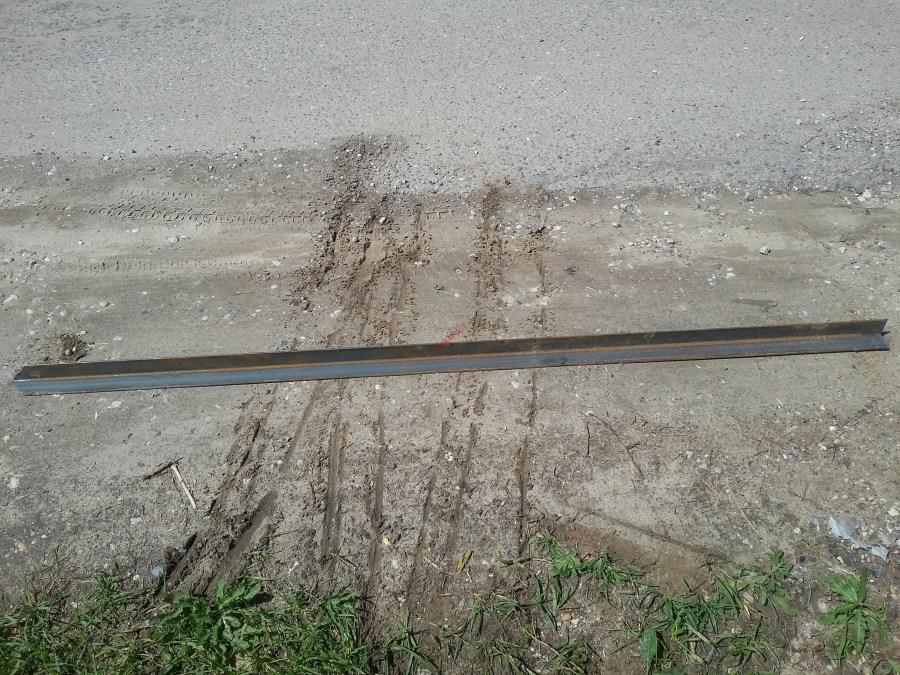
- metal steel tape 4 centimeters wide, 4 millimeters thick.


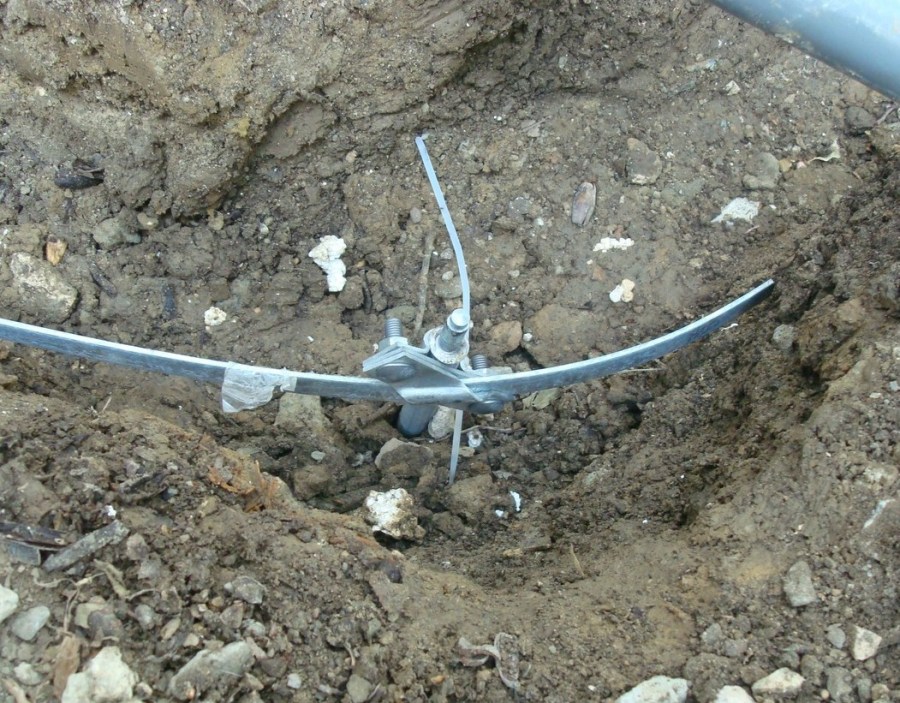
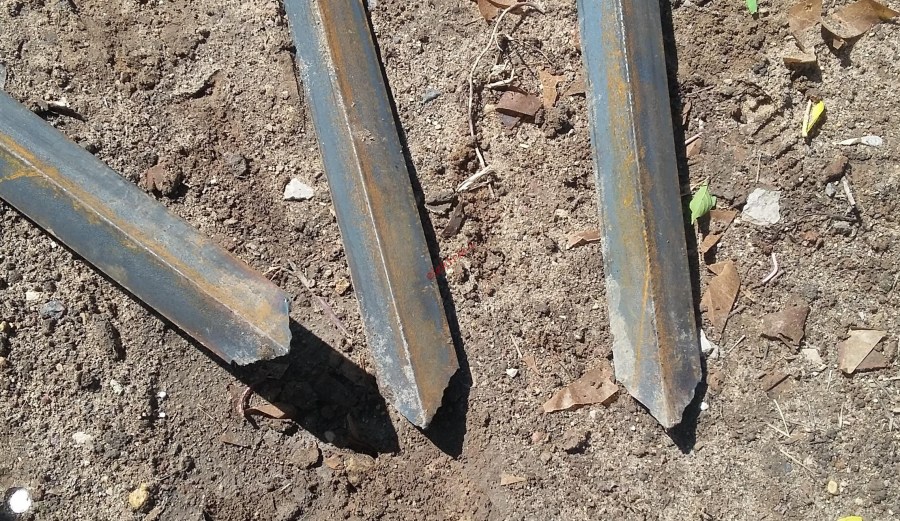
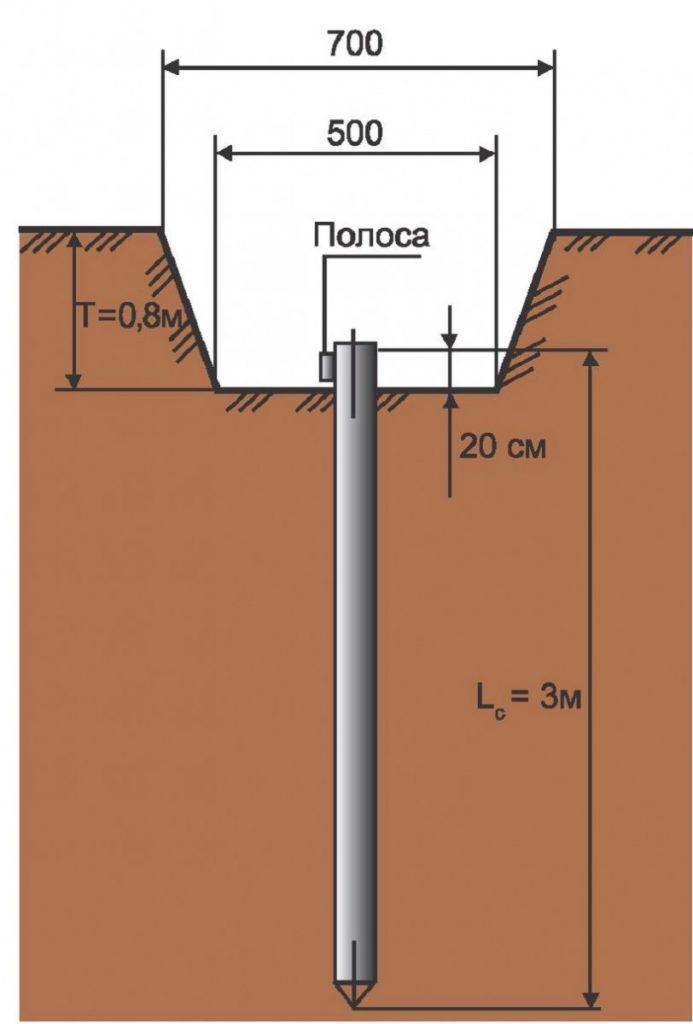
We prepare the electrodes - we cut the pins 3 meters long. We sharpen them at one end, and weld pads on the other for ease of driving. At the vertices of the trench triangle, we hammer the electrodes - pins, leaving 10 centimeters above the ground. With a steel tape, by welding, we tie the contour. Pins can be made from a rod, from a corner, or from a pipe.

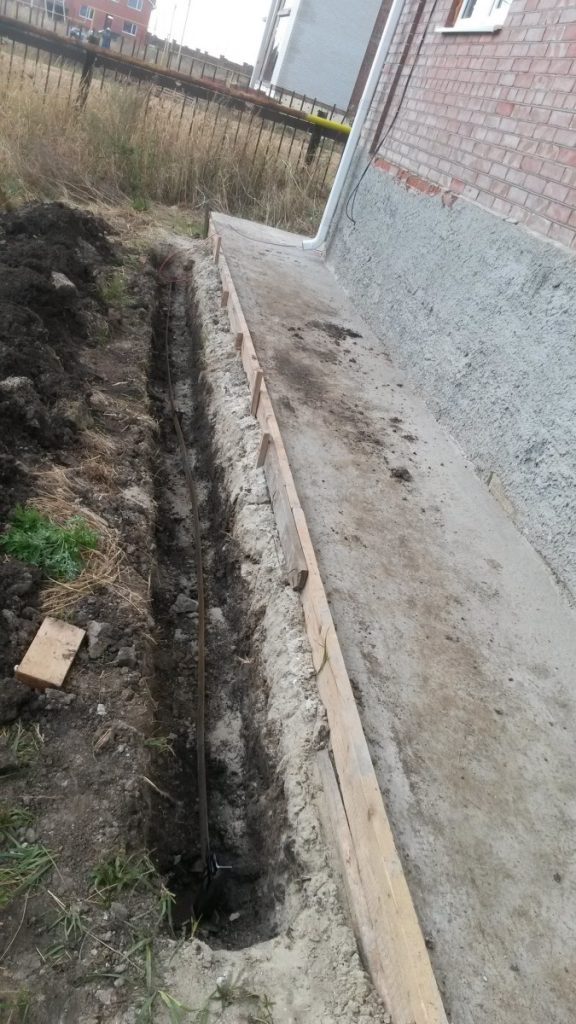
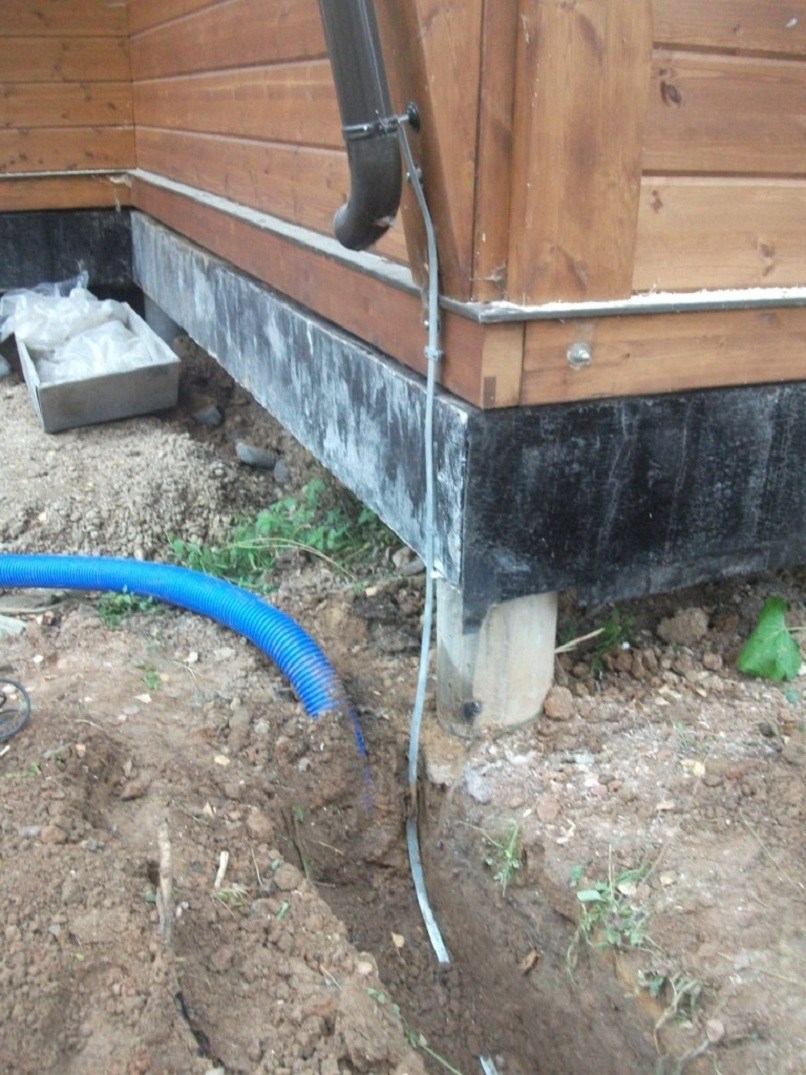
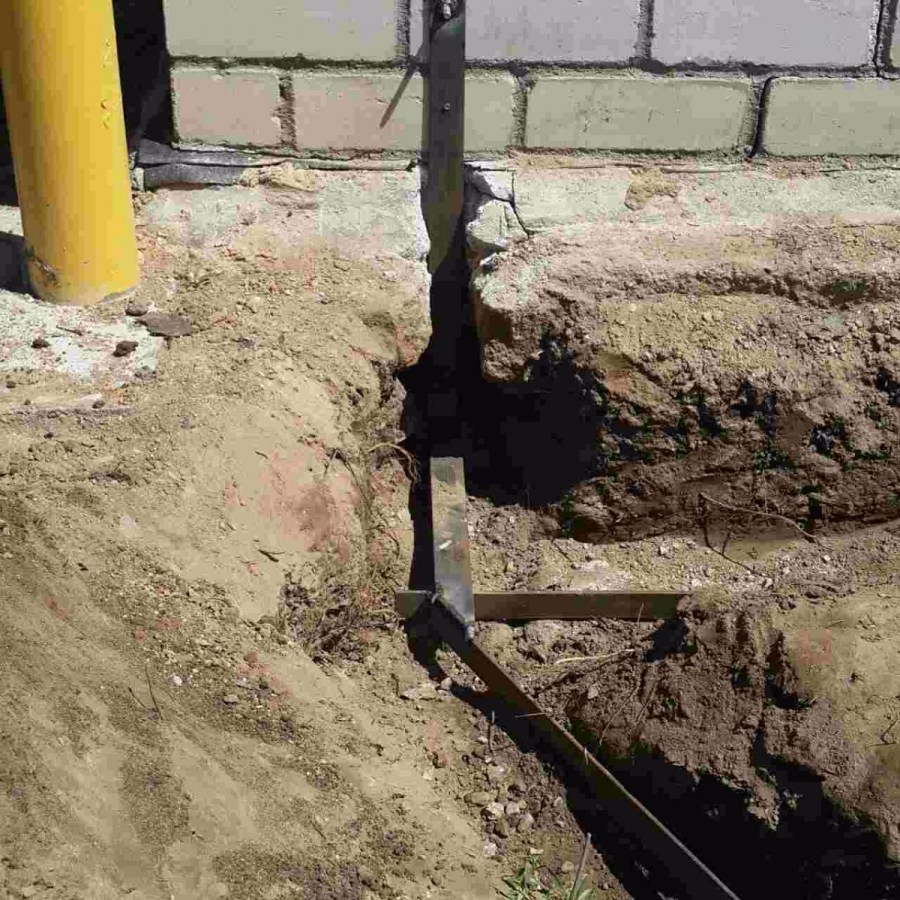
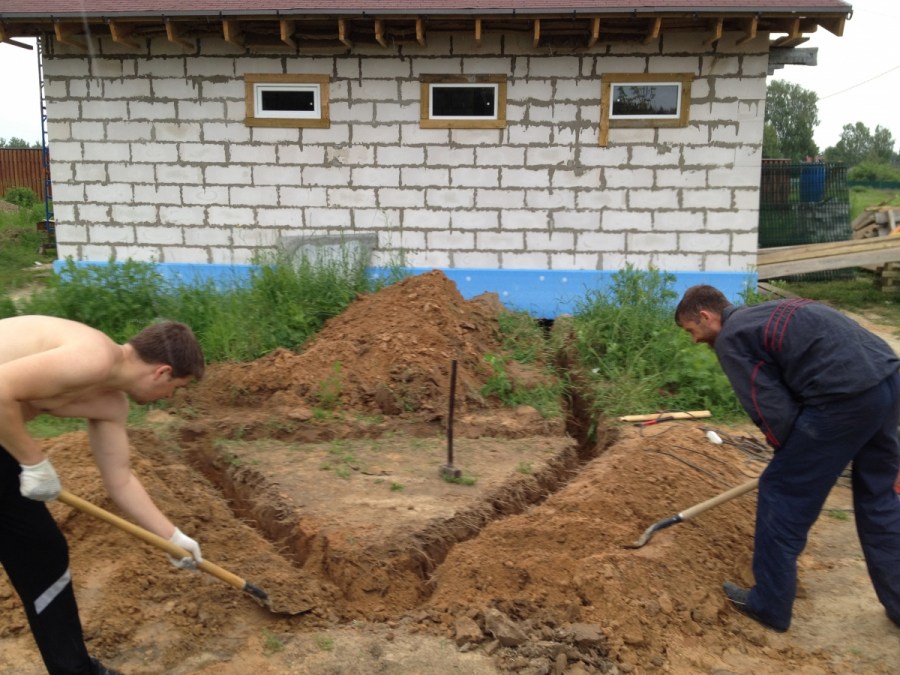
From one of the vertices of the triangle closest to the house, we dig a trench 50 centimeters deep and 60 centimeters wide for connecting horizontal grounding to the inside of the house grounding. Pins clogged into the ground are called a vertical ground electrode, and the tape binding them is called horizontal.

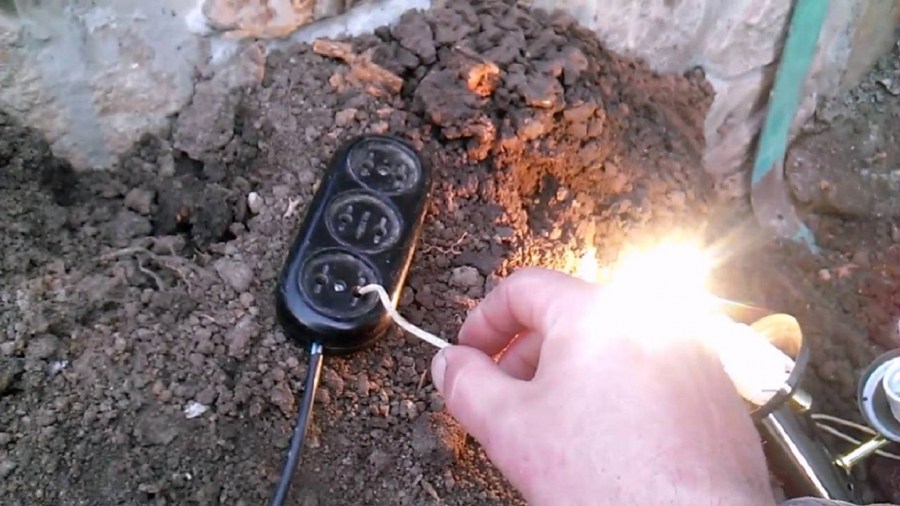
Welding joints must be very reliable, and therefore an experienced welder must perform the welding work. At the end of welding, the joints are freed from slag and covered with a special, anti-corrosion coating. But do not paint!
It is not recommended to use existing metalwork pipelines in the ground as grounding conductors, they are quickly destroyed and pipelines too.
The disadvantage of the above grounding systems in a large amount of earthwork, a significant area occupied by devices. If you buy metal, hire a welder, and do the rest yourself, it will cost a hundred dollars.
But recently, modular pin systems have appeared, which can be ordered over the Internet. The cost starts from three thousand rubles and less trouble, and get faster.

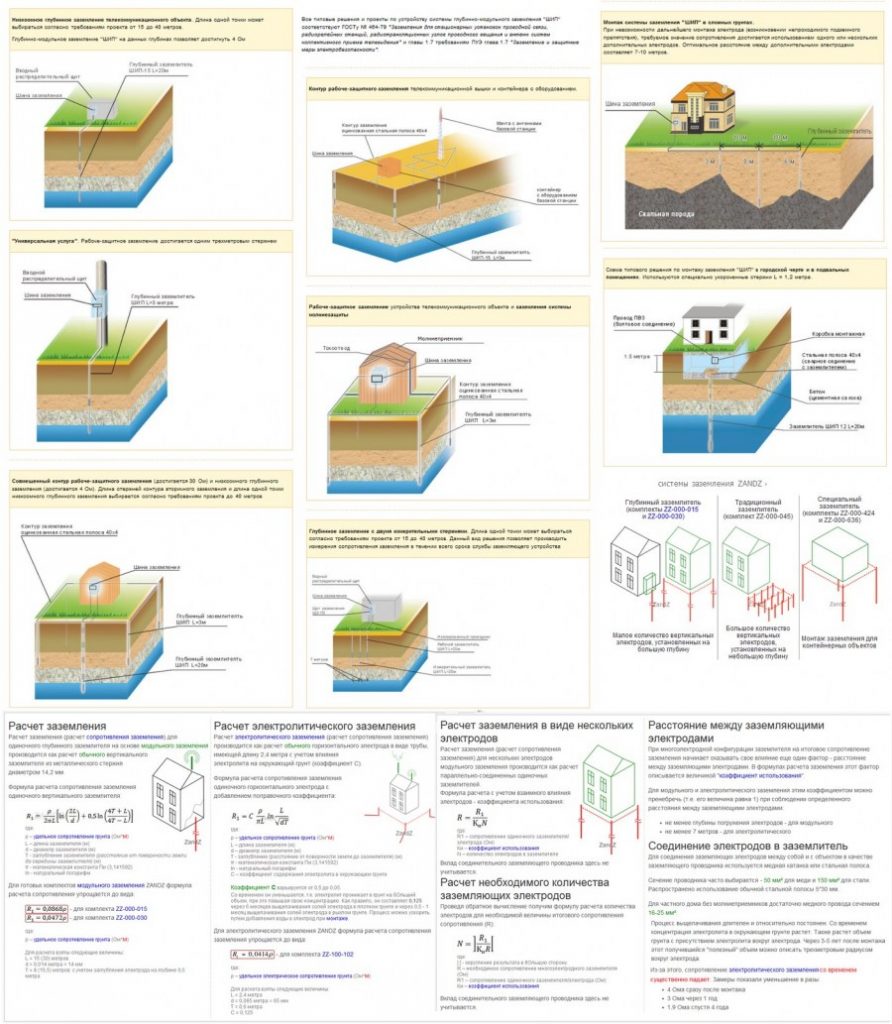
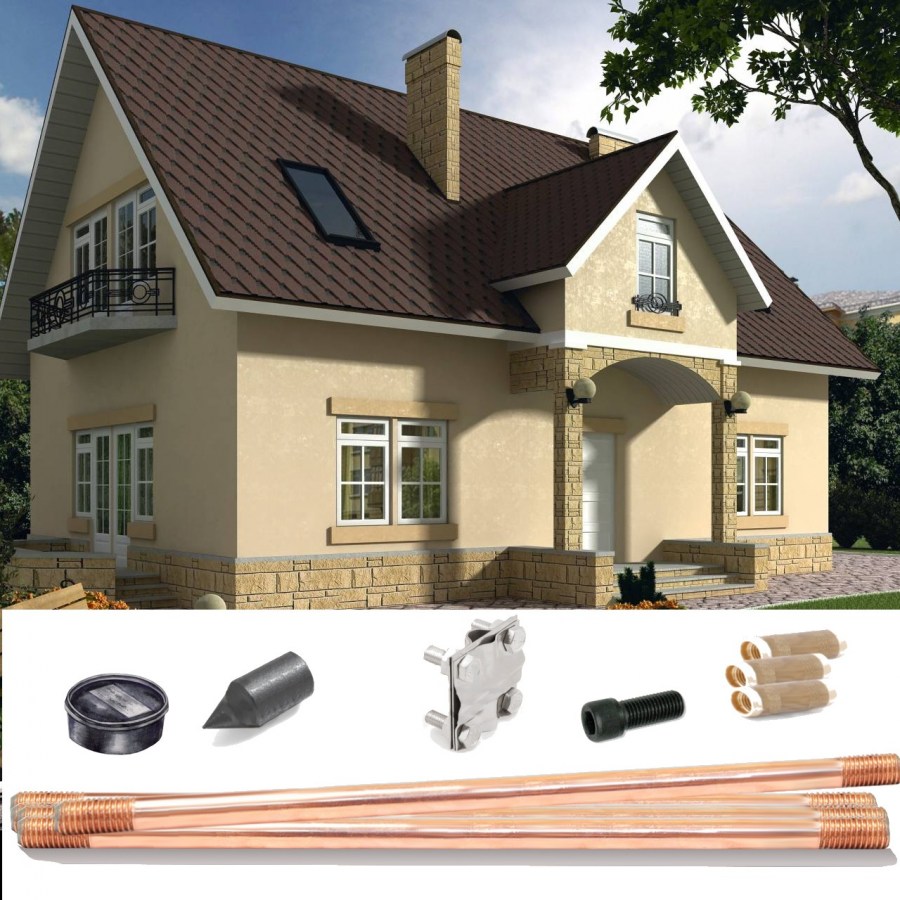

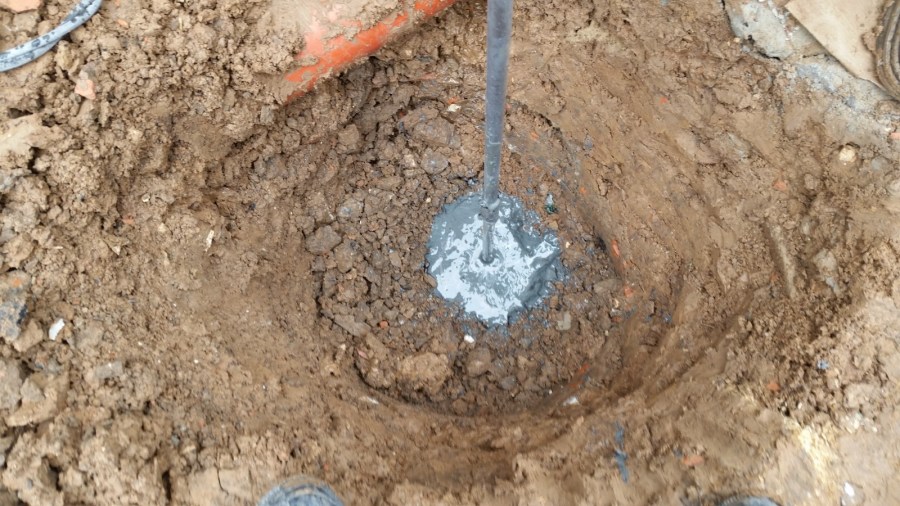
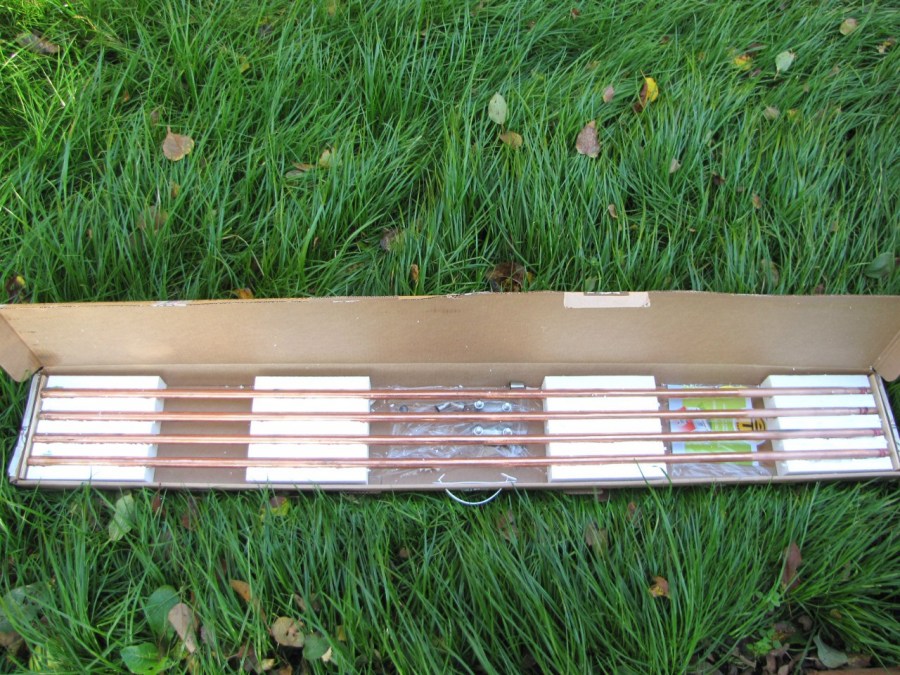
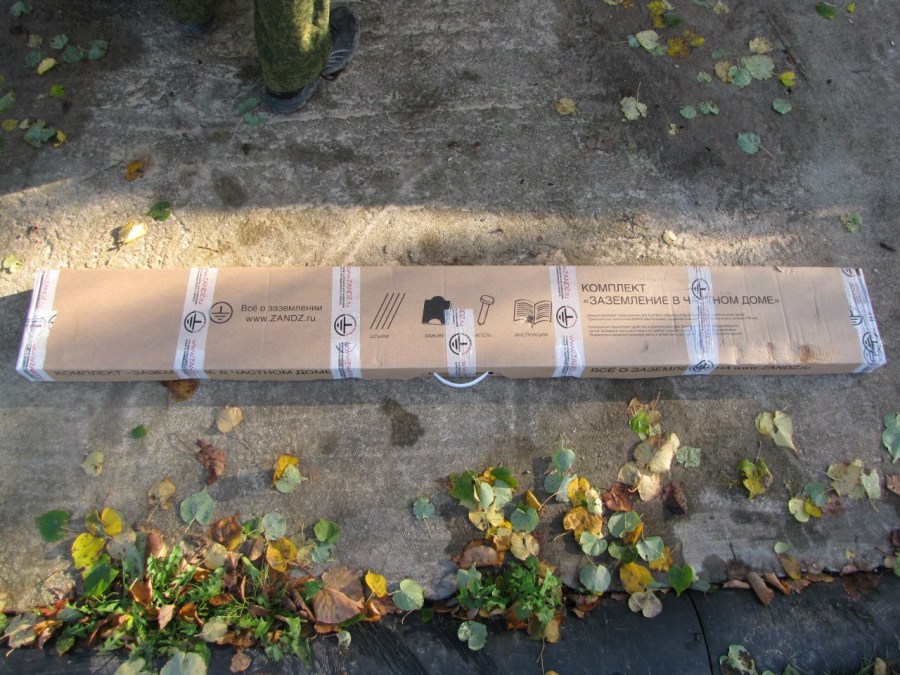
Installation of modular grounding
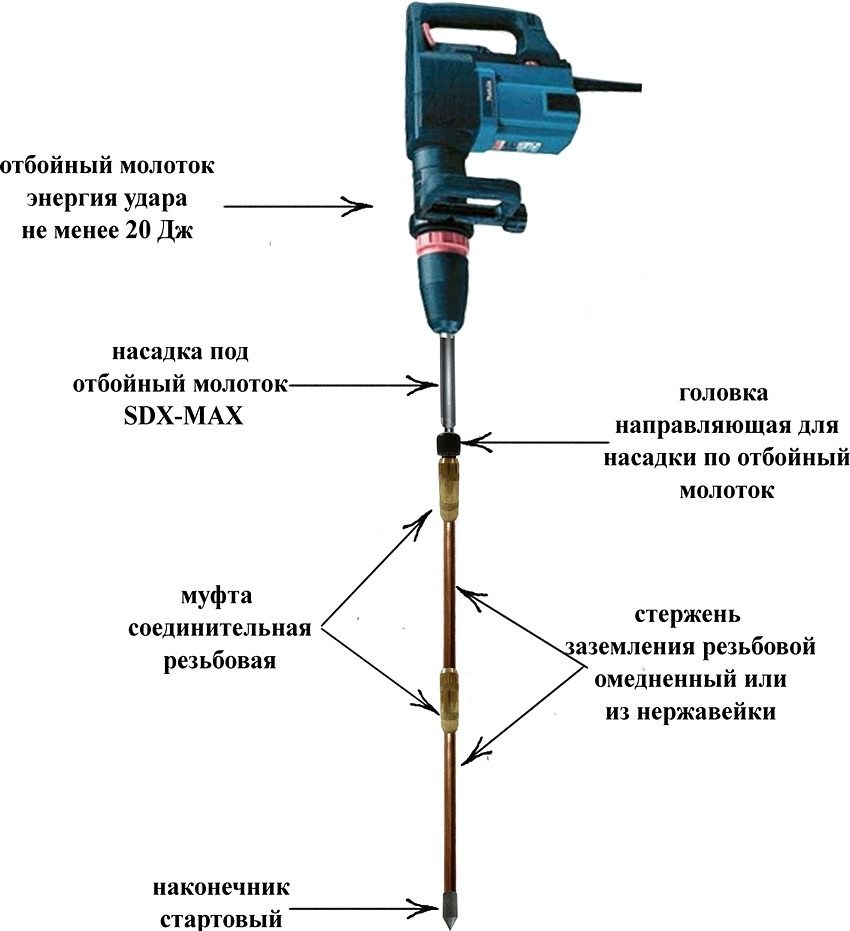
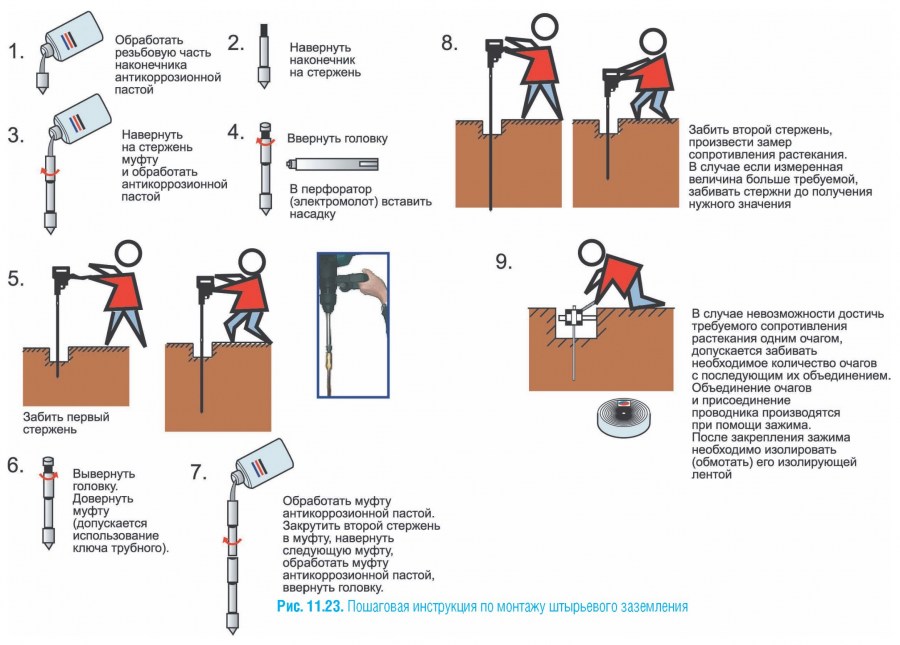
The modular grounding kit consists of copper-plated pins - electrodes, 1.5 meters long, with a thread with a diameter of 30 millimeters at the ends. Bronze couplings, starting tips for different hardness of soils, a special, conductive lubricant and guide clutch for driving electrodes.
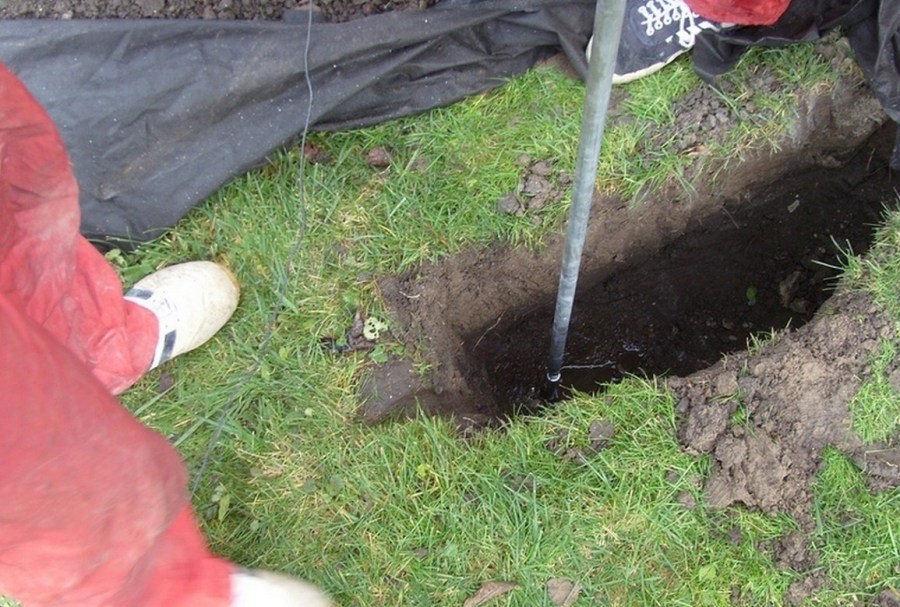
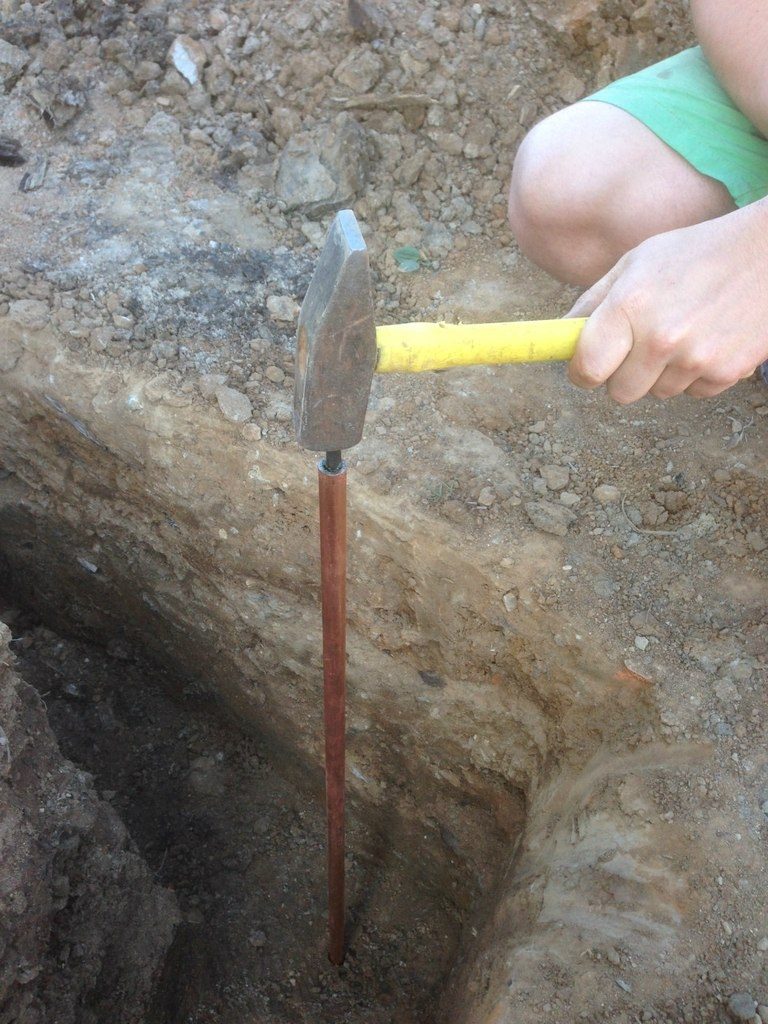
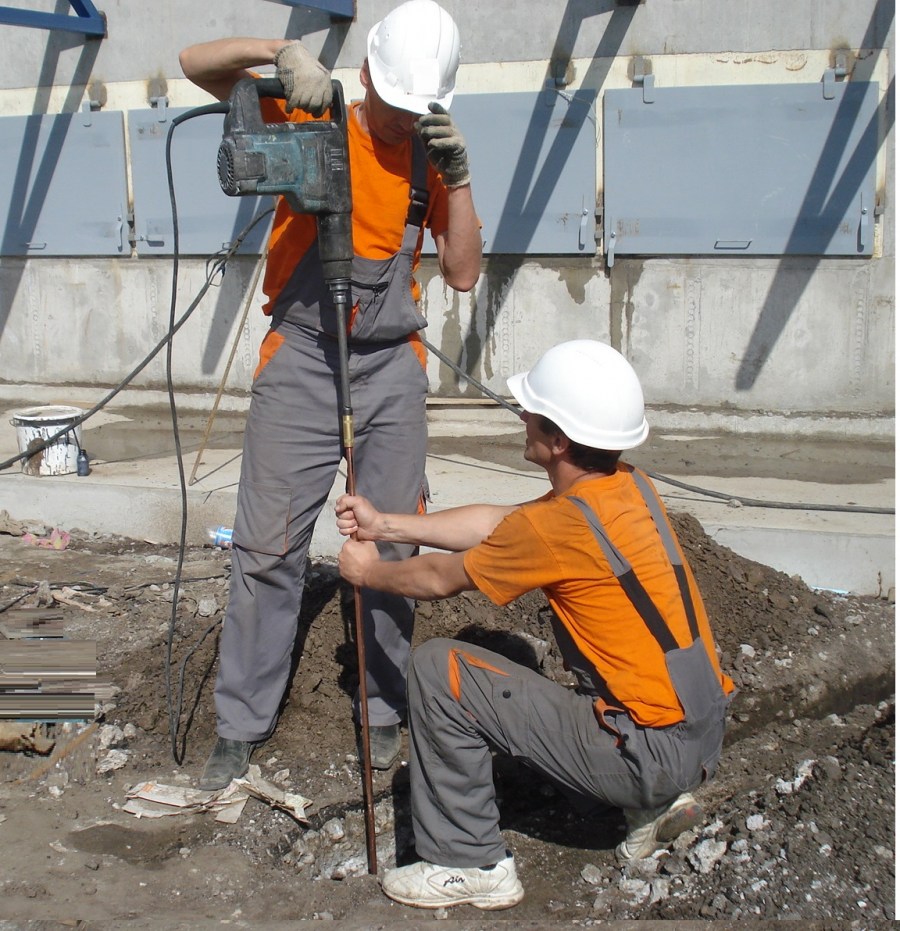
So, we take the first pin, we wind up the starting tip until it stops. On the other hand, we wrap the coupling, pre-lubricating it with special grease until it stops. We twist the guide head into the coupling until it stops, so that it rests on the electrode, and not on the thread, to relieve the load from the thread when driving the pin.
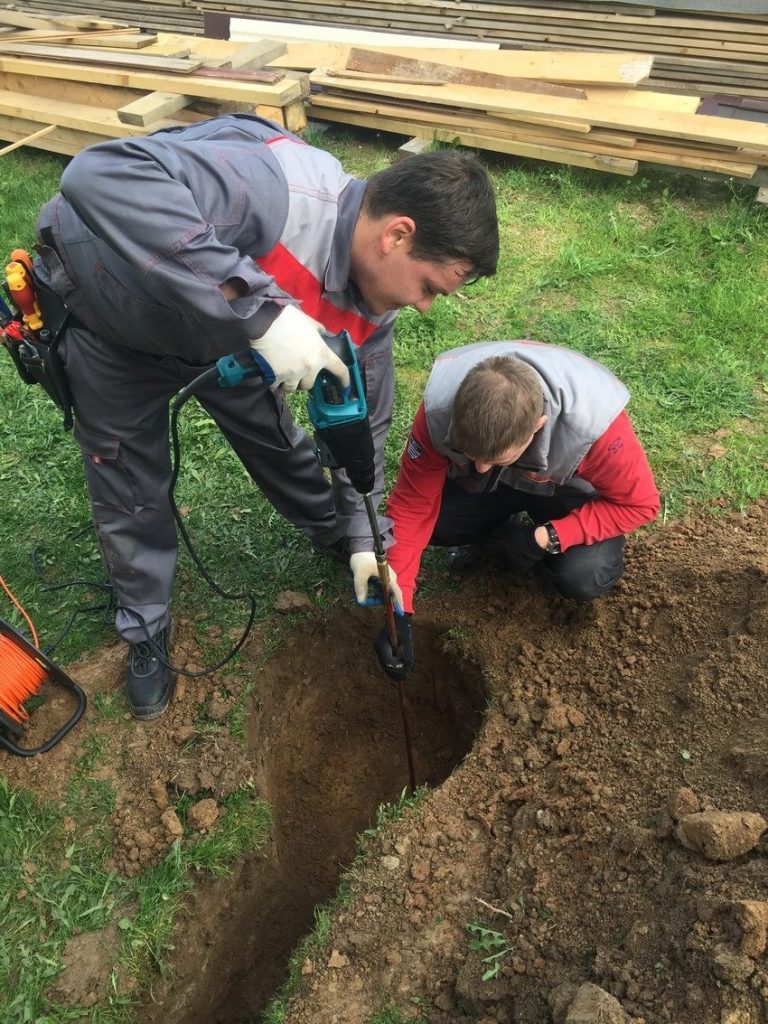
We insert the hammer of the punch into the hole of the guide head, turn on the punch, hold the pin vertically. After a minute, the electrode completely enters the ground.
We prepare the next pin - we unscrew the guide washer, apply grease to the thread of the second pin, twist the second pin into the coupling protruding from the first pin, wind the coupling onto the upper end of the second pin, and turn the punch into it, turn on the punch, one minute is done.
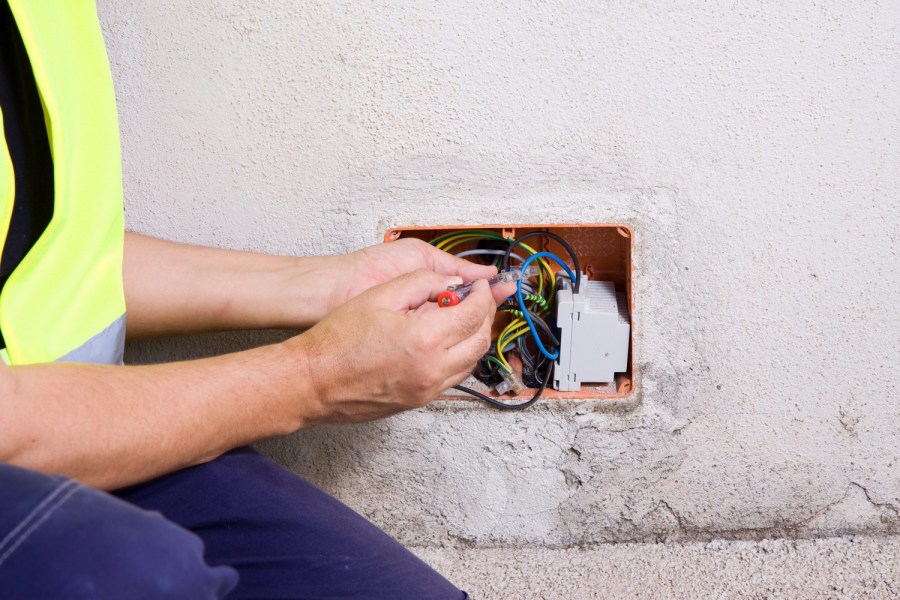
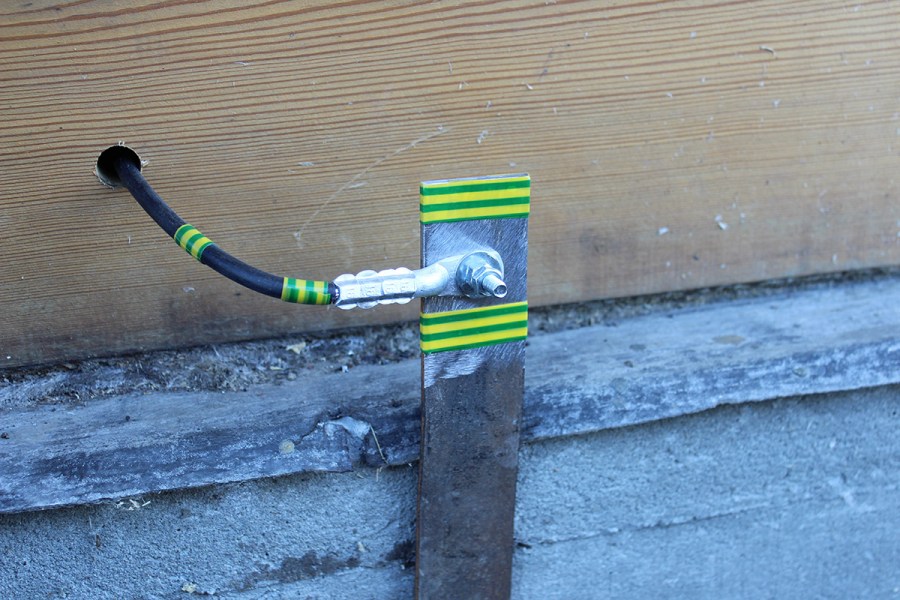
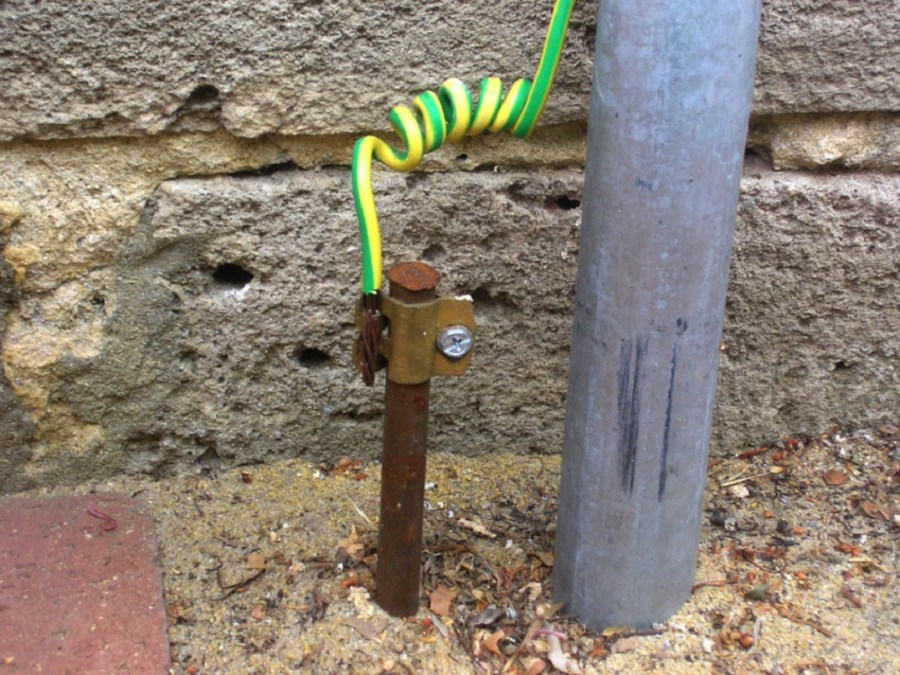
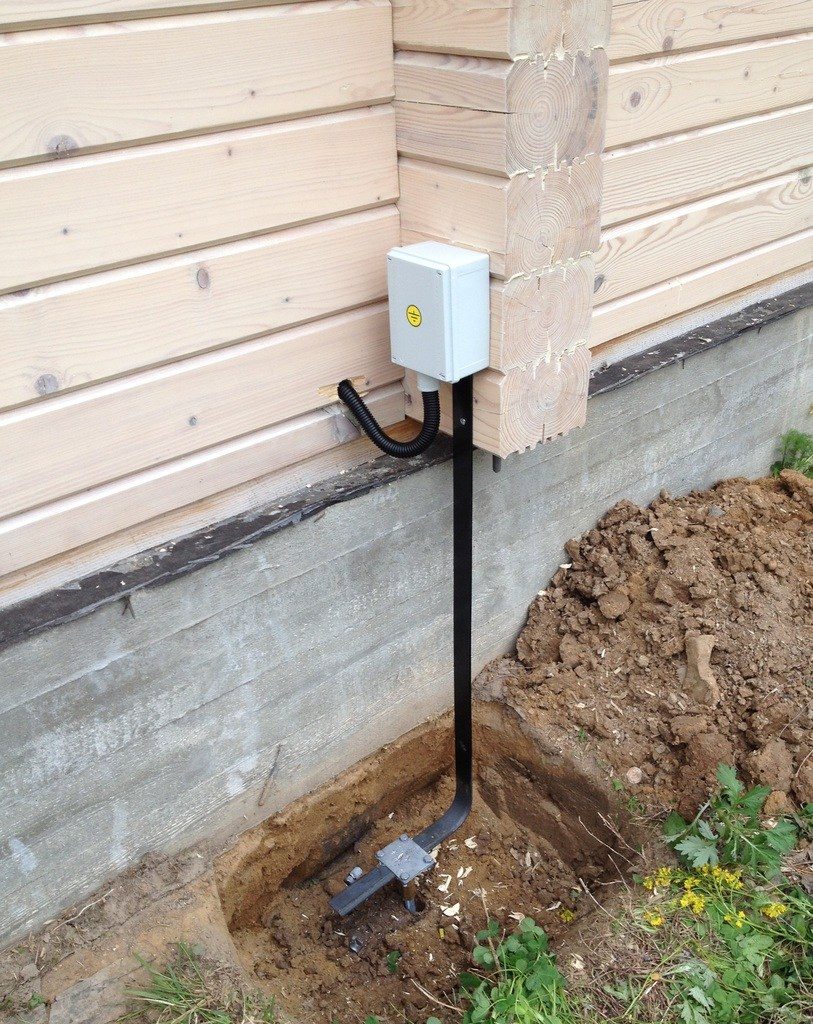
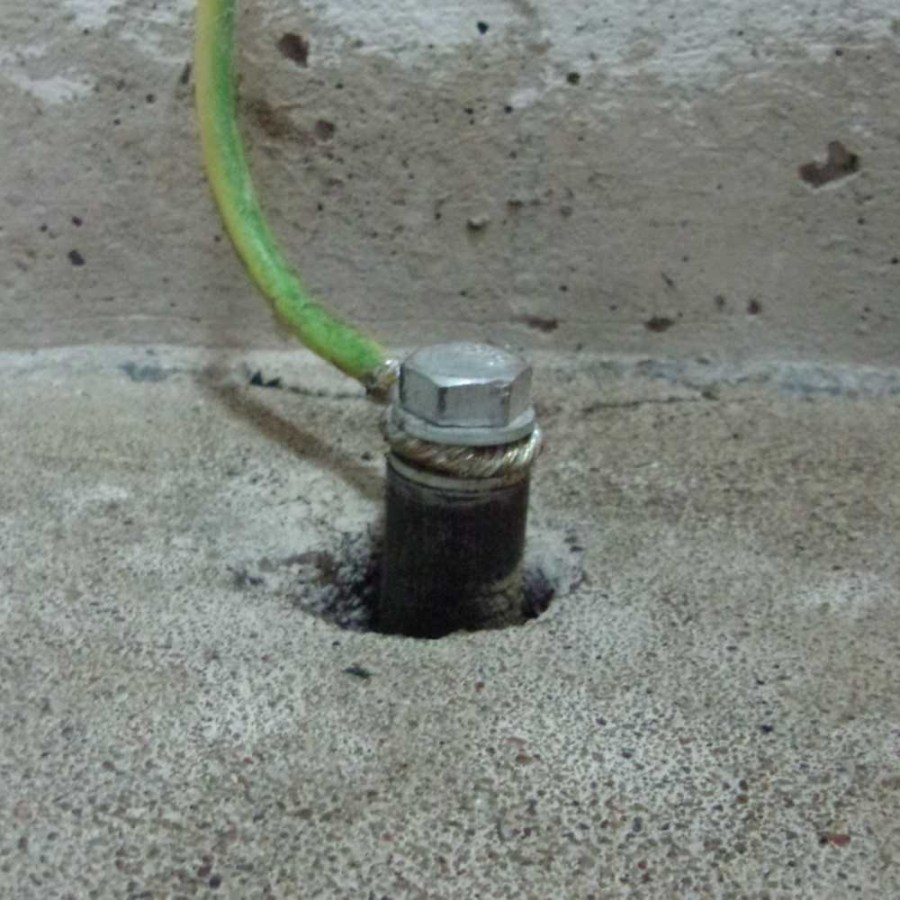
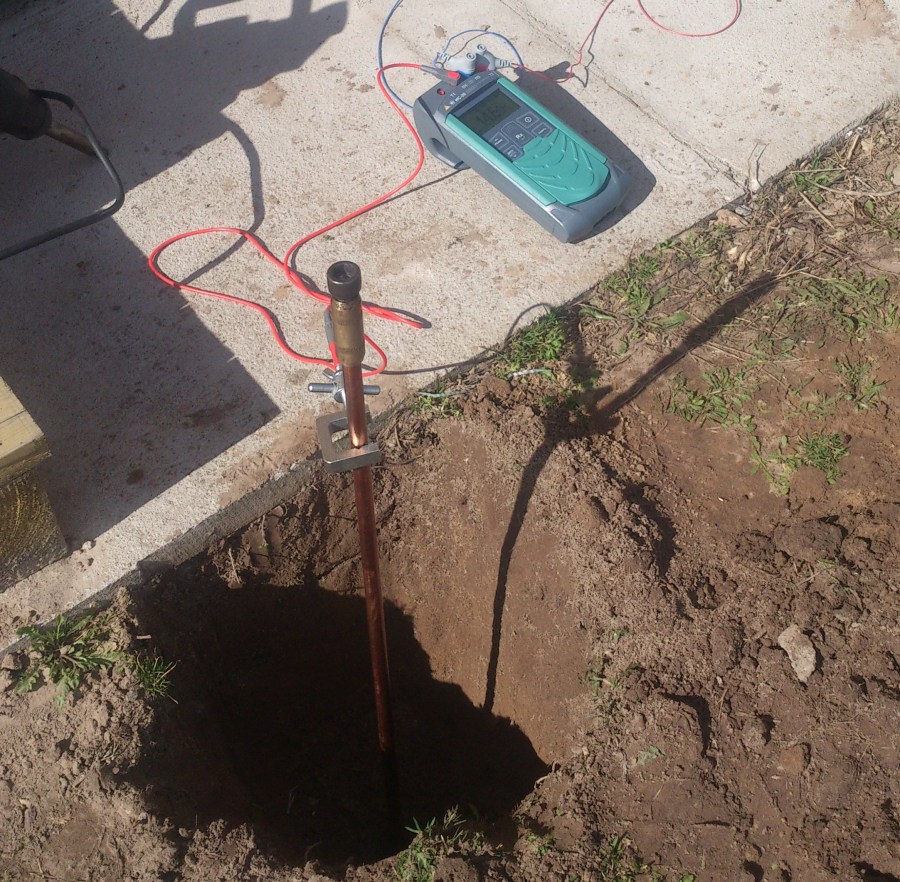
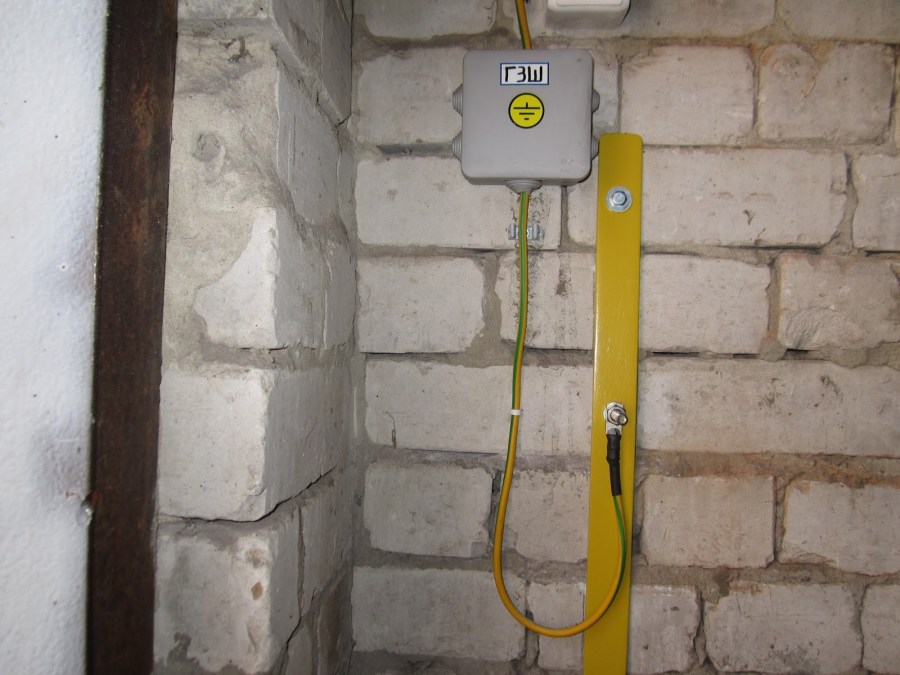
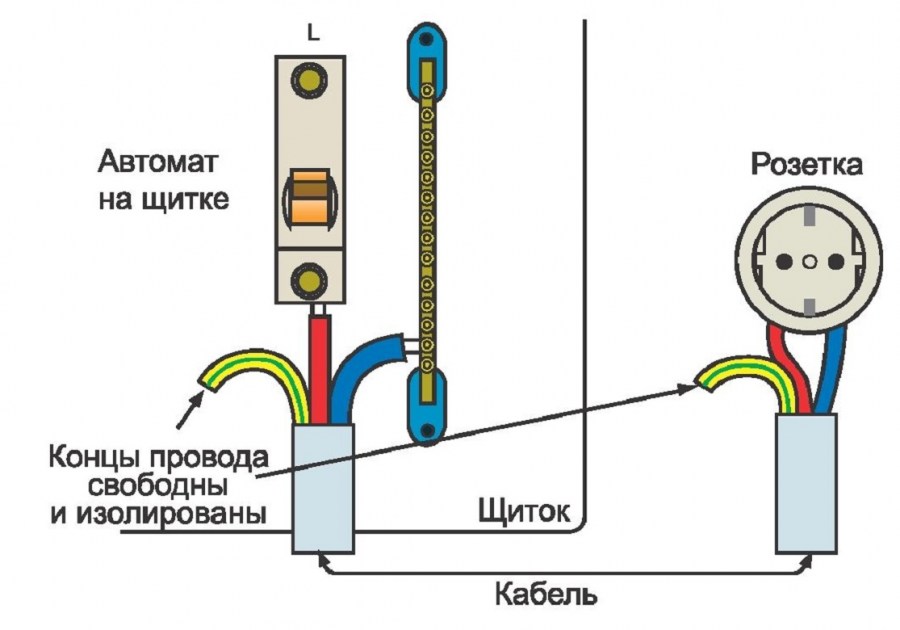
We measure the grounding, if the resistance suits, go to one and a half meters and repeat the operation. At the end of the work, it remains to connect the electrodes sticking out of the ground with a multicore copper wire using the clamps from the kit with the internal circuit of the house.
Installation of electrolytic grounding
The kit includes an L-shaped electrode from a perforated stainless steel tube three meters long, filled with a special filler, four bags of clay-graphite powder, a clamp with a multi-strand copper wire, for connecting to the inner contour of the house
A trench 50 centimeters deep and 3 meters long is dug. The bottom of the trench is sprinkled with a clay-graphite mixture, an electrode is laid on it, bent part up. The remainder of the clay - graphite mixture is poured onto the electrode and covered with soil.


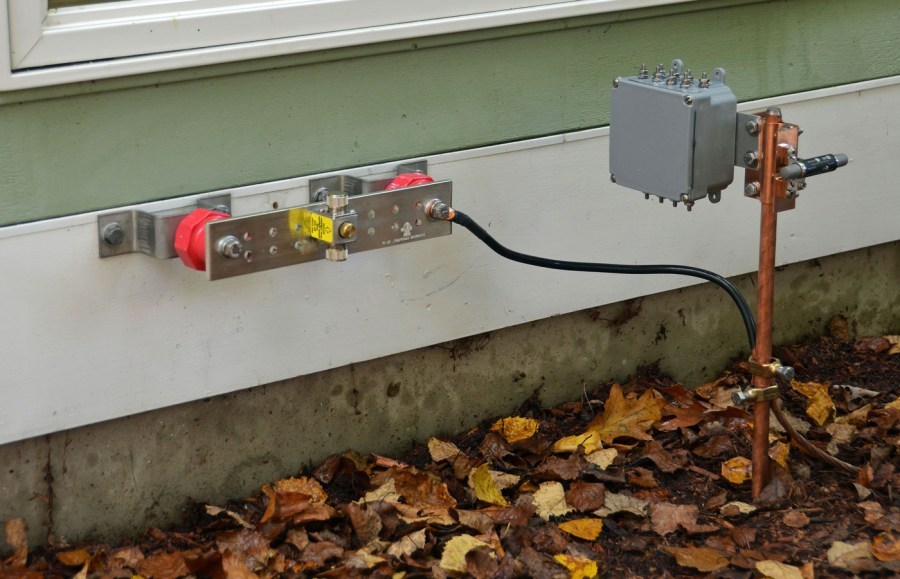
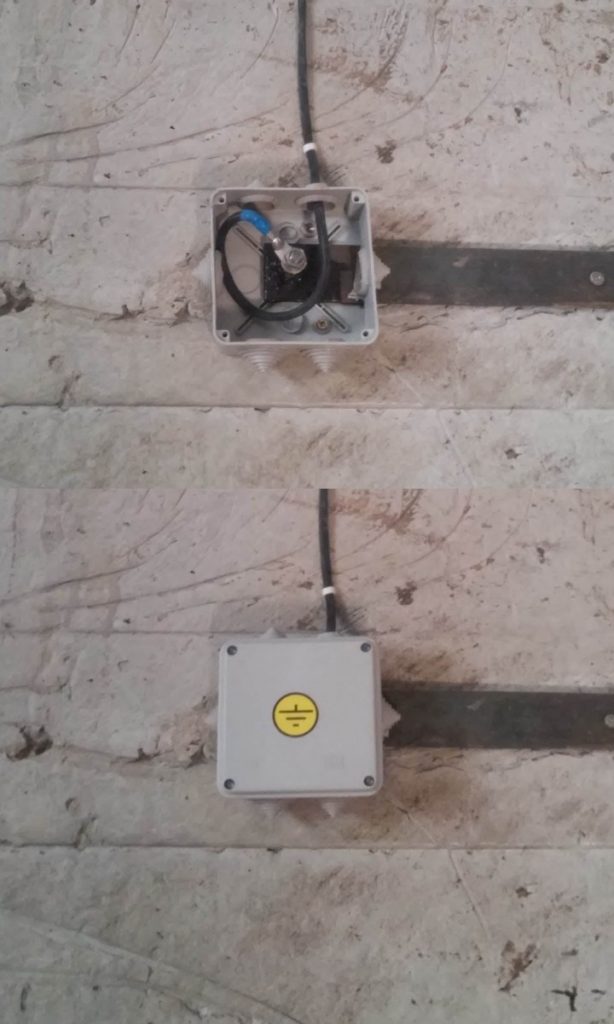
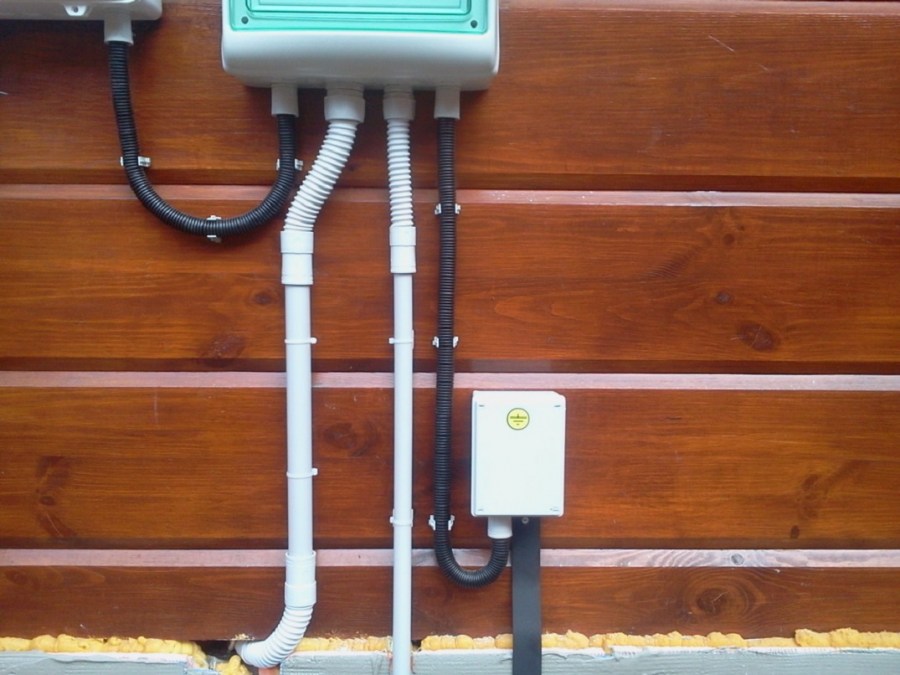
A clamp with a stranded wire is installed on the upstream part of the electrode to connect to the bus of the internal part of the grounding of the house, put on the head for maintenance. Isolate the contact points with a special tape from the kit with a hydrophobic coating. Installation time - 3 hours.
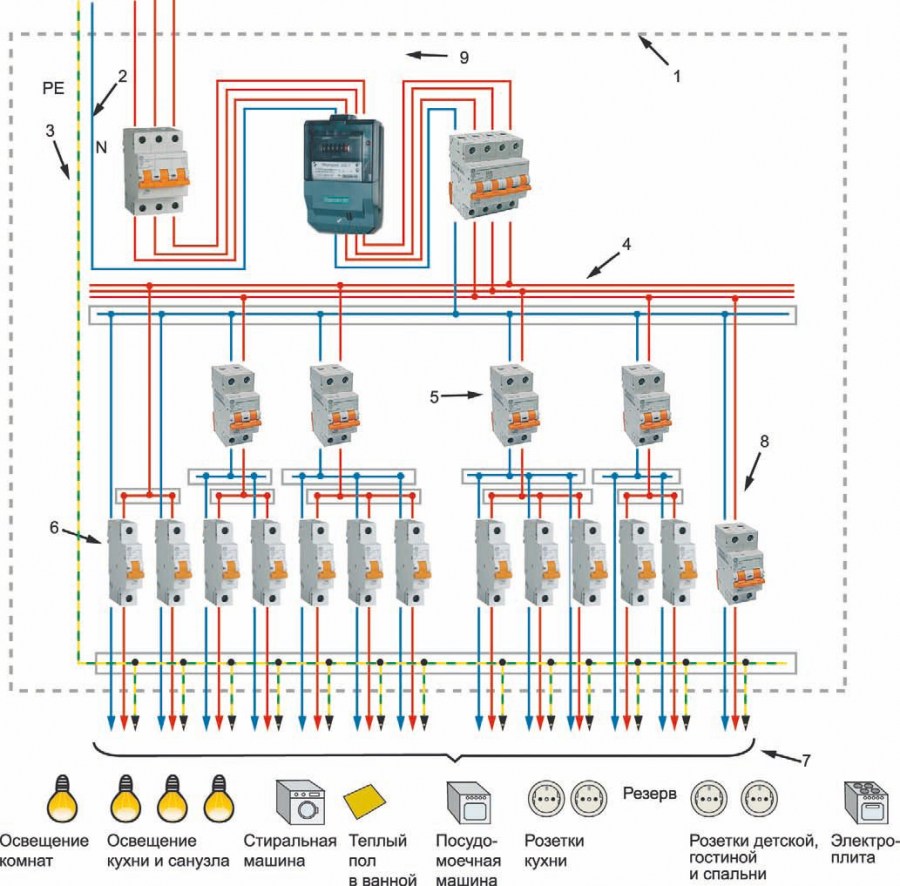
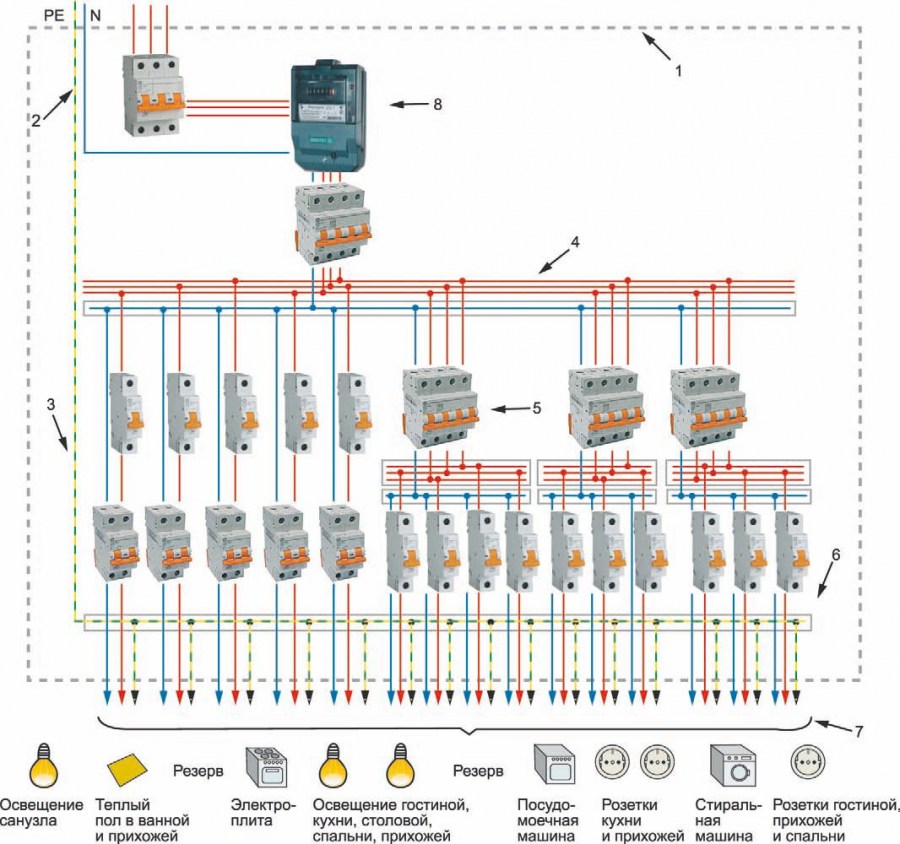
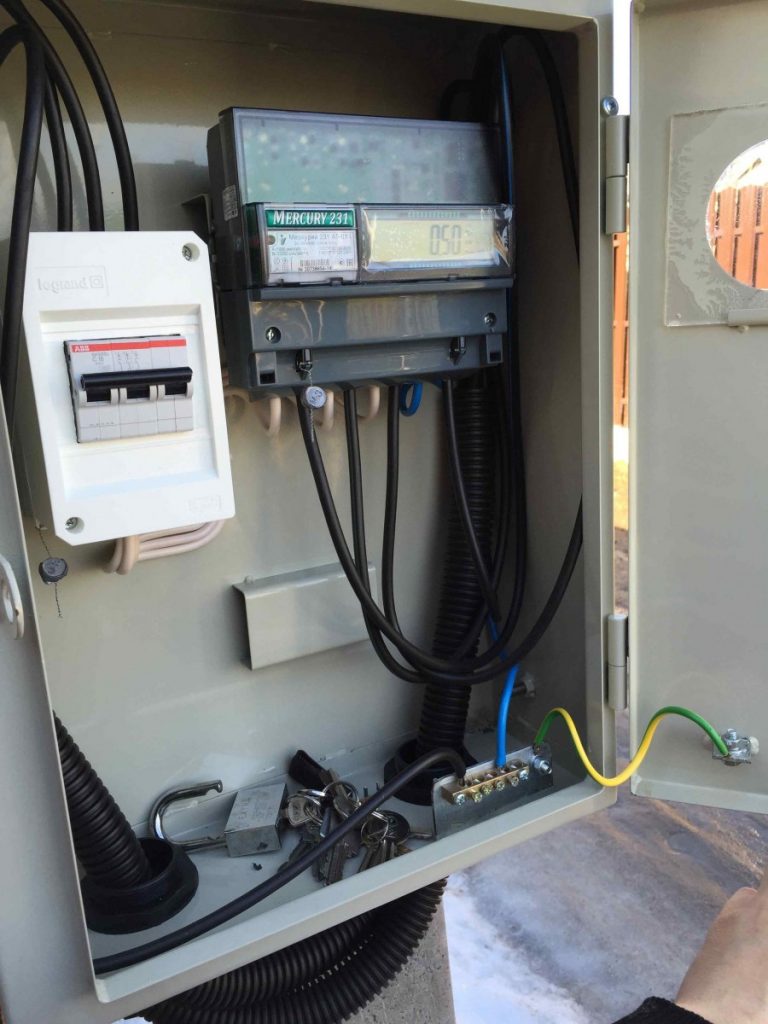
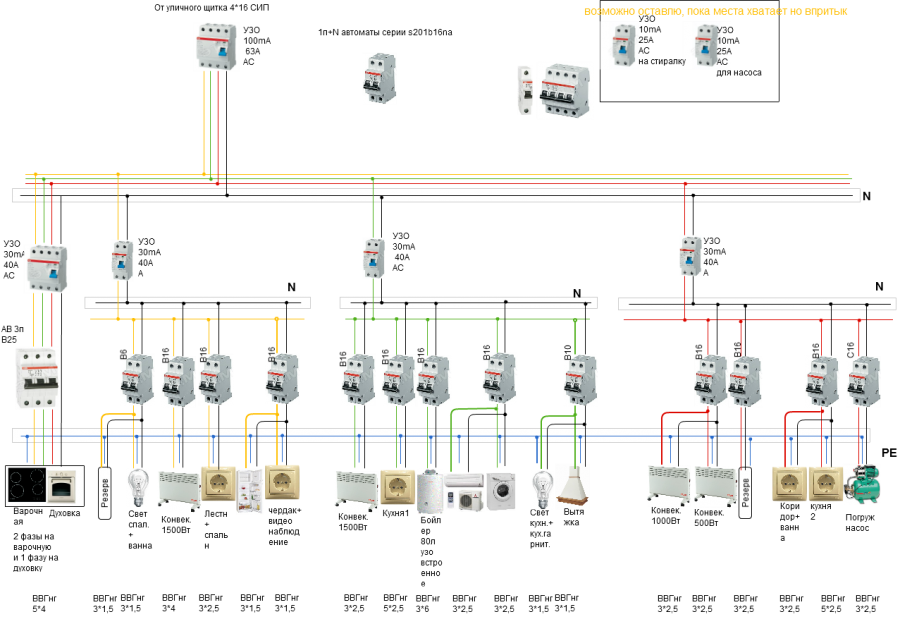
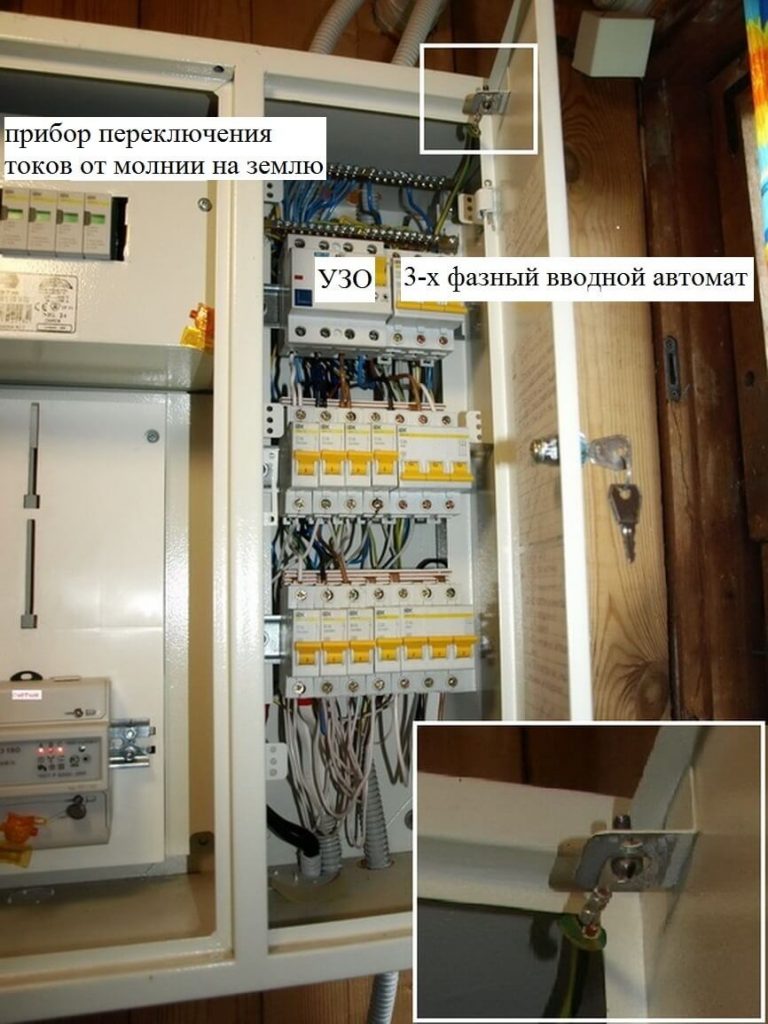
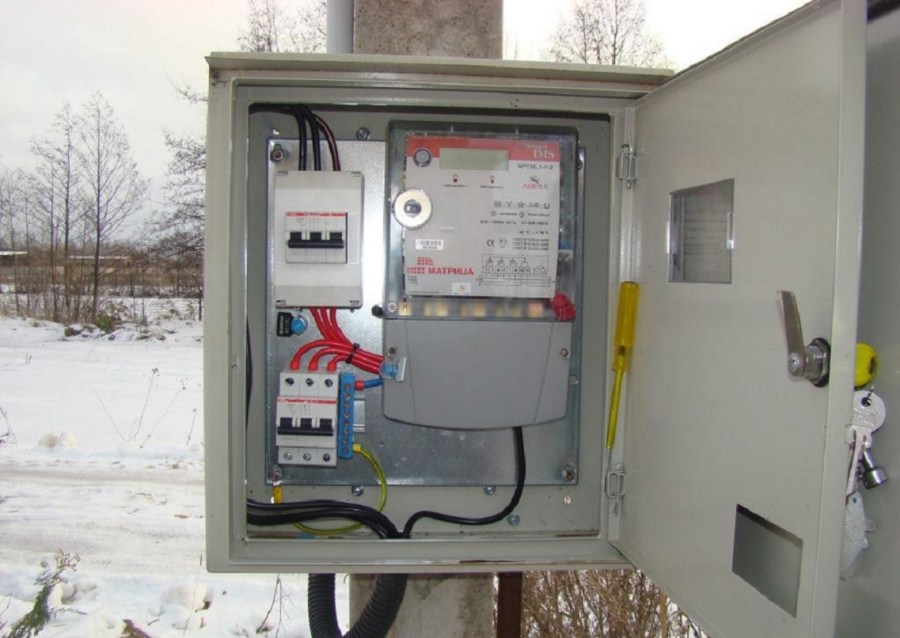
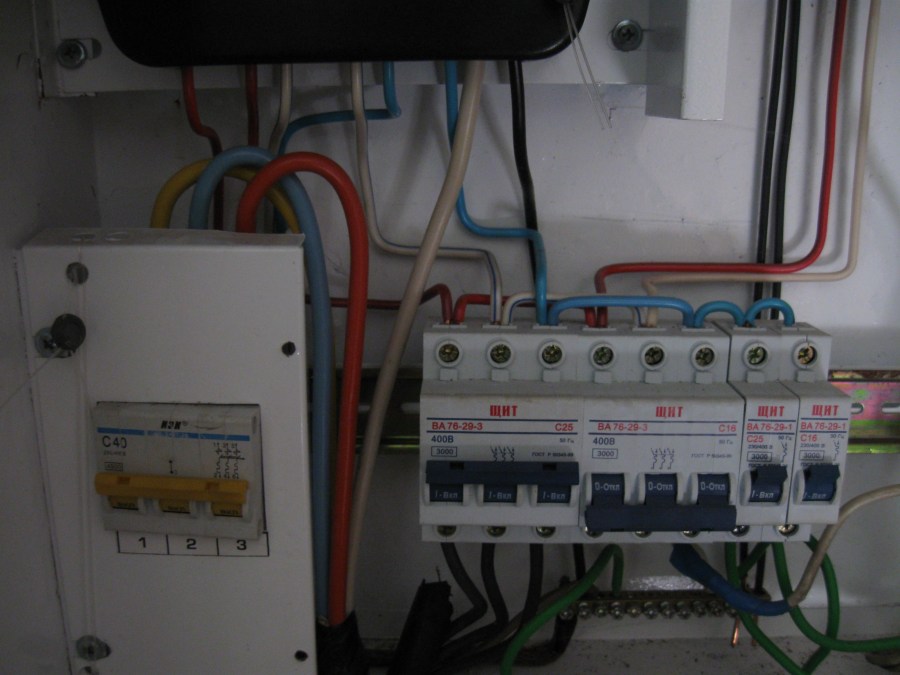
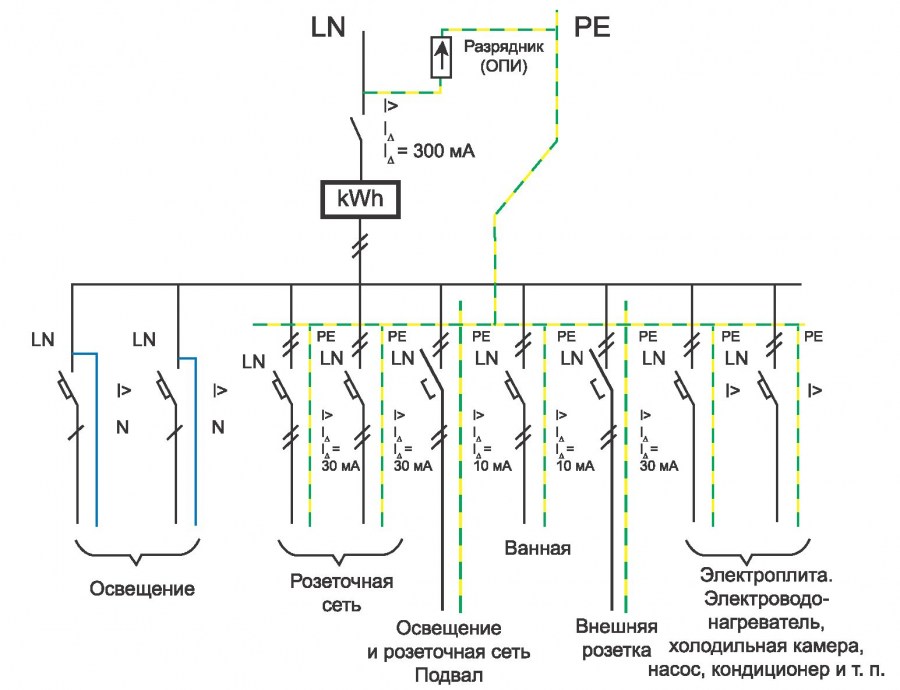
For greater certainty, you can install another type of protection on the shield, the so-called RCD, which reacts to the slightest short circuit in the electrical wiring system, reaction to currents in the protected installations.
The essence of the RCD is that it captures the difference between the incoming current and the returning one. If the difference exceeds the permissible norm, the RCD disconnection mechanism is activated for social networks in private houses, in apartments, in damp rooms with washing machines and dishwashers, in children's rooms, to protect children from electric shock.


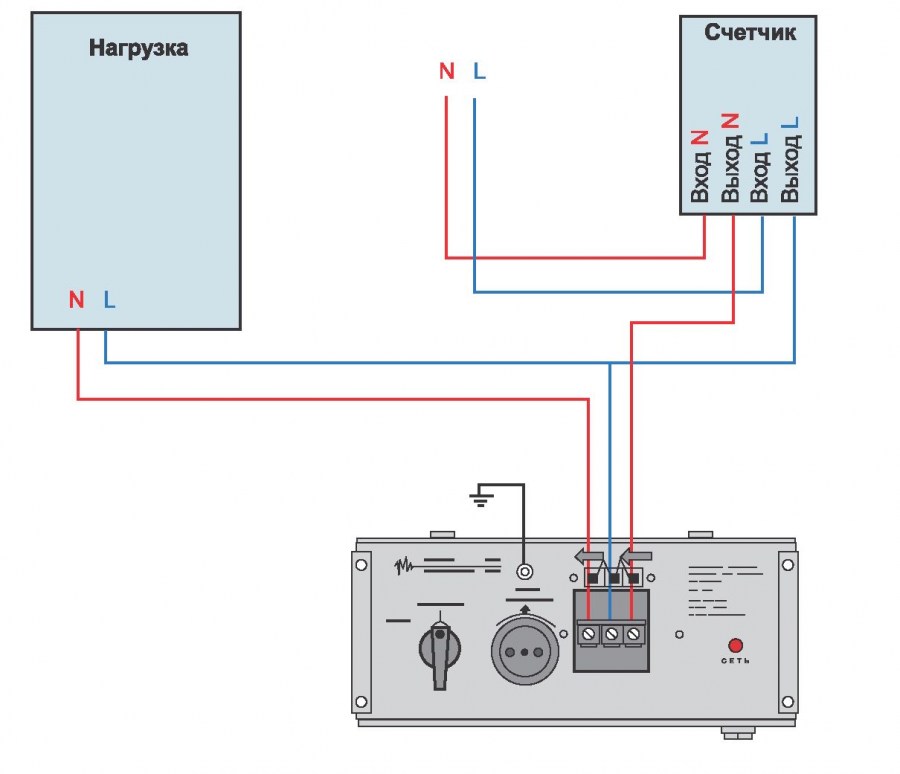
With all this, the question often arises - is it possible to connect an RCD without grounding?
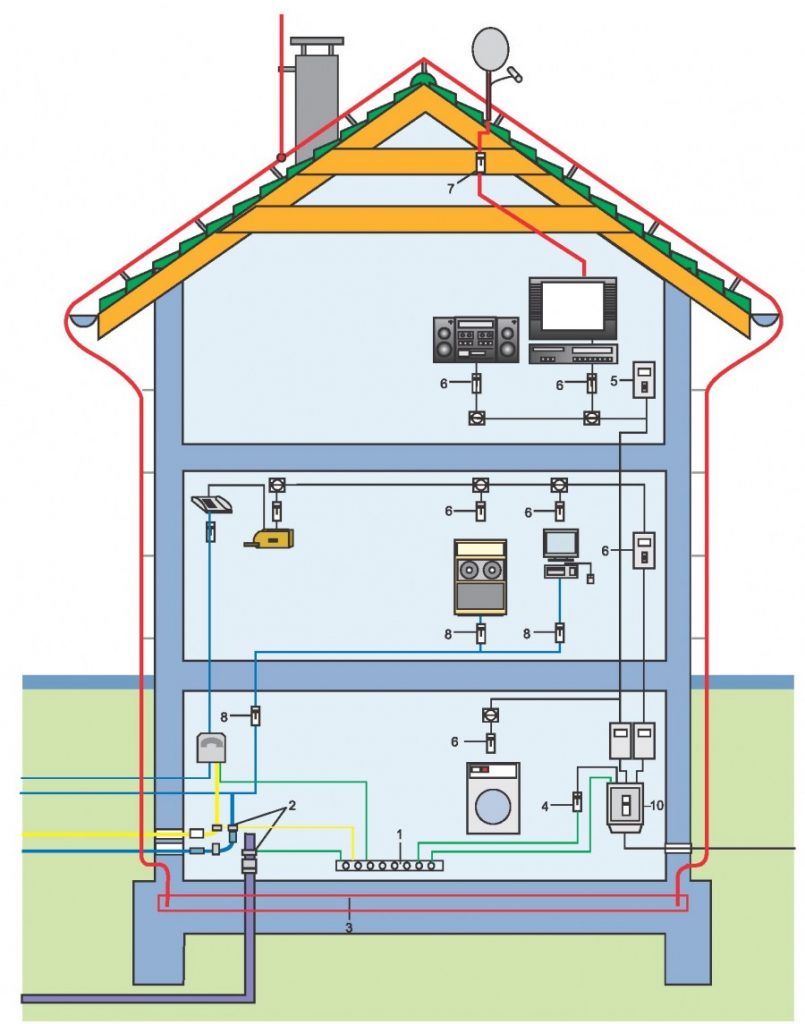
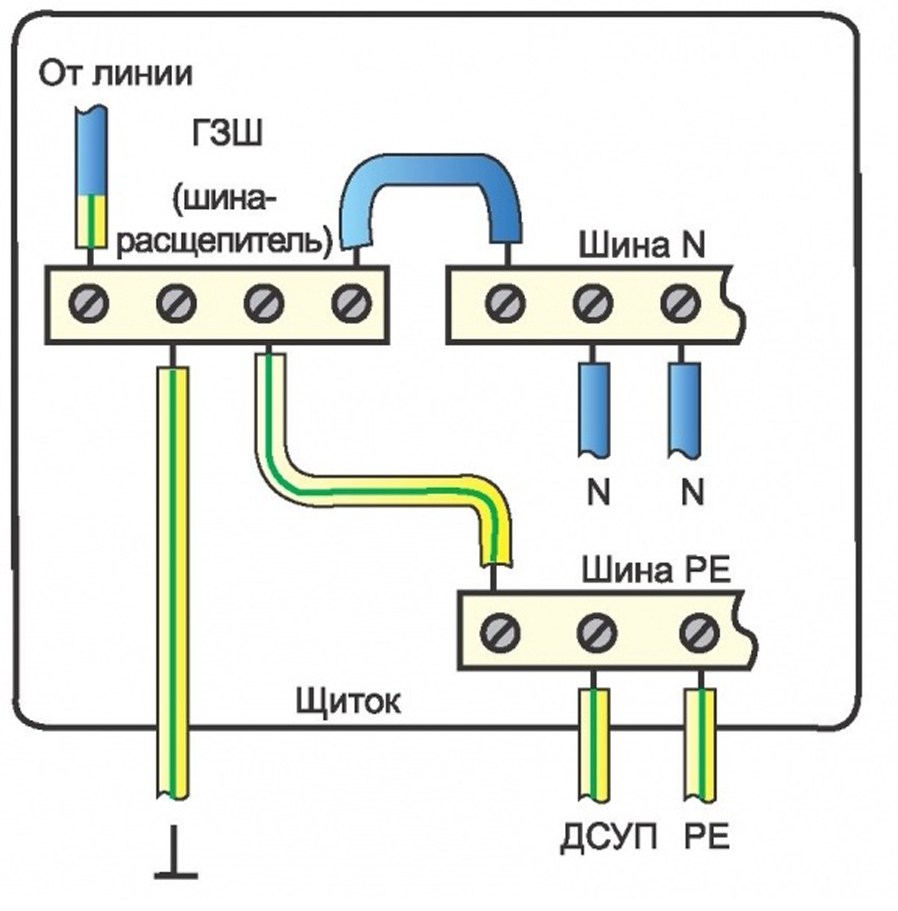
It has long been known that the body of each electric device has its own potential, and the difference between these devices is not equal to zero! Therefore, it becomes necessary to combine all devices with one bus in order to level potentials.

So it turns out that there is no way to do without grounding. After all, if the insulation is violated, the RCD will expect a leak, but there will be no leak, because there is no grounding, and therefore there is no leak. Conclusion - grounding is necessary.
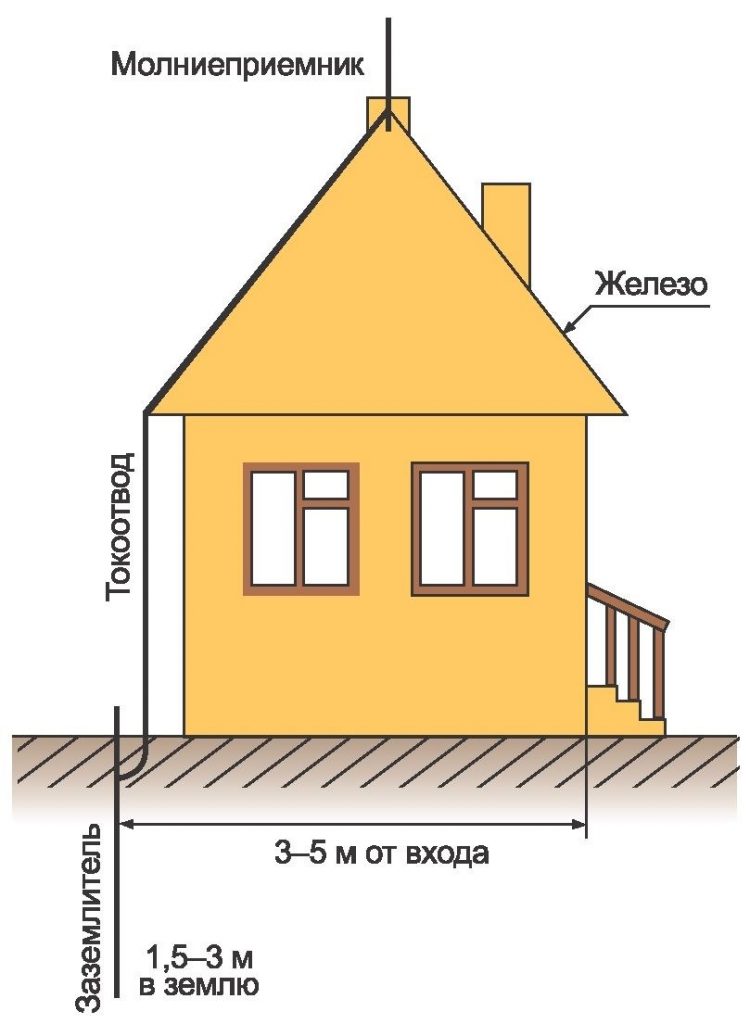
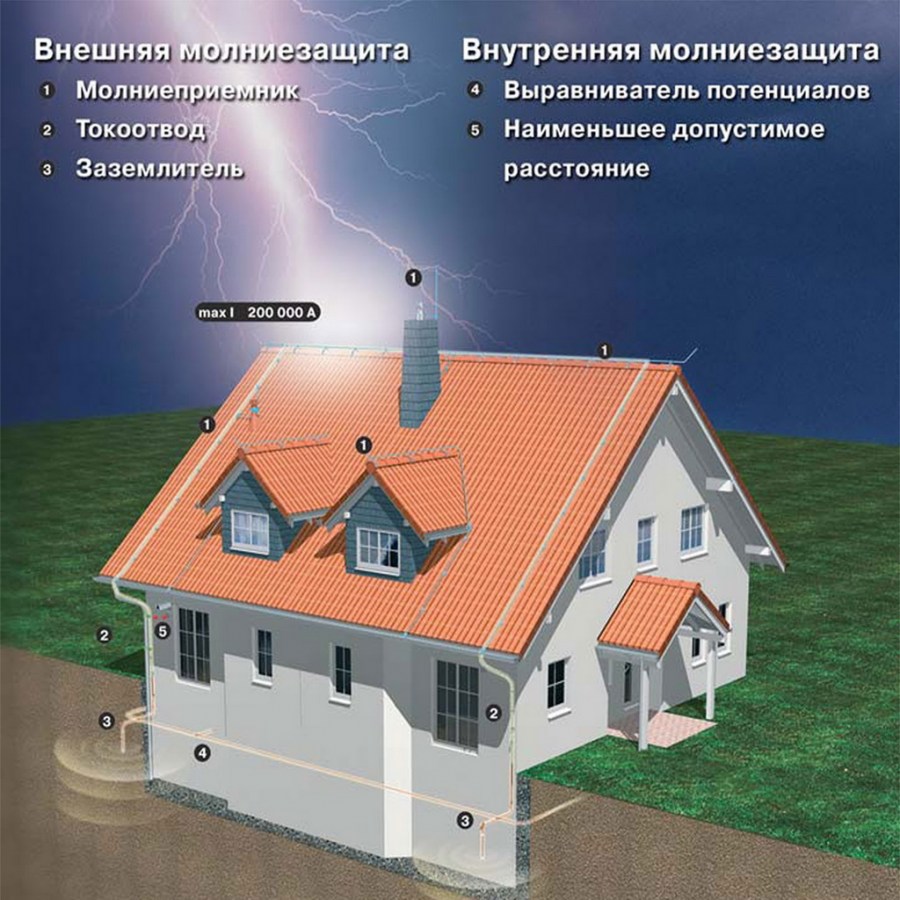
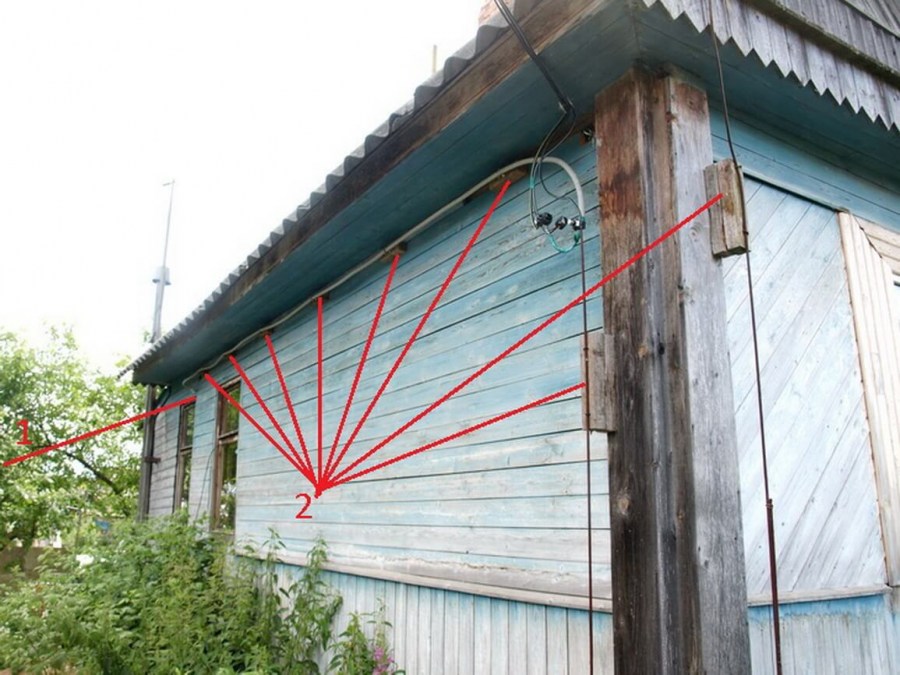
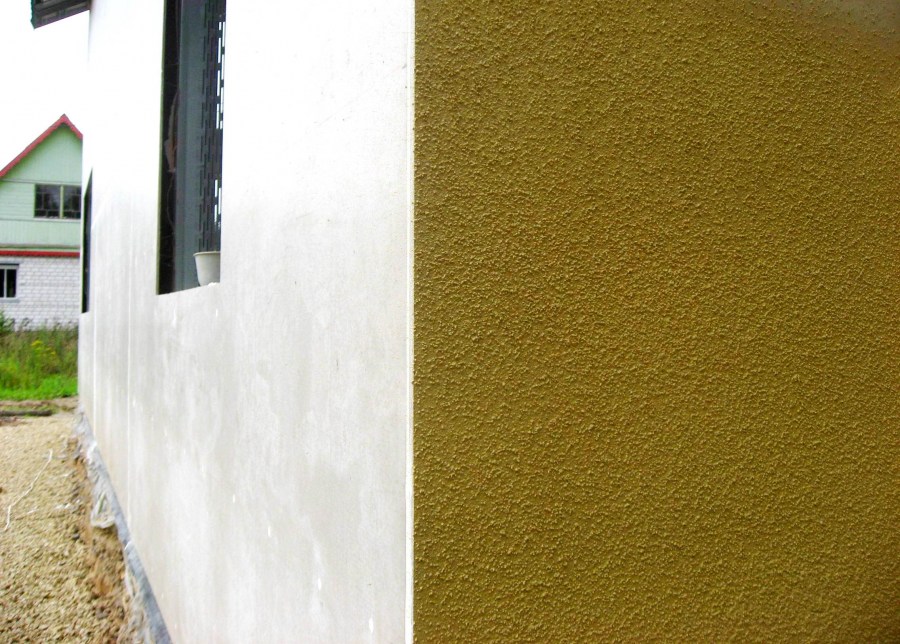
In places of residence where there is no soil, as such, there is a grounding "Fir-tree", which received this name for its shape. Choose one of the walls, usually deaf. On it, pieces of metal tape are attached, 6 millimeters thick and 8 centimeters wide, and connected to each other in welding so that they become like Christmas trees.

These Christmas trees are connected together in series in one circuit, thereby obtaining, as it were, a container with its potential, capable of dissipating electrical leakage.
Grounding photo in a private house


DIY brazier: drawings, instructions, recommendations + photos of ready-made ideas
Facade lighting - 80 photos of the features of the application of lighting
Wooden fence: step-by-step installation instructions (100 photos)
Seedlings of flowers: 110 photos of processing features and selection rules
Join the discussion:
I have never seen how to make grounding in a private house. Although we have a house) My husband did everything himself. I'm proud of him.