Chicken coop for a summer residence: how to build with your own hands simply and quickly. 95 photos of contemporary projects
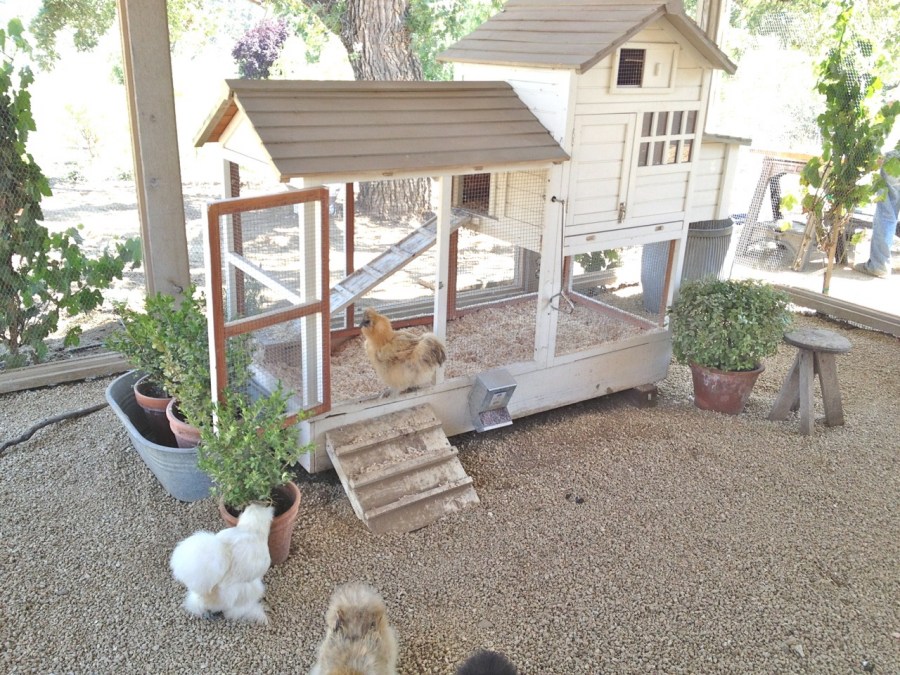
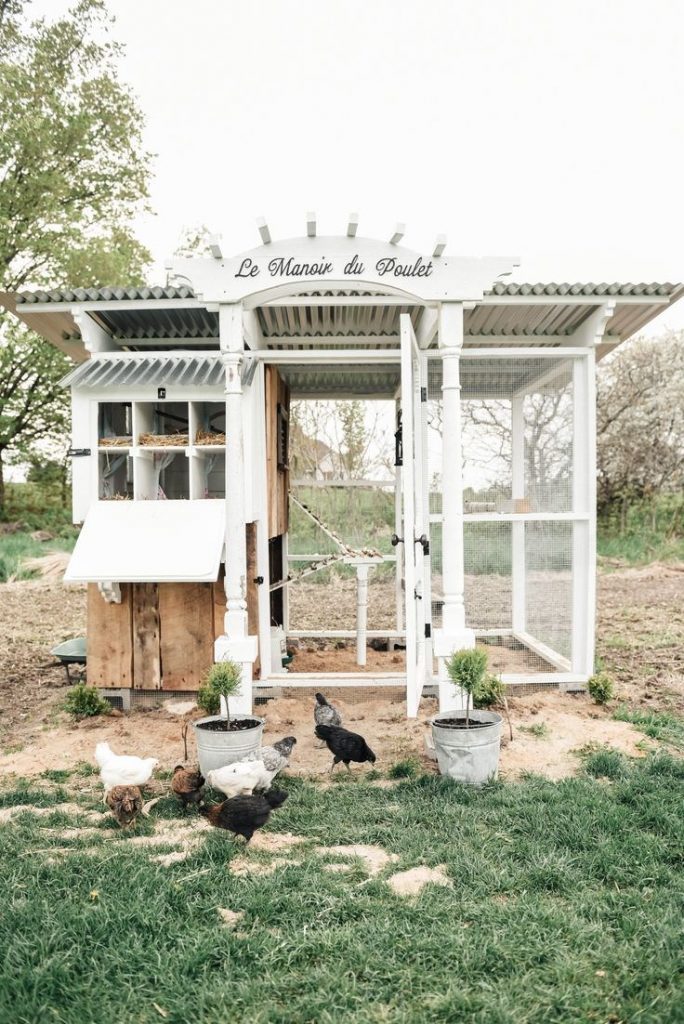
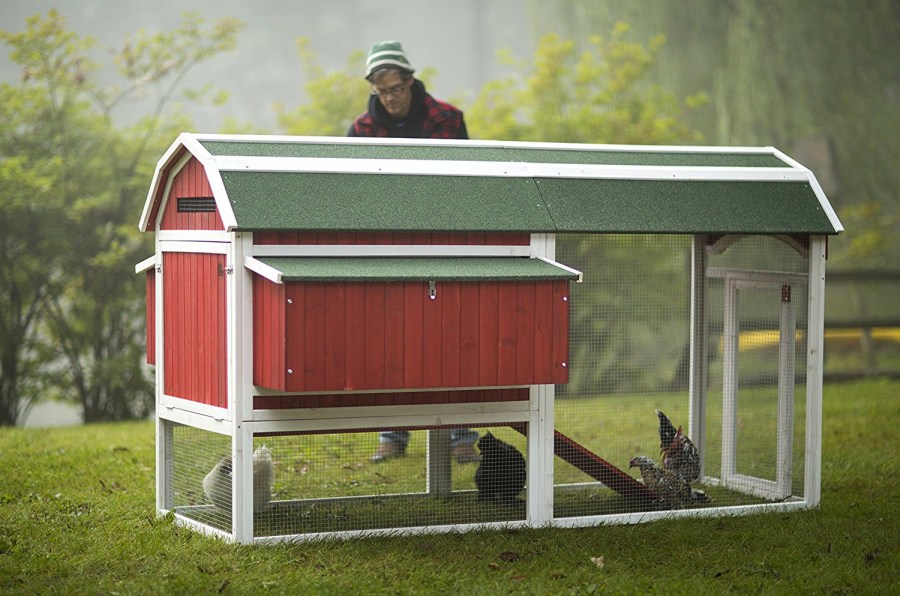
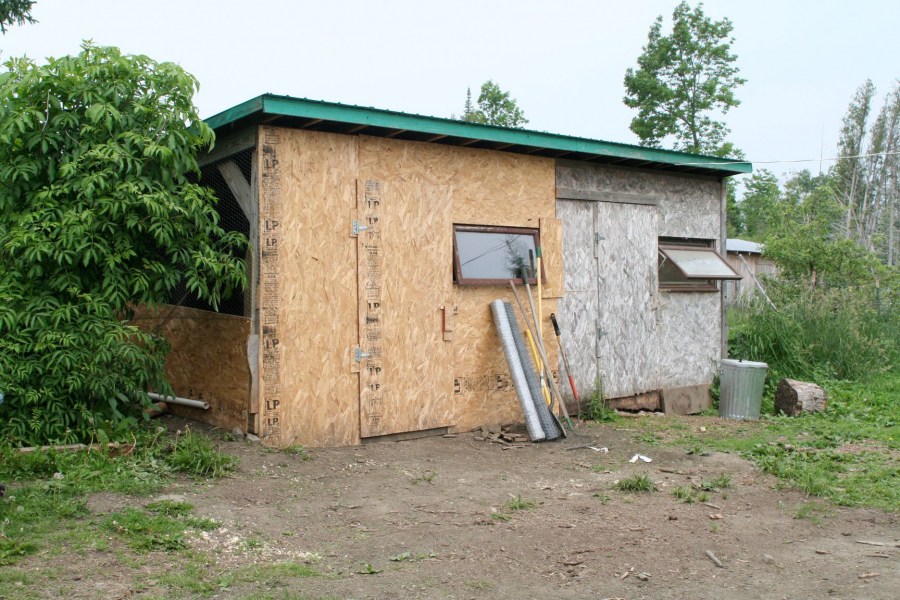
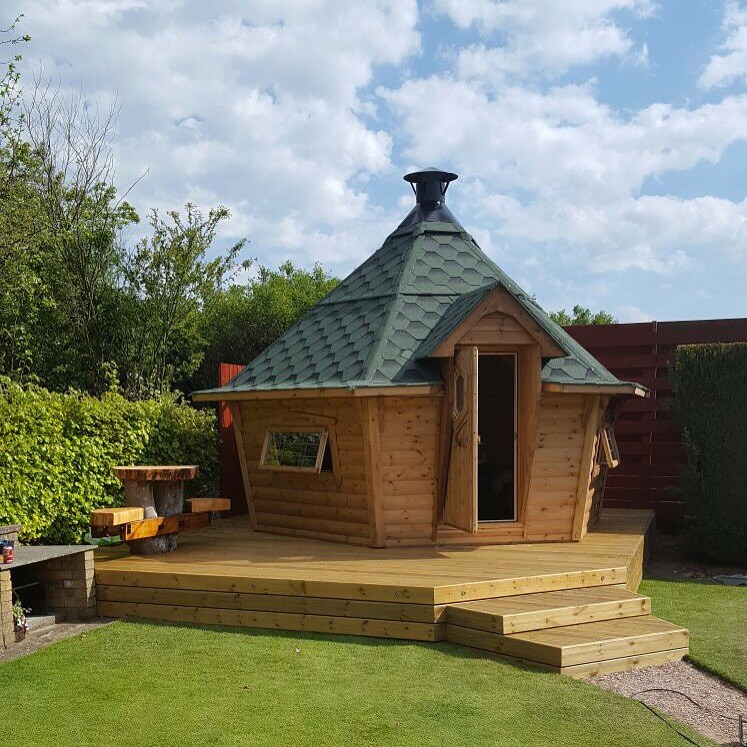
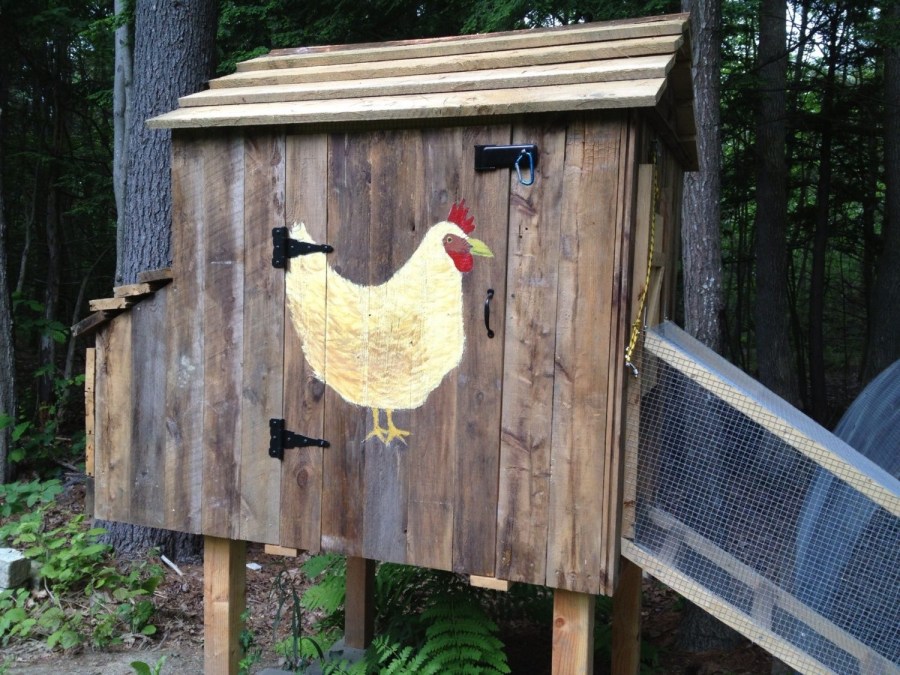
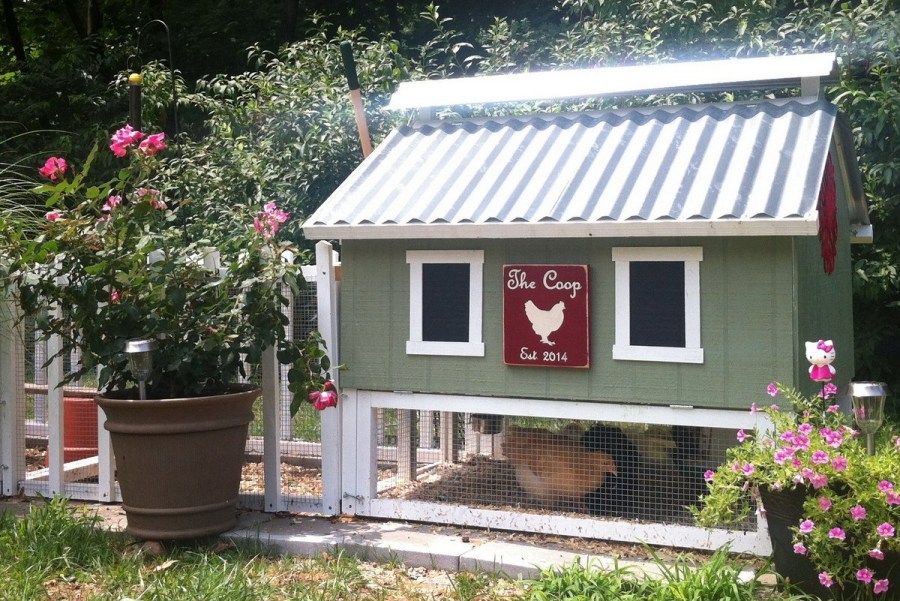
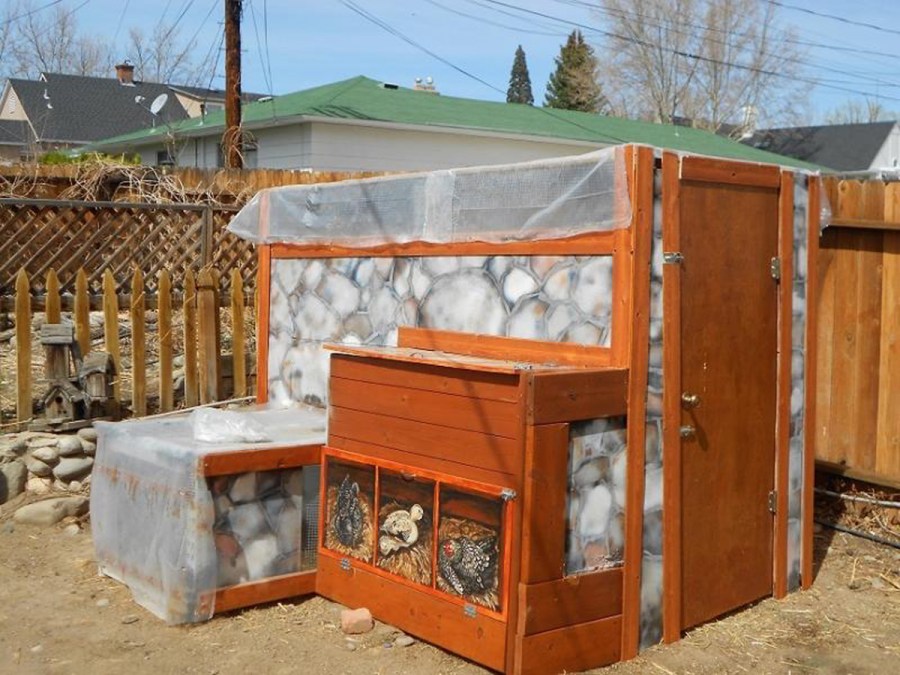
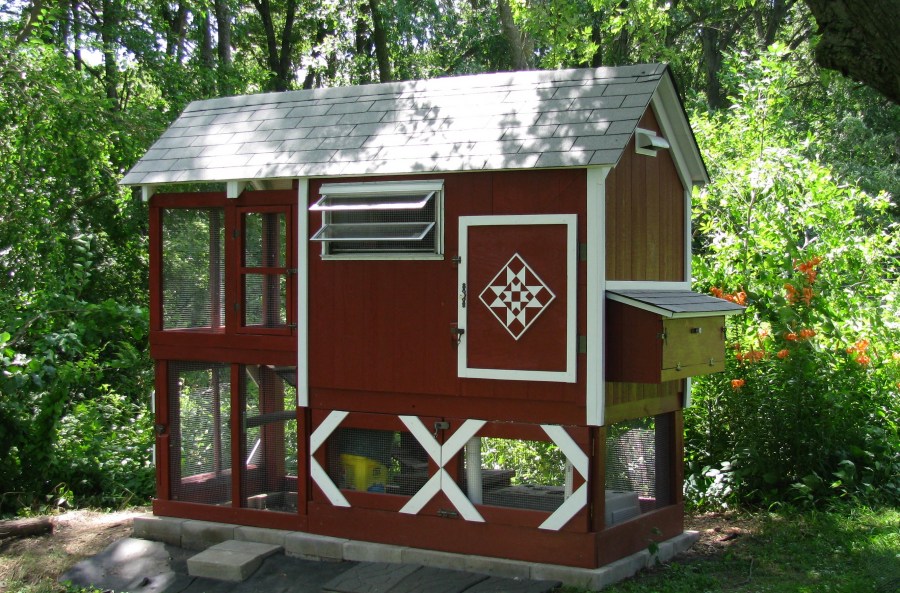
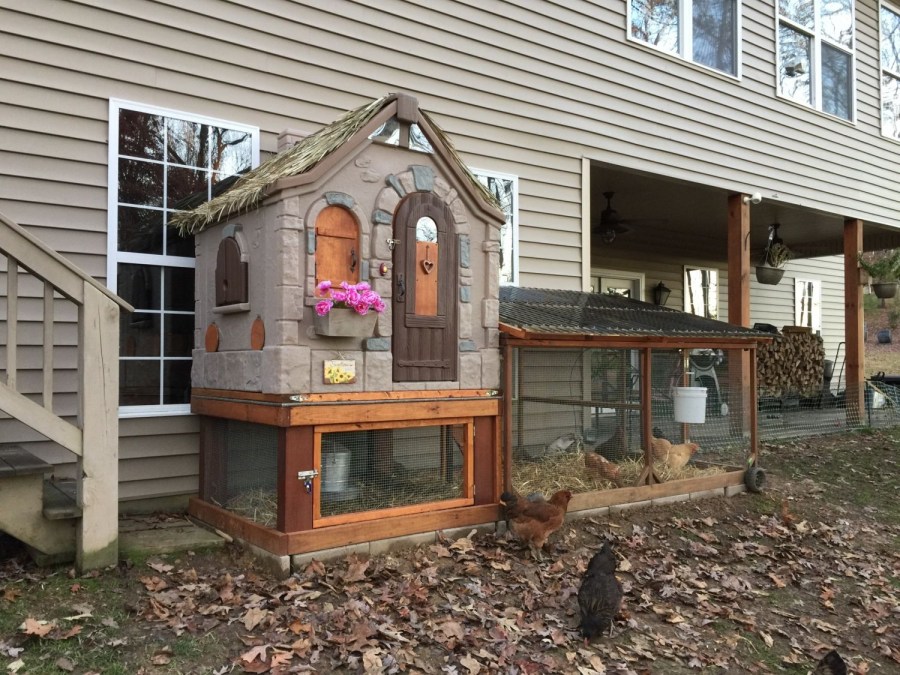
At the request of “a photo of a chicken coop for a summer residence,” the Internet begins to dazzle with all kinds of photographs, in which a variety of structures: small and large, bright and plain, with a flat or gable roof, ordinary and most fabulous.

Which options are more common than others?
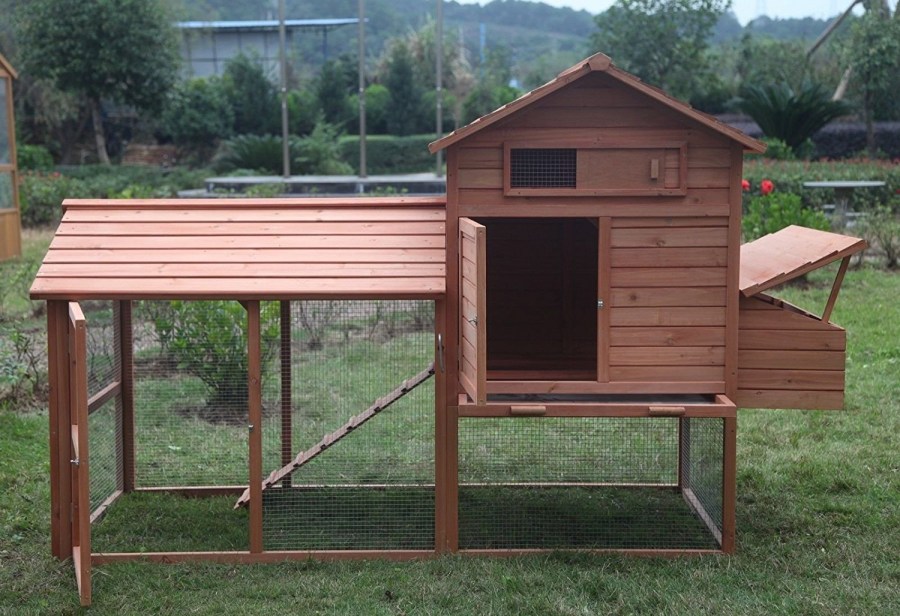
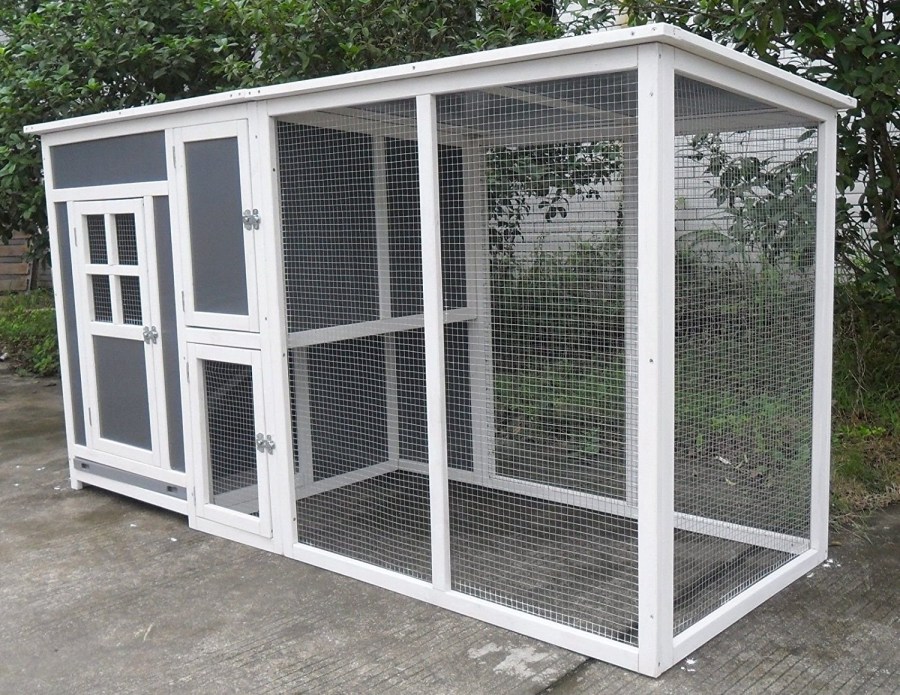
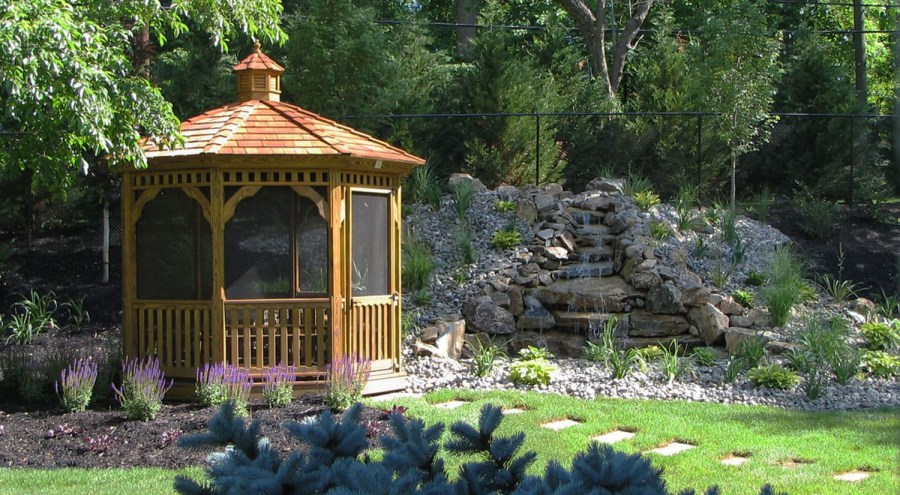
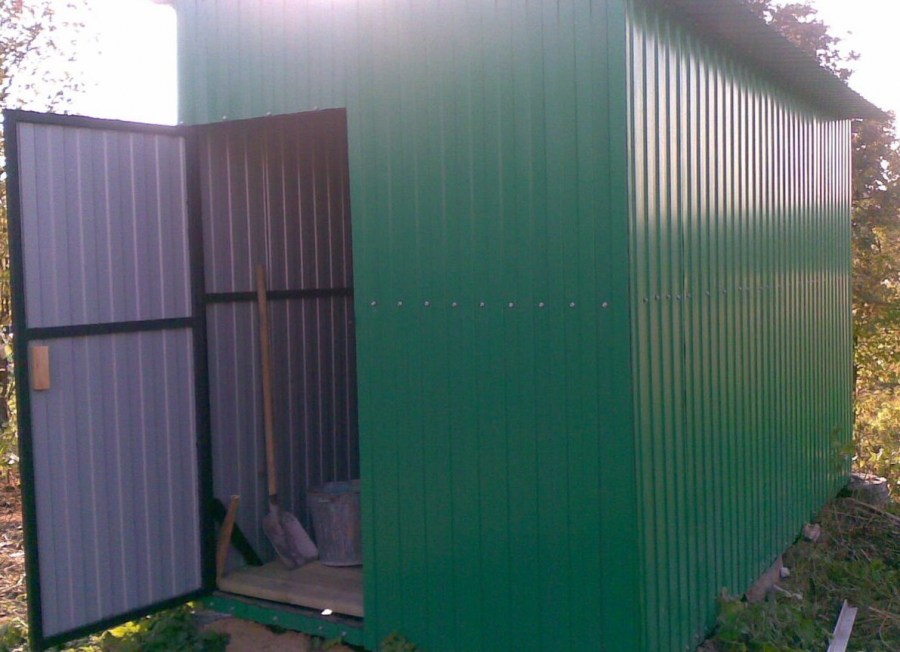
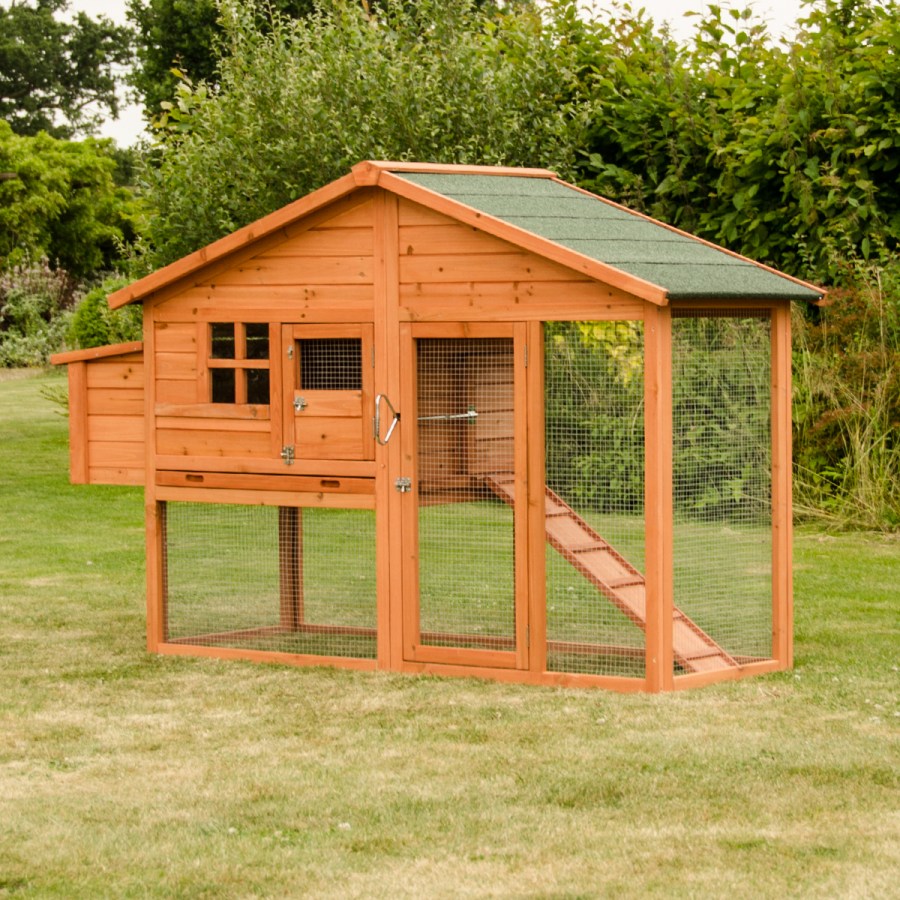
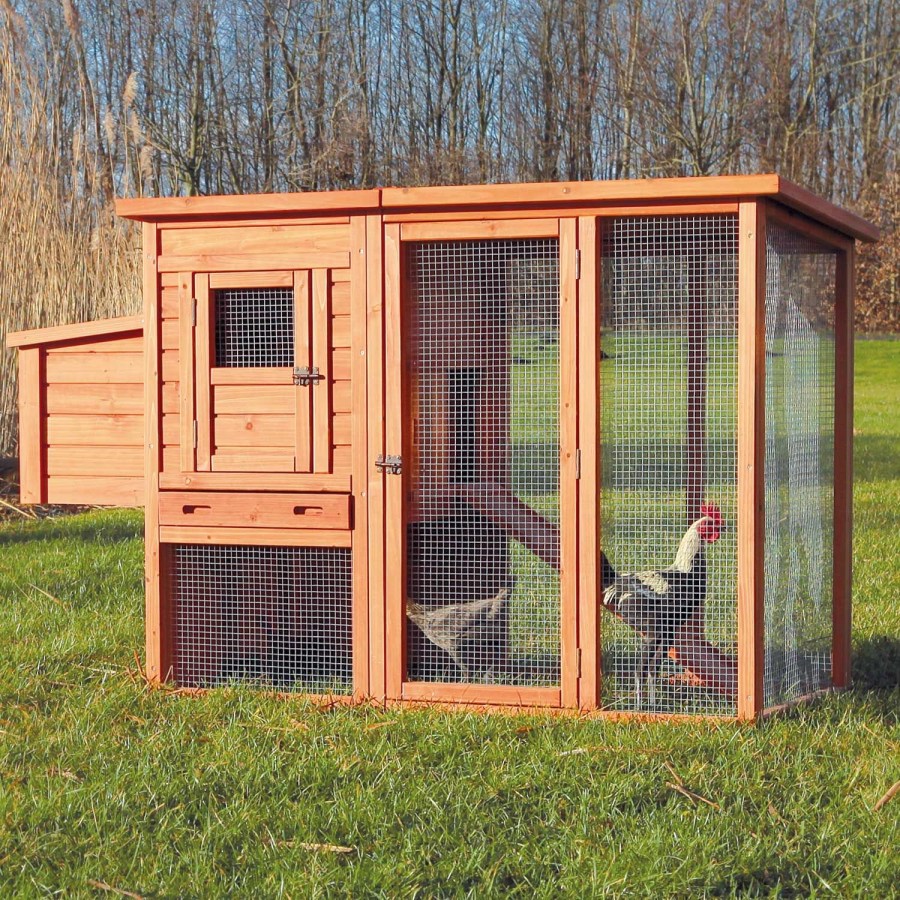
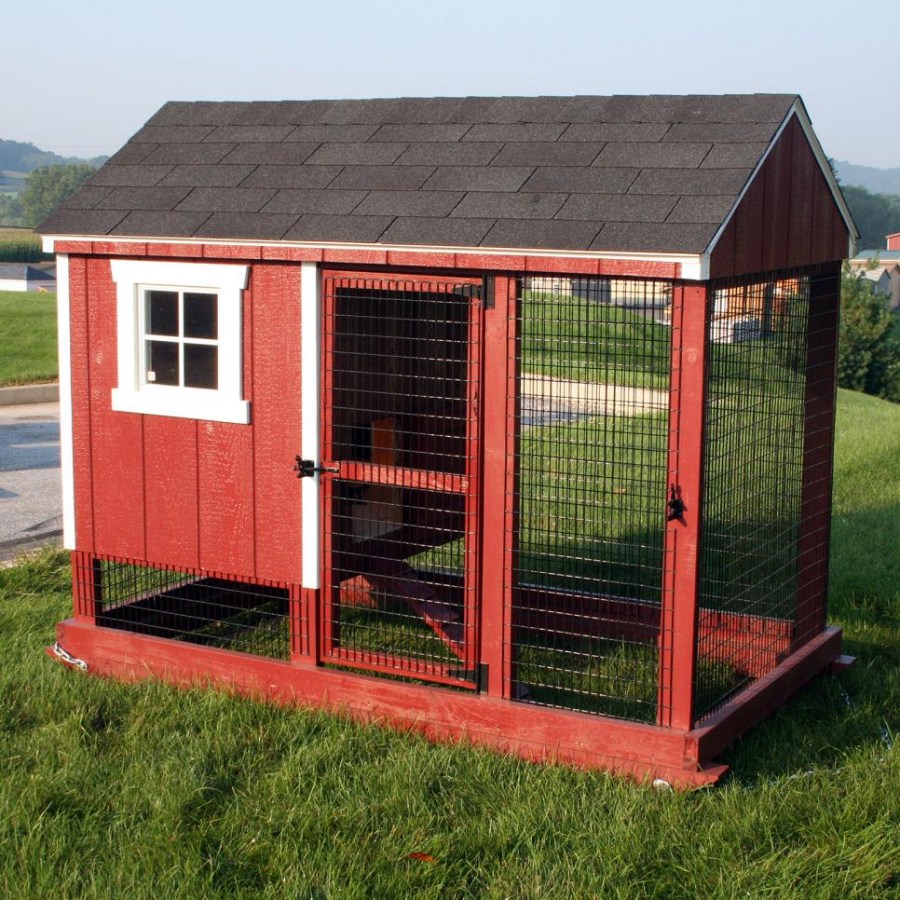
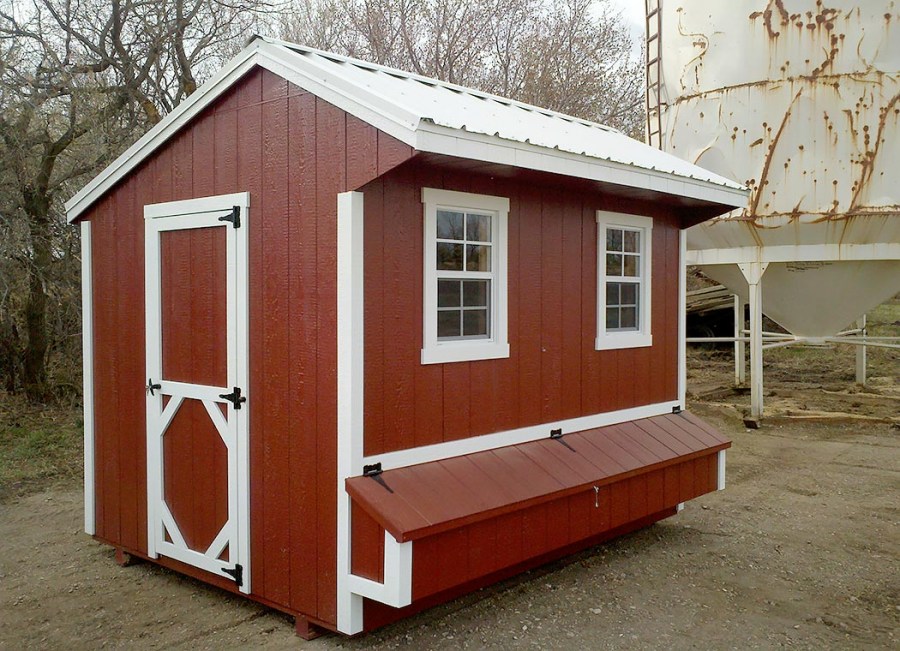
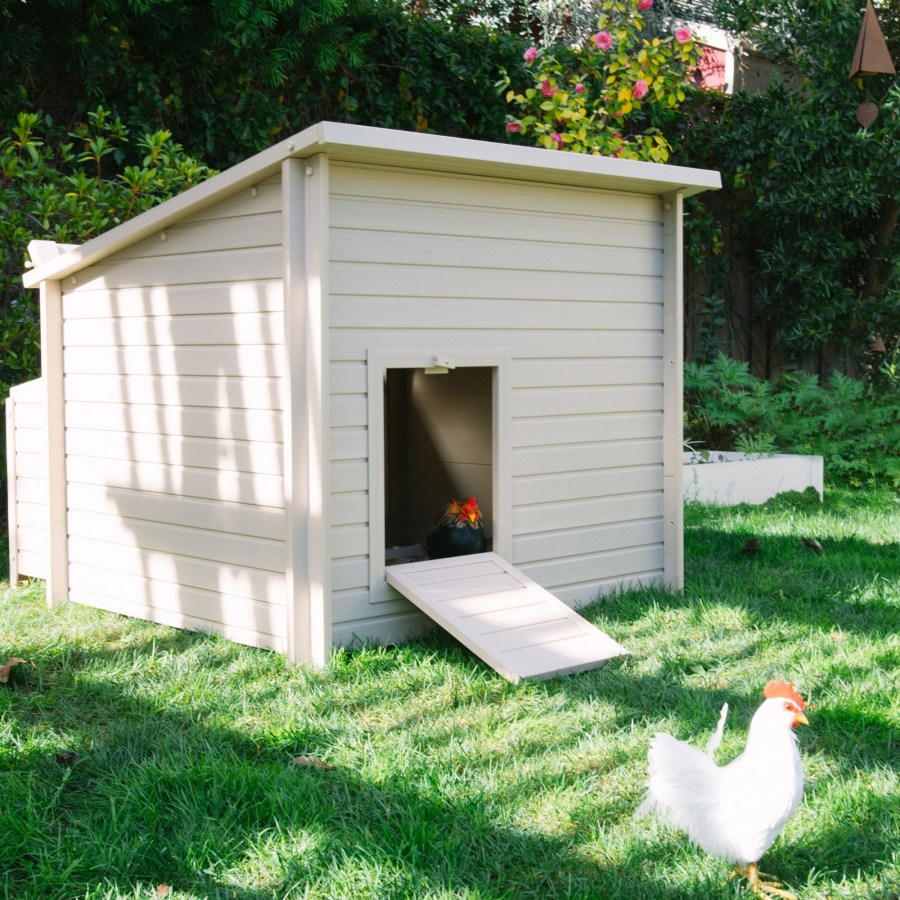
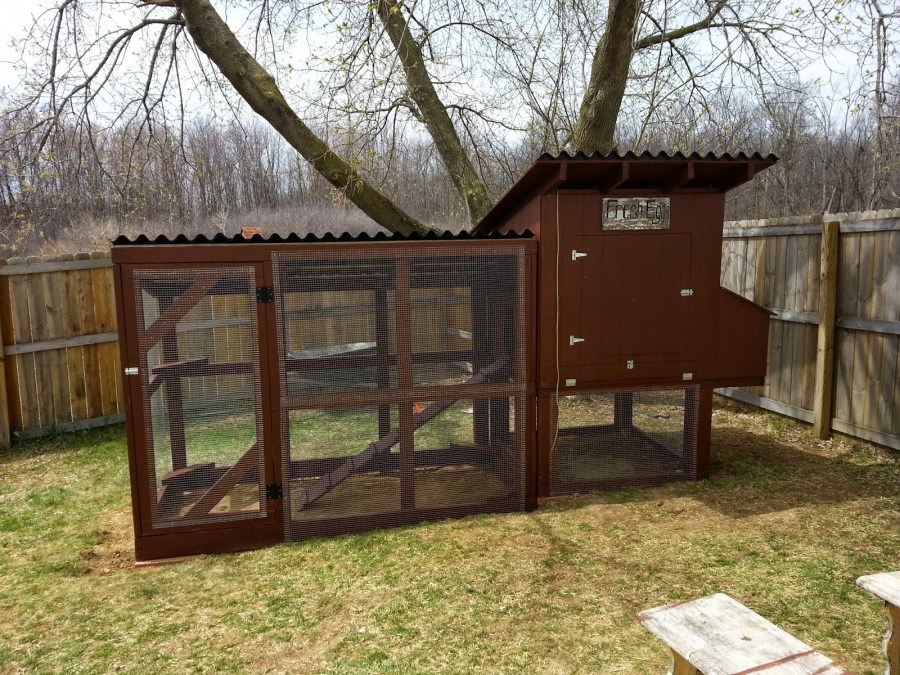
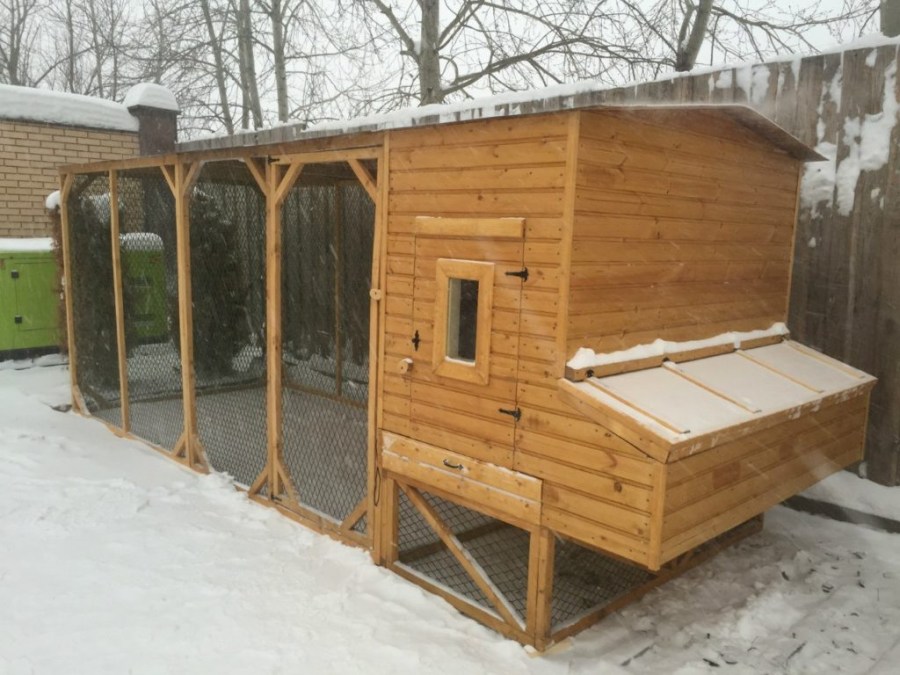
Stationary chicken coops - standard building for summer or permanent residence.
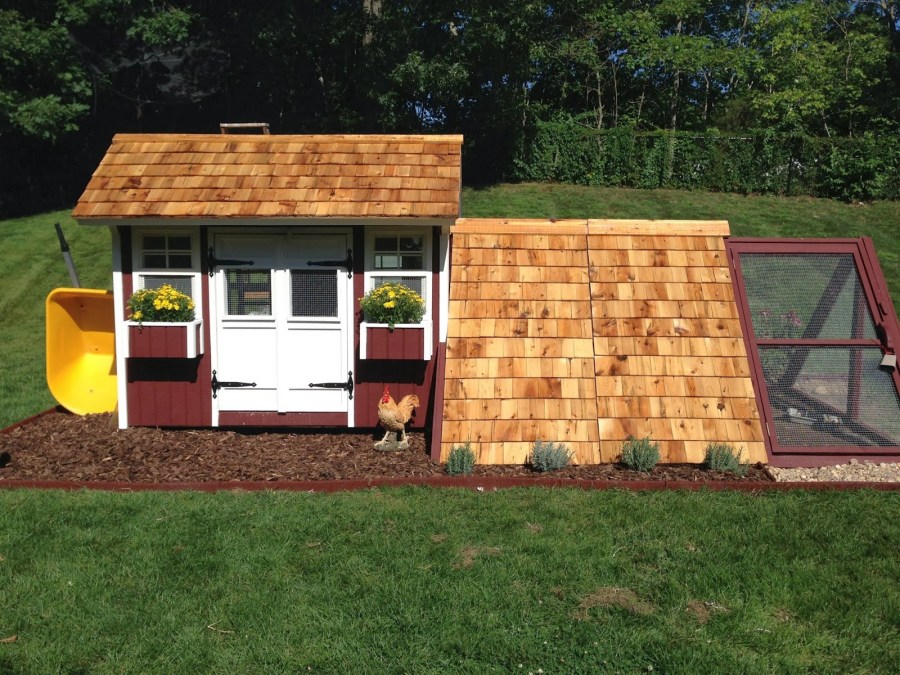
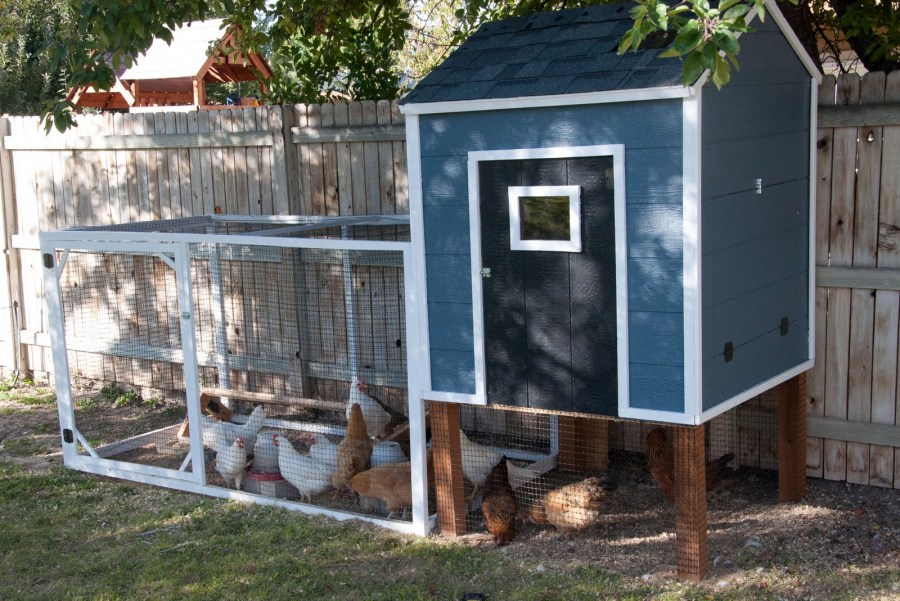
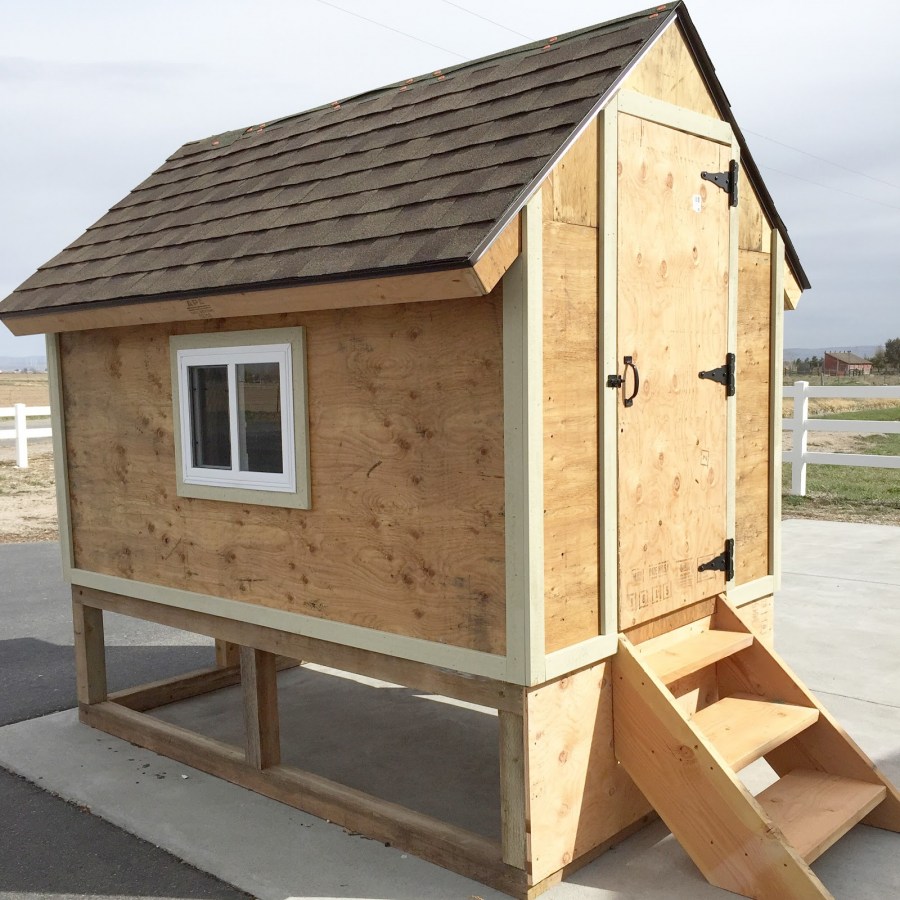
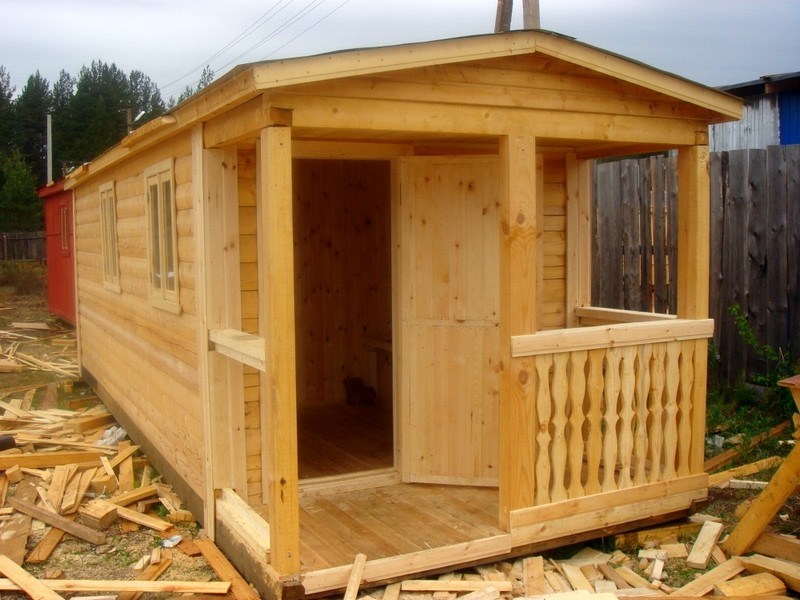
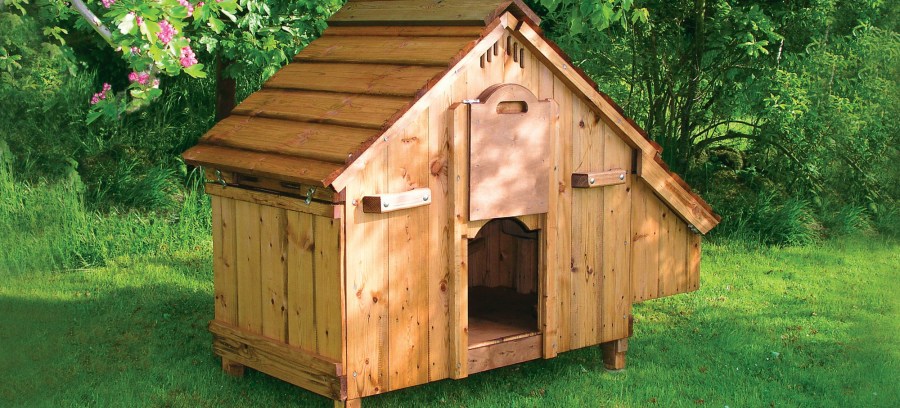
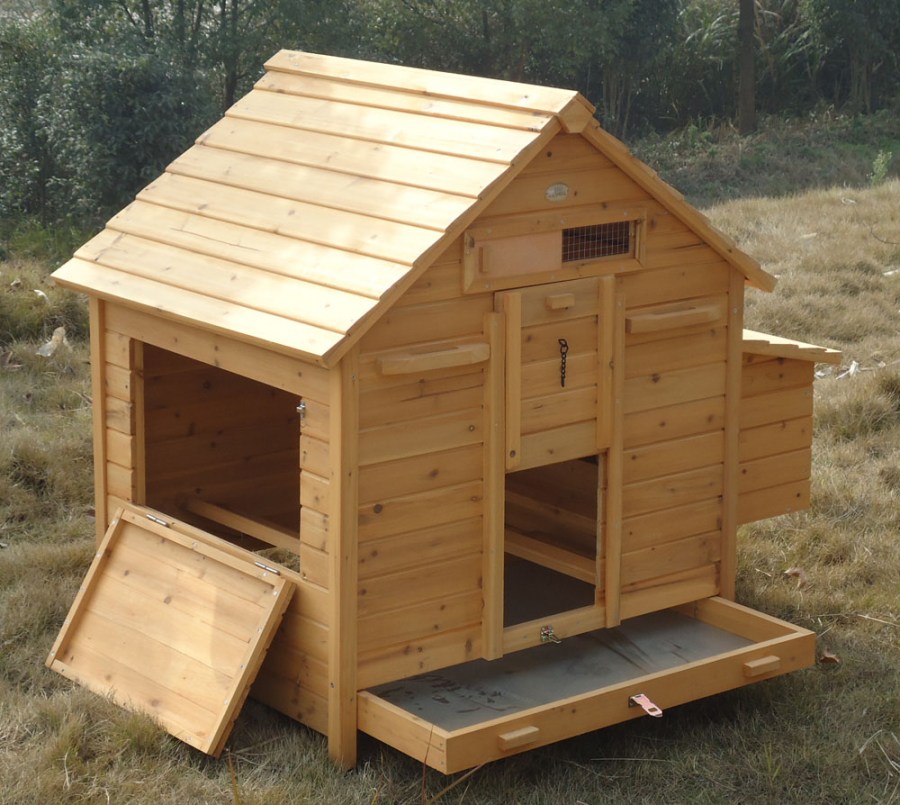
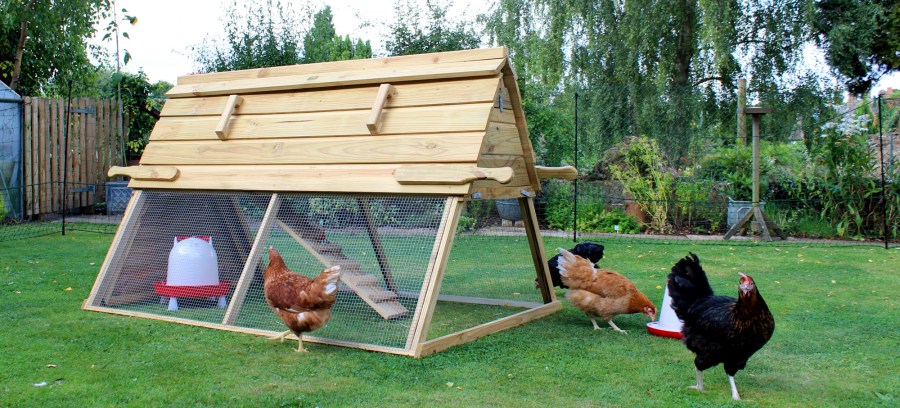
Coop outwardly similar to a cottage with an attic and having a design pair of boards, thanks to which it can be moved from place to place.

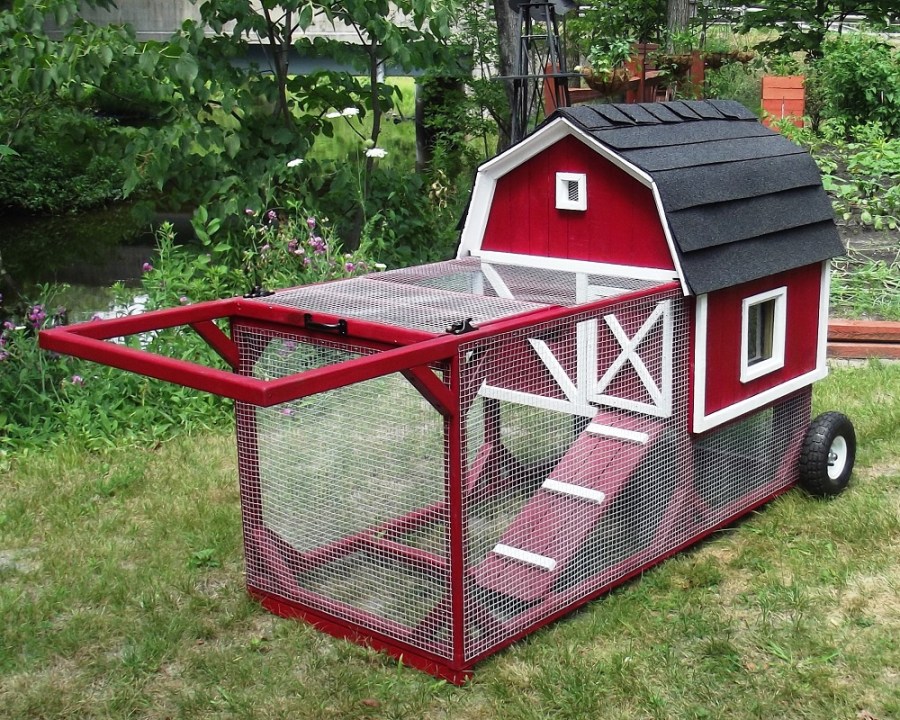
Chicken coop in the form of a car, where the "house" is connected to a uniaxial frame with wheels. Used to move around a small area.
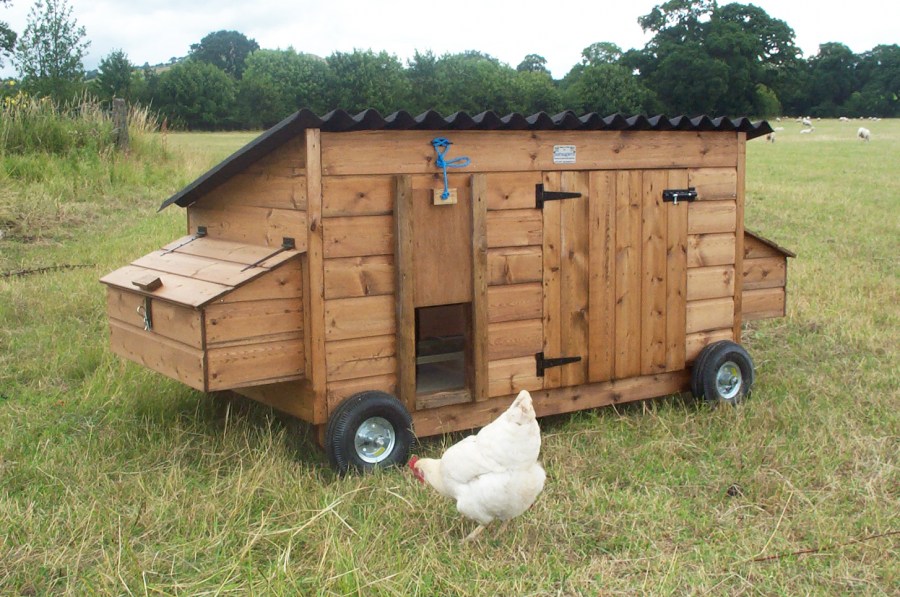
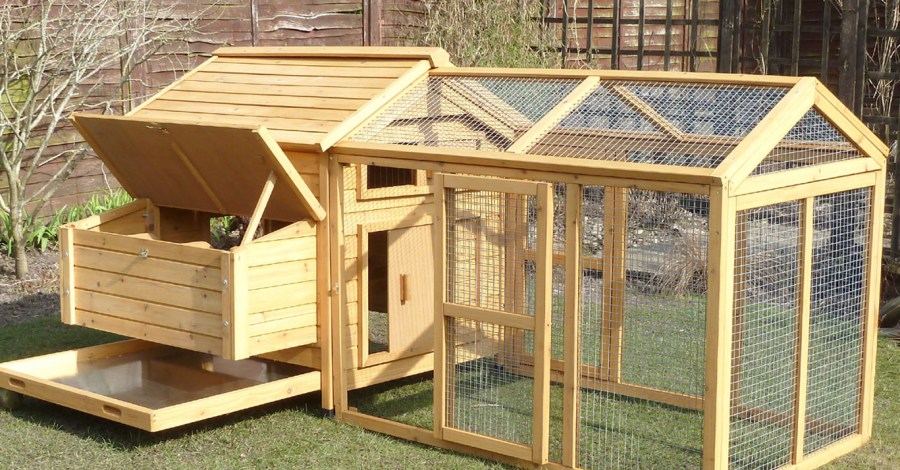
Coop trailer. For structures with a large weight, decent dimensions and significant capacity. There is a two-axle trailer that allows you to roll the chicken coop over longer distances in comparison with other types of mobile chicken coops.
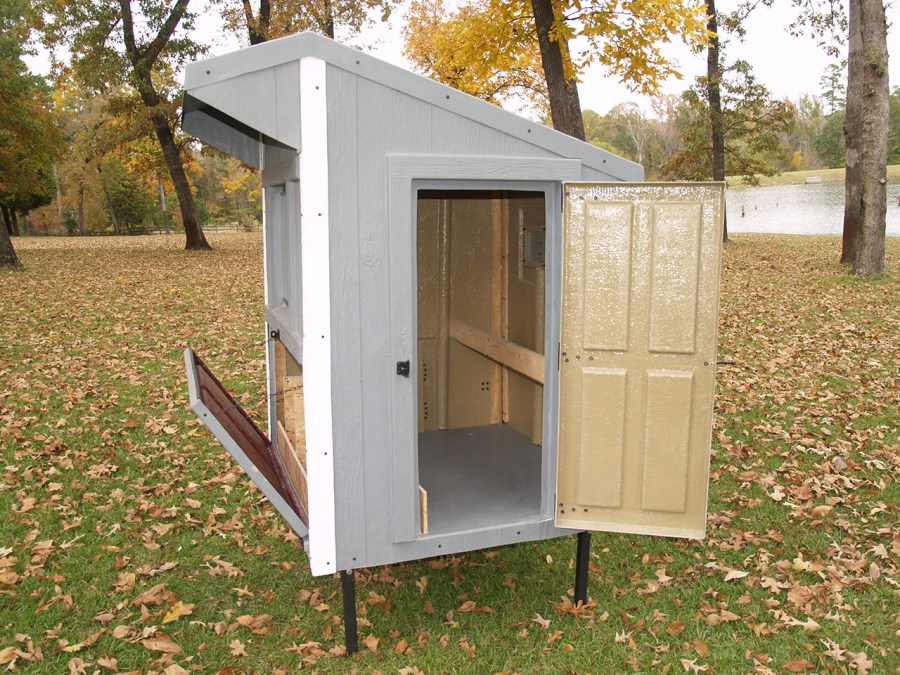
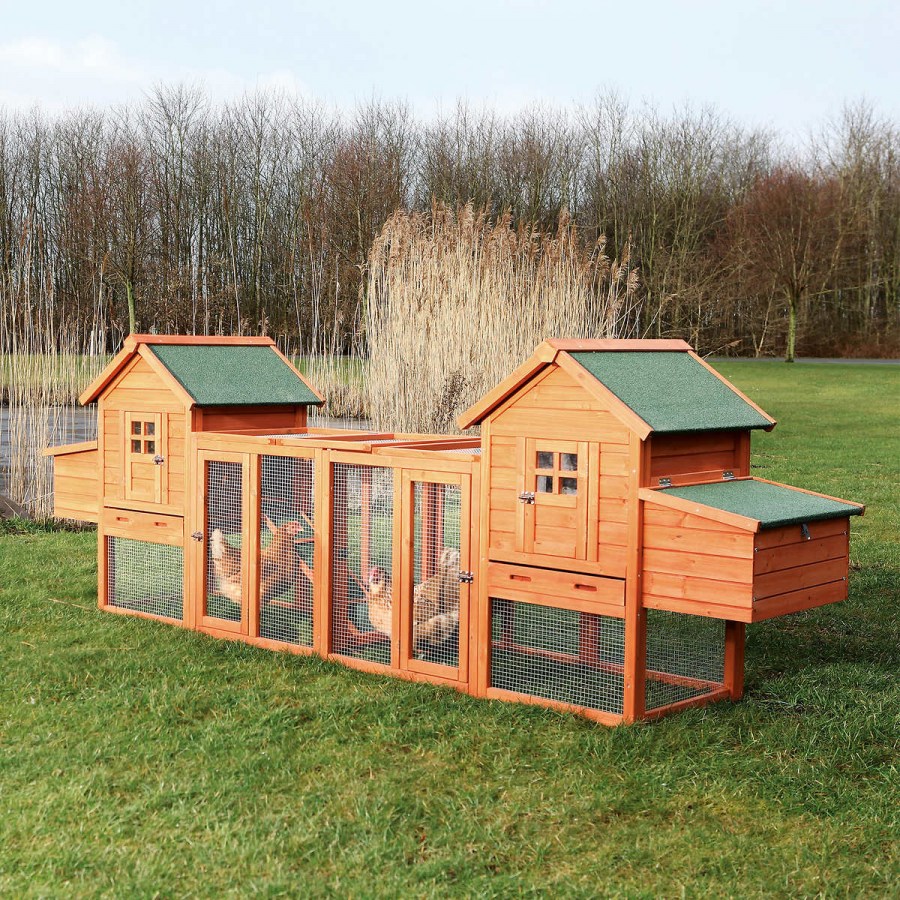
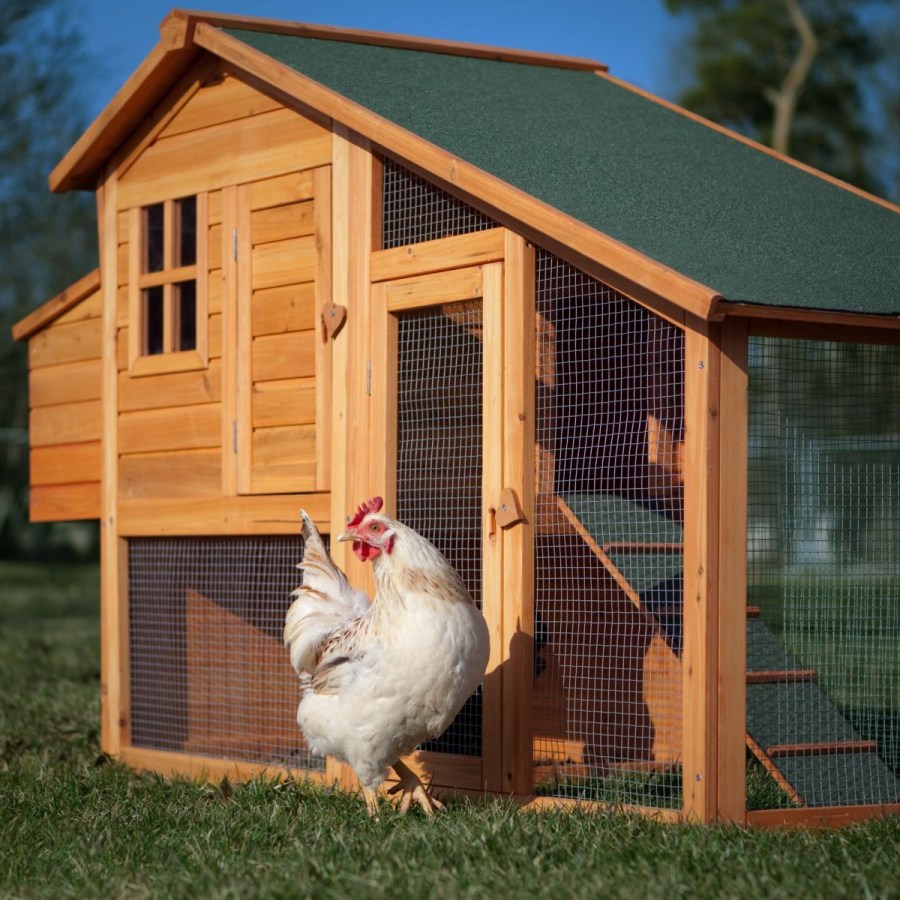
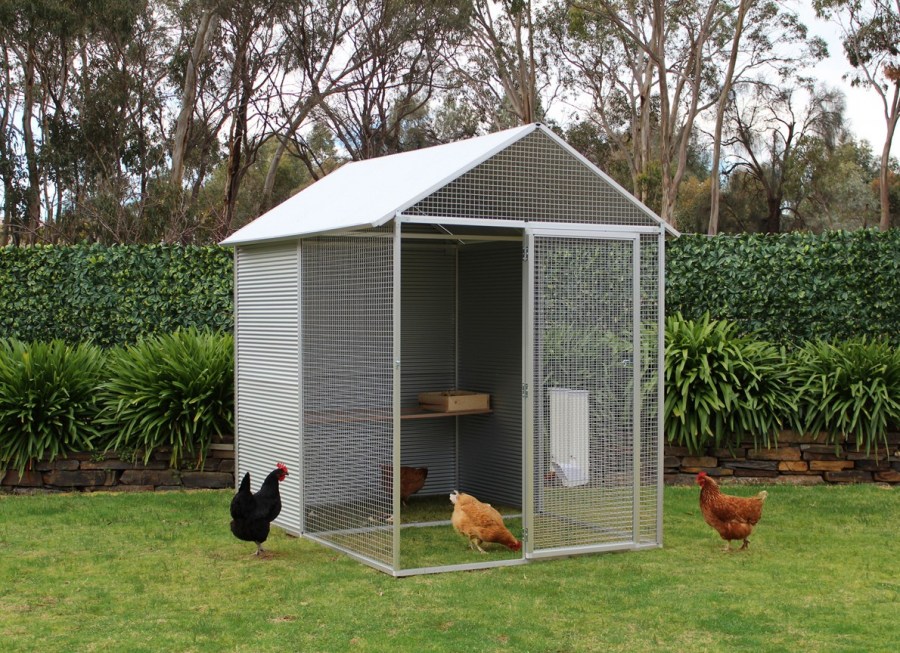
Ready-made chicken coops are common in countries with a mild type of climate, but in our country they can be used only in the warm season. Pluses: compactness, simplicity of "assembly dismantling". Cons: materially expensive acquisition, not suitable for every climate.
Despite all the variety of ready-made bird houses, kurovody often prefer to build them yourself.

What you need to know before construction
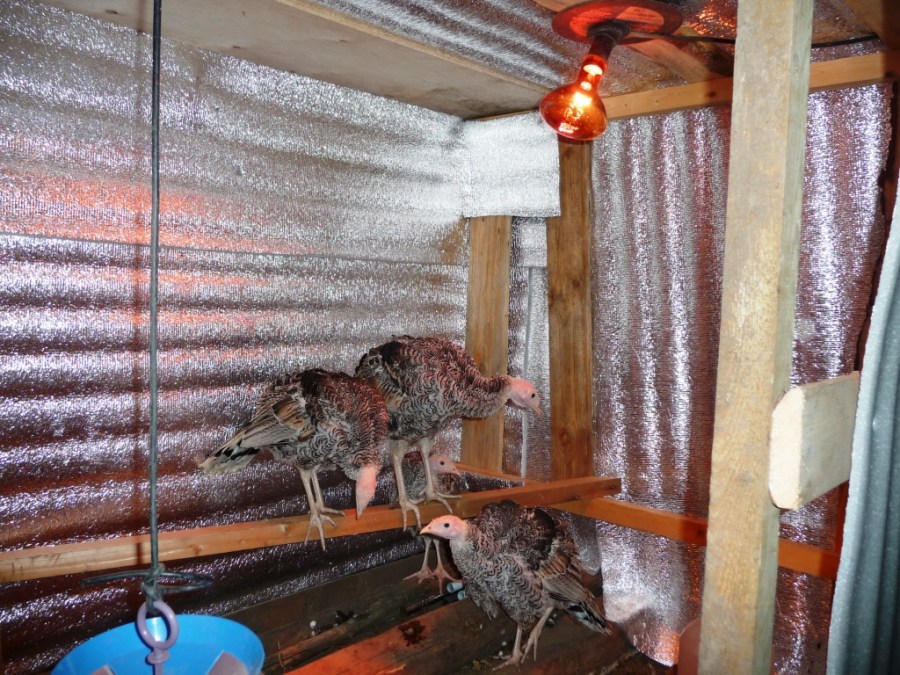
It should be remembered that chickens as a whole are more unpretentious than other poultry: turkeys, quail, guinea fowl and so on, but for their maintenance you need to take into account some nuances.
If you are interested in the question "How to build a chicken coop with your own hands?", Then, before starting work on the construction of a bird house, learn a few rules:
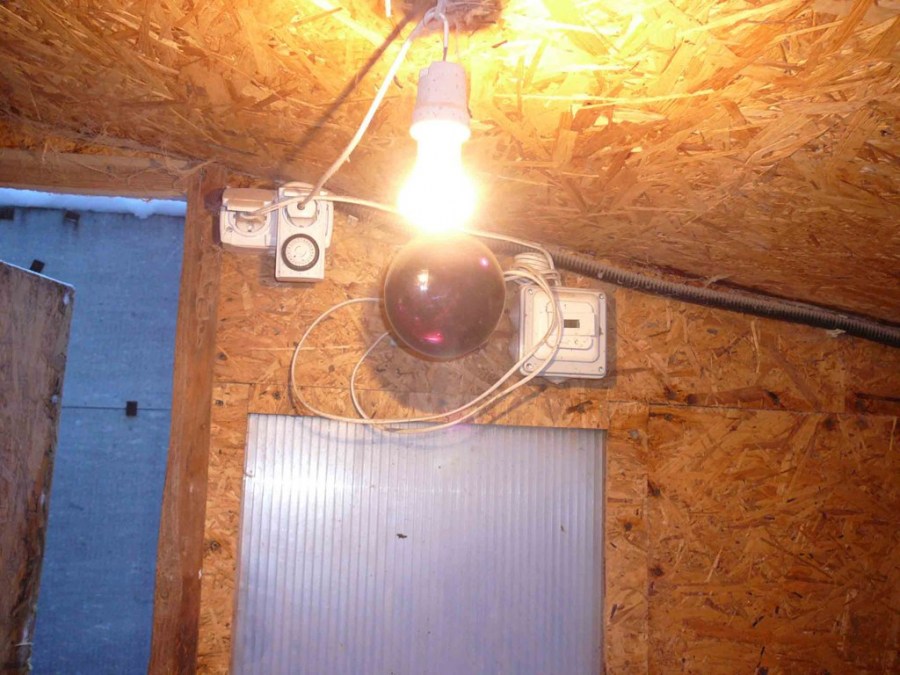
For a comfortable bird life, the optimum temperature is considered to be from +10 to +20 degrees, since a temperature above or below the stated length can affect egg production in particular and the health of chickens in general.
High humidity is destructive, because it provokes the growth of bacteria, the spread of mold and unpleasant odors, so it is advisable to place the building on a site somewhere higher.
Excessively moist soil must be drained using various means: tools to remove moisture, or you can fill this area with sand, or equip pits or canals to remove water.
It is useful to equip the chickens with a shallow pond for bathing procedures, where, by the way, you can redirect the collected excess water.

With a longer day period, the egg production of chickens increases. It is recommended to build a chicken coop turned to the southeast side: it is desirable that the door faces east and the windows face south, although it is better to shade them when it is too hot and light.
The room must be well ventilated, but drafts are unacceptable - you can use building materials, as well as a hedge to protect against them.

The place for construction should be where there is no rumble, you can not hear the screams of passers-by or resting and passing cars. Peace and quiet are important components for the normal life of poultry;

The space inside and outside the chicken coop is also important.Cramped conditions can lead to the formation and spread of disease, peeling and poor or zero egg production. Golden ratio: two birds per square meter free space meter;
The place of walking must be provided with lawns, but certainly with shelters from the sun and bad weather.
Foundation, floor and walls
How to build a chicken coop? Where to begin? After choosing a place and preparing drawings with the necessary materials, you can proceed directly to the construction. The foundation, as the foundation of any structure, is laid in the first place.

There are two main types:
Tape. It is most often used when a building is built of bricks and other "heavy" materials and has a large mass. The strip type of foundation, although more reliable, is also more costly in terms of time, energy and energy spent on construction and, most importantly, on financial investments.
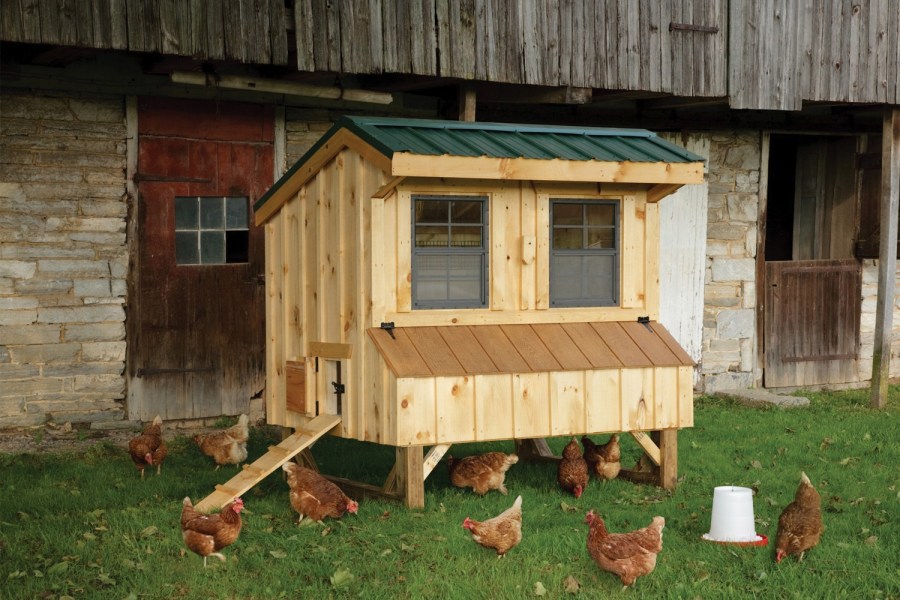
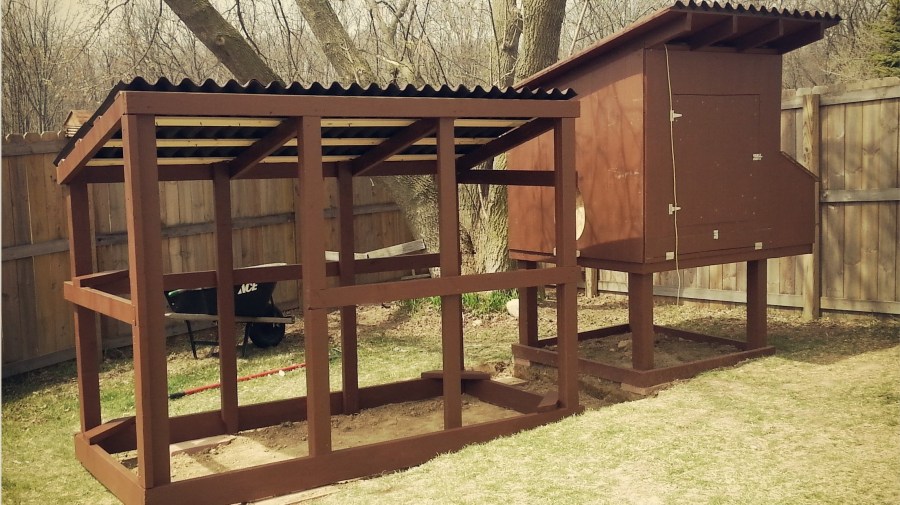
Columnar. The best option for the foundation for the chicken coop, especially if it will be built of wood. Often cement, sand, gravel and brick are used as pillars.
The advantage is that raised floors provide space for ventilation and, importantly, protection from rats, ferrets and other animals undesirable for domesticated birds.

Foundation construction:
- The place reserved for the construction is cleared, and markup is made according to a pre-drawn plan of the chicken coop;
- The top layer of soil is removed at 15-20 cm;
- Pits are prepared for columns: mandatory in the corners and additional along the perimeter. The distance between the posts should be about a meter, the dimensions of the pits are about 65x50 cm, where 65 cm is the depth and 50 cm is the width for two bricks;
- Next, with the help of a rope and a level, it is necessary to make a reference point, which will need to be equaled during the construction of columns. The distance from the ground should be approximately 25 cm;
- At first, sand is poured and compacted into the pits, and then gravel. Each layer should be approximately 10 cm.
- The time of masonry has come: two bricks are laid on the bottom, then the mortar is placed on top, then the other two bricks, but with a dressing, continue to repeat these actions across the bottom ones, until the landmark marked with a rope (see point 4);
- After a week's rest, the posts should be treated with bitumen or bitumen mastic;
- Pour with rubble or gravel the space between the posts and the ground around the perimeter of the future chicken coop.

A good floor should be:
It is warm and reliable, therefore, it is recommended to insulate it: in the space between the bars laid on the waterproofing layer, a heater made of glass wool or foam plastic, mineral wool and the like materials is laid, then it is sheathed with a vapor barrier and the finished floor is made of boards or OSB boards;
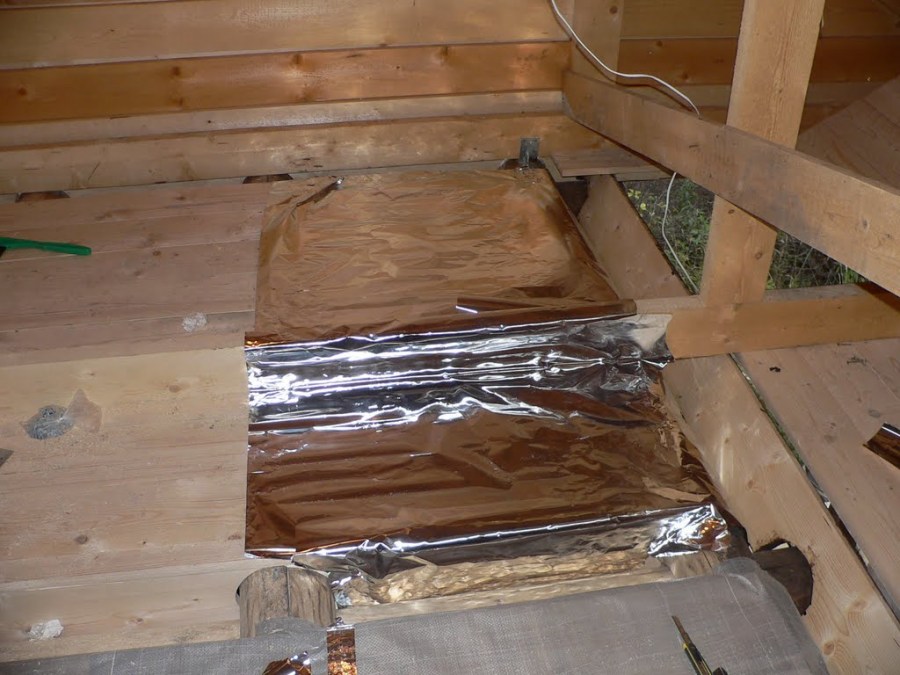


Providing ventilation: vents can be made to ventilate the room - in summer, grilles are installed on them, in winter they are completely closed. Without moisture and moisture: thanks to the waterproofing layer.
We erect walls in several stages:
- The beginning is connected with the binding of the foundation, made of timber and isolated with several layers of roofing material;
- After that, you can begin to install crowns on the columns, where the ends of the bars are connected using the method in "half-tree";
- You can lay the walls along the perimeter in rows, as if you are standing a house of timber, or use OSB plates;
- It is advisable to make at least a couple of windows, for them you can use a used frame with glass, plus it is worth covering the openings with a mesh so that the birds themselves do not run away or no one else can get into them;
- The turn of the upper harness.

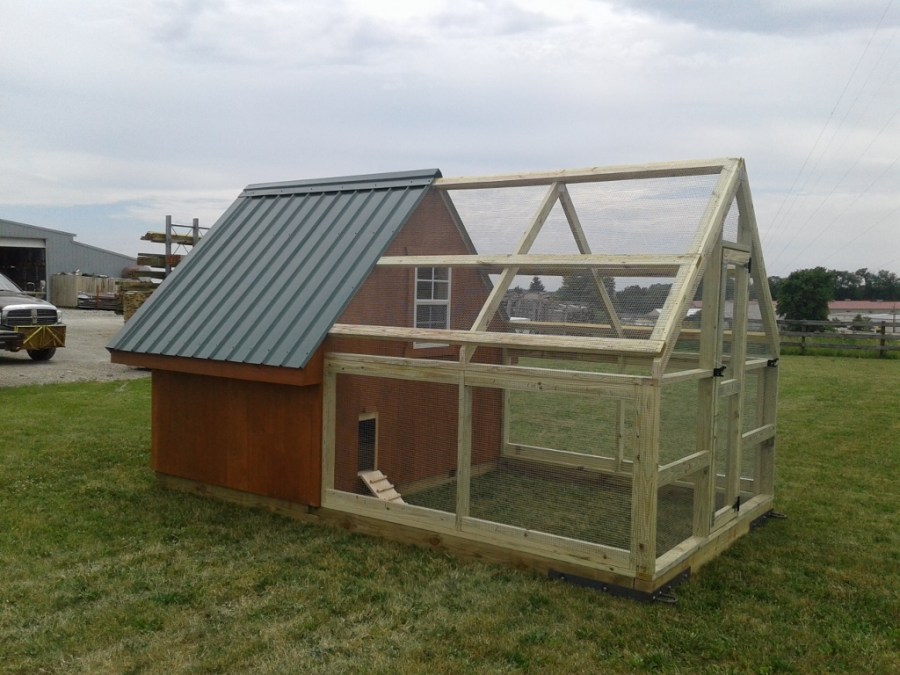
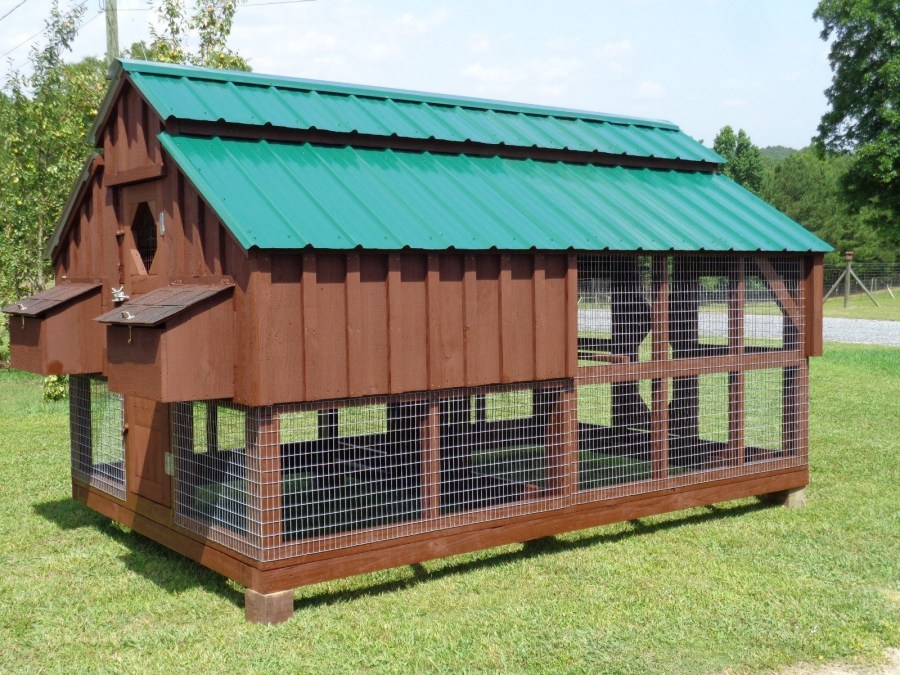
Ceiling and roof
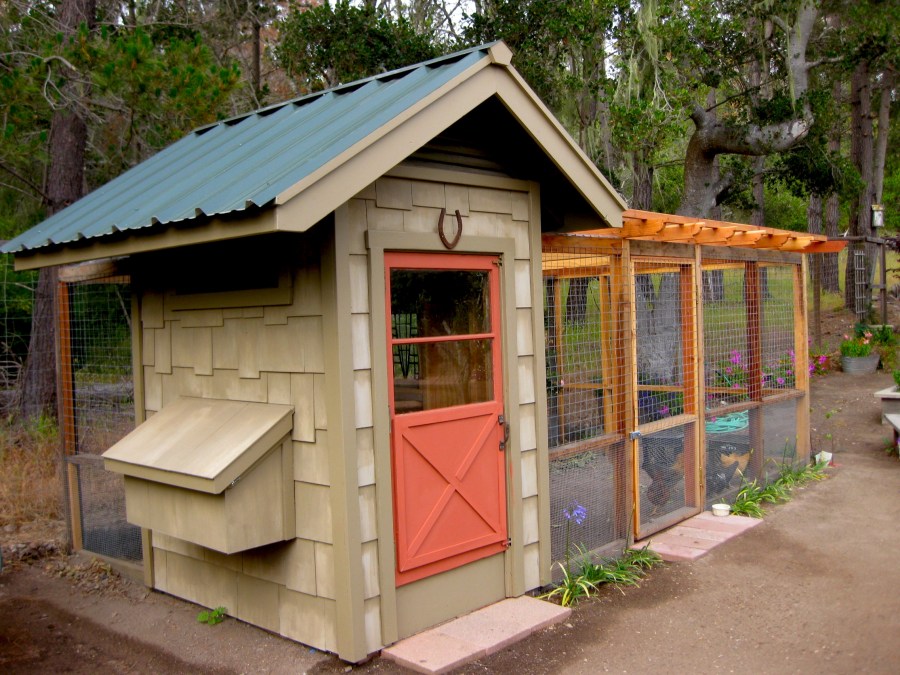
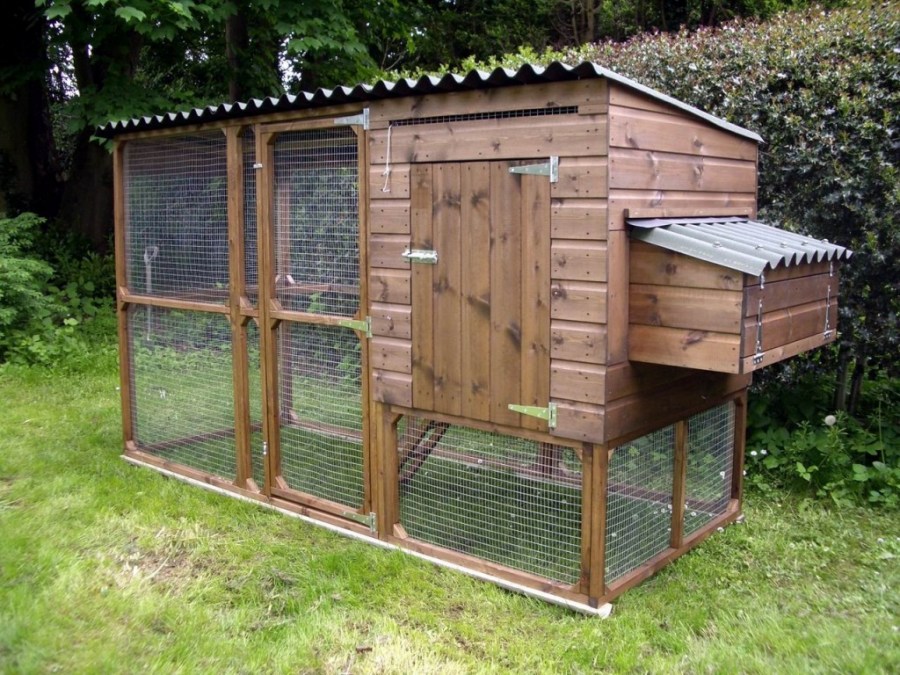
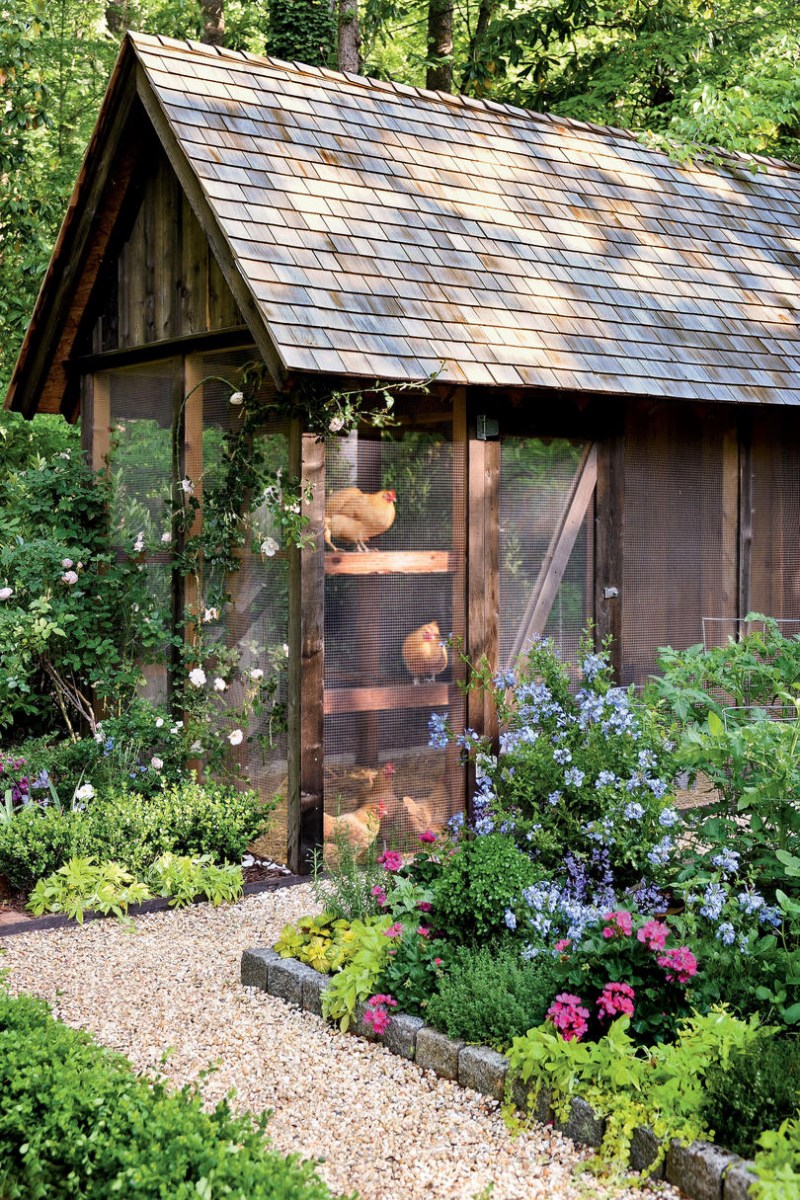
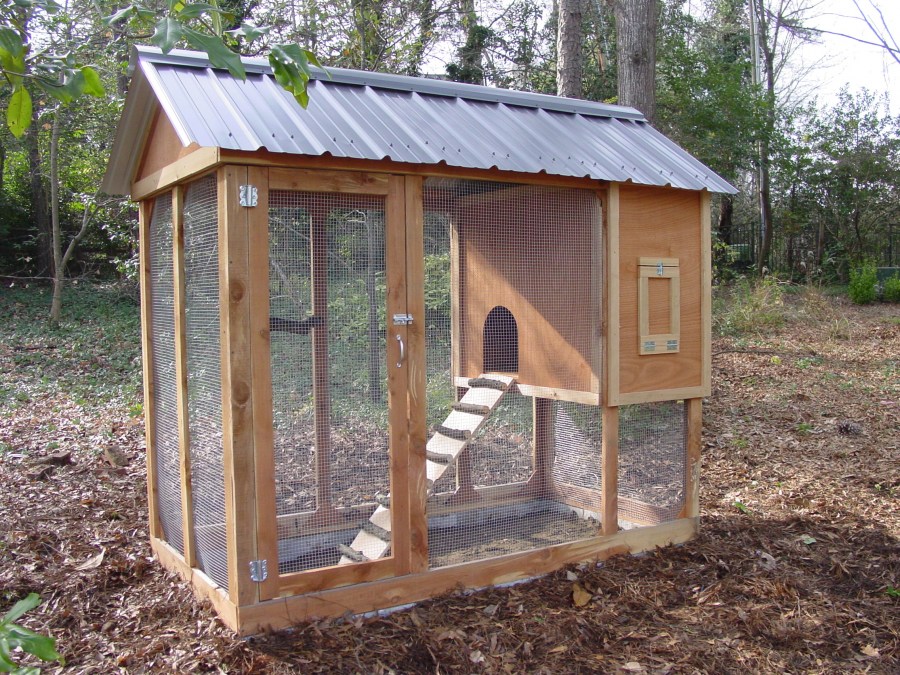
A gable roof is recommended by many masters of their craft, since in the attic you can store the necessary equipment and feed for hens in the farm. To build it you need:
- Make, fix and strengthen the rafters;
- The process of the crate, while the roof is sheathed with any suitable material: slate, tile, ondulin, roofing material and the like. It is better that the roof is not "dark", otherwise it will attract the sun's rays, which with poor ventilation can provoke heat stroke in chickens;
- Strengthening the ceiling beams and arranging the ceiling - the most important thing is that it is reliable and strong.
- It is better to insulate the ceiling with expanded clay or coal slag, which spill out onto the floor. To hide the insulation, it is better to sew it with boards or all the same OSB boards.
- Coop ventilation, as already mentioned, is very important. In this case, you can make natural ventilation: two ceiling openings, placed in opposite places from each other, into which pipes must be inserted in the future.
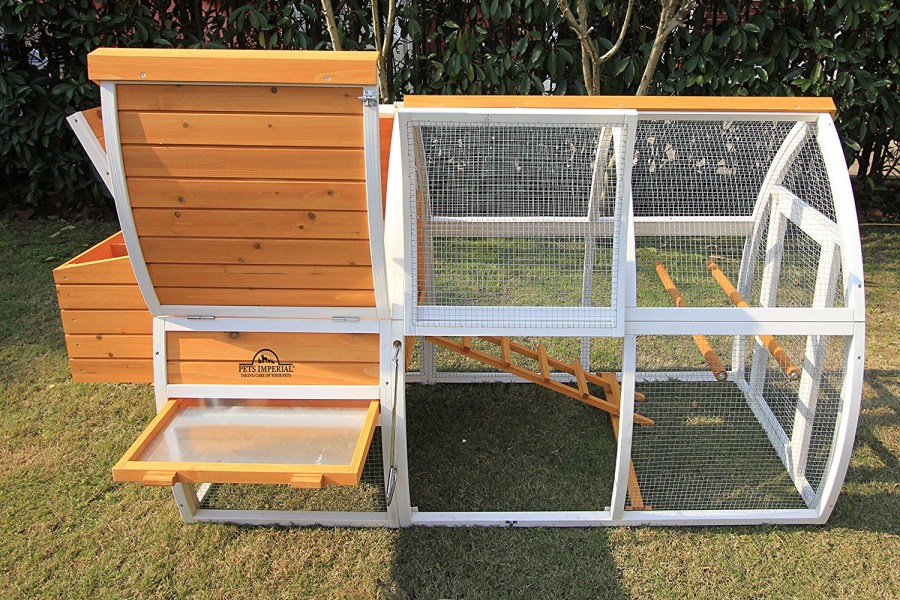
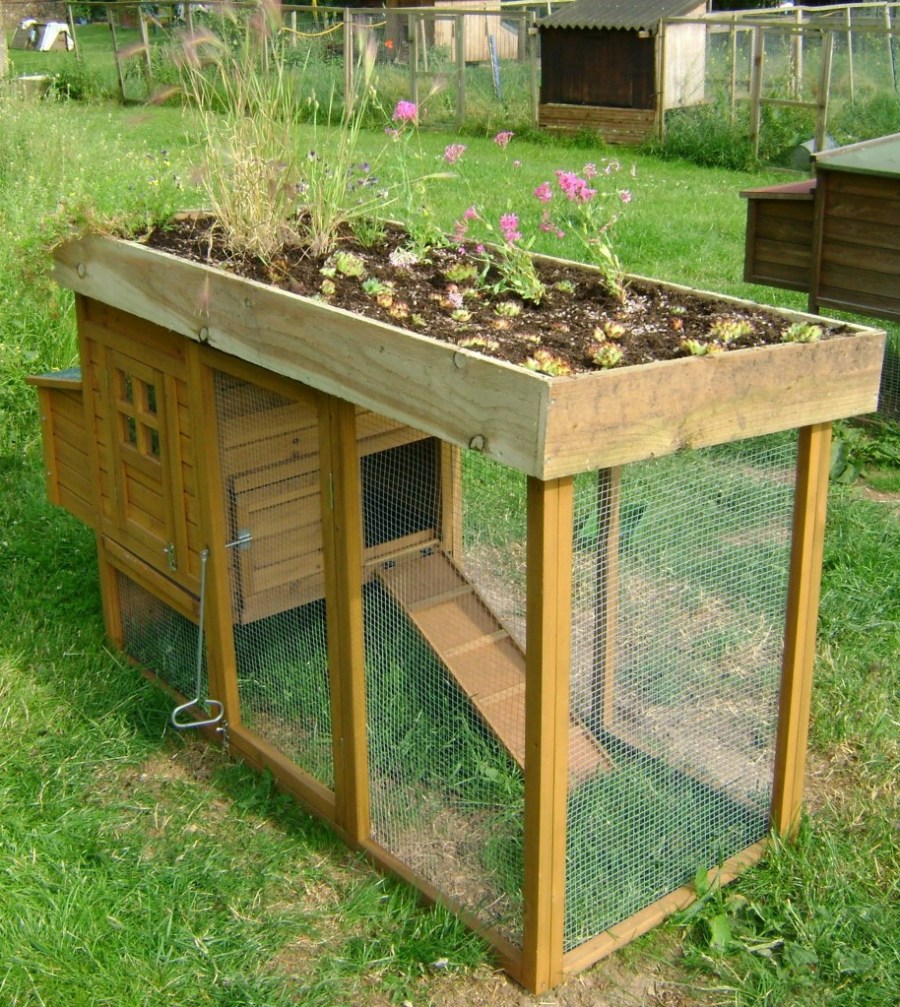
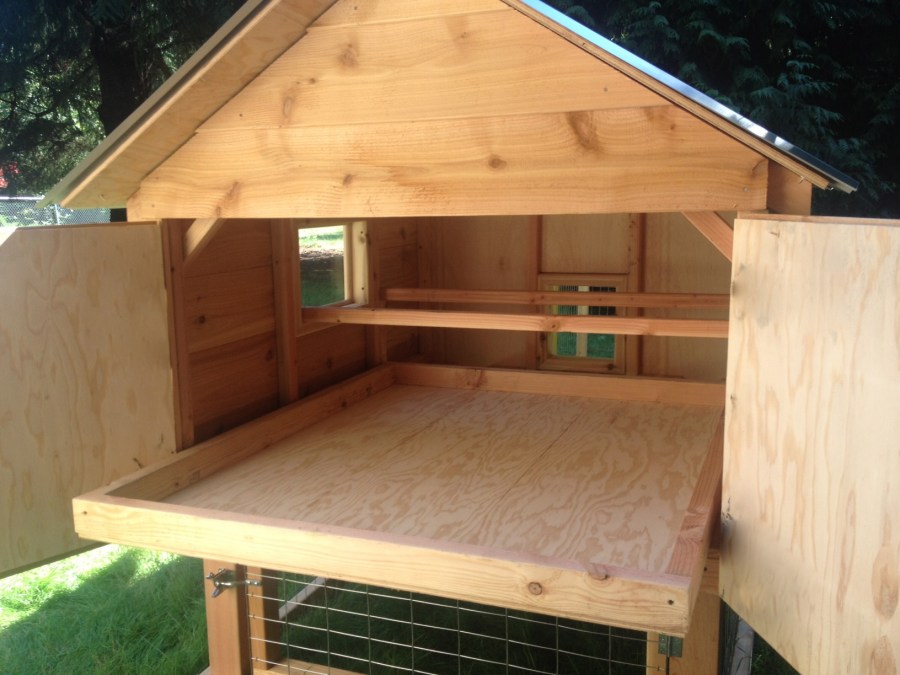
Coop inside
To more accurately understand what kind of "decoration" should be and where to place it, you can enter the search query "how to equip the chicken coop inside the photo", but the basic principles are the same:
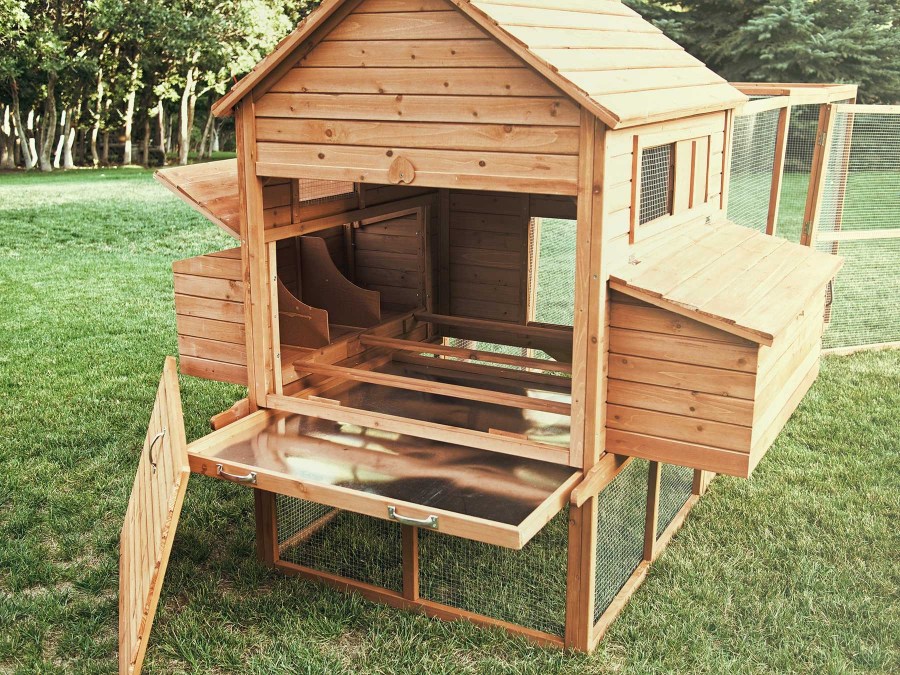
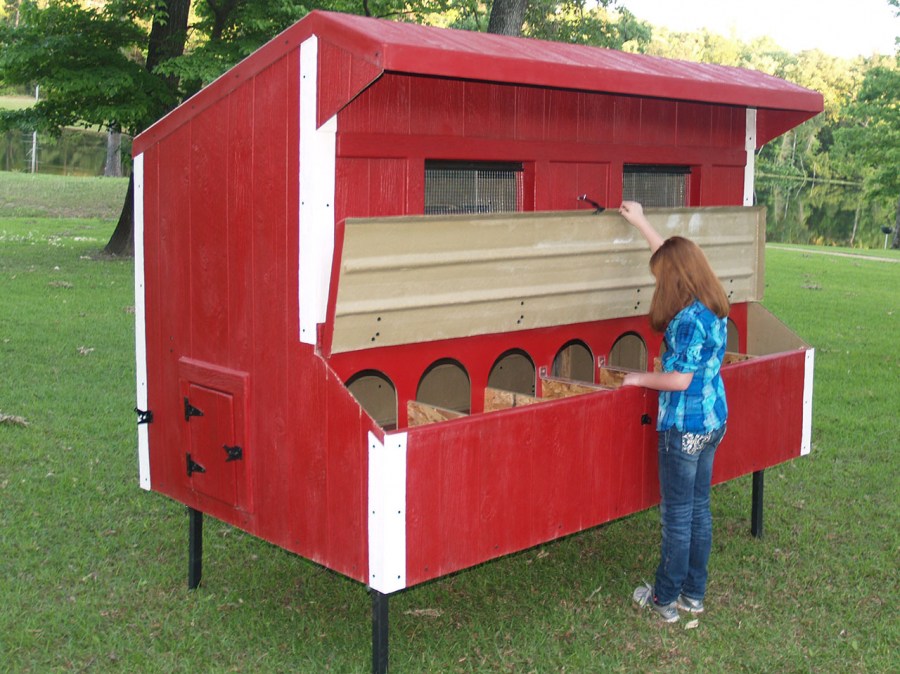
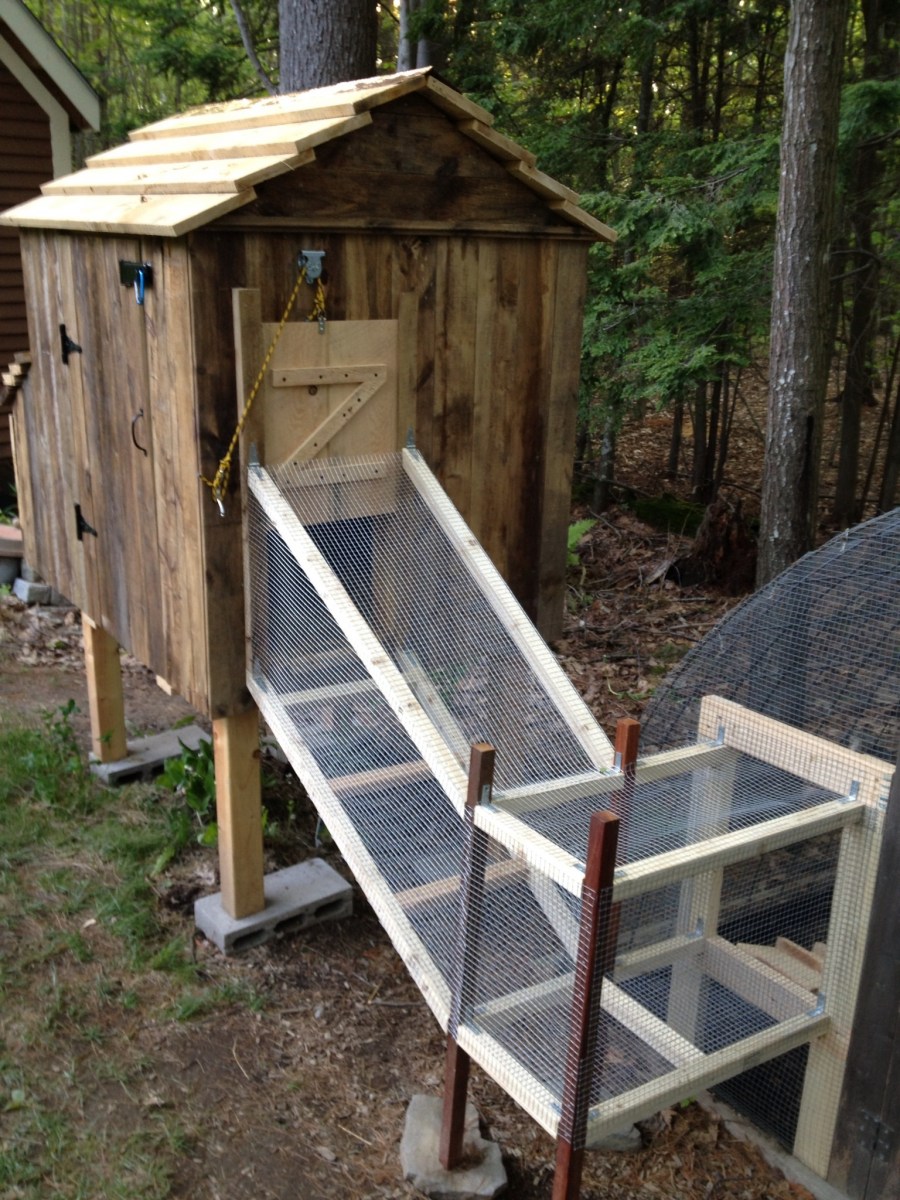
One of the walls for layers and their nests is selected. At a height of a meter, a shelf is knocked together, and a ladder is attached to it. This is a spacious board with slats that are nailed horizontally.
The nests are located on the shelf itself and are usually made from old boxes, or made up from the remnants of boards, plywood, chipboard and other similar materials and straw, which must be regularly cleaned. Hay is not advisable to use, as it quickly grinds and rots.

The required number of nests is calculated from the ratio: one to 2-3 hens, which can be carried in 2-3 nests, occasionally replacing one with another. In the summer it is recommended to arrange perches on a walk. A well-decorated chicken coop for laying hens is already 50% of the success of construction.

On the remaining perimeter, it is necessary to equip the perches for sleeping: two sticks are knocked together in the shape of the letter “A” - these are racks - then they are connected to their sides and also with peaks with oblong poles. It is worth considering that one meter is designed for about 5-6 small or 3-4 large hens. Height from floor approximately 50 cm.

Drinking bowls and feeders are better if they are half-closed, but with slots for the heads, so the feed and water will be less likely to clog, and it will become cleaner around.

It is necessary to install a trough with mixed ash and sand: here hens can clean their feathers from parasites or dirt.
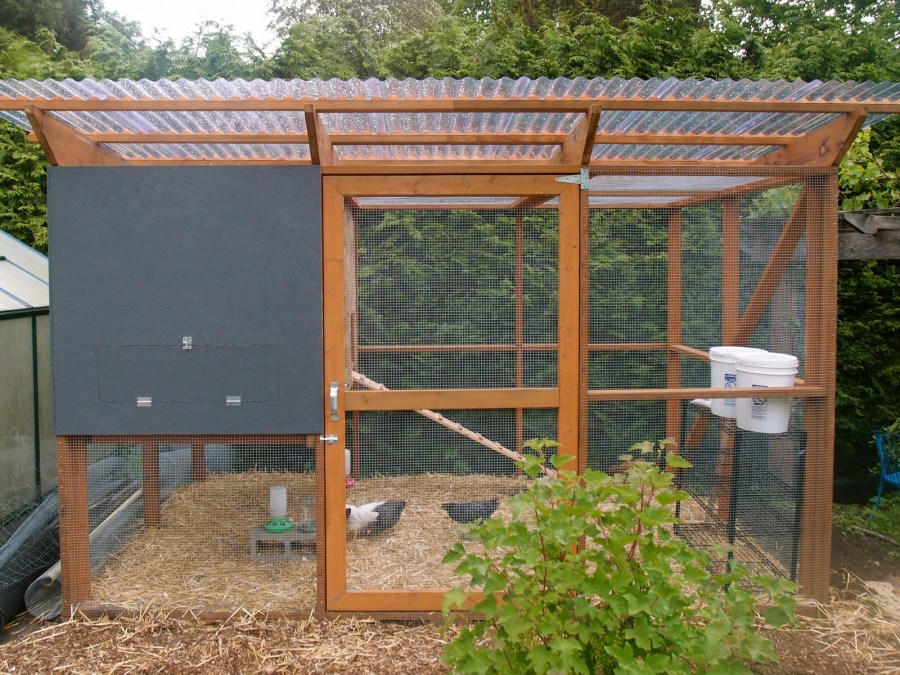
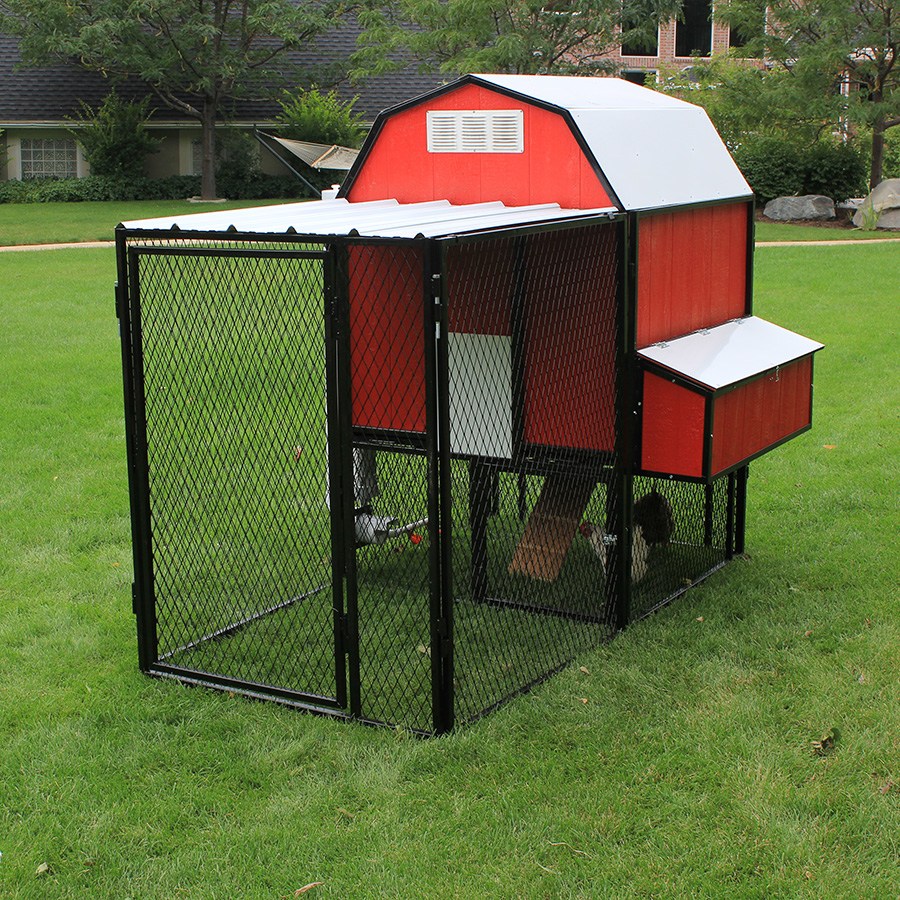
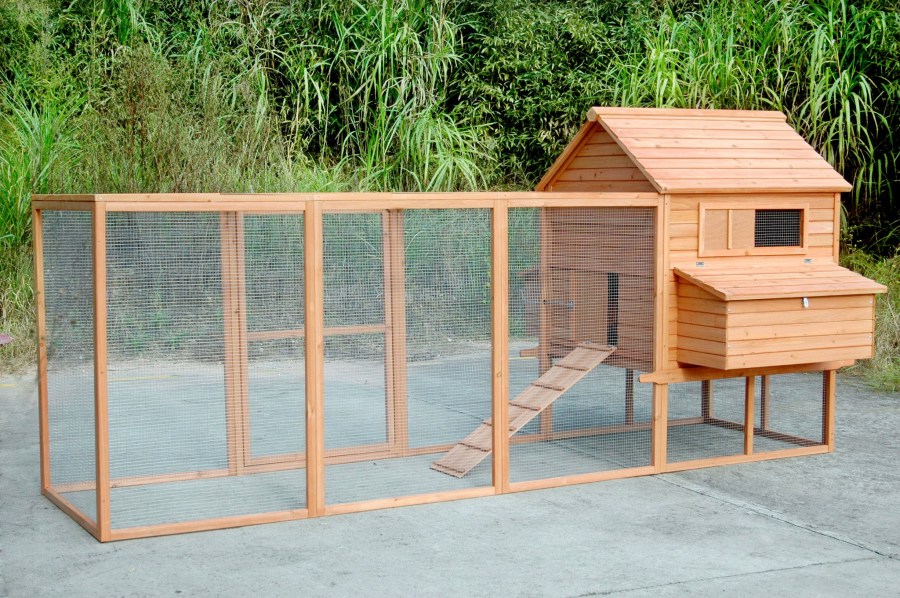
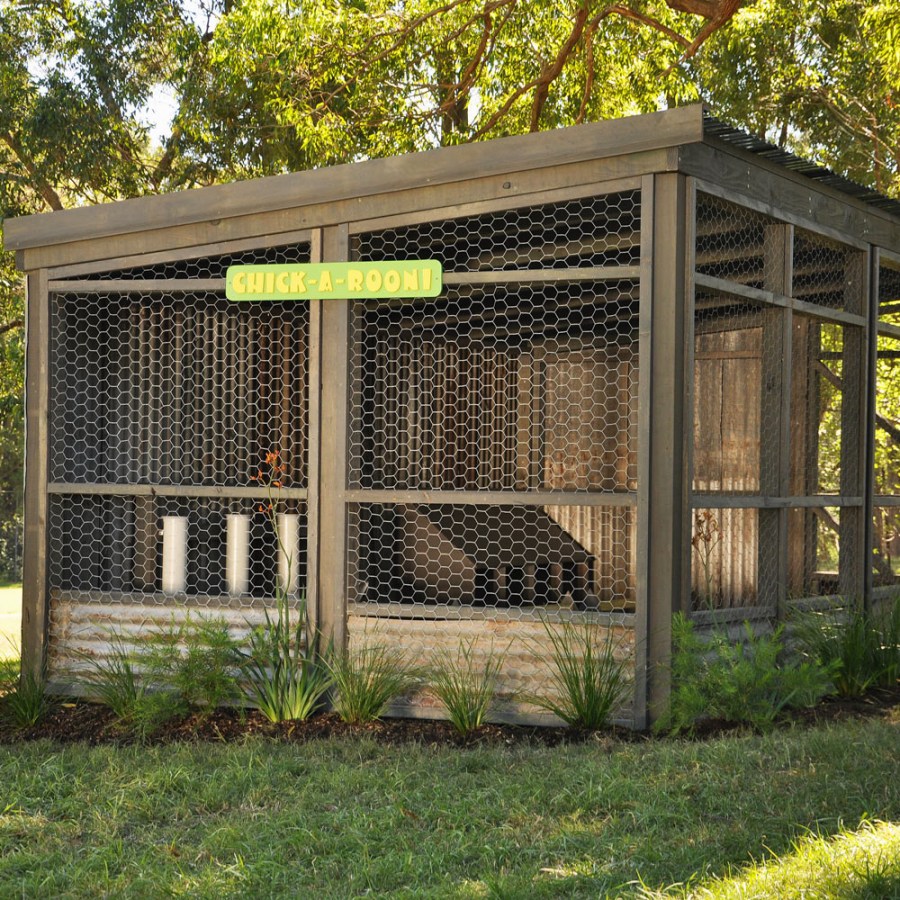
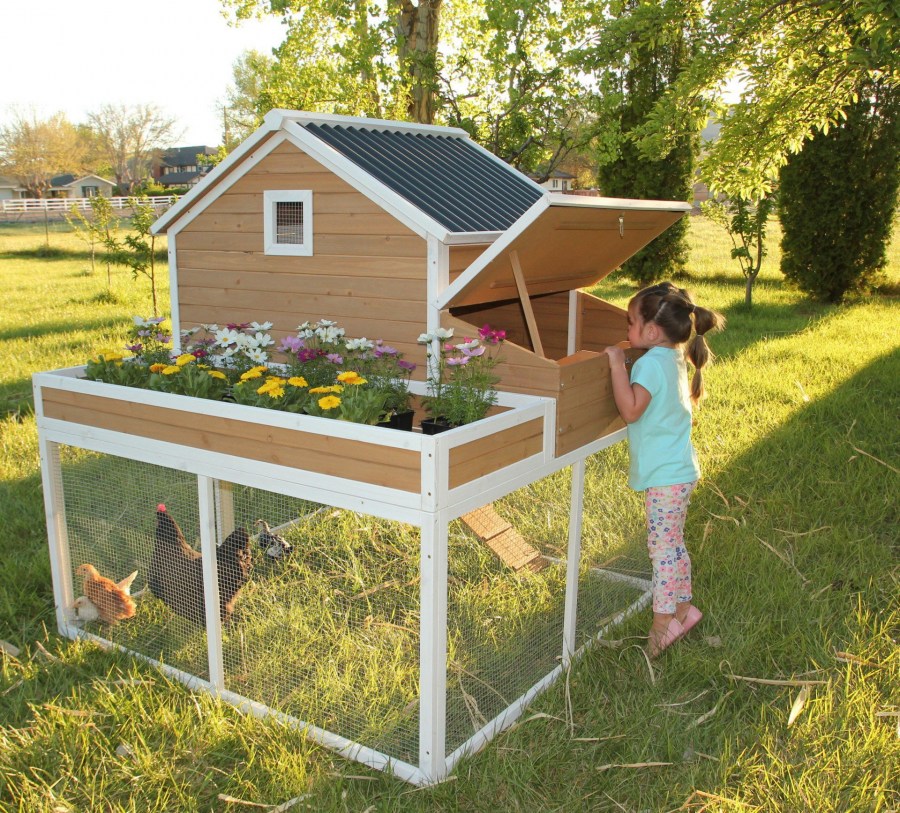
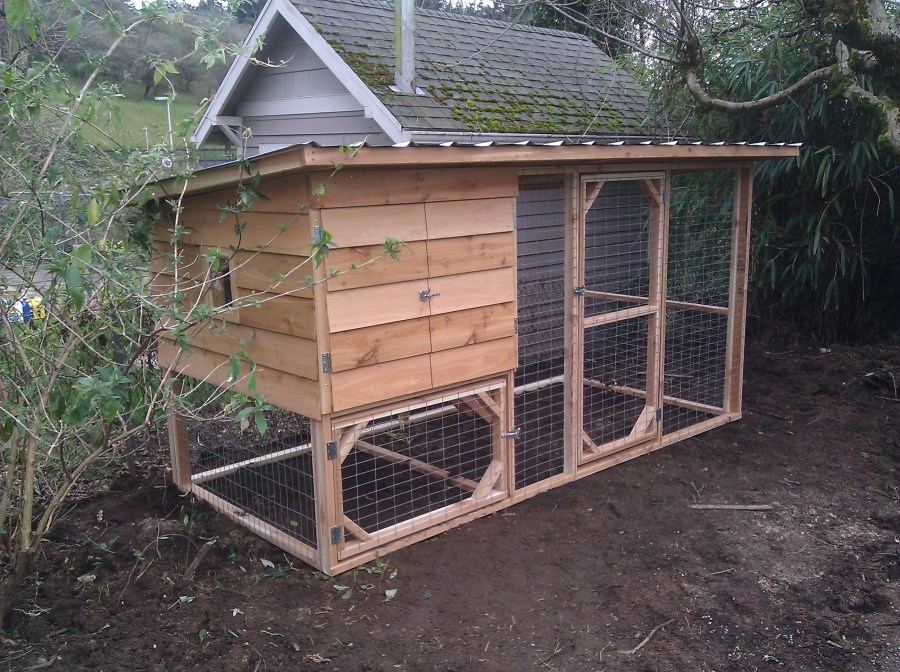
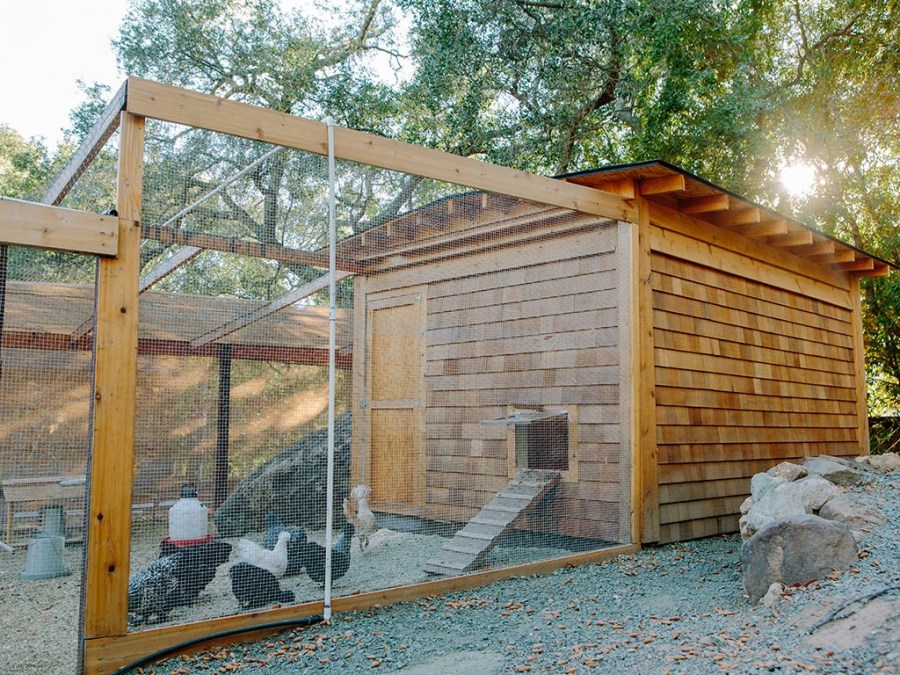
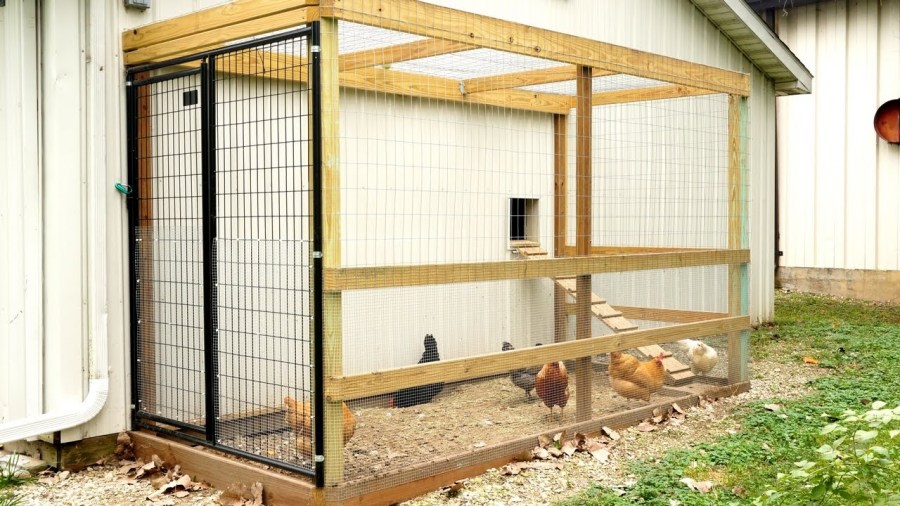
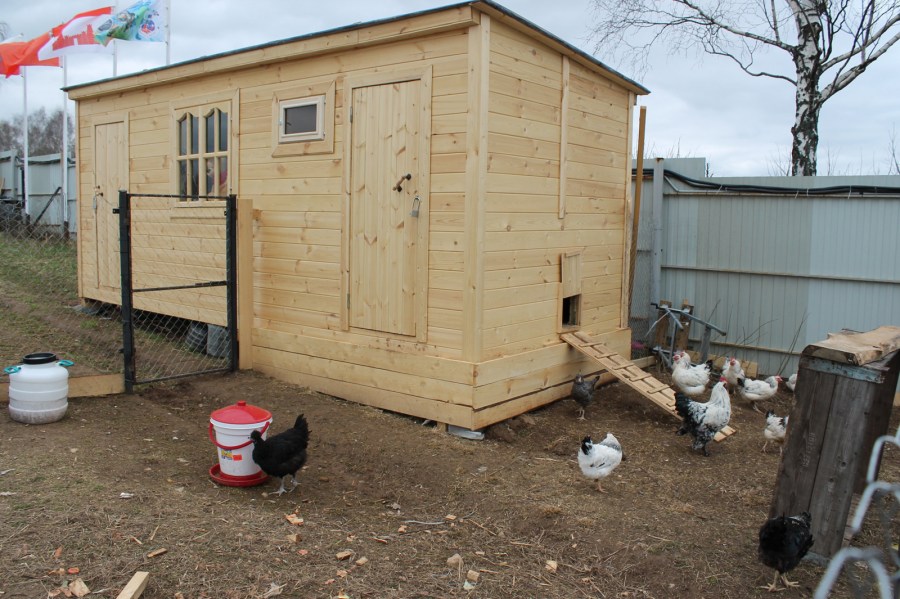
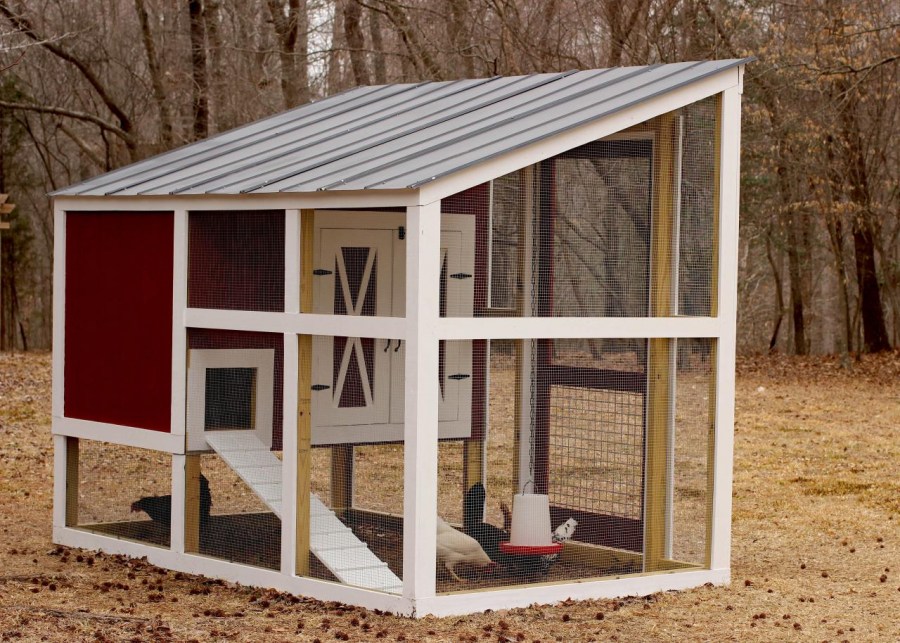
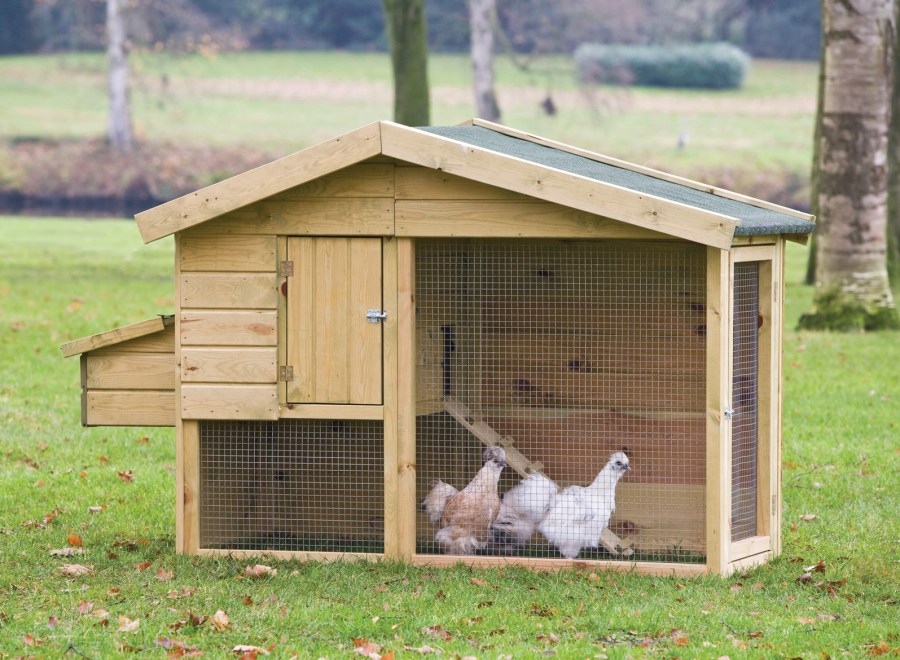
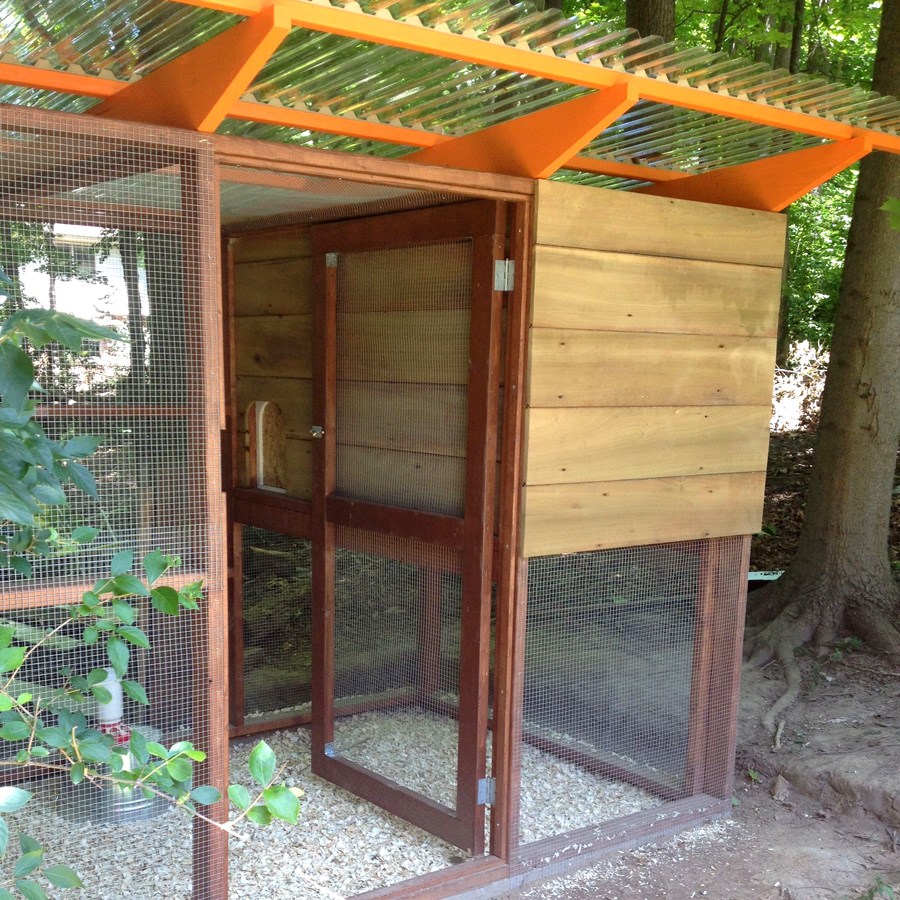
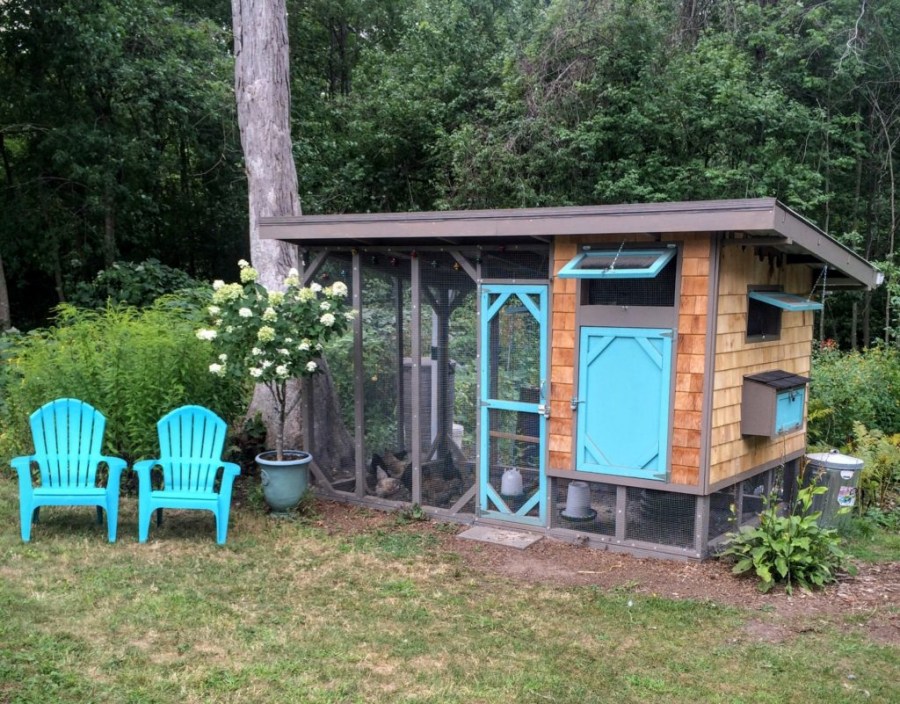
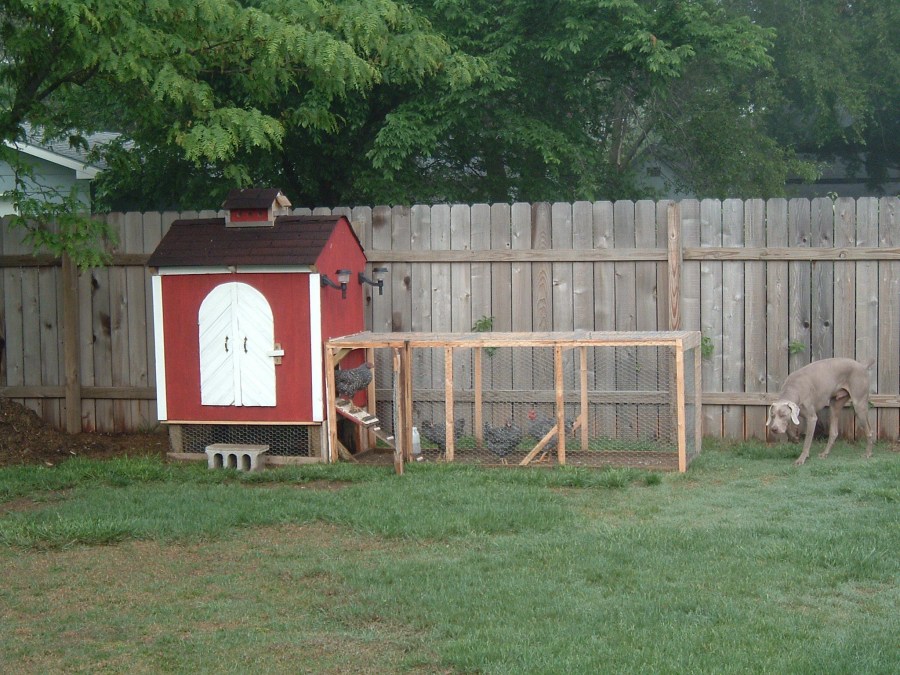
Place for walking
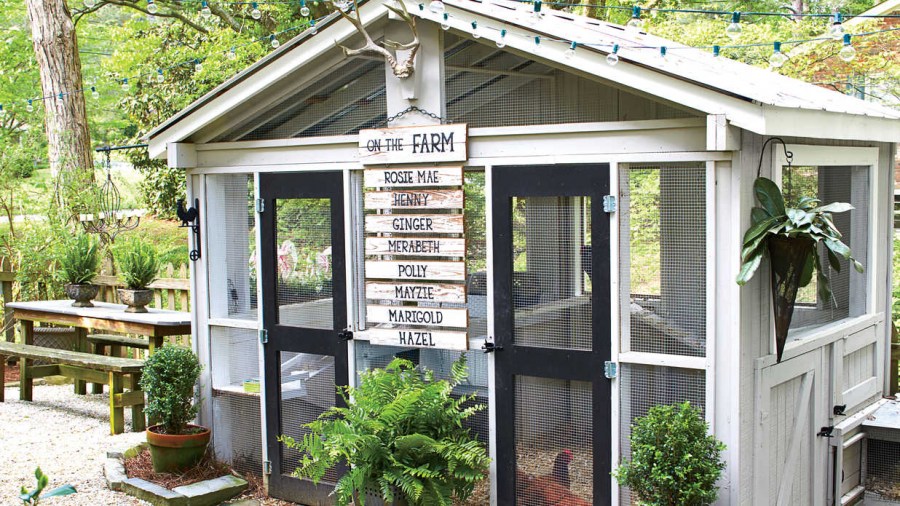
The matter is not limited to just one “house” - often a net-net is attached to the chicken coop, creating a peculiar, safe space for walking the birds:
- A minimum strip foundation is enough to install support pipes.
- As soon as the solution has solidified, a net is pulled between the columns, it is recommended to stretch it over the platform, as well as add a roof or some additional shelter that can protect chickens from the sun or rain, for example.
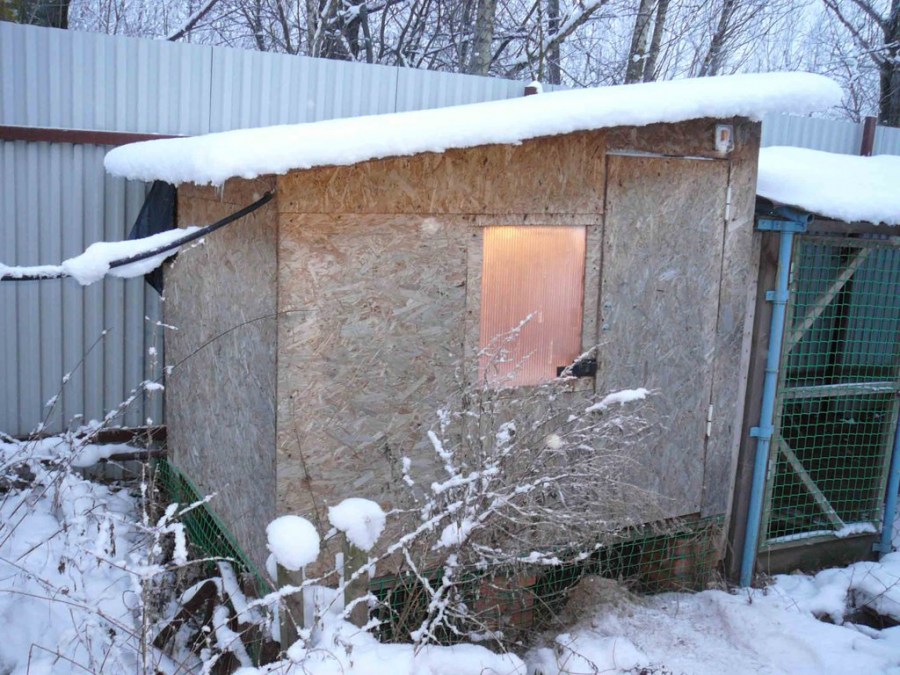
If you take into service at least a small part of the above tips and tricks, you can build your own hands not only a “simple” summer, but also a “warmed” winter chicken coop.
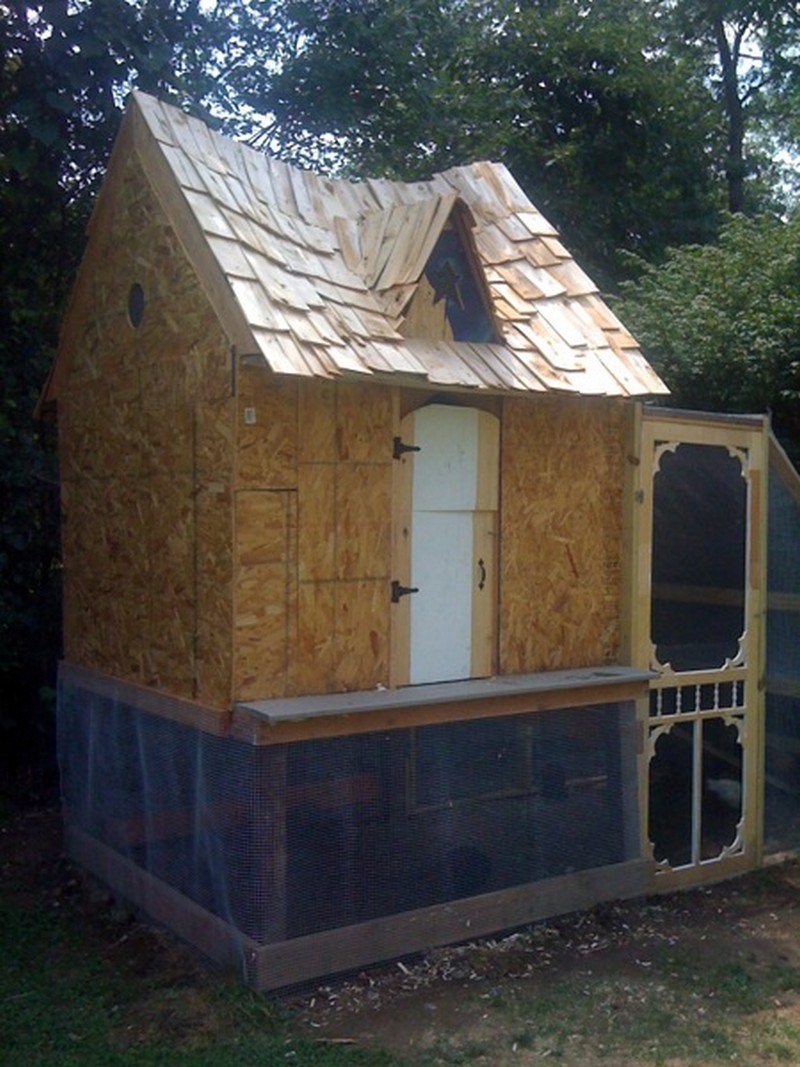
Photo of a chicken coop for a summer residence


The best flowers for giving: 105 photos of beautiful and simple ideas for the design of the site
Decorative mill: a beautiful decoration of the garden with your own hands (110 photos)
Chicken house for giving - 95 photos of the installation features and installation rules
Join the discussion: