DIY tandoor - step-by-step instructions for quick manufacturing at home (100 photos)
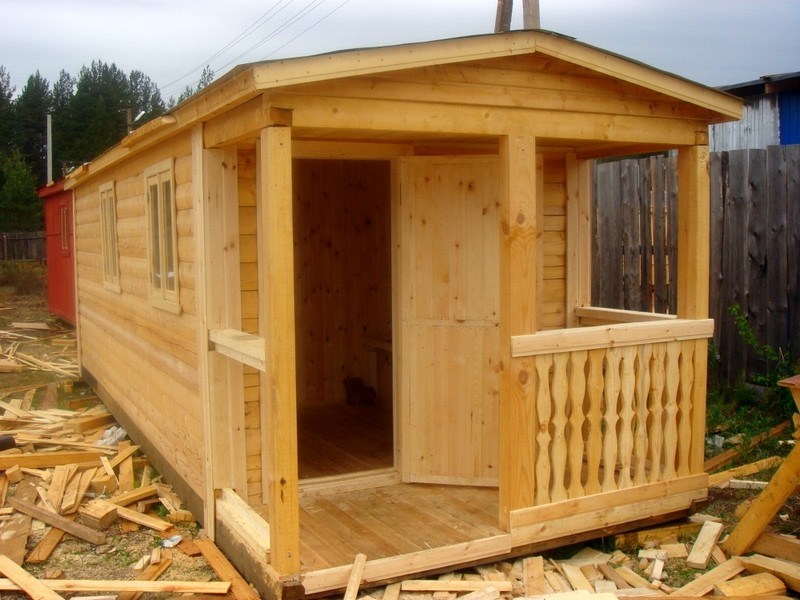
Oriental dishes are gaining popularity from year to year. Food prepared by a professional chef is liked by everyone. Attempts to realize masterpieces with one's own hands often fail. The whole point is not the lack of skill, but the necessary devices. For example, the right tandoor will be a great addition to a summer cottage or a country house.
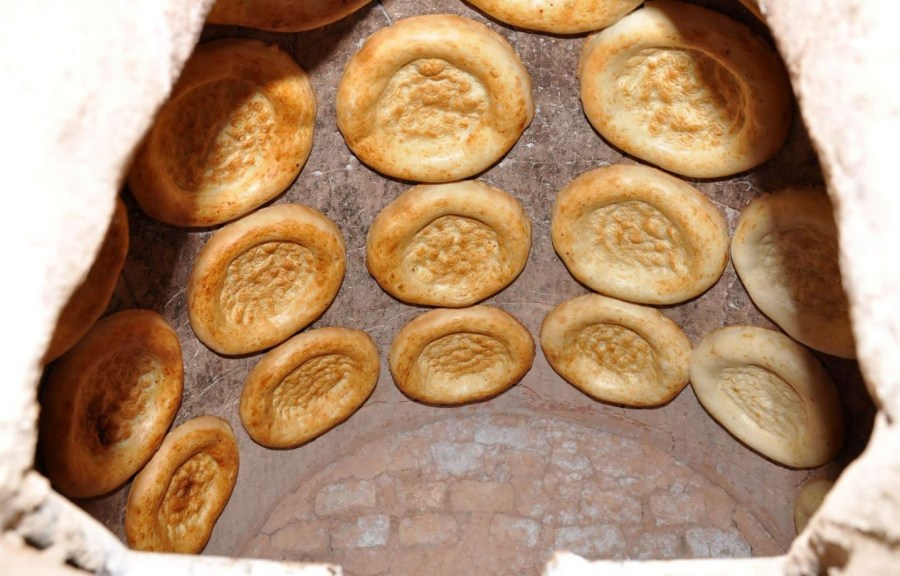
Cooking cakes, barbecue or pilaf with it will become much easier. It is not difficult to realize the idea of building such a furnace with your own hands. It is only necessary to carefully study the construction technology of a suitable option.
Uzbek model: economical and practical construction
A variant of the oven, invented by the Uzbeks, is suitable for especially zealous owners. A single laying of fuel will allow the cooking process to be carried out within 3 hours. Creating a design takes time, but does not require significant expenses. Thanks to this technology, it will be possible to perform a stationary or mobile tandoor.
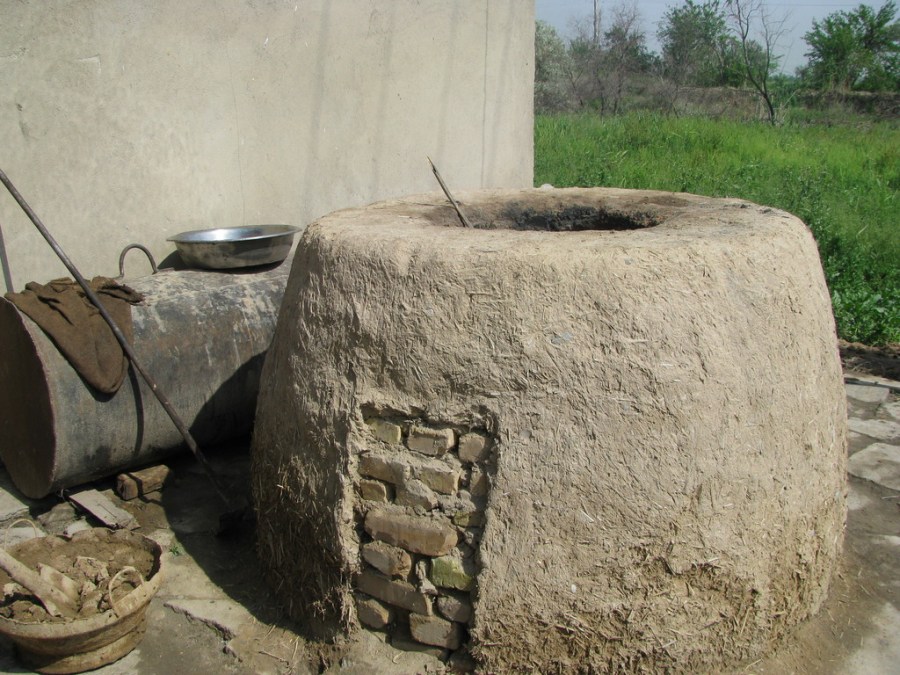
The Uzbek model of the furnace can vary significantly depending on the wealth of the owner, the region in which it is used. The main material for the manufacture of the structure is clay. Inside are special fittings (inserts made of kaolin or refractory bricks).

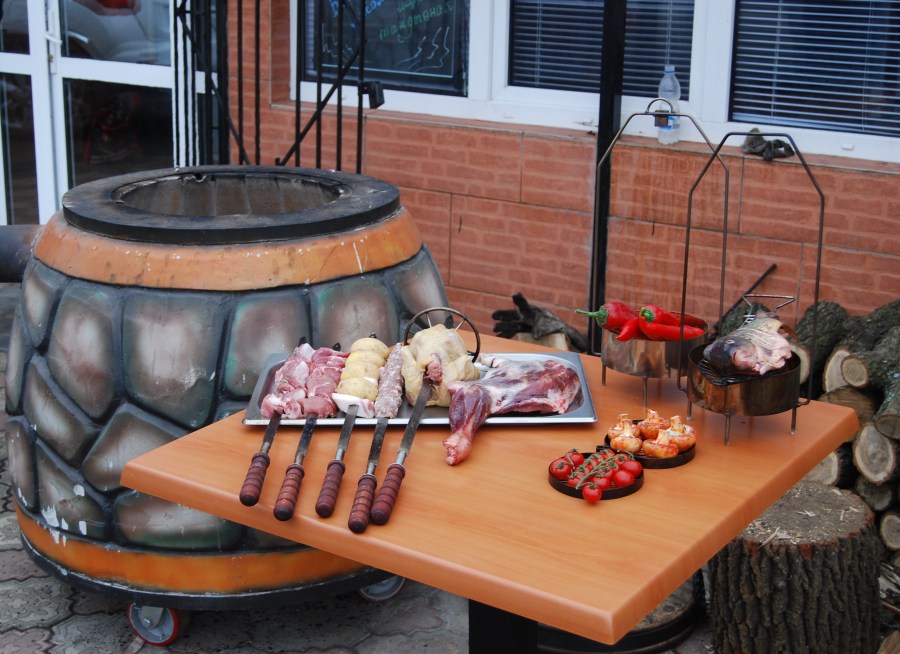
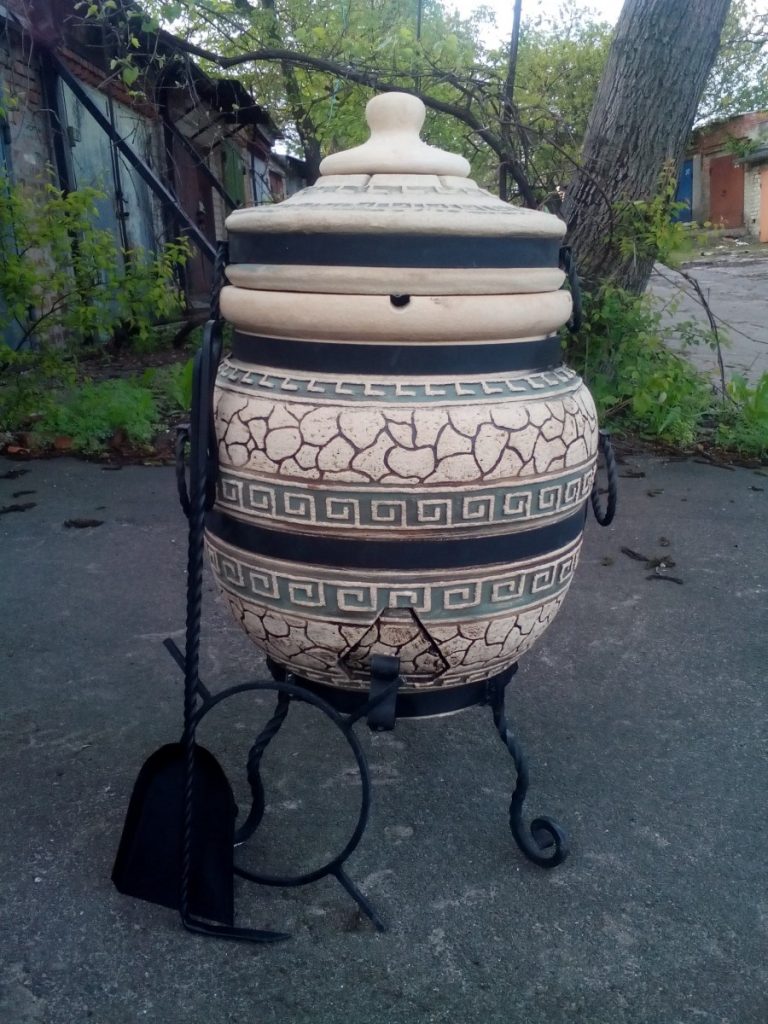
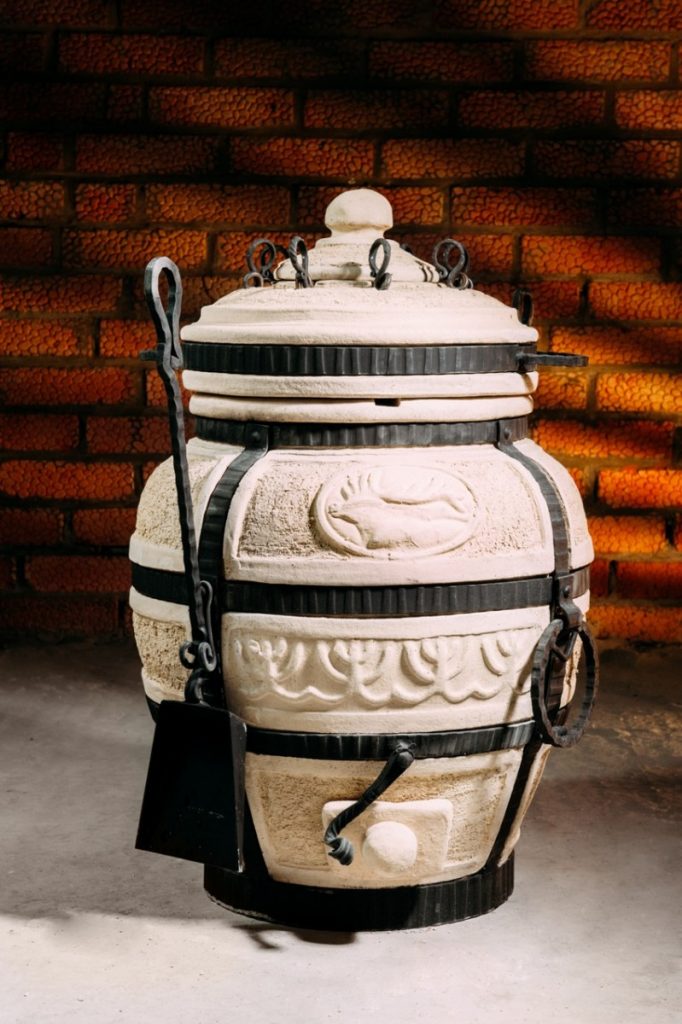
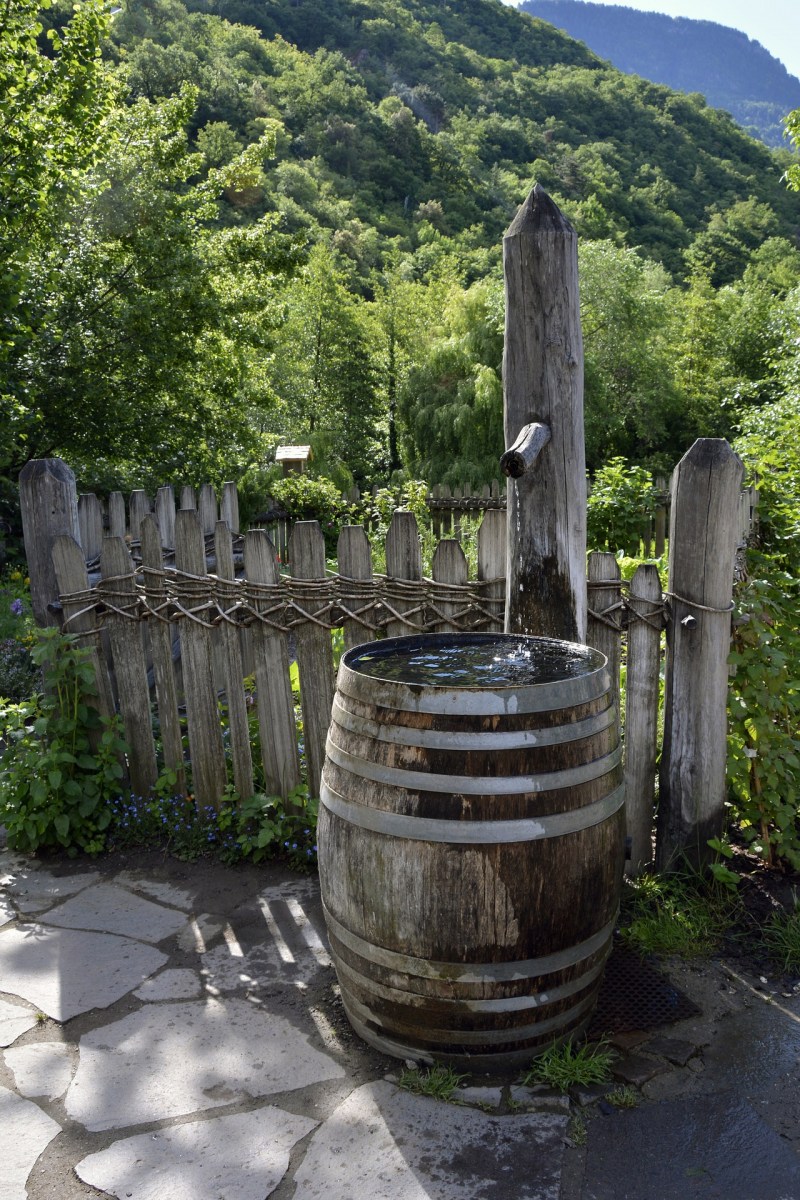
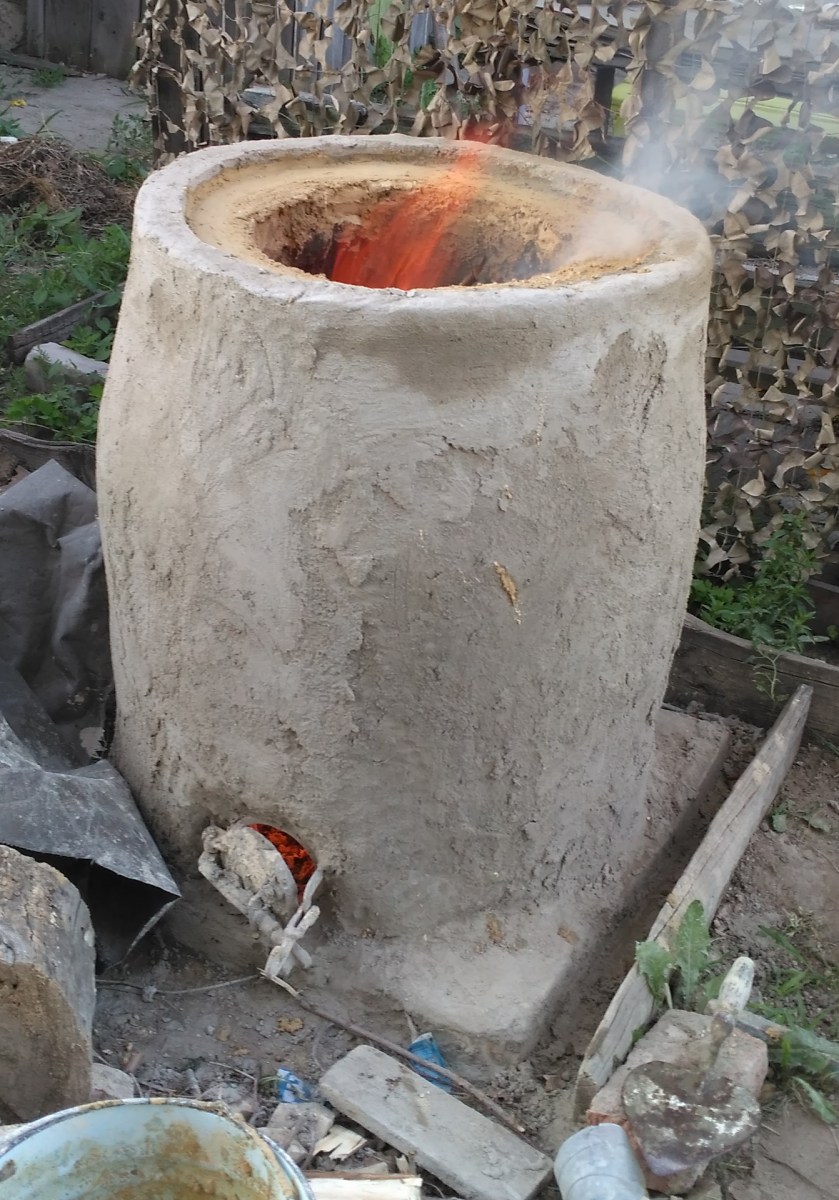
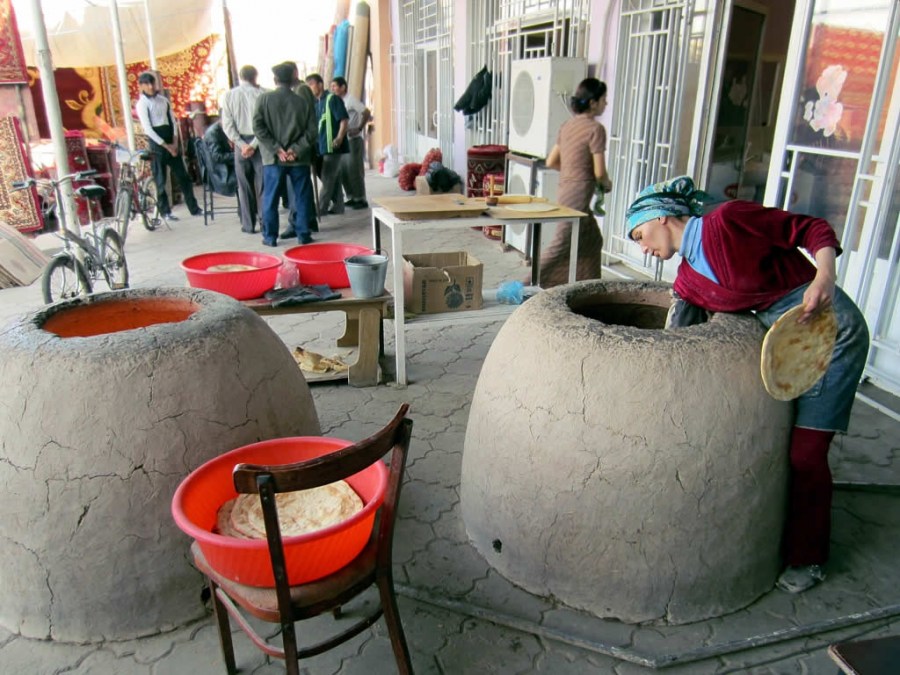
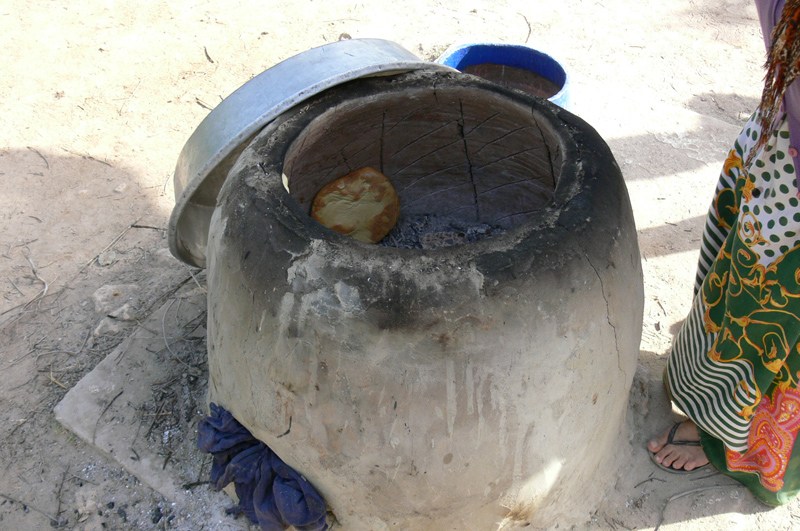
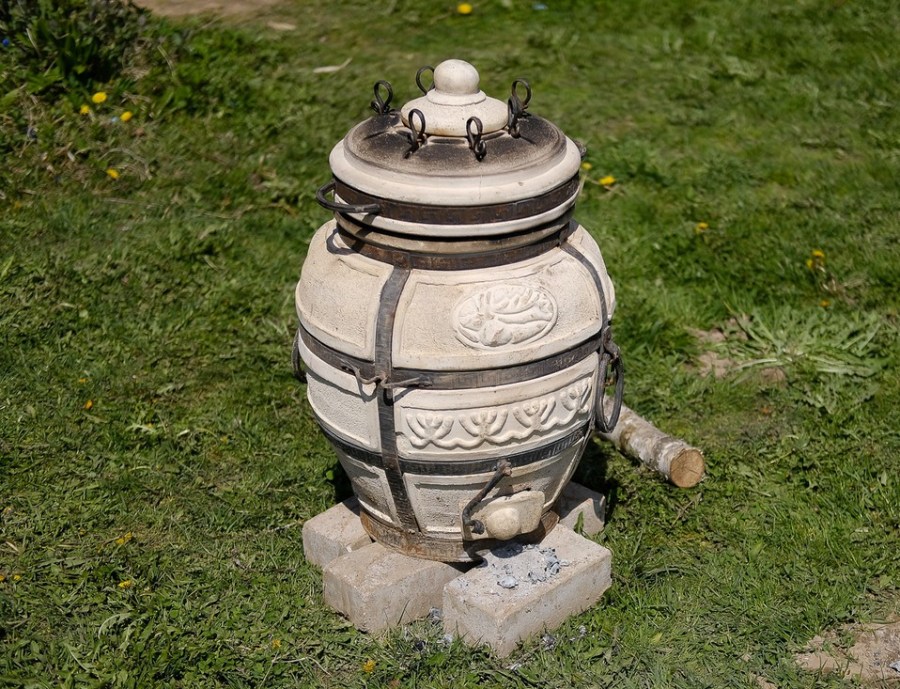
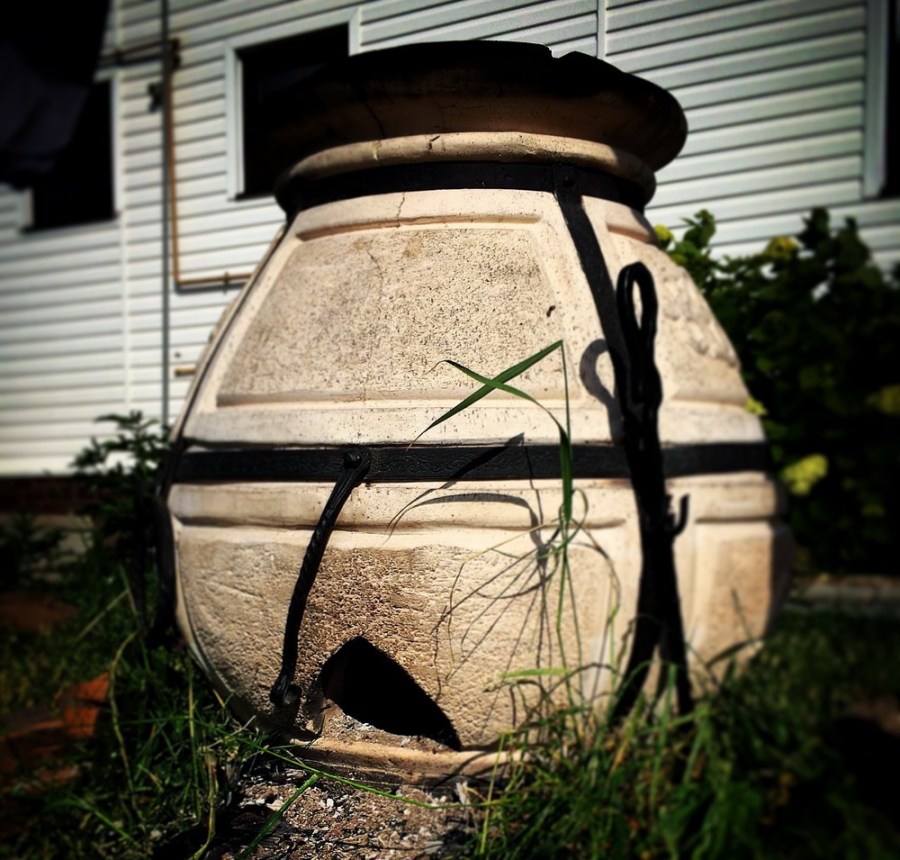
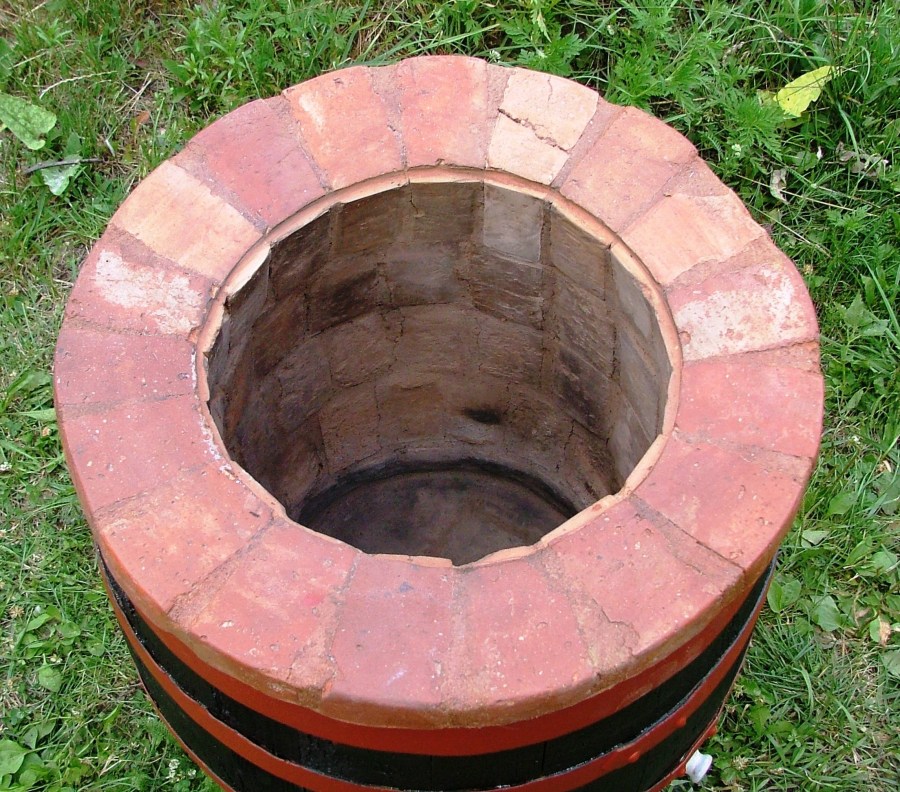
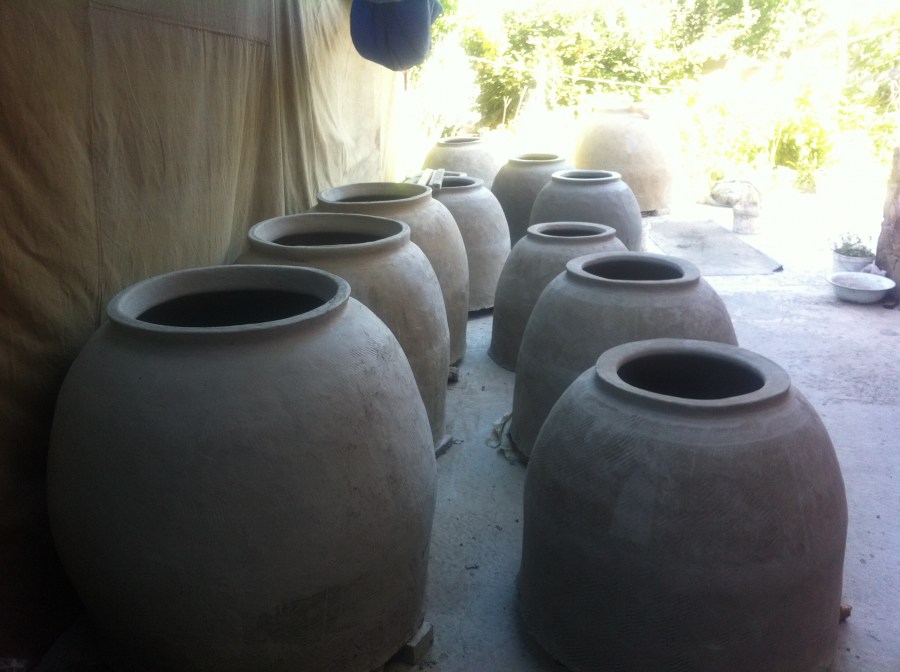
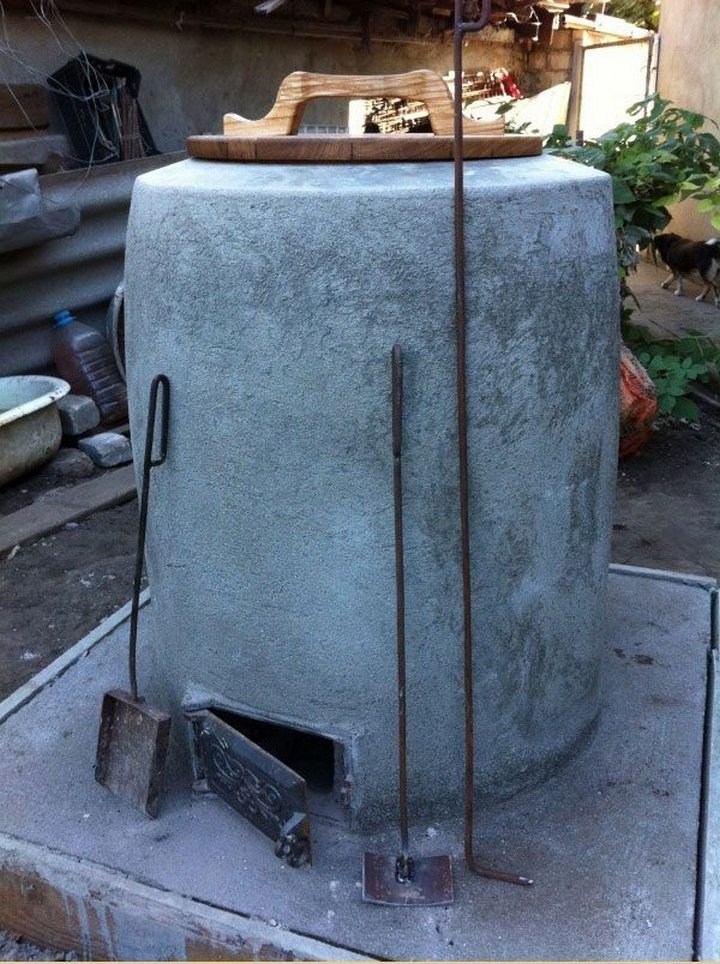
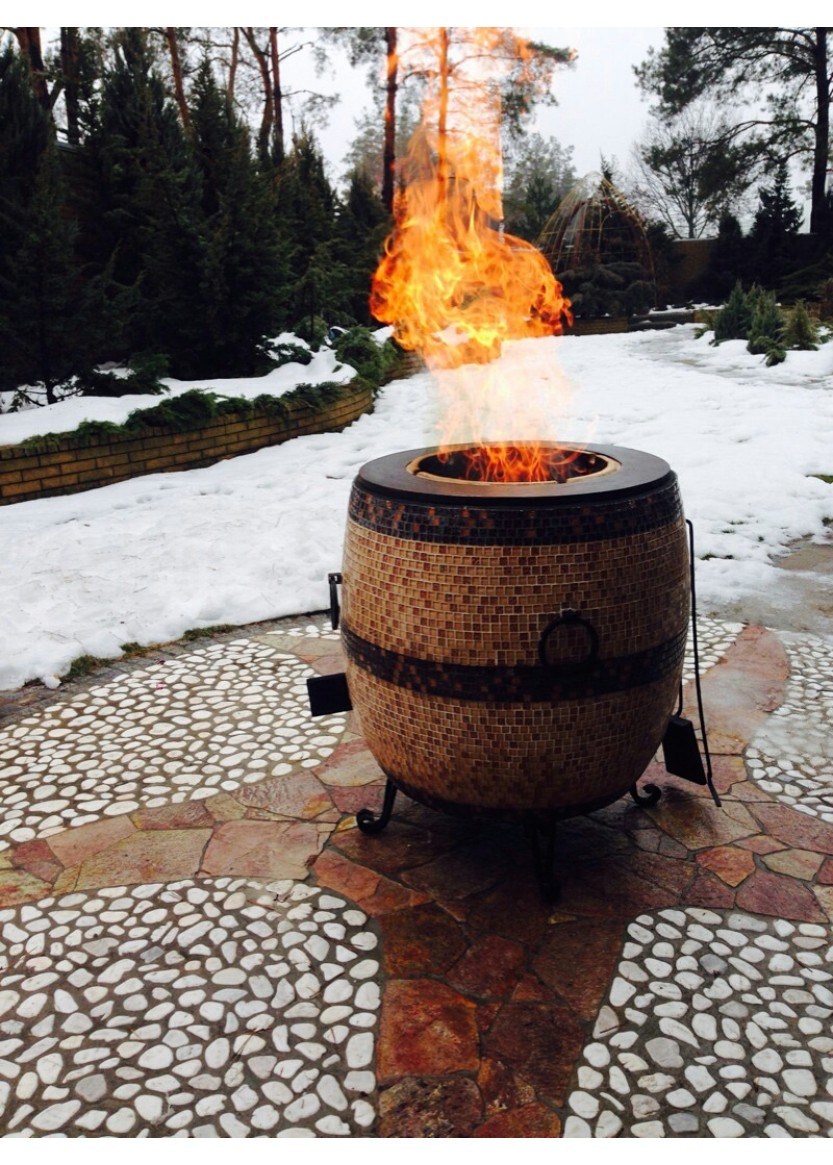
A clay jug-like tandoor is the most economical choice. It allows you to be as careful about fuel consumption as possible.


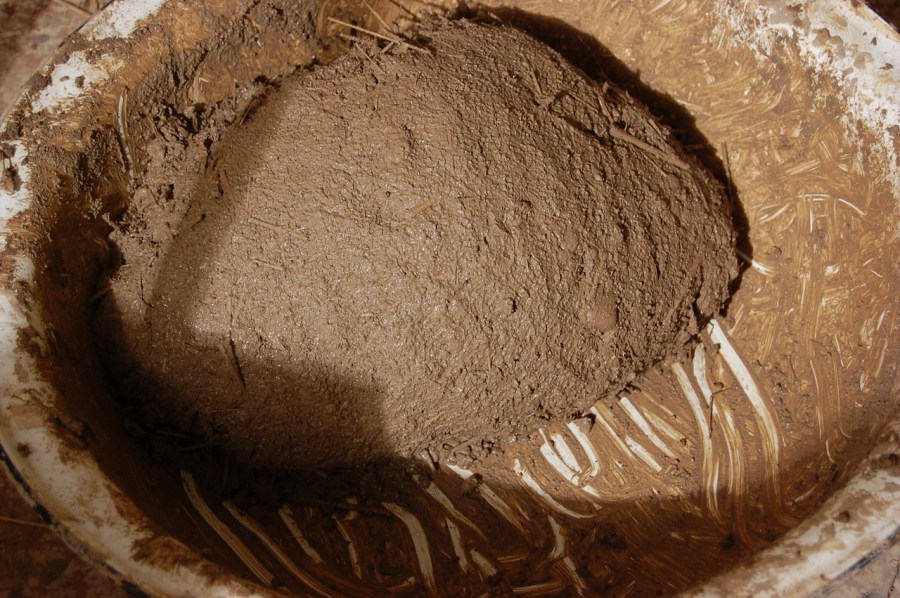
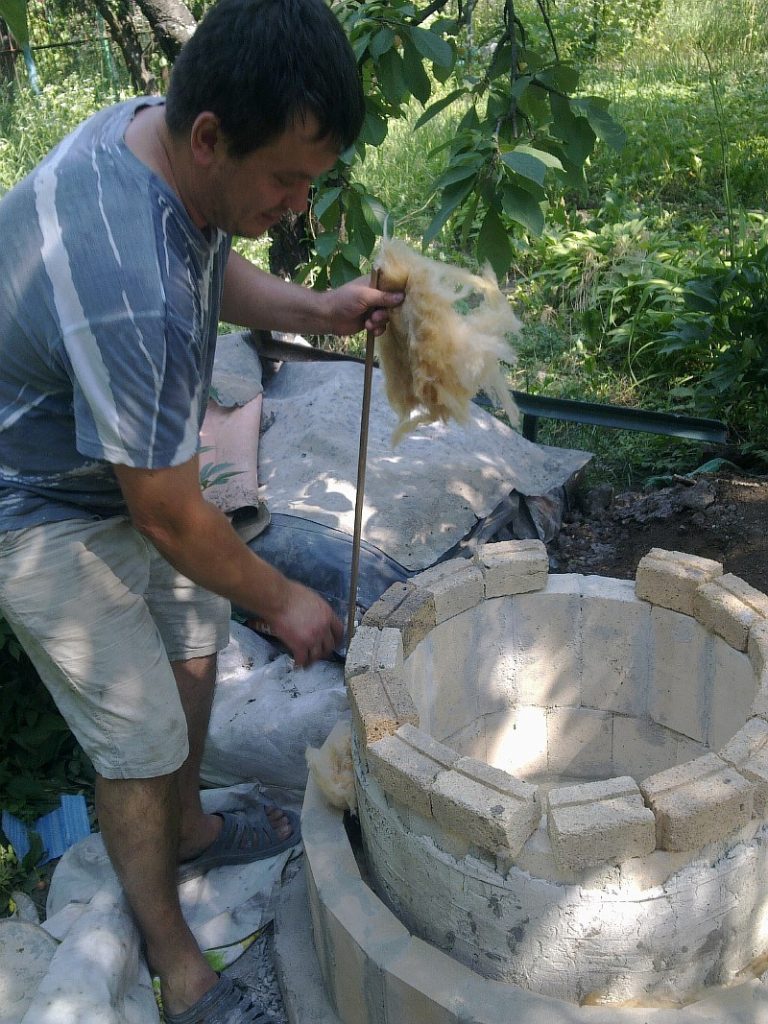
To create the foundation, they use not only a special clay variety (“live”, with a high content of kaolin), but also animal hair (camel or sheep). Both materials are mixed, the resulting composition is aged for about a week. Time allows the solution to "mature". At the same time, daily intervention in this process is inevitable: the composition needs to be “moved”.
Ready-made material of a week exposure is used for modeling the base of the furnace. Technology for this mass. The most common and affordable way to make a tandoor oven yourself will be considered further.
Uzbek tandoor: progress in steps
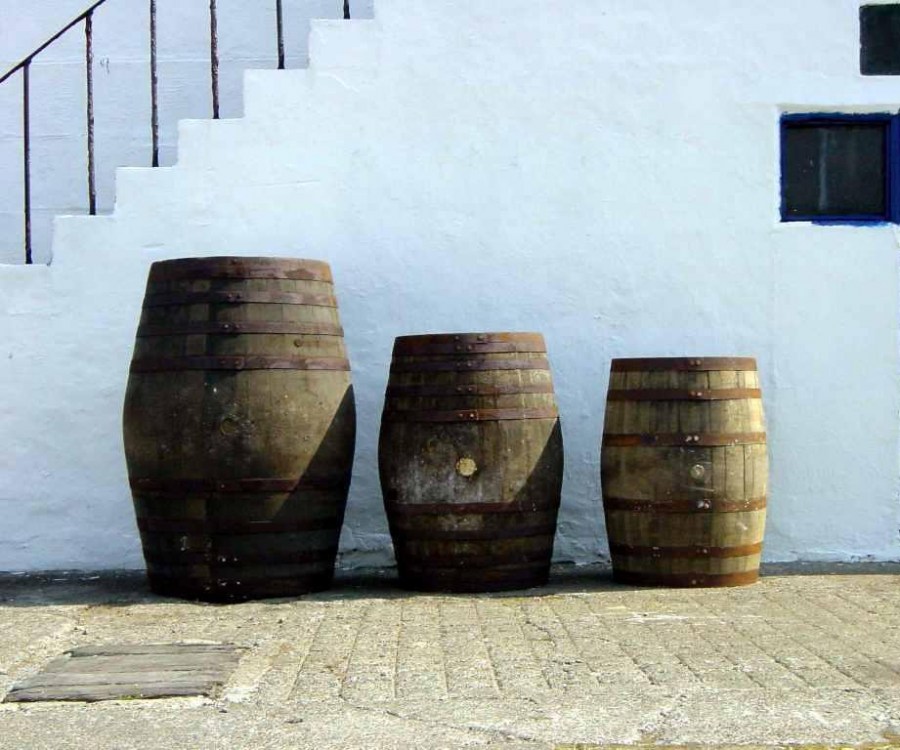
The best way to make an overseas stove with your own hands involves the use of a hand-made tool - a wooden barrel. It will allow you to easily achieve the required cylindrical shape of the product. Well, if you can pick up an option made of oak.

For use in construction, the barrel will have to be prepared. The item is selected somewhat more dimensionally than the finished furnace is expected. It is convenient to engage in preparation while the clay mixture "ripens".
A barrel, with pre-weakened iron rings, is filled to the top with water. Thus, the wooden frame spends up to 5 days. During this period, the necessary swelling of the wood occurs. After the planned period, the barrel is emptied. A noticeably heavy object is turned upside down.
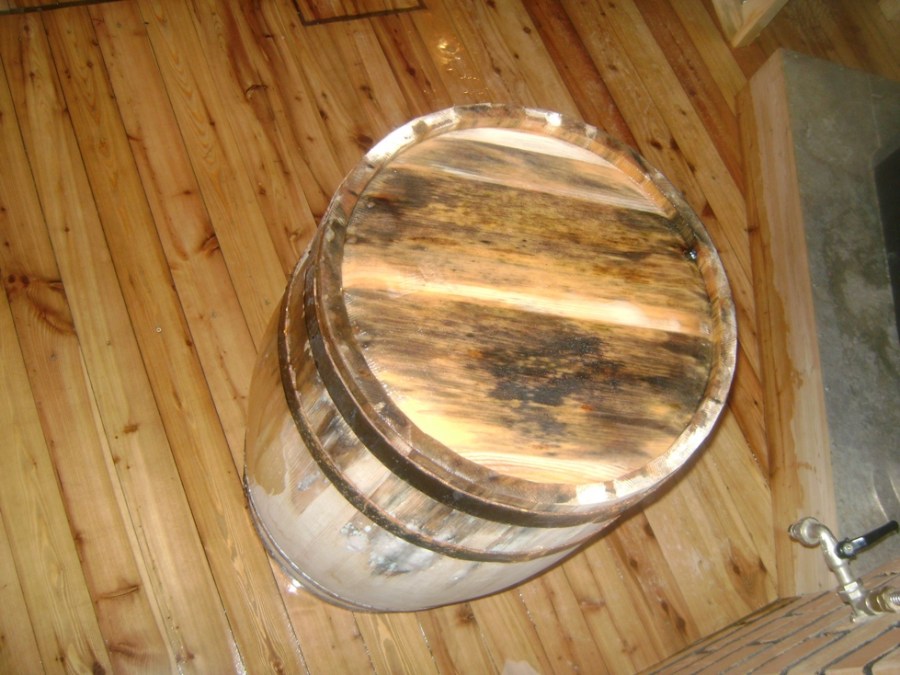

Next, dry the product a little. 1 day is enough for this. The next step will be the processing of the inner surface of the barrel with sunflower oil.
No need to regret consumables. The quality of the finished tandoor for summer residence depends on the thoroughness of processing. The oiled base is left for impregnation for another 1 day.

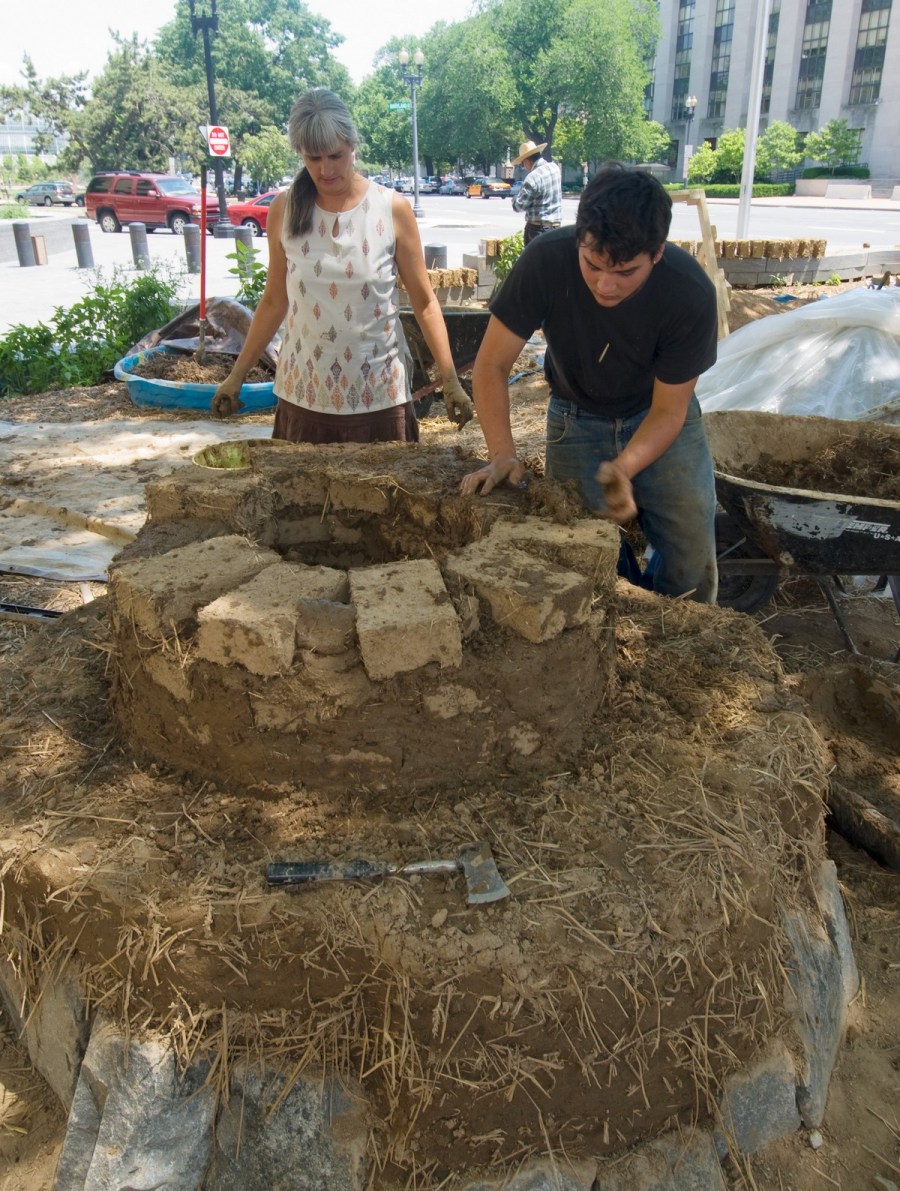
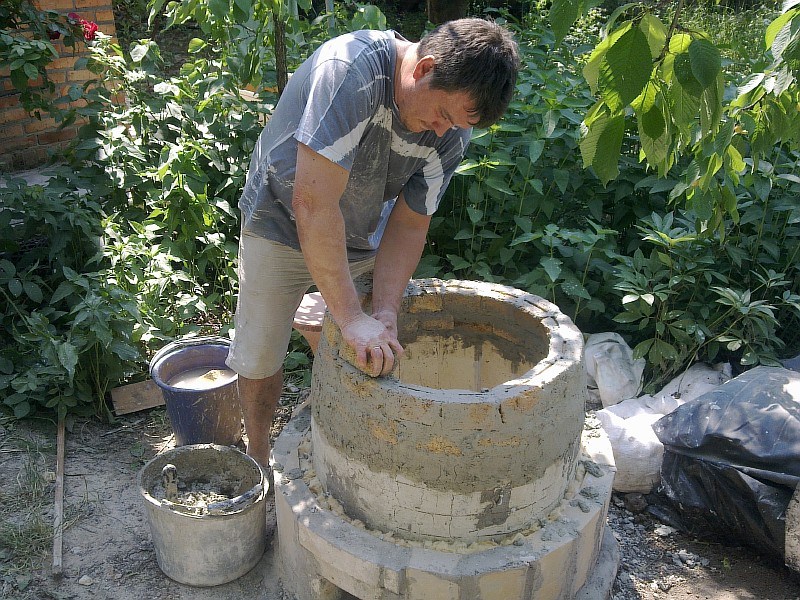
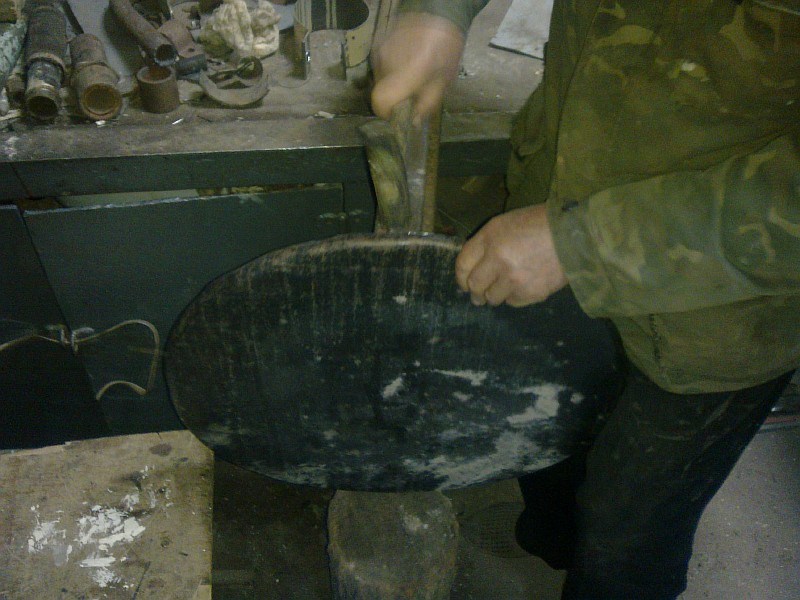
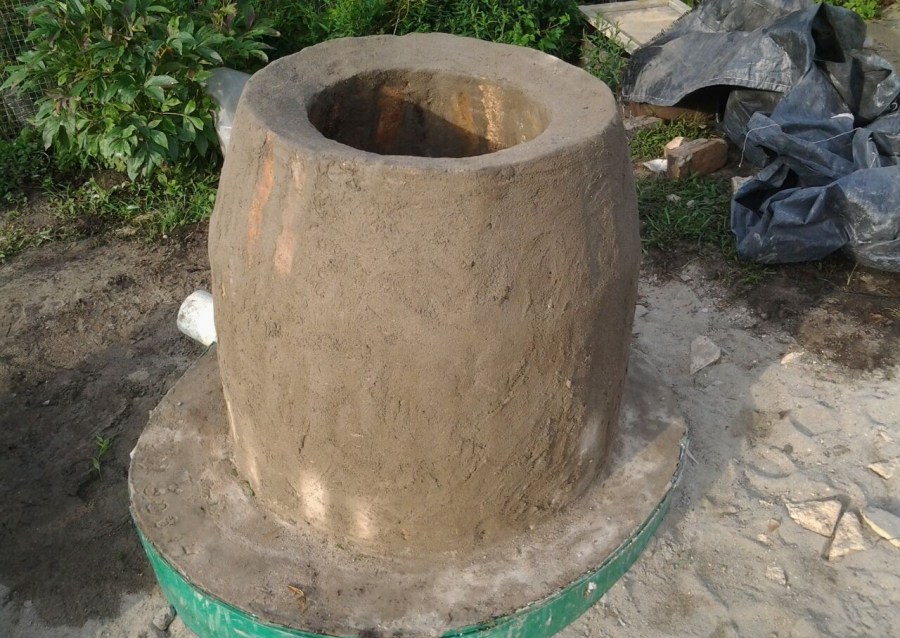
After all the preparatory work comes the crucial moment of sculpting the tandoor. For this, it is necessary to roll sausages about 7 cm in diameter and about 50 cm long from the ripened clay mixture. The resulting workpieces are rolled into ribbons and cut in accordance with the dimensions of the wooden base.
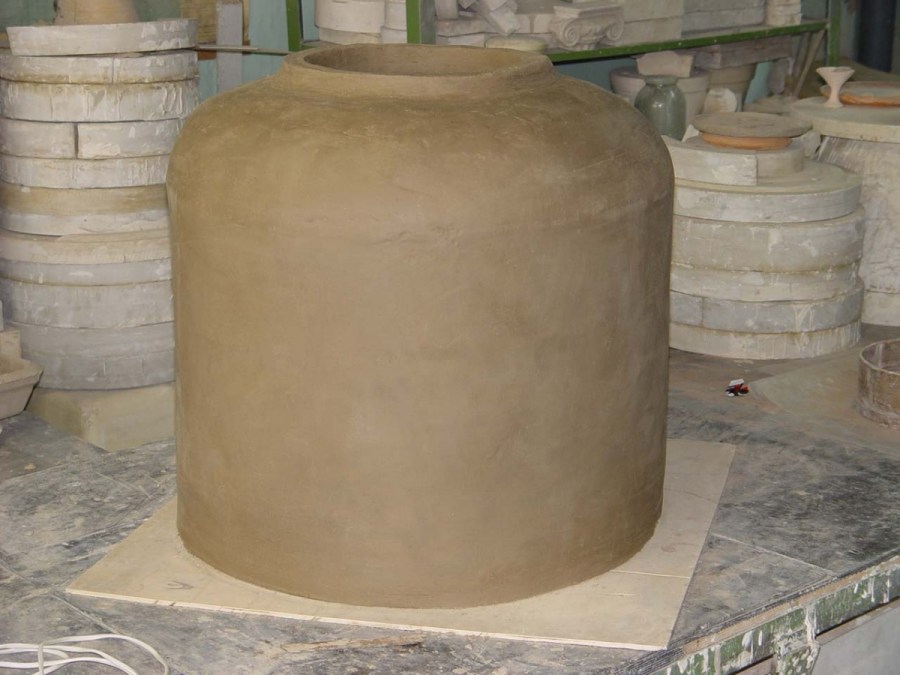
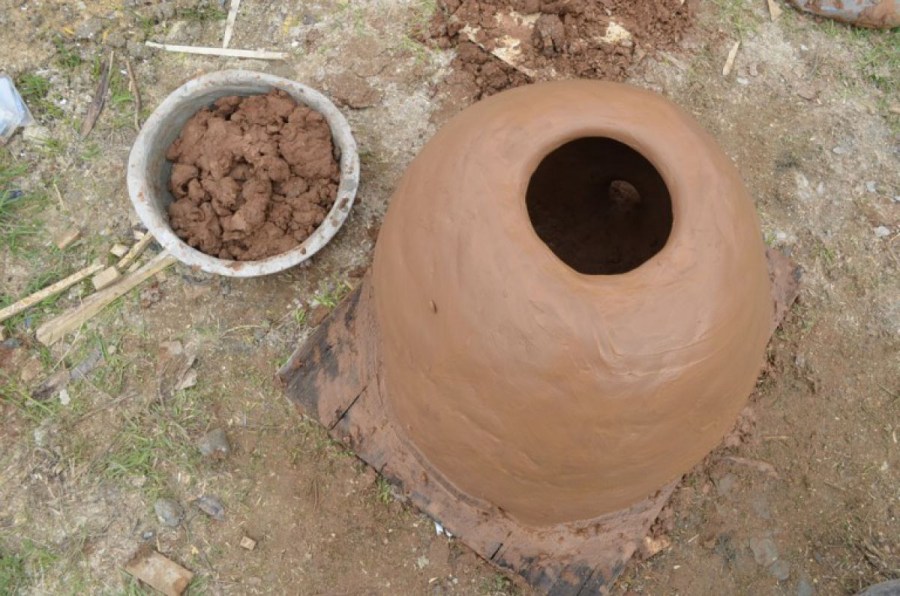
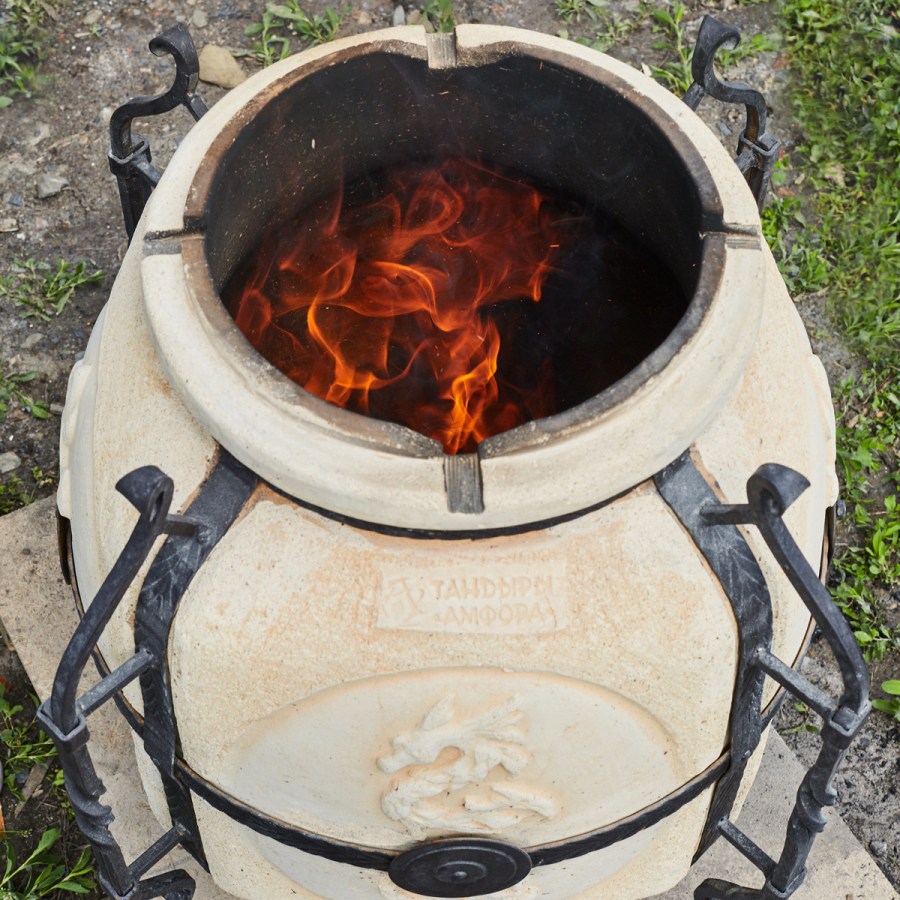
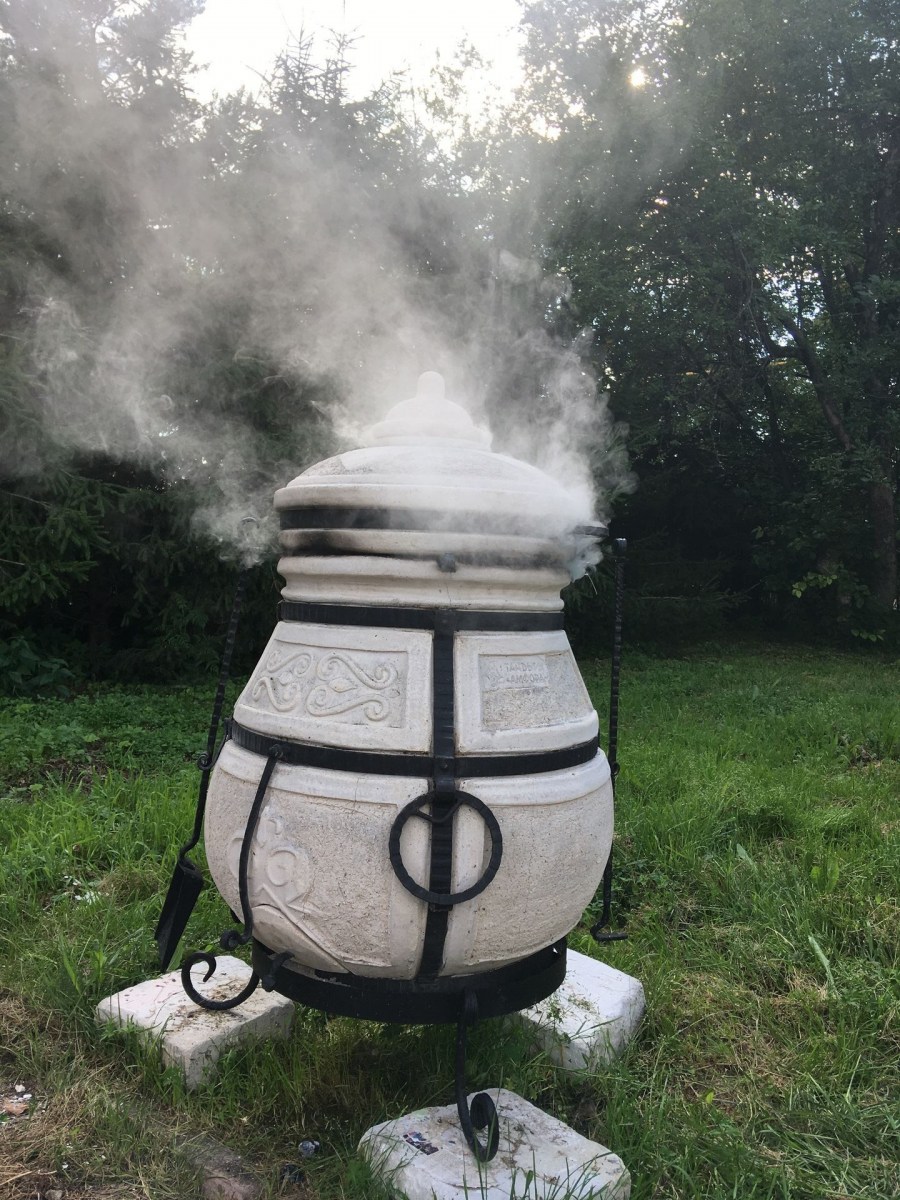
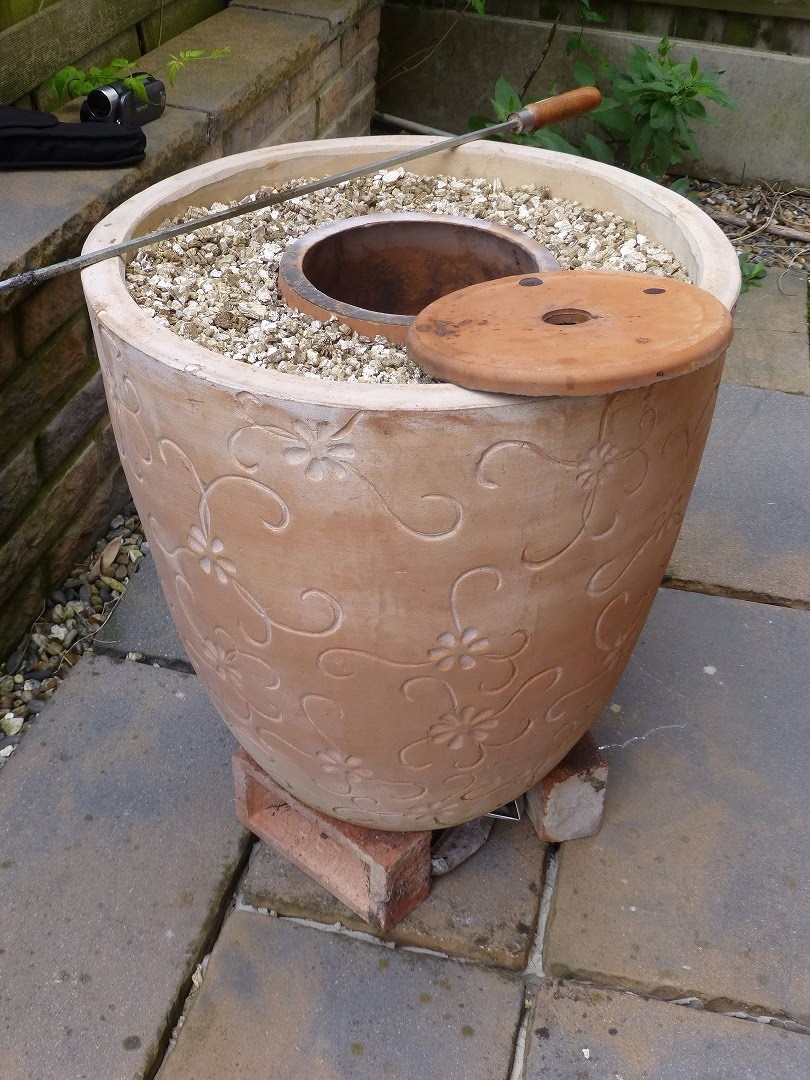
Ready strips fill the entire interior of the barrel. They should be placed in such a way that the working material is superimposed. At the same time, in the upper area of the product, they do not just overlap, but model narrowing. This is required for the proper functioning of the furnace. The appearance of the finished tandoor resembles a jug.
When the barrel is fully lined with clay stripes, smooth the inner surface. The presence of irregularities is ultimately minimized.
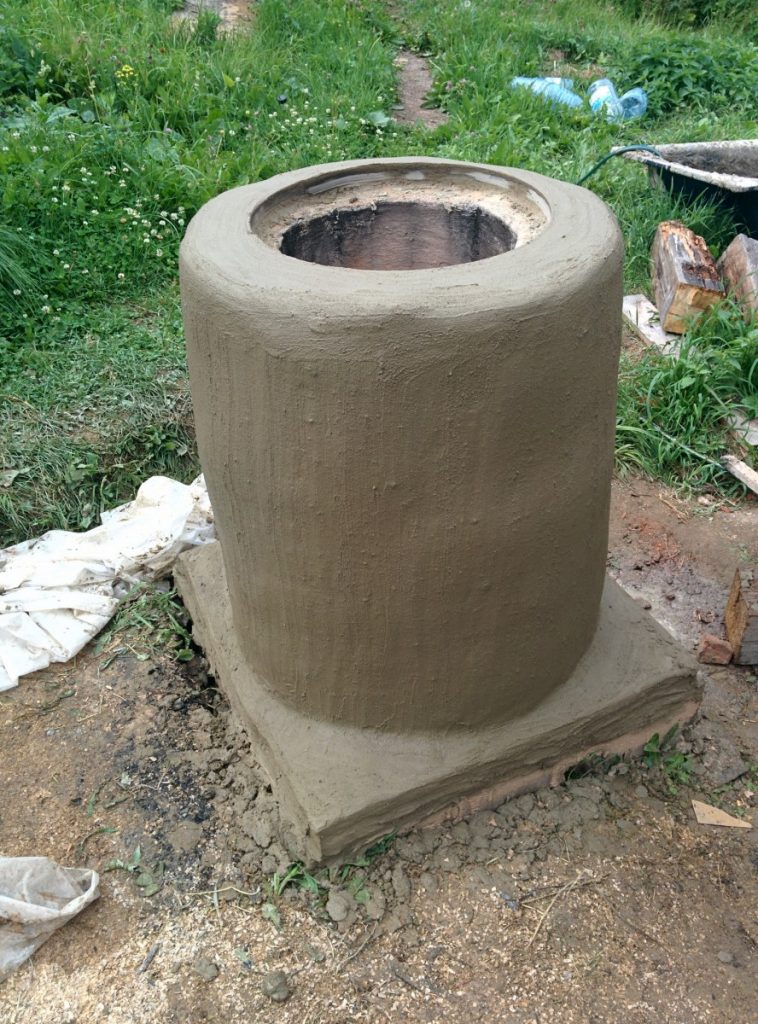
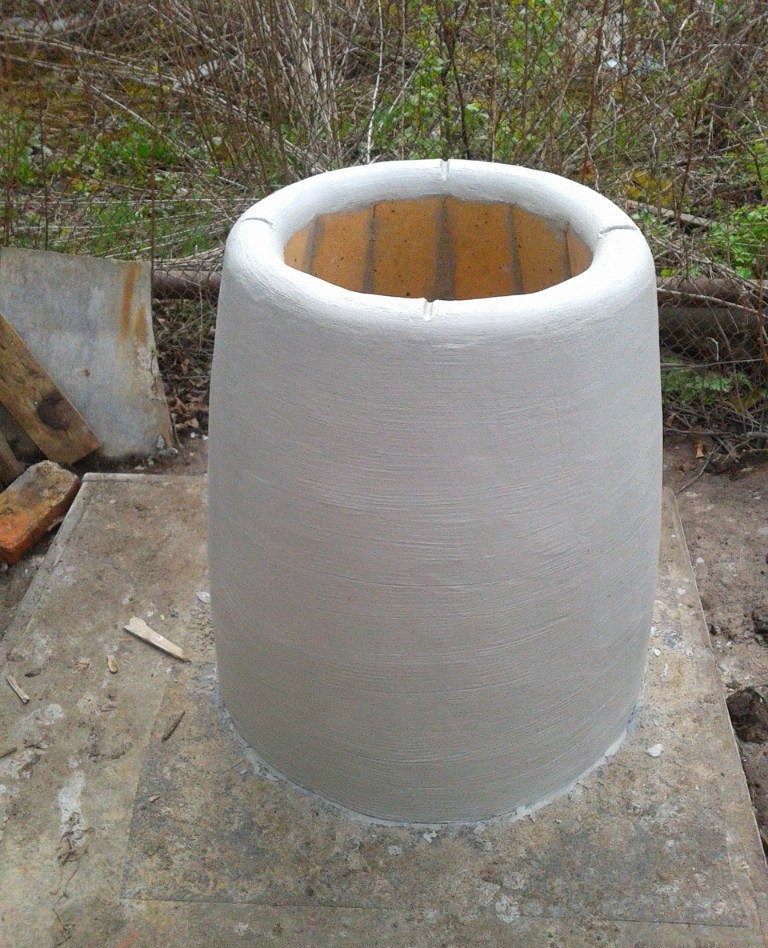
The final step in the manufacture of the base of the furnace is the drying of clay walls. This process will take approximately 1 month (subject to weather conditions). For this, a barrel with a clay interior is placed in a dry place with good air circulation.
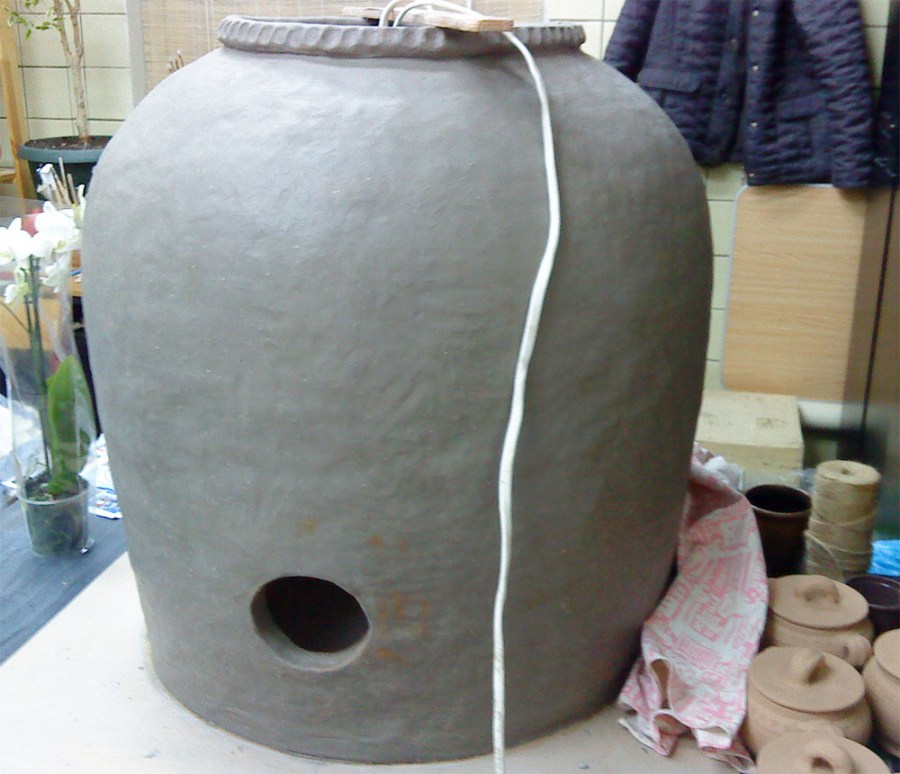
The drying process is periodically monitored: the clay should gradually exfoliate from the wooden walls. At the end of the drying period, the barrel is freed from steel hoops, the wooden layer is removed, releasing the clay furnace.

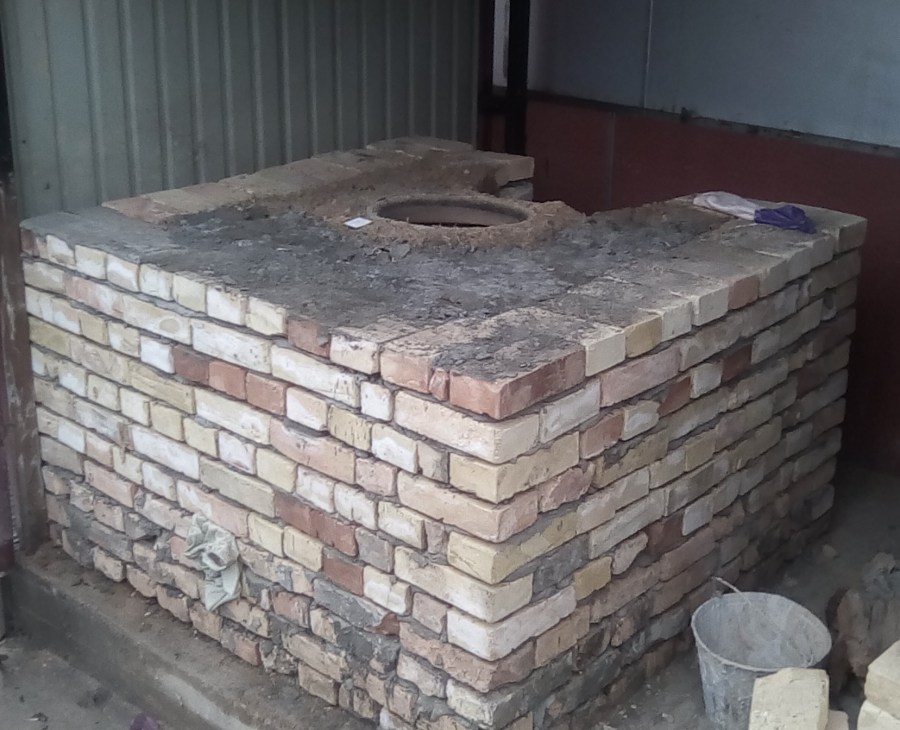
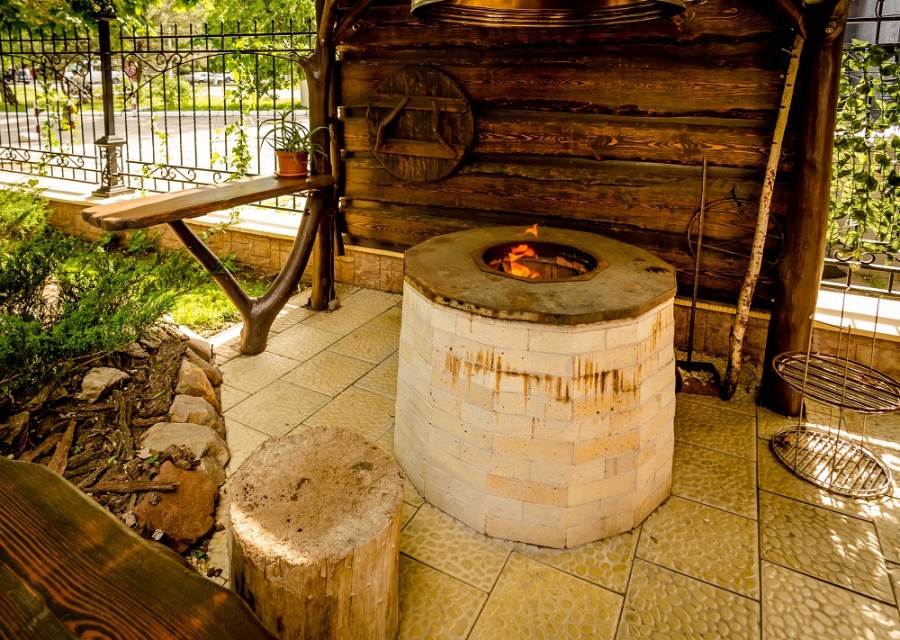
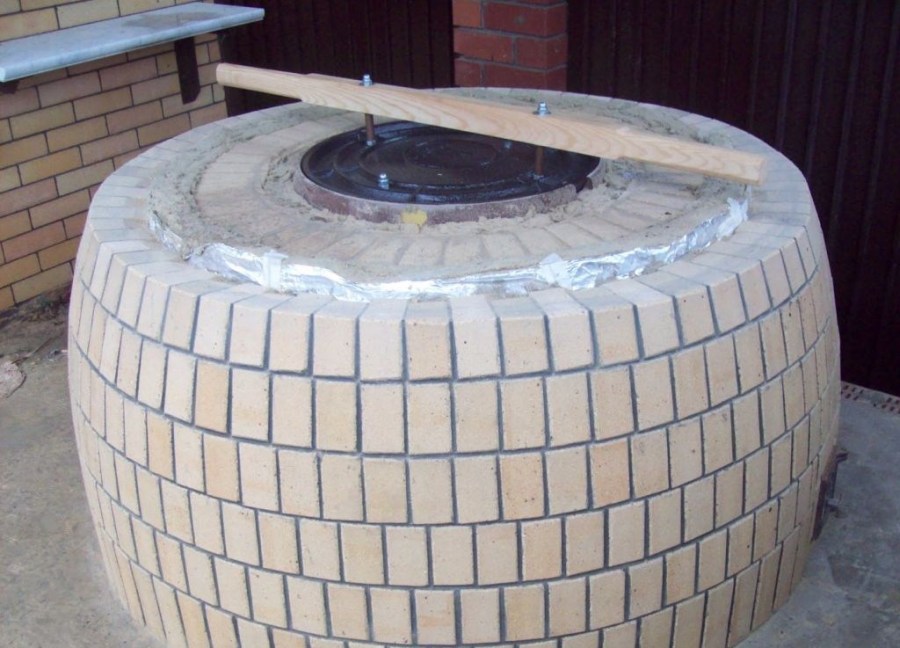
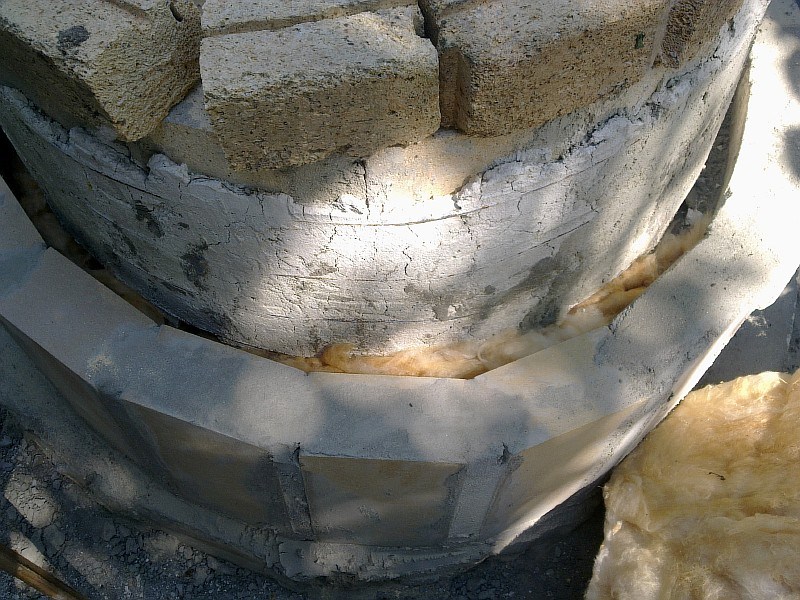
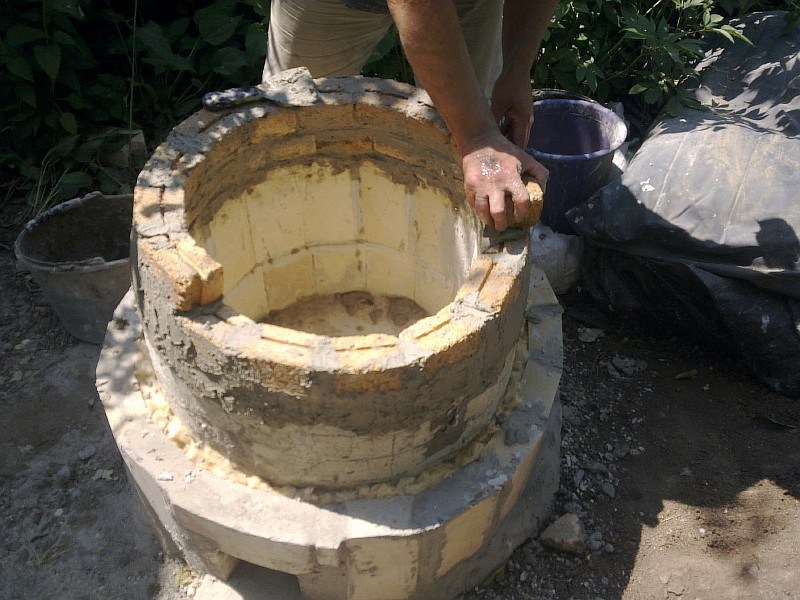
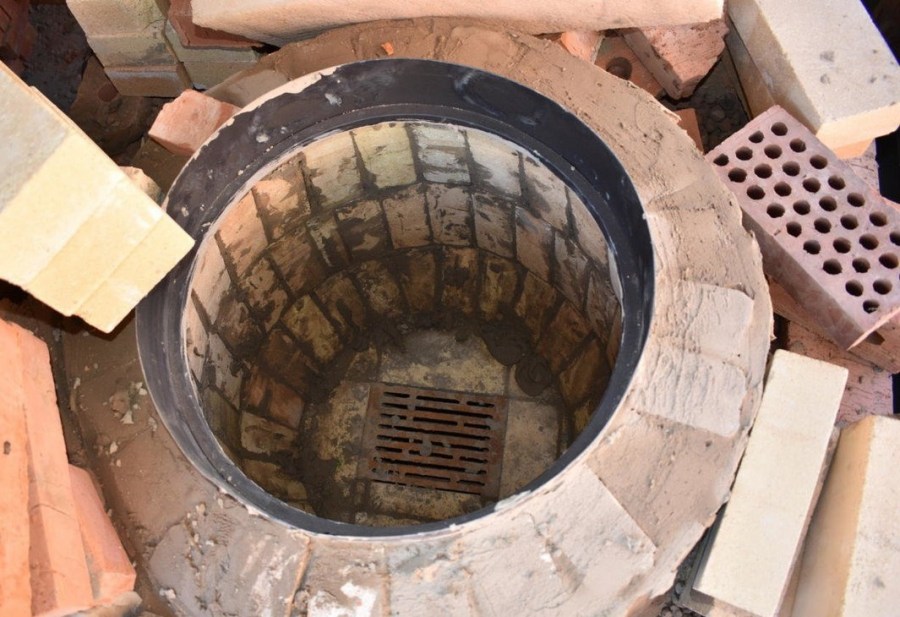
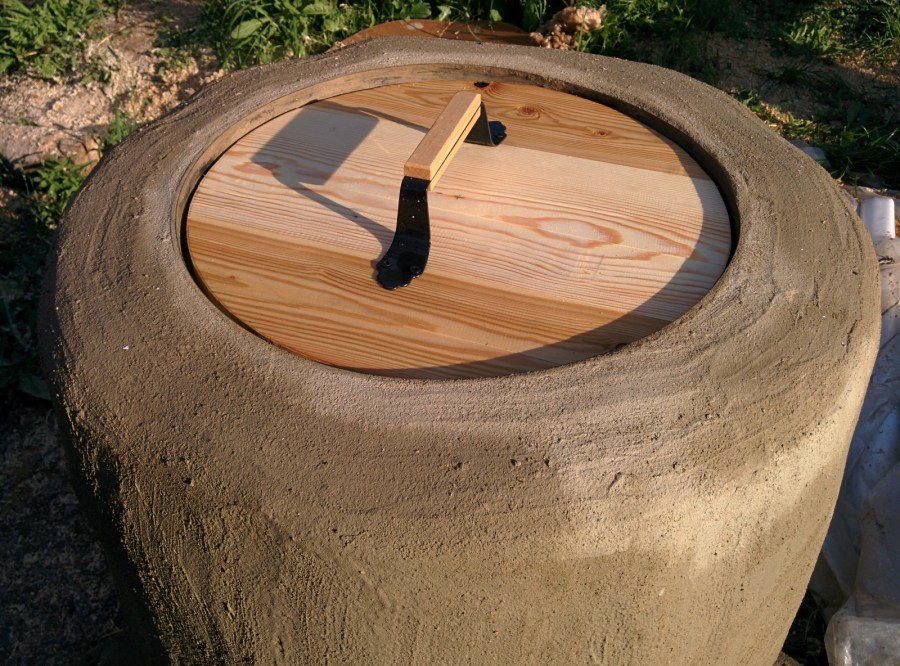
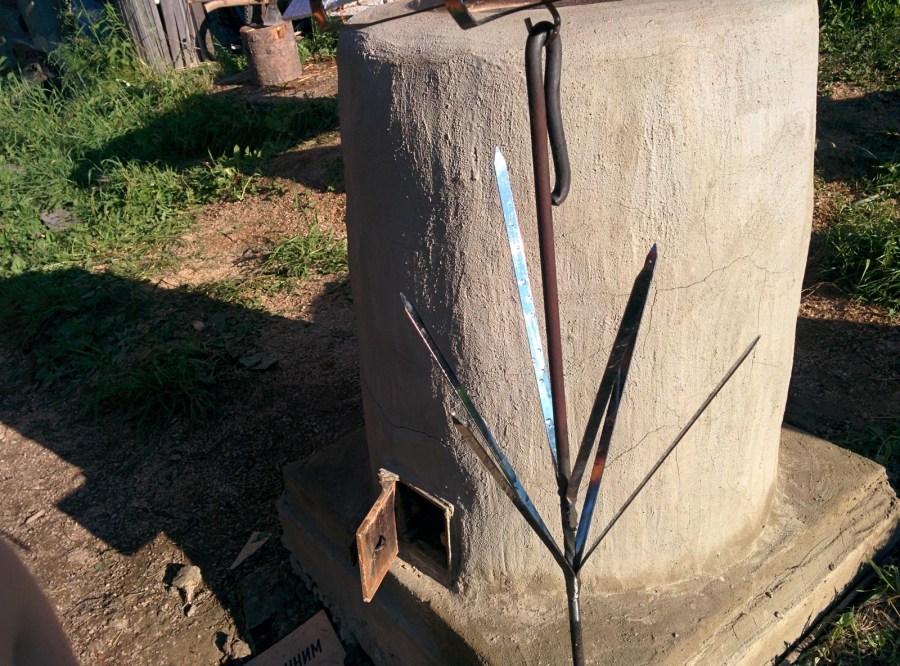
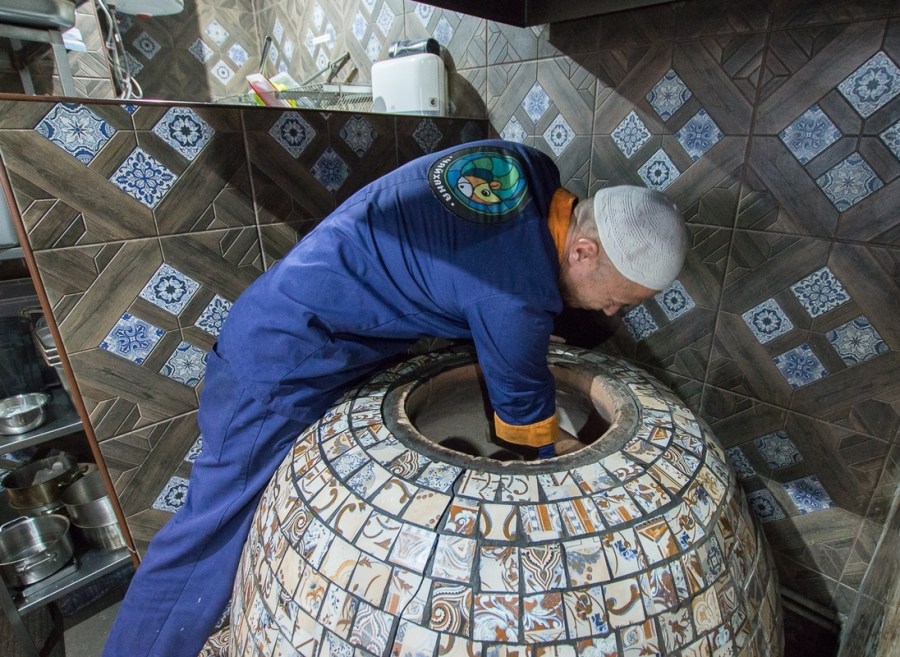
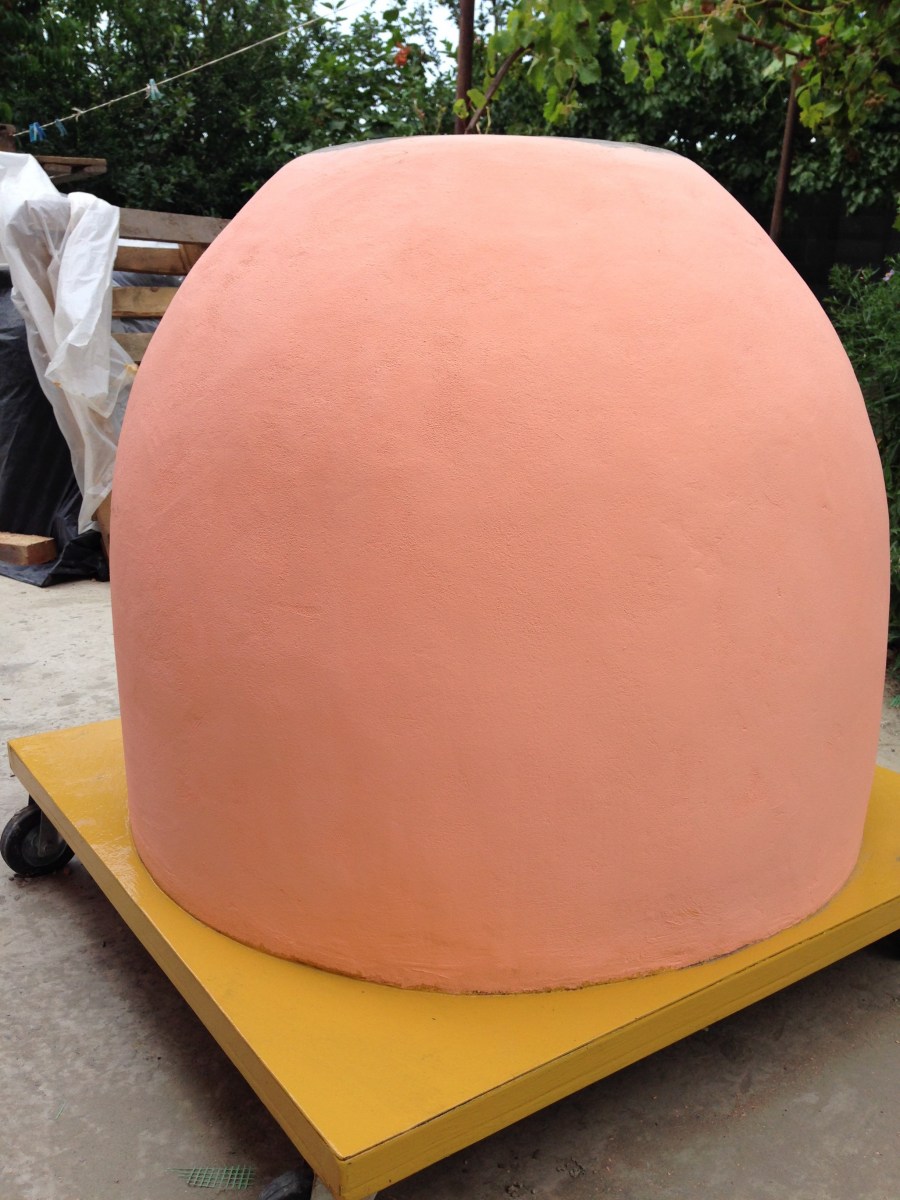
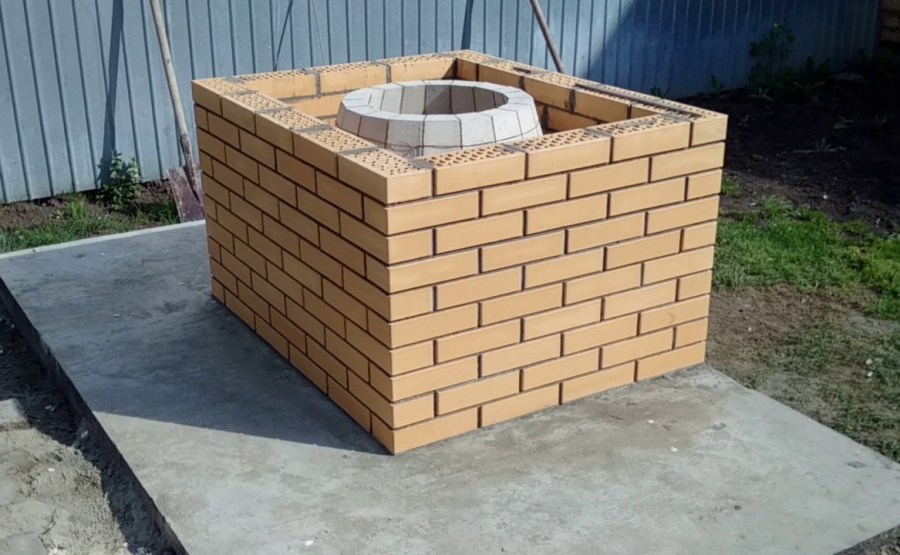
Ready tandoor is installed on a pre-erected foundation. Around the stove organize a refractory barrier: make brickwork. The tandoor itself is coated with refractory clay or coated with a special heat-resistant solution.
The working chamber of the furnace is equipped with a grill. This will improve the blowing and functionality of the product. The installation of a chimney will ensure stabilization of the draft.
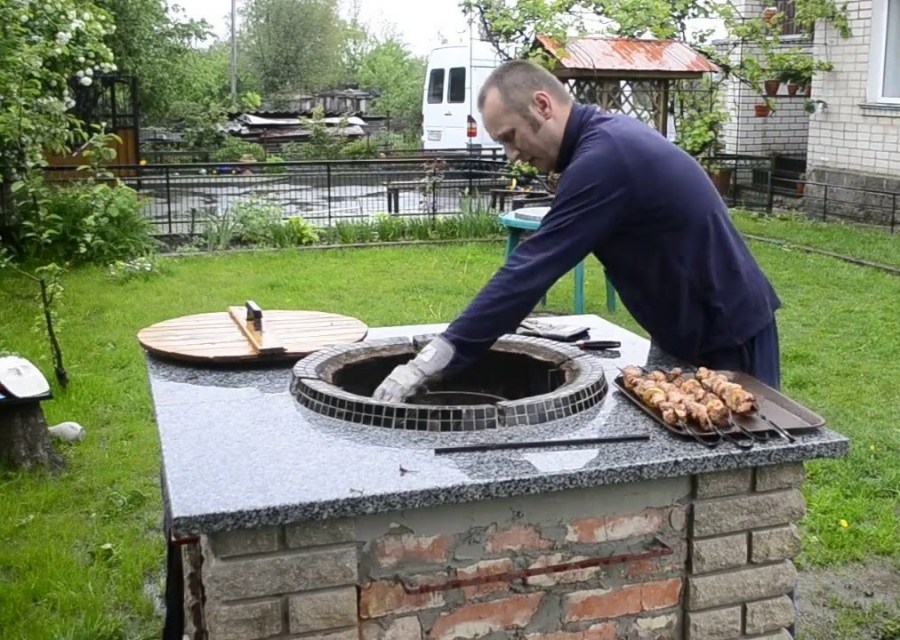
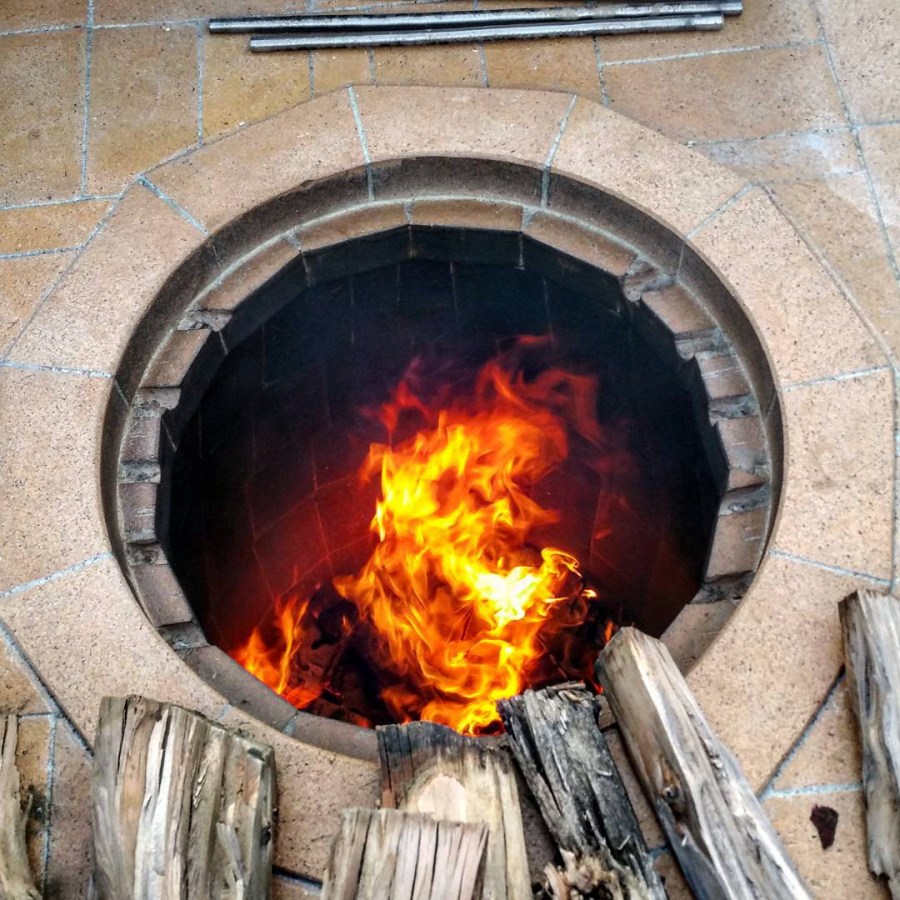
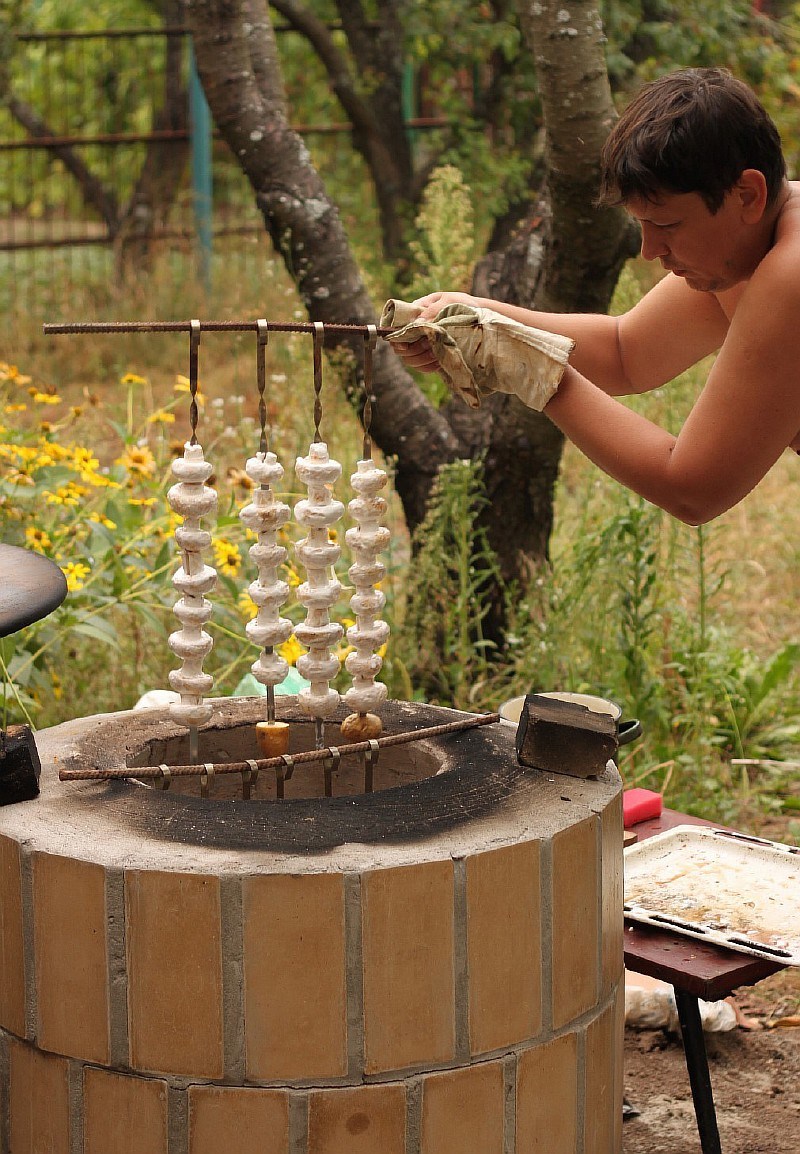
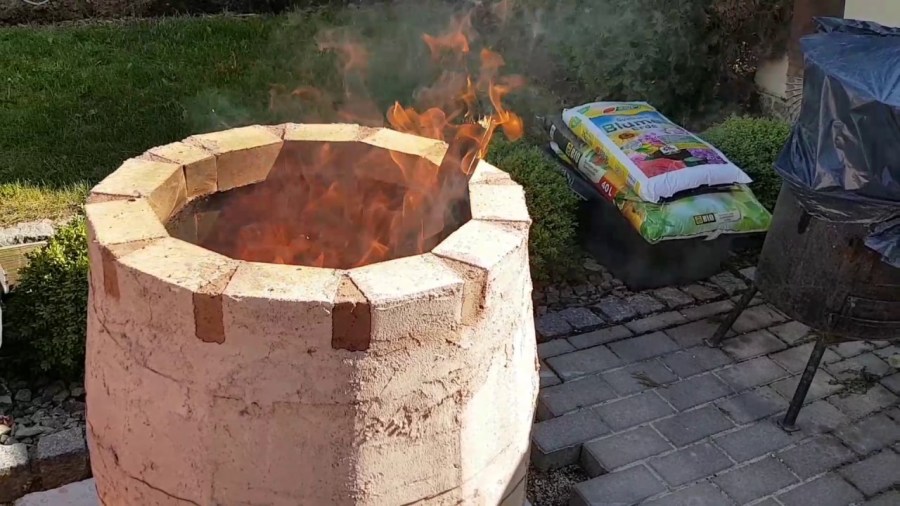
Before the first digging, the inside walls of the furnace are treated with cottonseed oil. Starting heating of the furnace is carried out during the day. Only a set of actions will ensure reliable operation of the structure in the future.
Armenian tandoor: secrets of hand-made manufacture
The construction of the furnace in the Armenian manner begins with the preparation of drawings. It is difficult to make this design option without using ready-made circuits. Drawings of tandoor will always be found on useful resources, such as our portal.
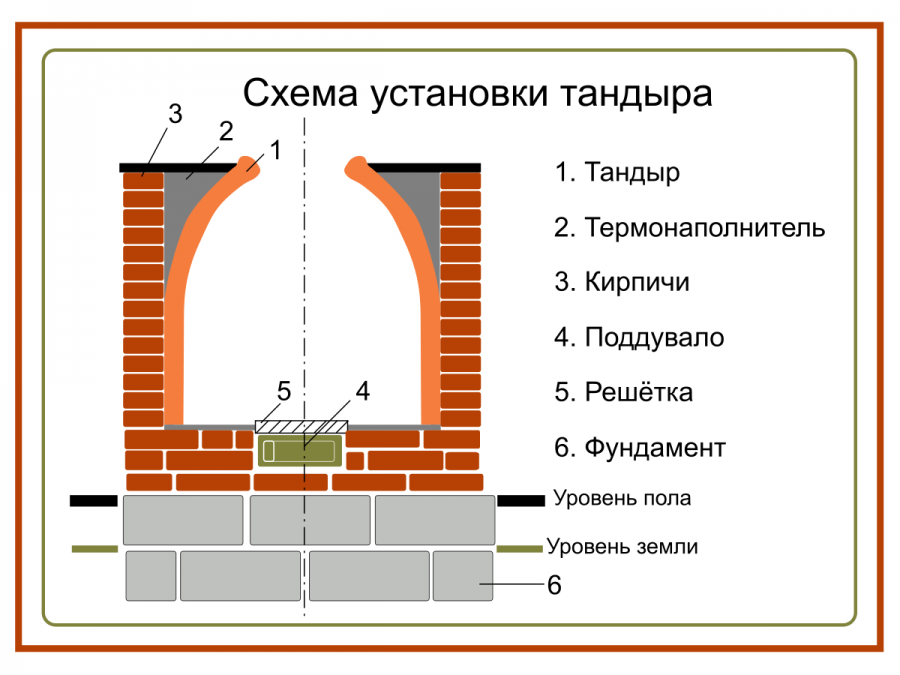
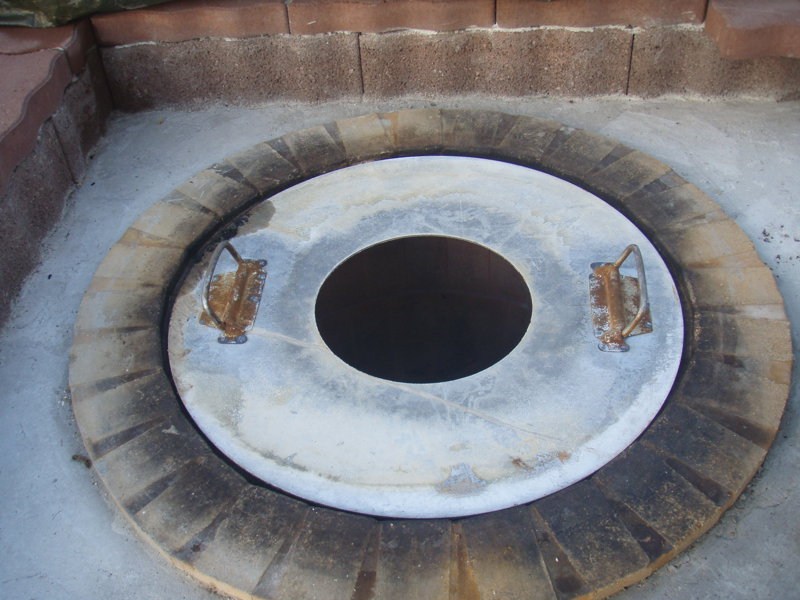
There are many varieties of Armenian ovens. Location tandoor permissible ground or underground. This can be a camera with a horizontal or vertical arrangement. The easiest way is to make a standard block mounted above the ground.
The manufacture of tandoor from brick begins with the preparation of the necessary materials:
- sand;
- clay;
- cement;
- brick.
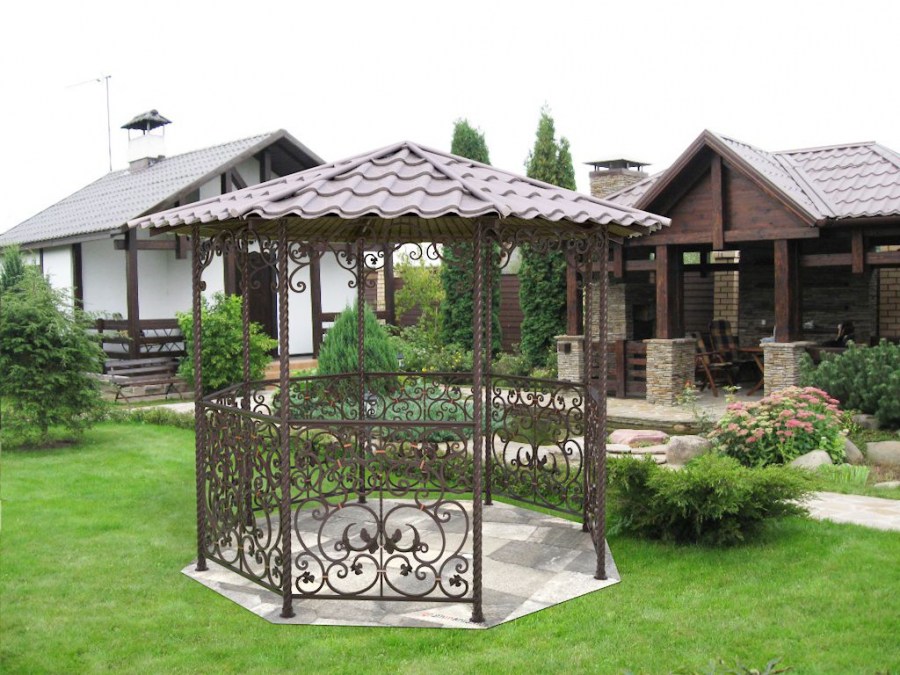
The preliminary work also includes the selection of the location of the future furnace. If it is supposed to build a stationary installation, then it will not be superfluous to provide shelter in the form of a canopy. After choosing a suitable place, they begin the main work:
Foundation construction. To create a solid base (especially in the case of a large tandoor), use the standard version of the concrete mixture.
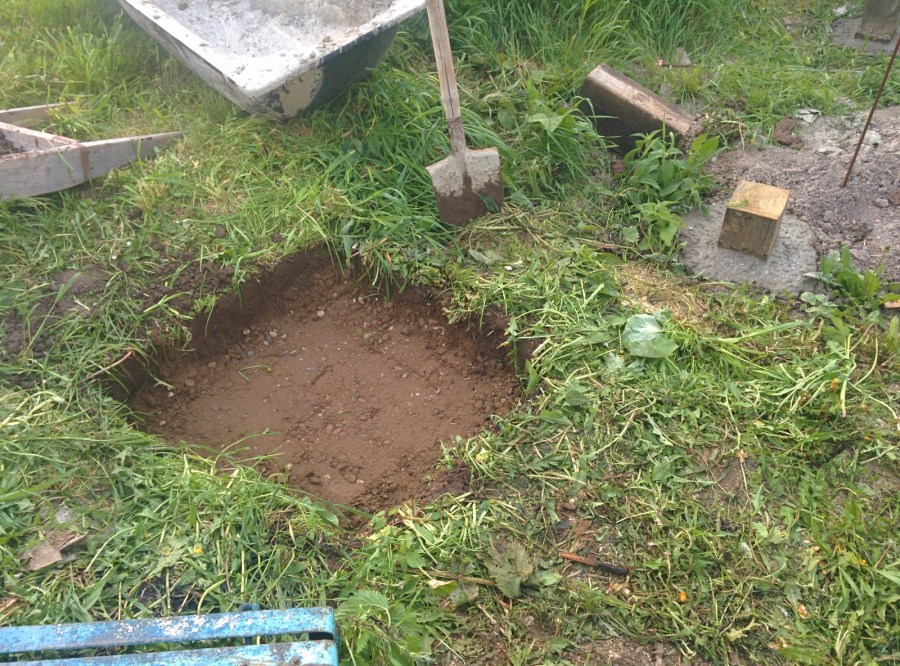
Pre-build a recess, fill it with gravel and sand. On top of such a "pillow" is a solution based on sand and cement. A foundation arranged in this way will take time to dry (2-3 days).


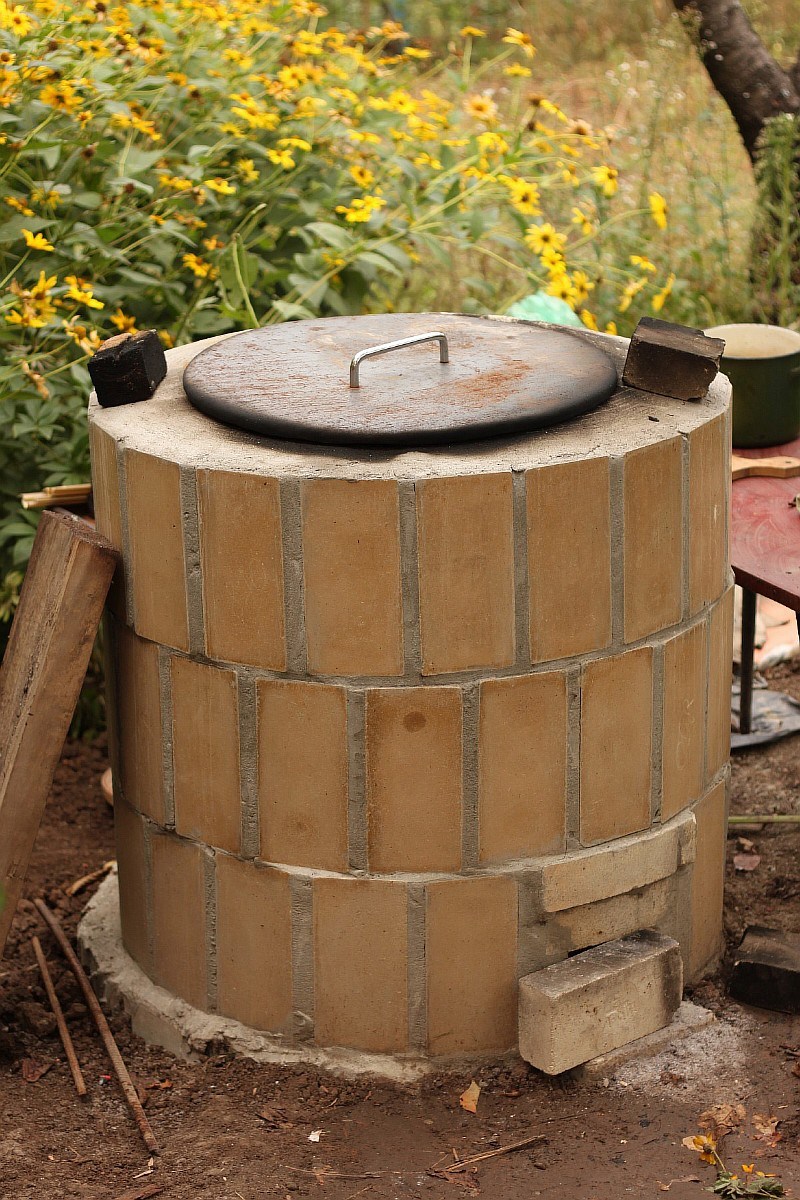
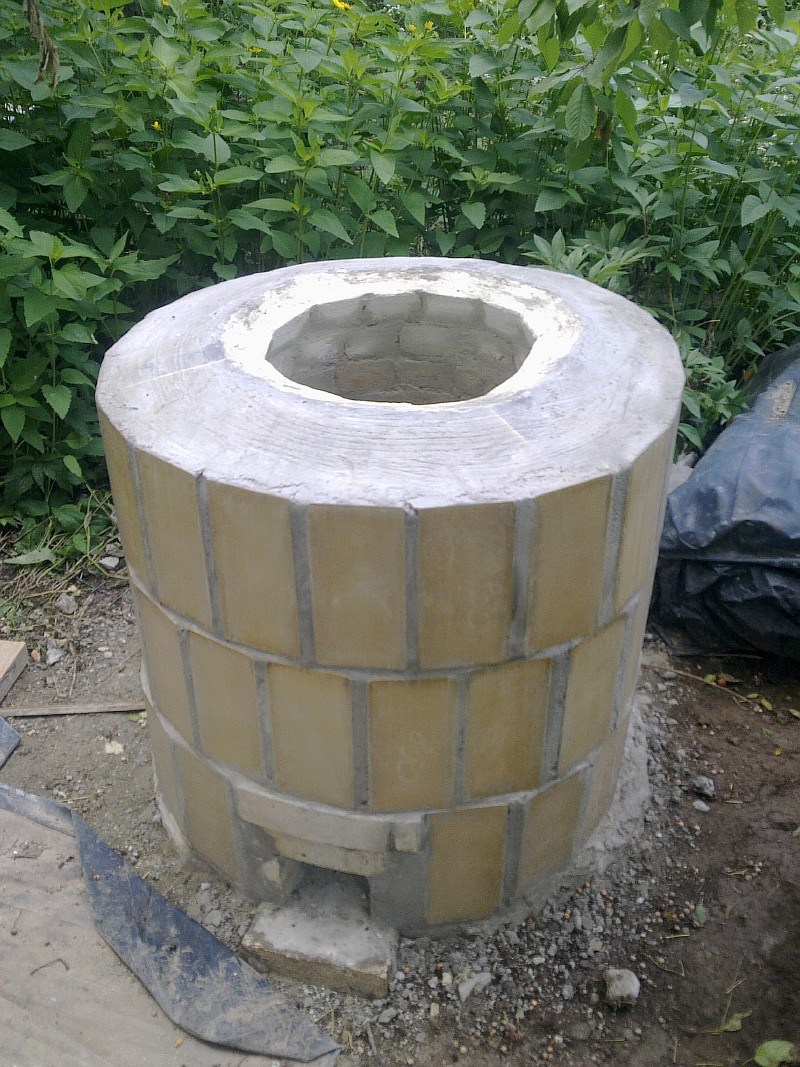
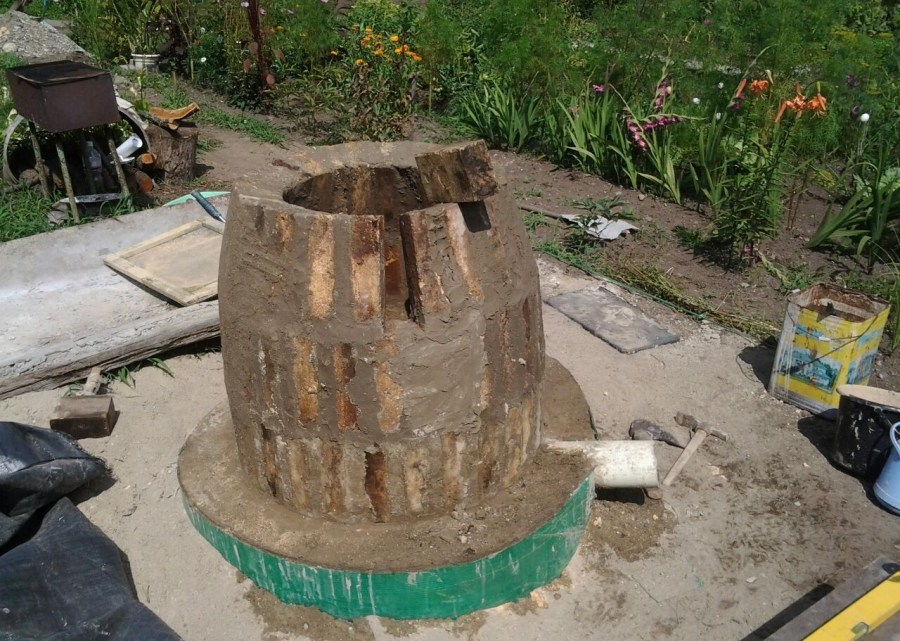
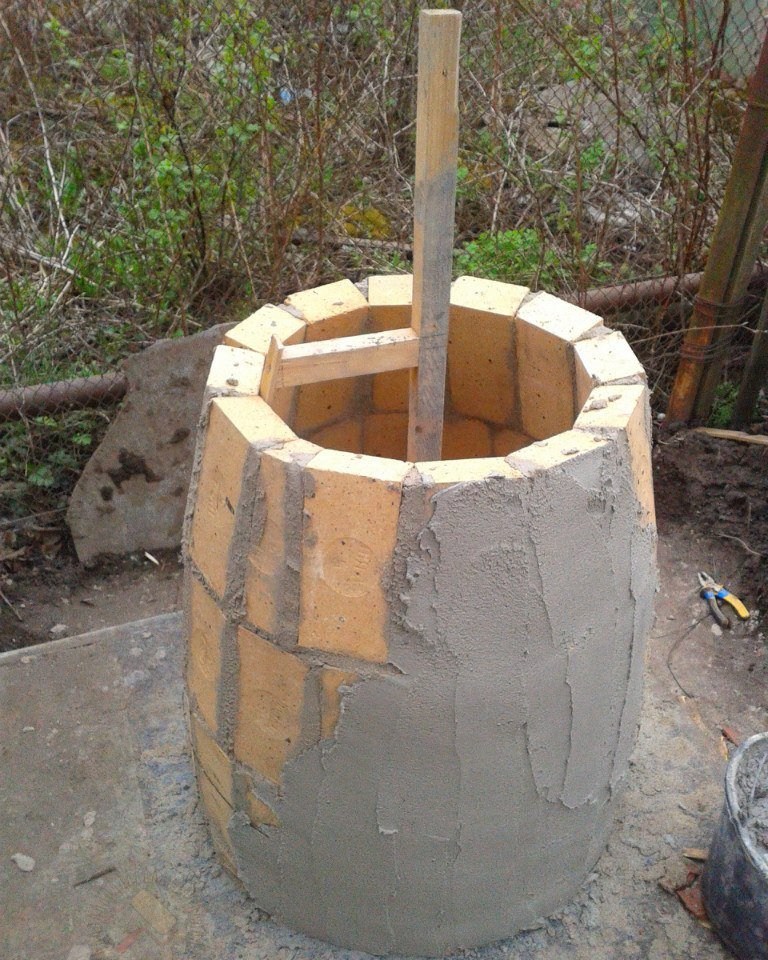
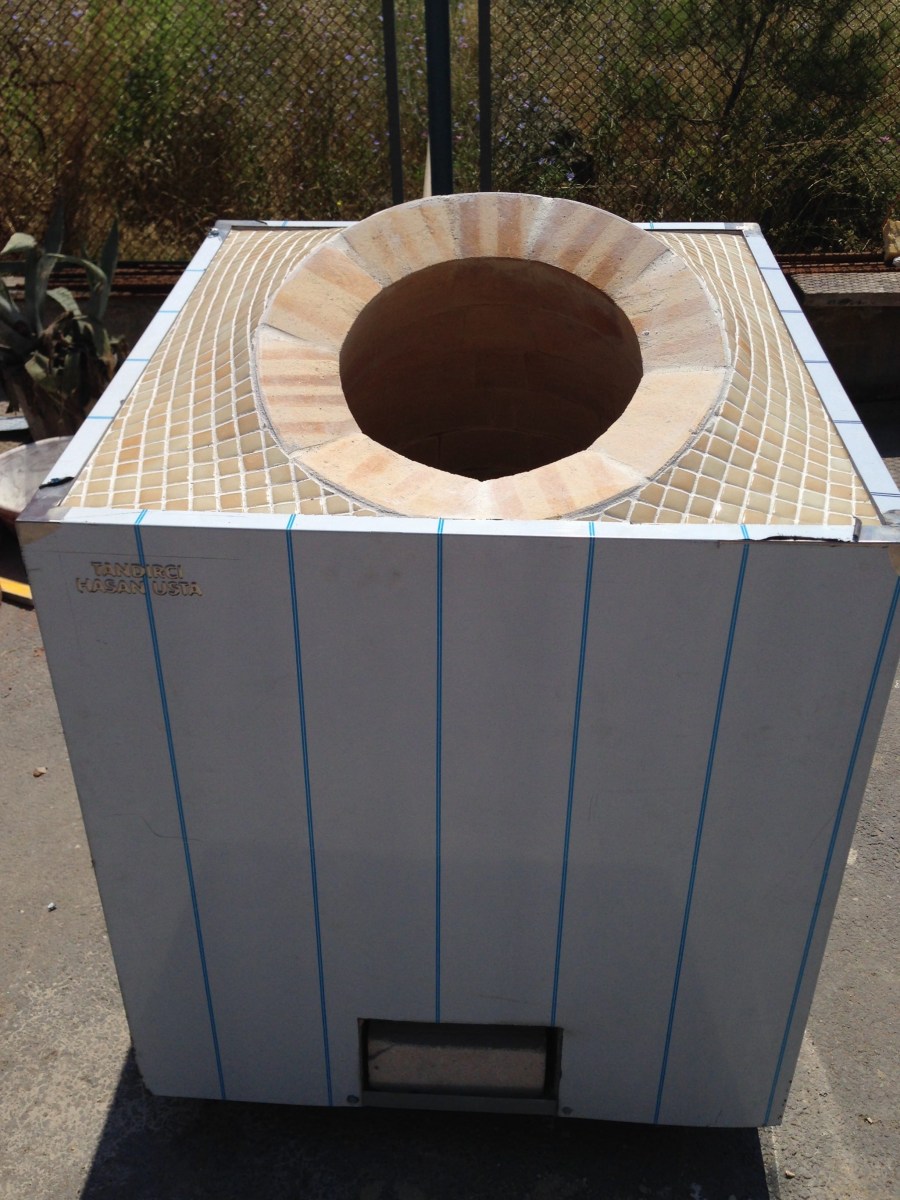
According to the drawings, markup is made and begin to create brickwork. The first row is performed with a hole for blowing. Subsequent lines are made according to the drawings, focusing on the need for a gradual narrowing of the furnace.


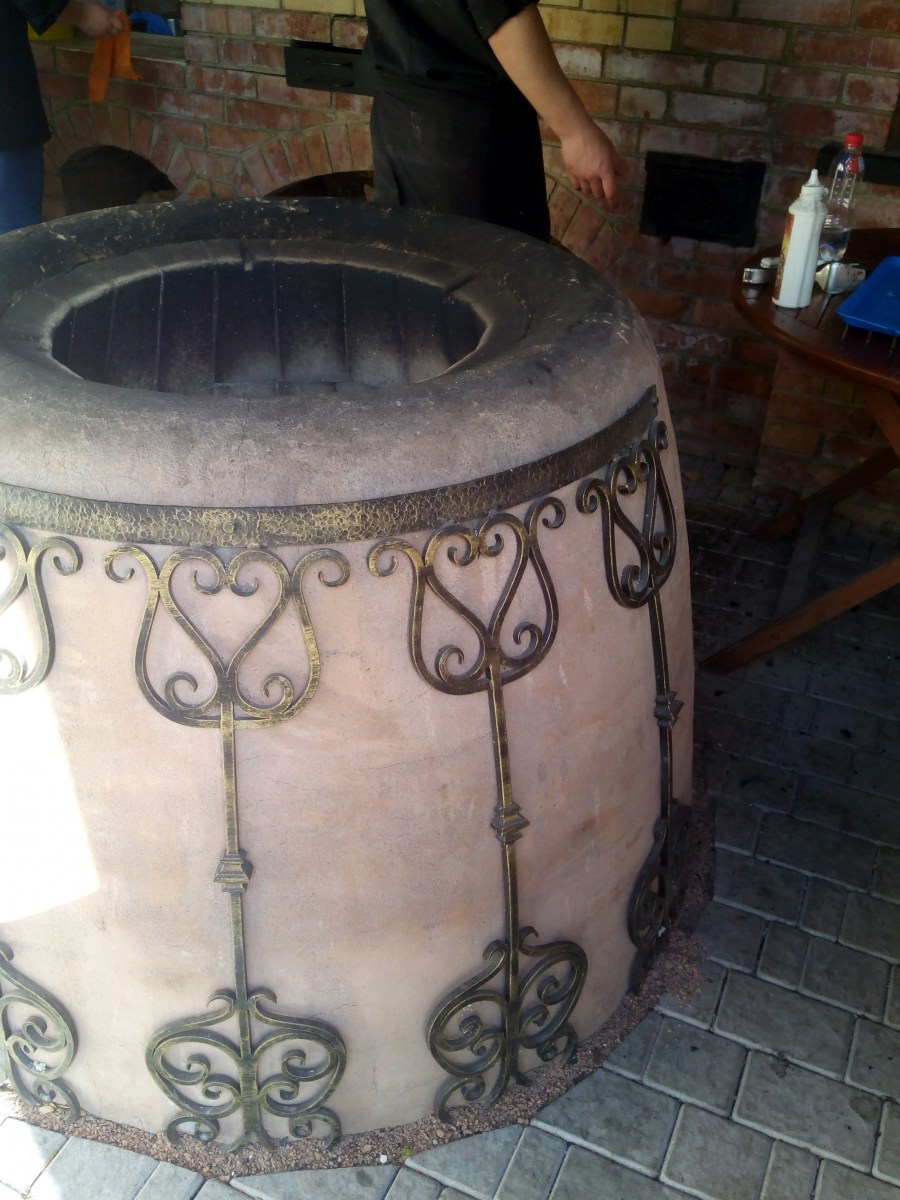
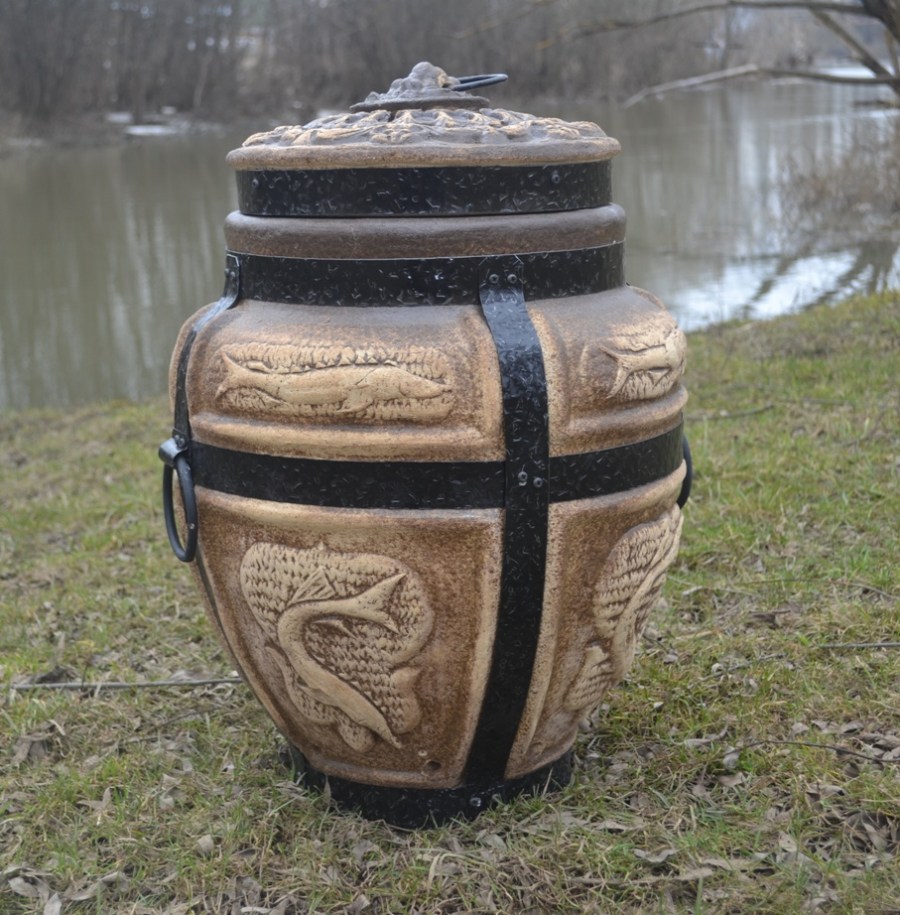
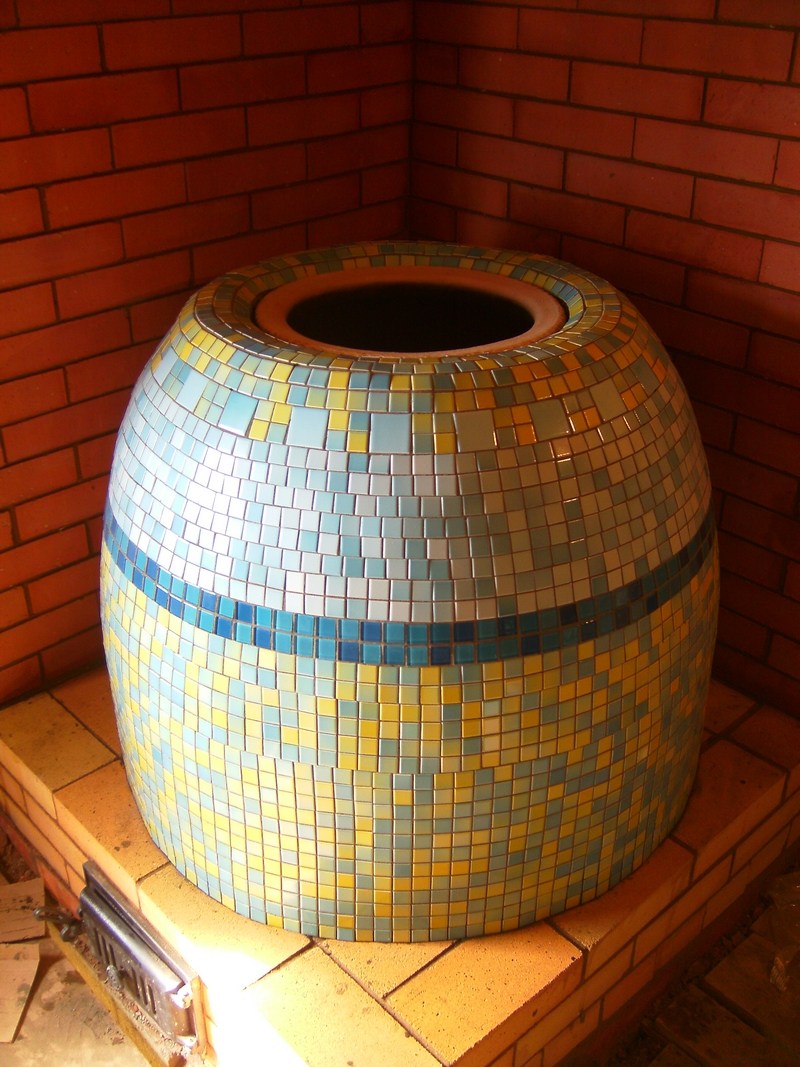
The finished brickwork is coated on all sides with refractory clay. Seams are filled with dry material. The outer surface is worked out with a creamy solution. For decorative finishes, you can use ceramic tiles, small pebbles, broken glass.
After waiting for the clay to dry completely, a control kindling is performed. Fine brushwood is used as fuel. Prolonged heating will allow the clay to burn, harden. Further, the tandoor is used as usual.
Making the Armenian version of the furnace can be simplified using a template (cauldron or barrel).
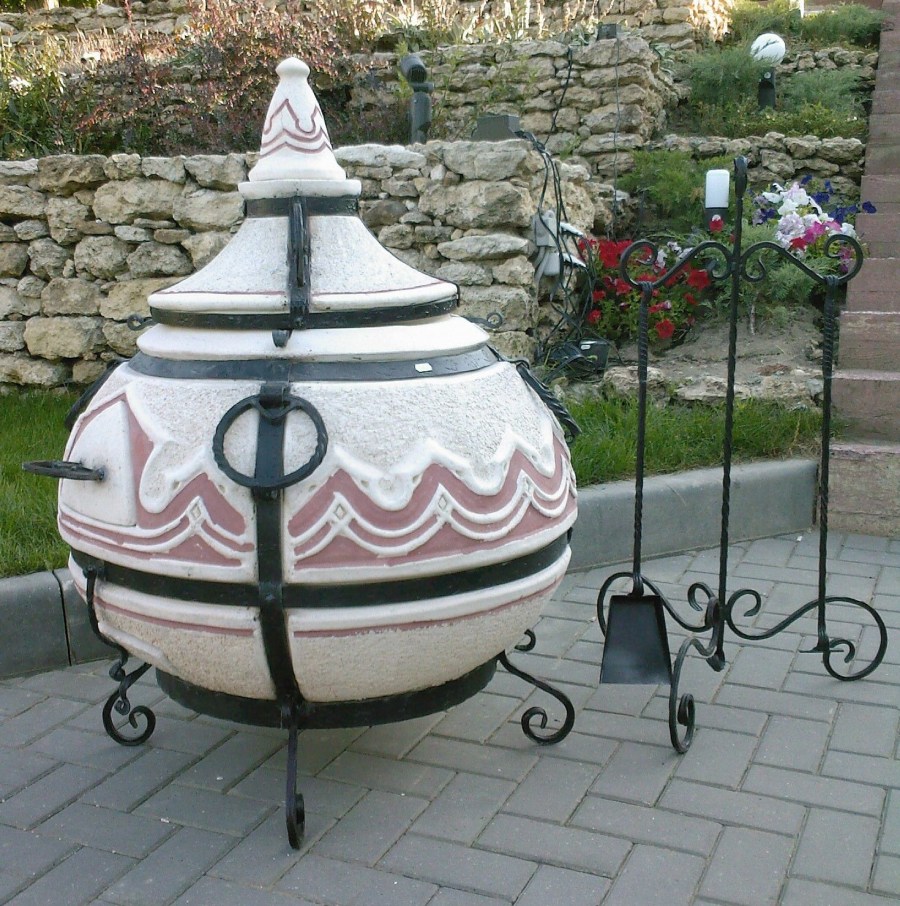
It is not such a difficult task to build an Armenian or an Uzbek oven with one's own hand. The main thing is to strictly follow the instructions. And looking at the photo of a tandoor made by yourself, you understand what a beautiful thing can turn out in the end.

DIY tandoor photo


Summer kitchen in the country - 120 photos of stylish design ideas and their implementation
Decking: using a special modern plank for terraces (110 photos)
Canopies made of polycarbonate: 100 photos of the best modern ideas for home and garden
Join the discussion:
Good day! The article, in principle, is not bad, everything seems to be described, at first glance it seems simple. But in fact, finally garbage. They are specialists, of course they think this is understandable to me, but to a novice you will understand many points in full FIG, but there is no such detailed description, and what should we do for those who are not experts in this field. Do not guys, if you are a beginner or an amateur , under this article, nicherta will not work for you.
In my opinion, everything is clear, if there is not enough description, then what is lacking can be easily found out from photos and videos.
Another question is why do I need a “tandoor” if I have never seen him in my life, and didn’t eat anything cooked in it. I don’t think that the taste of barbecue with the same marinade will radically differ from the barbecue prepared in the usual barbecue.
At my dacha there is barbecue, a smokehouse and a Russian stove, the “tandoor” can be put up just for the collection.
I agree with you, Stas .. This article is more focused on those who grew up in Central Asia, and there are a lot of such people, believe me. You know, war, relocation, evacuation of factories.
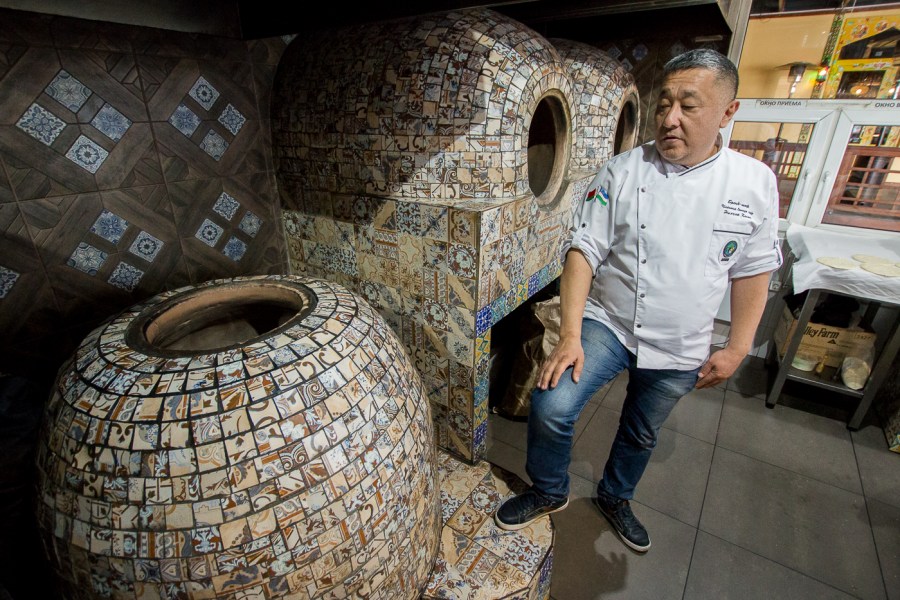
as well as hearing about the Armenian tandoor .. funny.
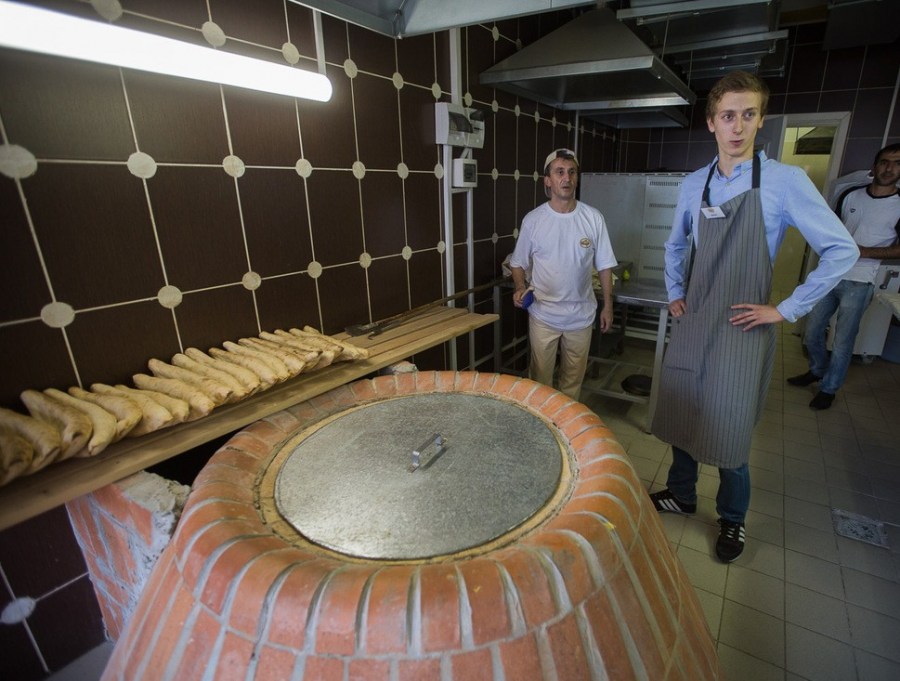
from the history of the tandoor, we can add that the original Samarkand tandoor had a vertical exit upward .. during the war, the Ukrainians who came and the Russians, who represented the Russian stove, suggested placing the tandoor horizontally or at a slight angle to the horizon .. there are such models, there where the Uzbek stands and two tandoor in the background. This is more convenient, since there is no need to stand under a stream of heat, laying samsa or cakes.